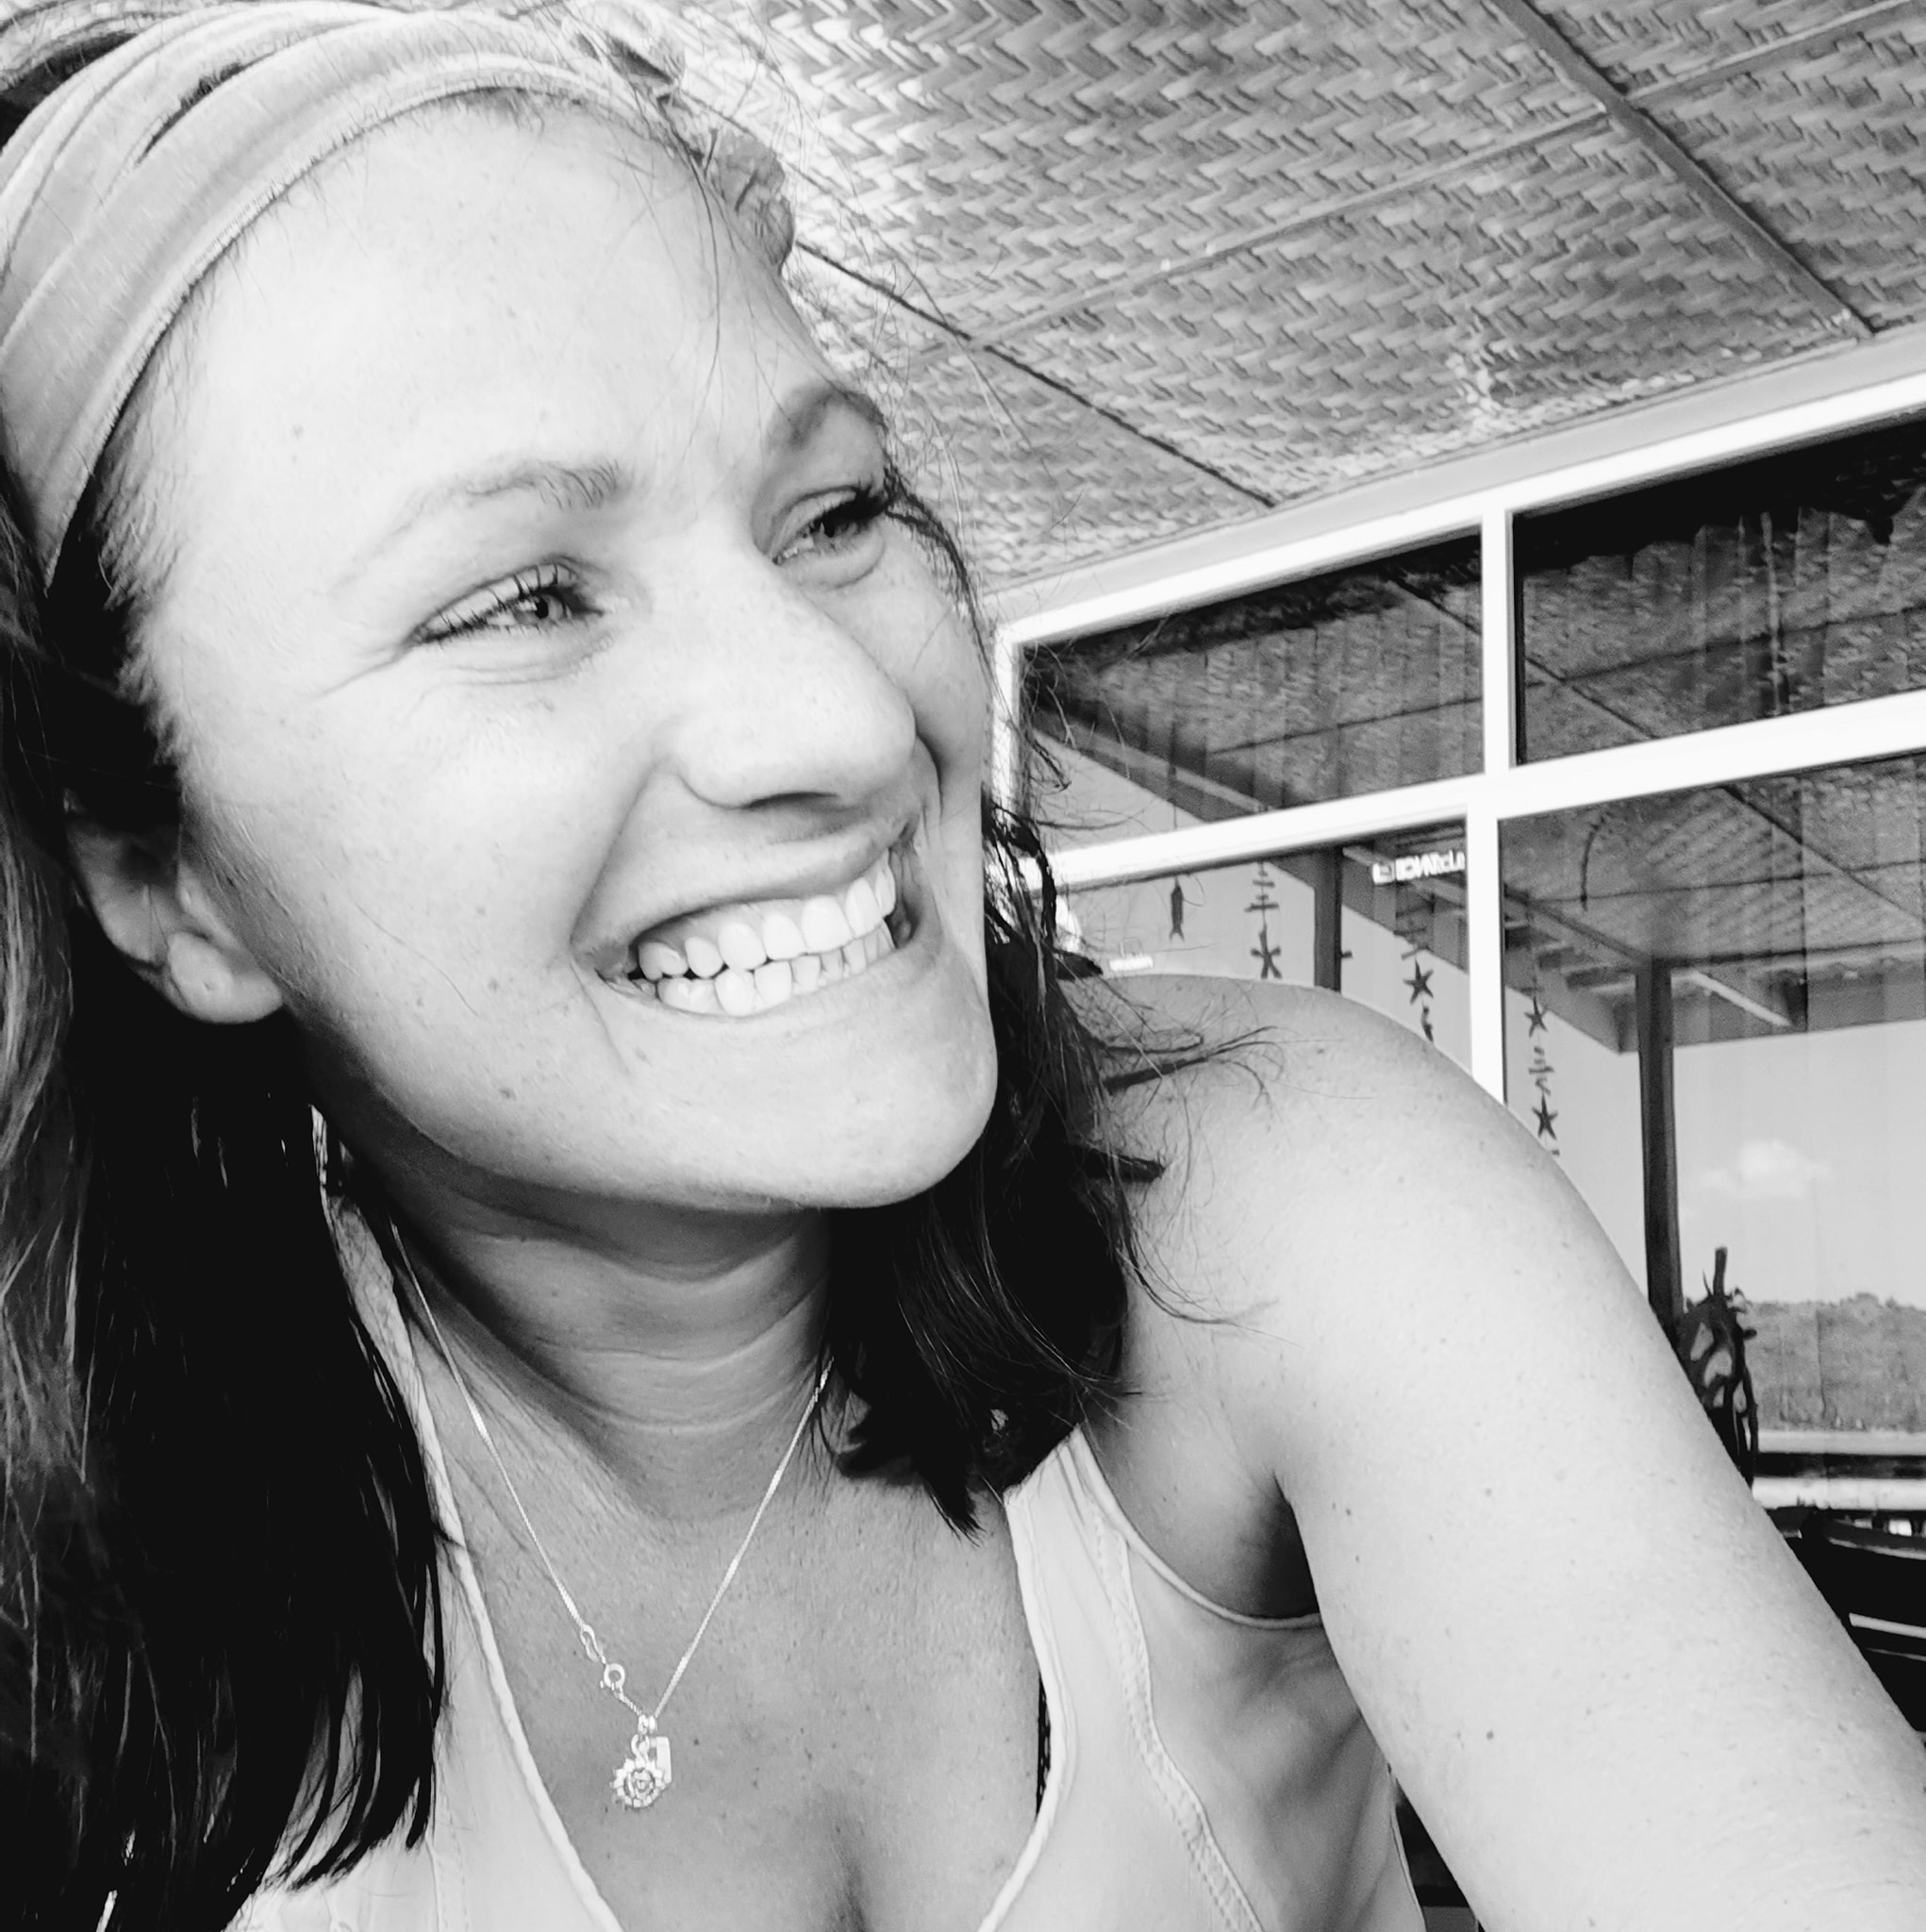
Before the age of digital cameras and DSLRs, photographers only had black and white to work with. This simplicity contributes to its beauty, but it’s tough to snap breathtaking black and white pictures.
No matter if you’re new to photography or have been around for ages, these hints can up your game in black and white photo taking.
Contents
Create Contrast
Contrast is always important – no matter what type of photography you’re dealing with. But it becomes increasingly important when taking black and white photos simply because it affects the atmosphere and mood of the photo.
Your choice of subject is one effective and simple way to add contrast. Even in dull lighting, the right subject can add contrast to your shot, for example, a boulder against a dark sky.
Light quality and its direction will also affect the amount of contrast in the shot.
If shooting outdoors, direct sunlight can create hard shadows that naturally create a sharp contrast.
Focus on Shapes and Patterns
Focusing on shapes and patterns can also help you take bold, stunning photos in black and white. Once again, contrast plays a role here.
To really draw the eye to the subject’s shape, there needs to be some tonal variation between the background and the focal point of your shot. Silhouettes are a great way to achieve this.
When setting your exposure, use the bright background as your guide.
Striking patterns and textures can also make for stunning images. A telephoto lens and a large aperture can help you capture a complex and interesting pattern.
Choose the Right Exposure
Photographers often find the perfect black and white shot, but when they see the finished product, the sky is blown out, or there just isn’t enough contrast to make the photo interesting.
Here’s where underexposure is your friend. By underexposing a shot, you can gray-out a blown out sky and create contrast that draws the eye right where you want it to go.
Filters Are Your Friend
Filters and black and white photography go hand-in-hand – they always have. Use them to your advantage. Why are they so effective? Because filters have the ability to lighten their own color while darkening opposites.
A red filter, for example, will turn a blue sky black. A polarizer can saturate skies and remove glare. It can boost or reduce contrast, too.
Many DSLR cameras have built-in filters, which means you can play around with these settings before you go out and buy a set of filters.
Experiment with Long Exposure
Long exposure shots work wonderfully with black and white photography, particularly when there’s water or clouds in the photo.
With long exposures, highlights are recorded across a wider area, which can help improve the tonal contrast of the photo. The blurring effect also adds textural contrast to still objects in the shot.
Of course, to properly capture the beauty of a long exposure shot, you need to use a tripod to keep the camera still. You may also want to use a remove release to minimize vibration for sharp images.
Shoot in RAW
Most professional photographers agree that shooting in RAW is best when taking black and white photos. That’s because it gives you the most control when post processing your photos and converting your colored photos into black and white photos.
Not all digital cameras offer the option to shot in RAW, but most DSLR models do. If the option is available to you, give it a try.
Tip: If you’re shooting in RAW, you can still set your camera to black and white and record all of the color information. Essentially, you get the best of both worlds.
Choose a Low ISO
Aim for the lowest possible ISO. Most photographers do this anyway, even when taking color photos, but it becomes even more important when taking black and white photos. A lower ISO will keep noise to a minimum and produce better photos overall.
If you want to add noise, you can do so in the post-processing phase. It’s easier to add noise than it is to remove it.
Practice Makes Perfect
Playing with filters, exposure and different lighting situations will help you learn what works best. As with any other type of photography, practice makes perfect – although there’s always more to learn.

About Author
Rachel Noël is a professional photographer and videographer from the UK with over 10+ years of experience. Rachel specializes in Underwater, Tavel & Portrait photography among other areas.
