Contents
- Understanding Meat Photography in Food Pictures
- Why Texture, Color, and Presentation On Meat Photos Matter?
- Natural Light vs. Artificial Light in Meat Photography
- Directional Lighting to Emphasize the Juiciness of Meats
- Simple Ways to Reduce Shadows in Meat Photography
- Tips for Snapping Eye-Catching Meat Photos
- How to Style Meat Whether It’s Raw or Cooked
- Combining Meat with Side Dishes and Toppings
- Getting the Perfect Steak Texture and Cook
- The Impact of Color and Contrast on Steak Presentation
- Taking Pictures of Steak from Different Views
- Methods to Improve Chicken Skin Presentation
- Handling Different Chicken Cuts and Preparations
- Fun Ways to Serve Chicken
- Handling and Safety Protocols for Raw Meat Imaging
- Simple Ways to Capture the Fresh Look of Raw Meat in Photos
- Using Blank Space and Simplicity in Photos
- Post-Processing Meat Photography
Understanding Meat Photography in Food Pictures
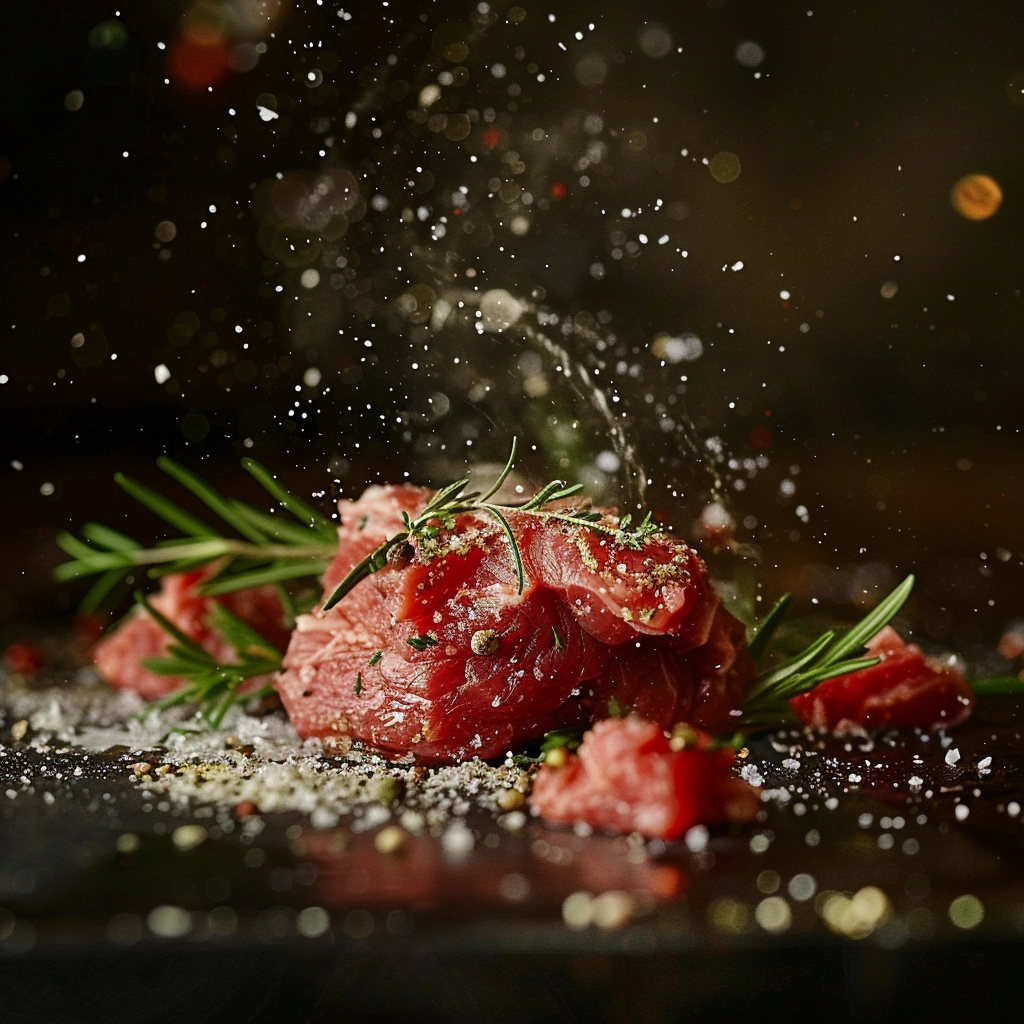
Meat photography is really important when it comes to food pictures. It’s not just about snapping a shot of raw meat or a cooked dish. It often shows up in cookbooks, on menus, and in ads. You’ll see all kinds of meat, like chicken or steak, and each kind needs a photographer who knows how to make it look good.
Why Texture, Color, and Presentation On Meat Photos Matter?
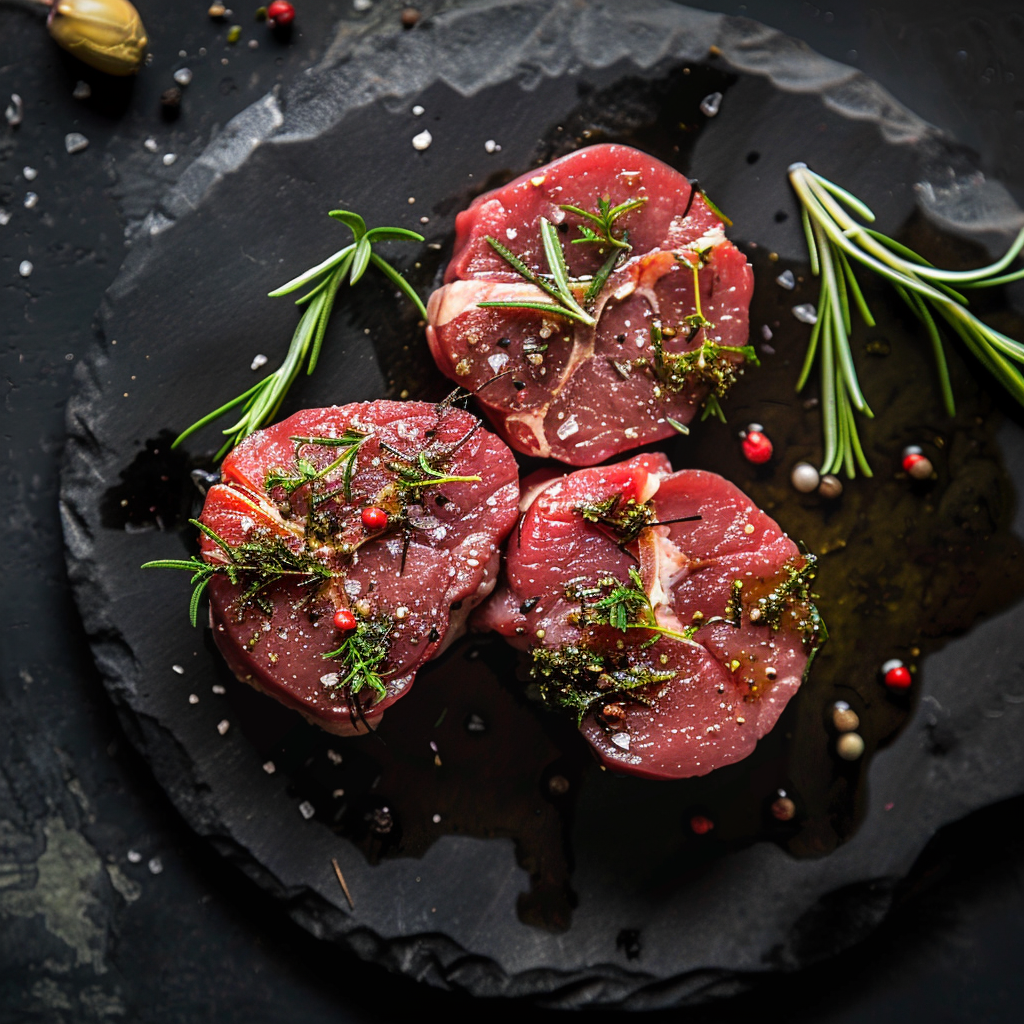
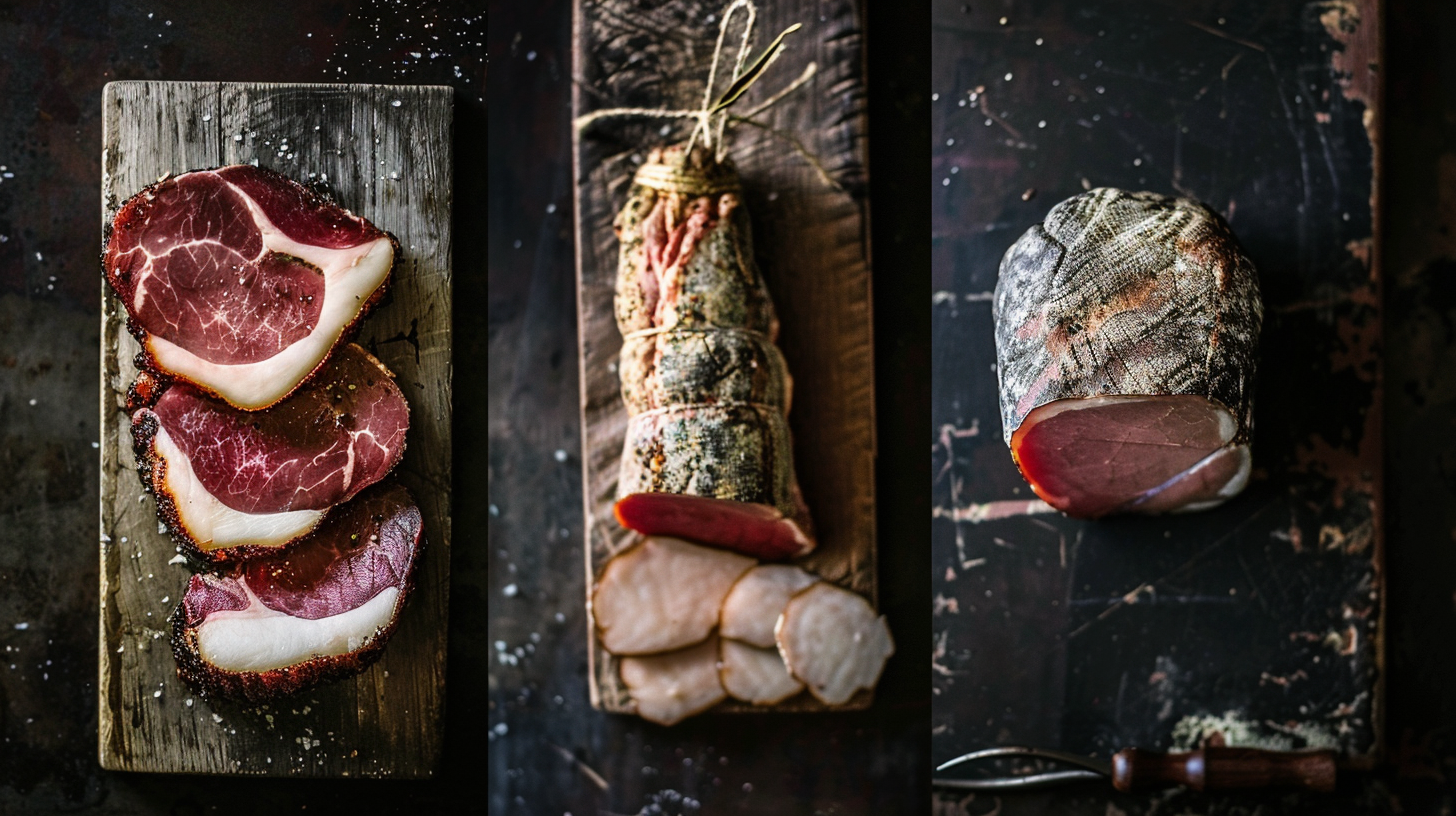
Good meat photography really depends on showing off texture, color, and the way it’s served: – Texture: If you take a photo right, you can almost taste how juicy a cooked steak is or feel the crunch of chicken skin. – Color: The deep reds and dark browns bring out that cozy, yummy feeling you get from meat that’s cooked just right. You gotta play with lighting to keep these colors true and bold. – Presentation: The way meat’s placed on the plate is super important too. You want it to look good, which makes folks think it’ll taste good. Also shows the effort put into cooking it.In short, all these bits come together to make photos of meat that make your mouth water and show respect for the cooking.
Picking the Right Camera and Lens for Meat Pics
Picking a camera and lens matters a bunch for meat pics. A DSLR or mirrorless with options to tweak settings is best. It lets you mess with things like shutter speed and ISO for those really detailed meat shots. Macro lenses are great for close-ups since they catch all the details and juices that make us wanna eat.
Lighting Gear to Make Meat Look Yummy
Lighting’s gotta be on point if you want your meat to look drool-worthy. Soft light’s perfect for making meat glisten without too much shine or fat looking blown out. Try a softbox or natural light from a window. Reflectors are great for evening out the light so everything’s lit up nice.
The Right Props and Backdrops for Serving Meat
The way meat looks once served can get a big boost by picking cool props and backdrops. Think about using butcher paper or an old wooden board, maybe even some fancy marble. They go great with the meat’s look. Then throw in some green herbs or spices to add a splash of color. With props, go for things that fit the meal idea but keep them low-key so the steak or whatever stays center stage.
Natural Light vs. Artificial Light in Meat Photography
Taking pictures of meat means deciding if you’ll use sunlight or man-made light. Sunlight gives a photo a soft look and makes it seem very natural by showing textures and colors with smooth shadows. On the other hand, using man-made light like flash or spotlights lets you change how the picture looks more easily. But, to really make those photos good, you need to know a lot about how to use light.
Directional Lighting to Emphasize the Juiciness of Meats
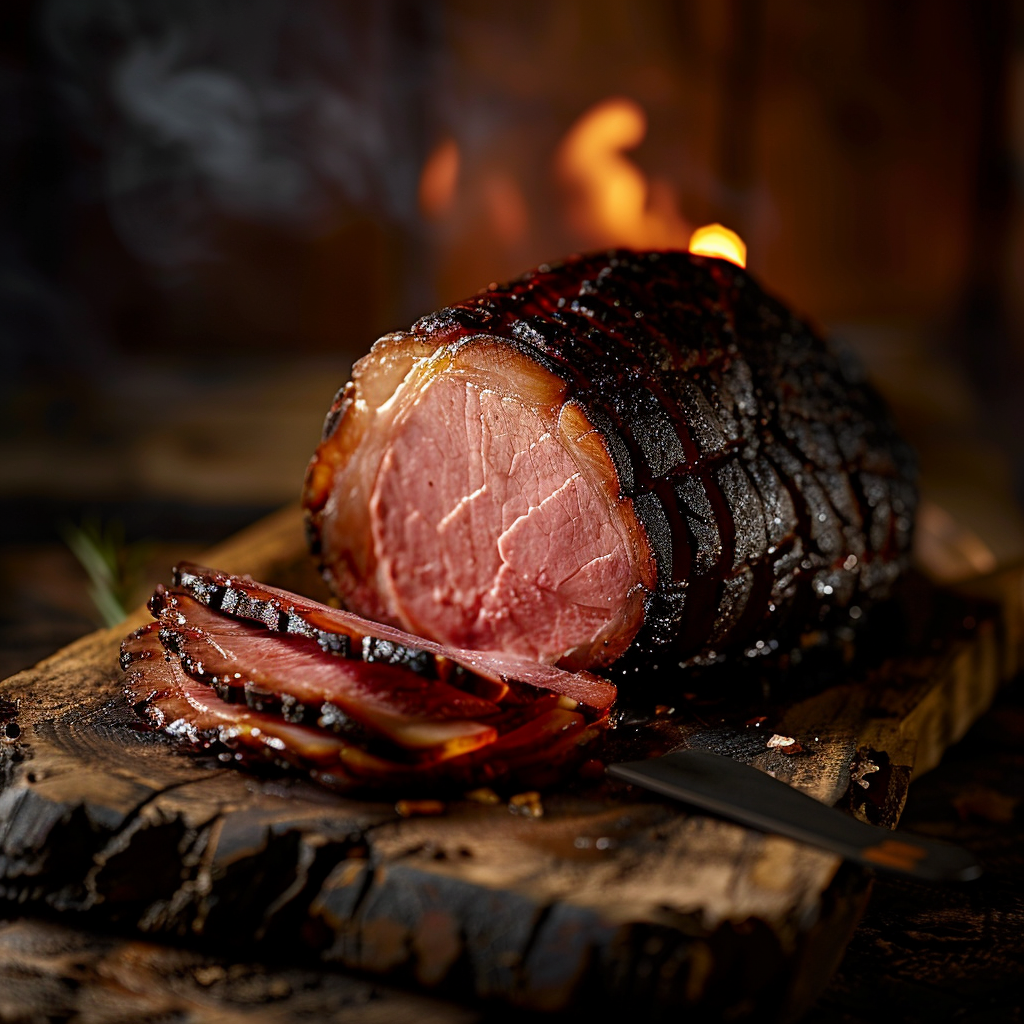
Using directional lighting is a clever trick to make meat look juicier. When you shine a light from the side, especially at a lower angle, you really bring out the meat’s shape and make the wet surfaces sparkly and inviting. Backlighting can also work wonders by creating a shiny outline that makes the meat seem fresh and full of juice. It’s important to get the light placement just right, though; it should be strong enough to show off the meat’s rich details without being too intense.
Simple Ways to Reduce Shadows in Meat Photography
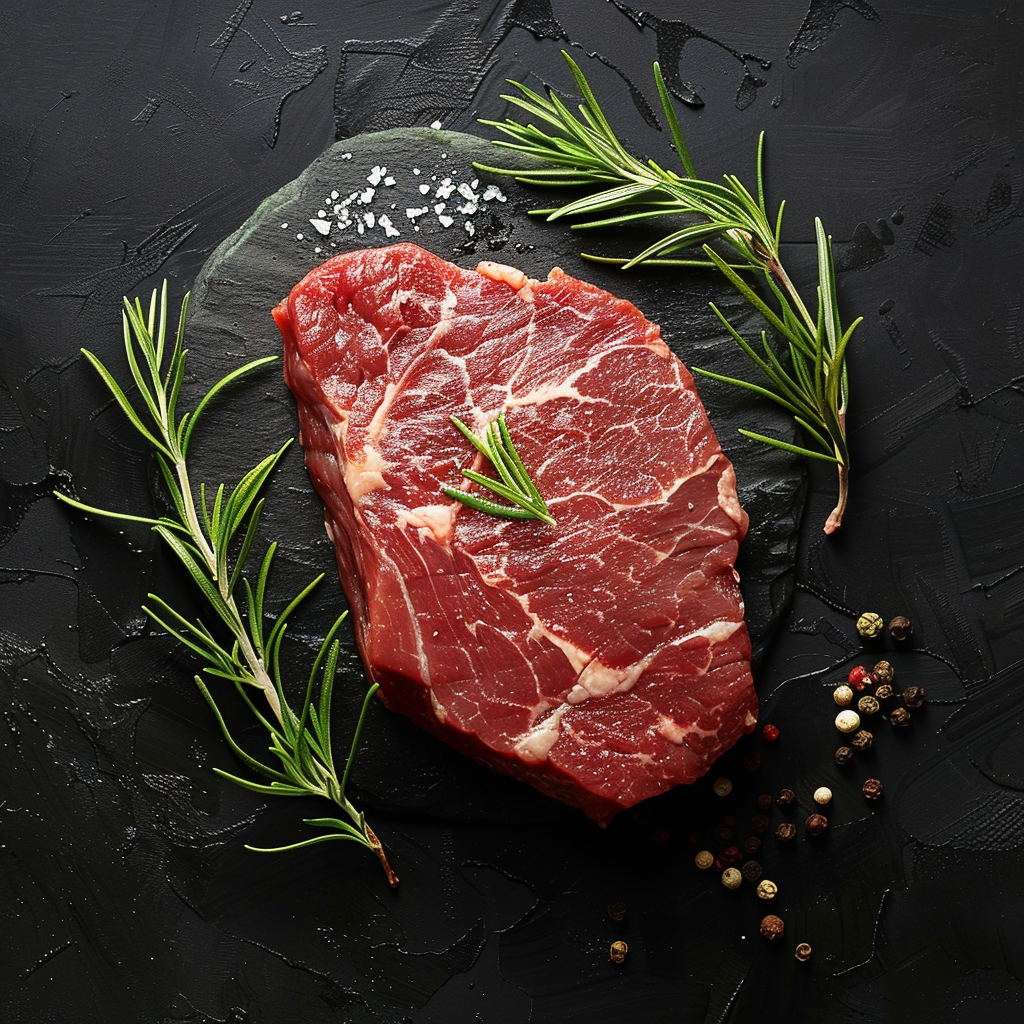
When taking pictures of meat, to get rid of sharp shadows and make the photo look better, you can use different methods to scatter the light. Diffusers are great because they spread light out, making shadows less harsh and the contrast lower on the meat. Things like softboxes, umbrellas, or some thin materials can be put in front of the light source and your meat to spread the light out more or less, depending on what they’re made of and how thick they are. Using these methods will make the meat look yummy and gentle without losing any of the important details.
Tips for Snapping Eye-Catching Meat Photos
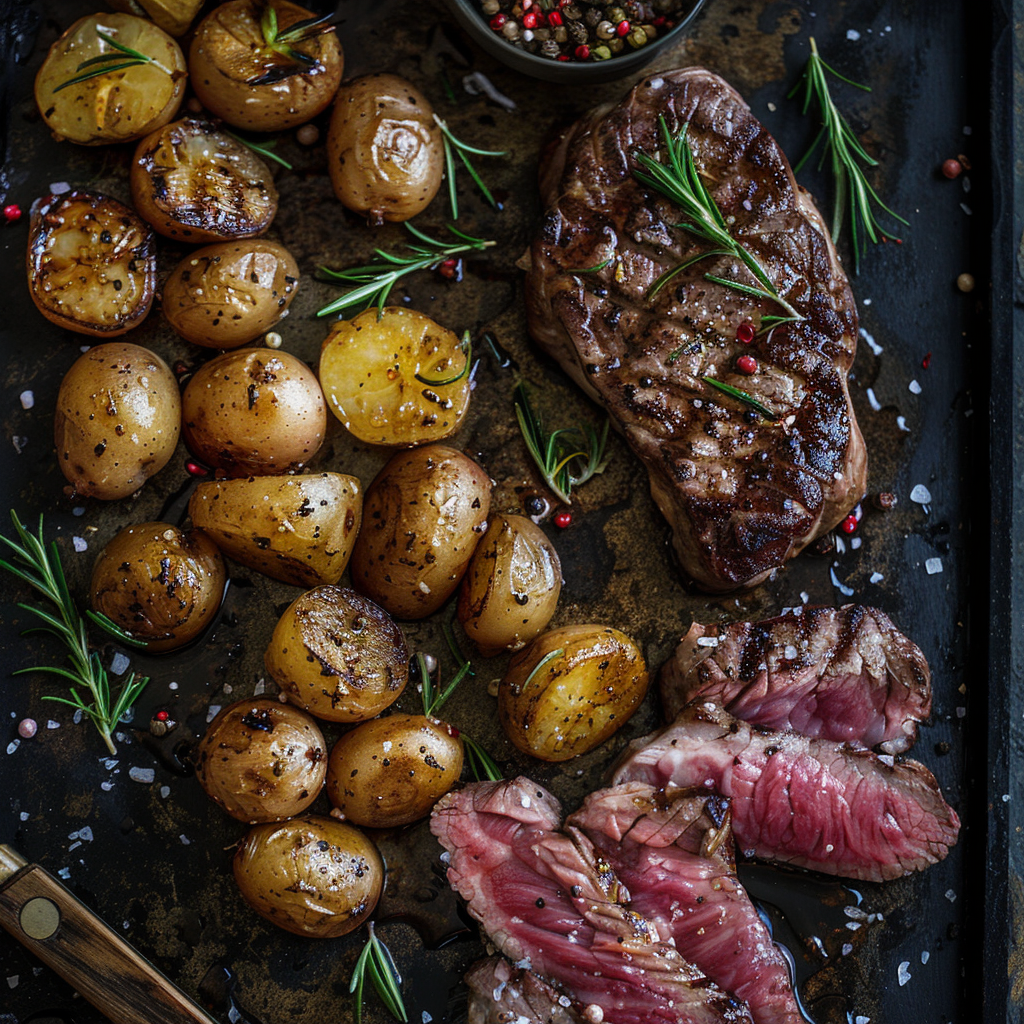
To take good pictures of meat that catch your eye, there are some important guidelines you should follow. These tips help make sure the meat looks great and realistic:
- Thirds Rule: It helps to think of your picture as made up of nine equal parts, with two lines going across and two going up and down. Try placing the meat at one of the points where these lines meet. This creates a sense of balance and draws the viewer’s eye.
- Guiding Lines: Use the shape of the meat or lines on the table to lead the eye through the picture.
- Layers: Stack different items like plates, utensils, and napkins to give your photo depth, making it more interesting.
- Variety & Hues: Add different surfaces and matching colors to make the photo pop with life and contrast.
- Open Space: Leave some space around the meat so it isn’t too busy and this way the main subject, which is the meat, really stands out.
How to Style Meat Whether It’s Raw or Cooked
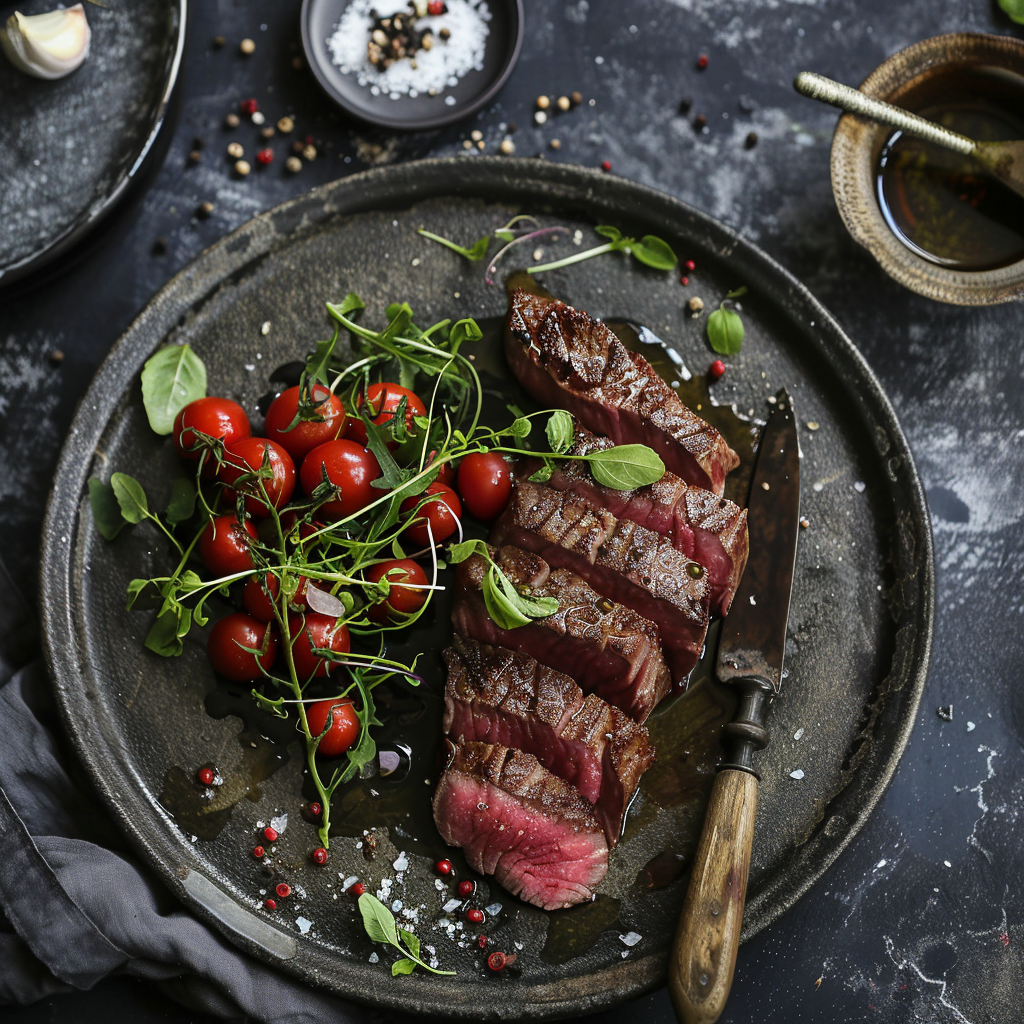
Taking great photos of meat means styling it well. Each type – raw or cooked – needs its own technique:
Raw Meat
To make raw meat look tempting, try these suggestions:
- Fresh Look: Make sure the raw meat looks juicy and full.
- Paper Background: Use butcher paper behind the meat. It enhances the color and texture of the meat.
- Keeping it Simple: Don’t use too many props; they can take away from the natural charm of the meat.
Cooked Meat
Cooked meat, on the other hand, needs a bit of a different touch:
- Browning & Slicing: Show off the browned outside and slice it in a way that lets people see how soft and well-cooked it is inside.
- Cozy Light: Use light that makes the meat’s colors pop and look more inviting.
- Show Some Steam: If you can, get a photo with steam to make it look hot and fresh.
Combining Meat with Side Dishes and Toppings
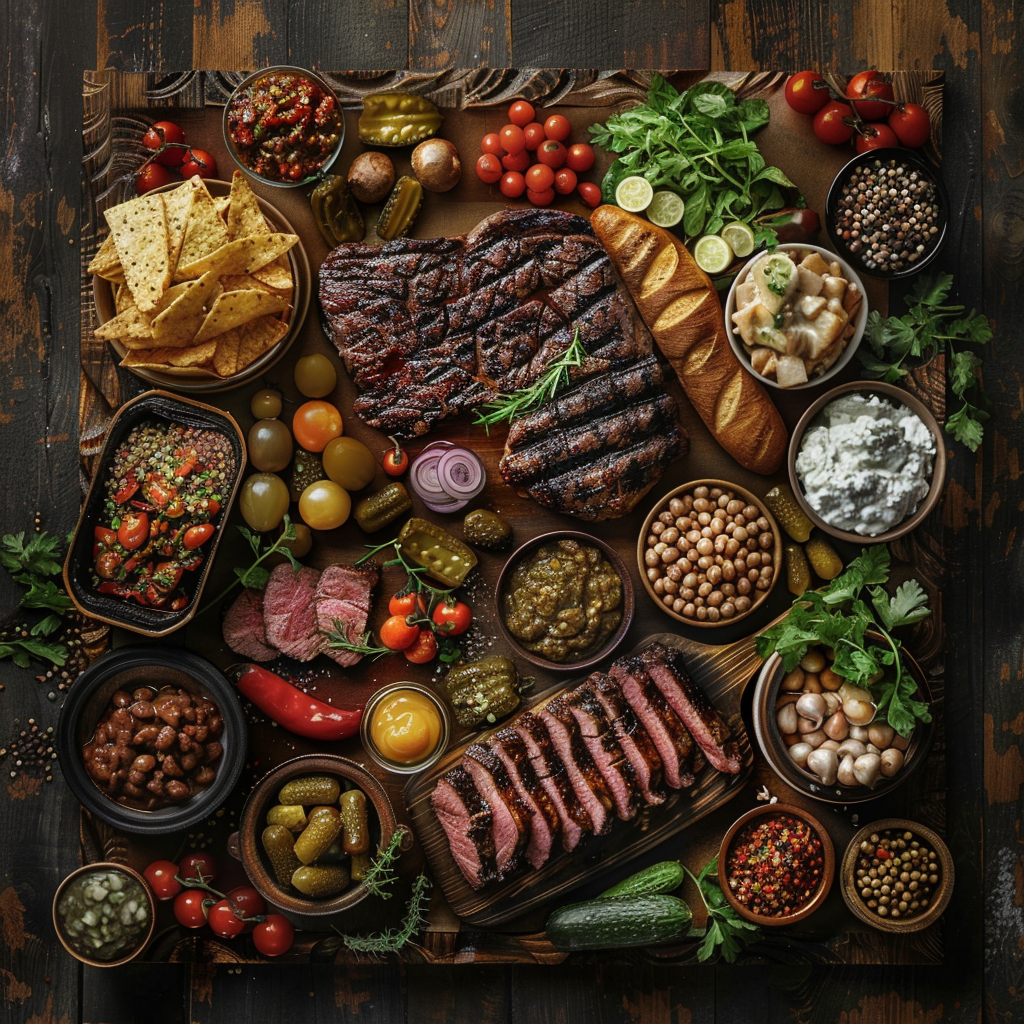
When arranging your plate, keep the main item in sync with the extras:
- Toppings: Add pops of color with herbs and spices that help break up single-color areas and bring a touch of freshness to your dish.
- Side Dishes: Choose sides that enhance, but don’t dominate, the meat. Their textures and colors should harmonize with the main focus to create a cohesive look.
- Keep It Real: Arrange the food as if it’s about to be eaten. It should not only look good but also be placed in a way that makes sense for eating.
A well-done meat photo is both creative and skilled—it grabs attention, makes people hungry, and conveys a food’s story in one shot. Applying these tips could make a big difference in your photography, turning basic shots into mouthwatering food displays.
Getting the Perfect Steak Texture and Cook
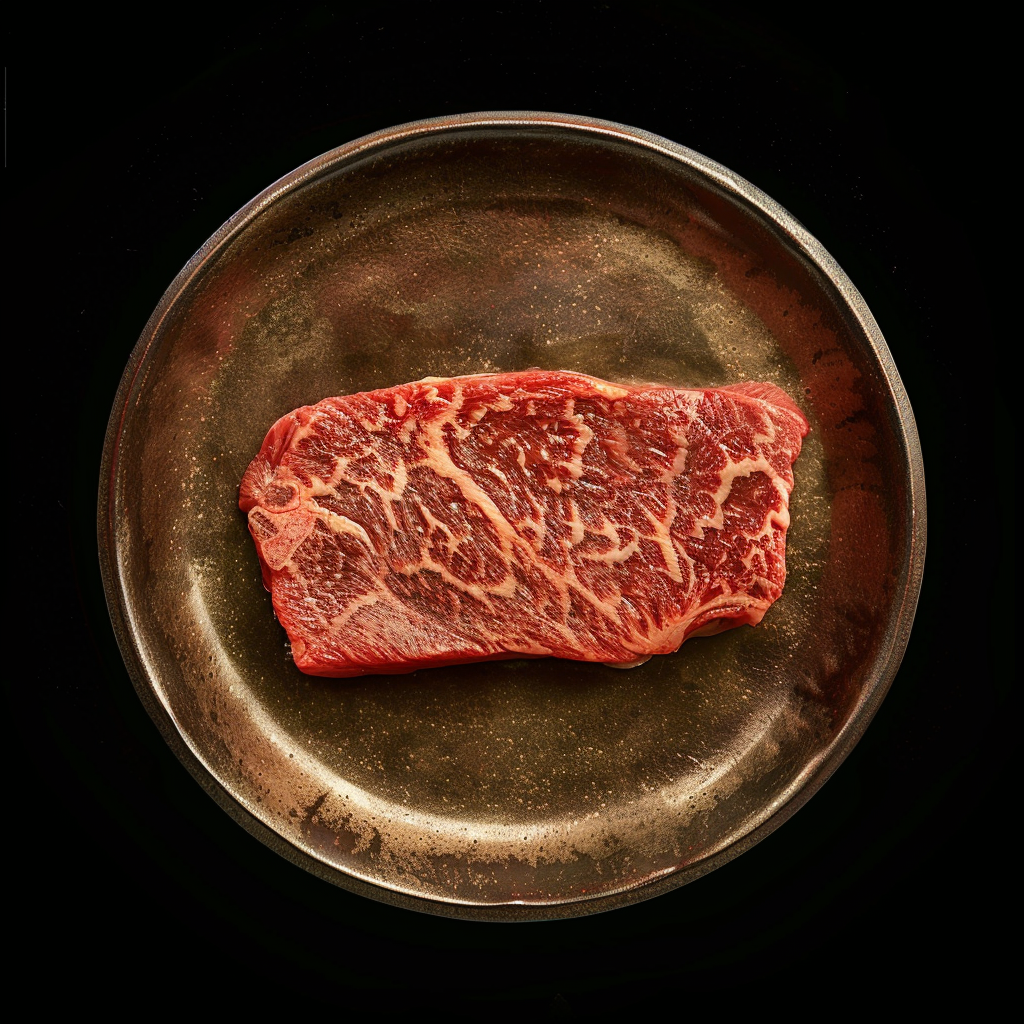
Cooking a steak so it looks great in photos means getting a top-notch sear and just-right cook on the inside. That perfect crust? It’s not just tasty, it looks awesome, too. You gotta either get a pro to cook your steak or pick up those skills. The right kind of sear adds depth and a wow factor to your photo. And whether the steak is rare, medium, or cooked all the way through needs to be obvious right off the bat. That way, the person looking at your picture knows exactly what they’re in for.
The Impact of Color and Contrast on Steak Presentation
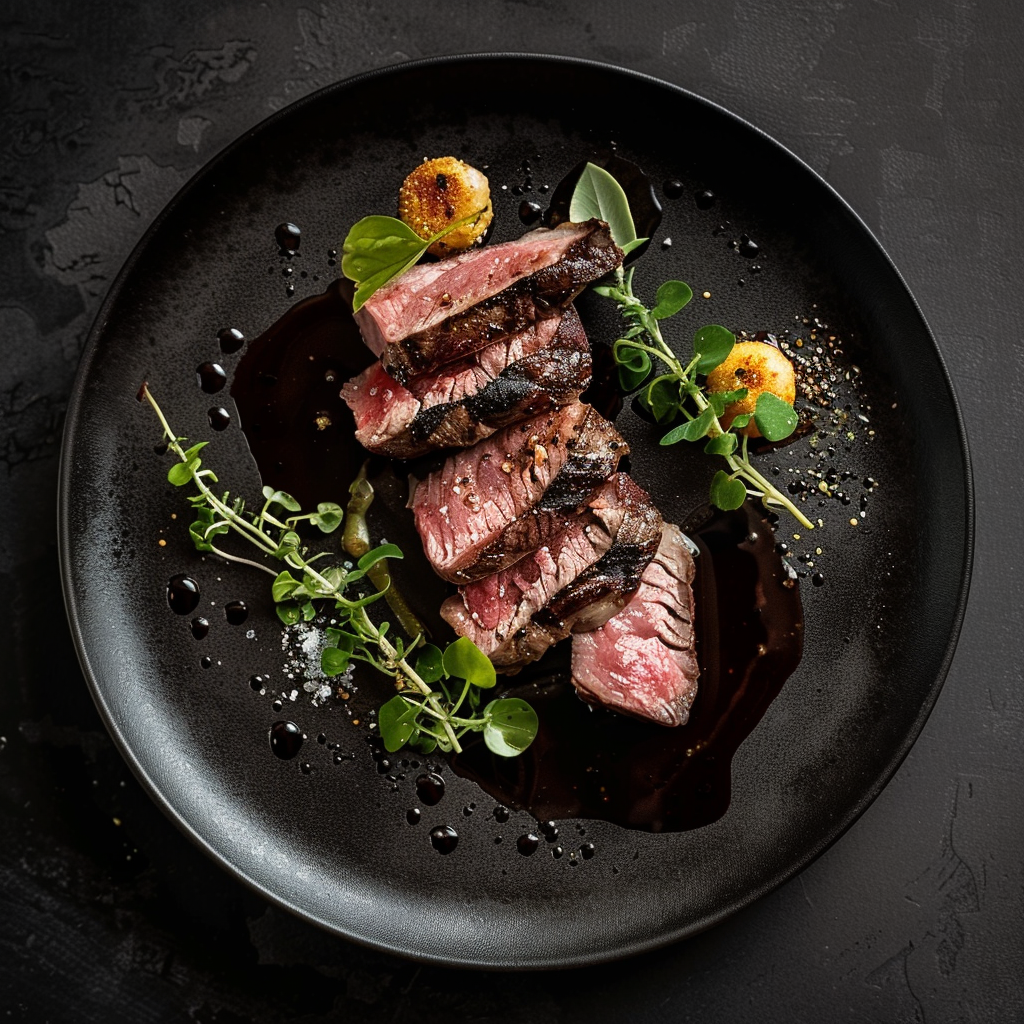
Playing with color and contrast can elevate a steak photo from decent to outstanding. Strong, eye-catching colors help the steak pop out in photos. Try using different garnishes, such as bright herbs or plates that offset the deep browns and reds of the steak. Contrast matters too, it adds depth and makes the picture more engaging. Thoughtful placement of light and dark features outlines the steak’s texture and makes the image visually captivating.
Taking Pictures of Steak from Different Views
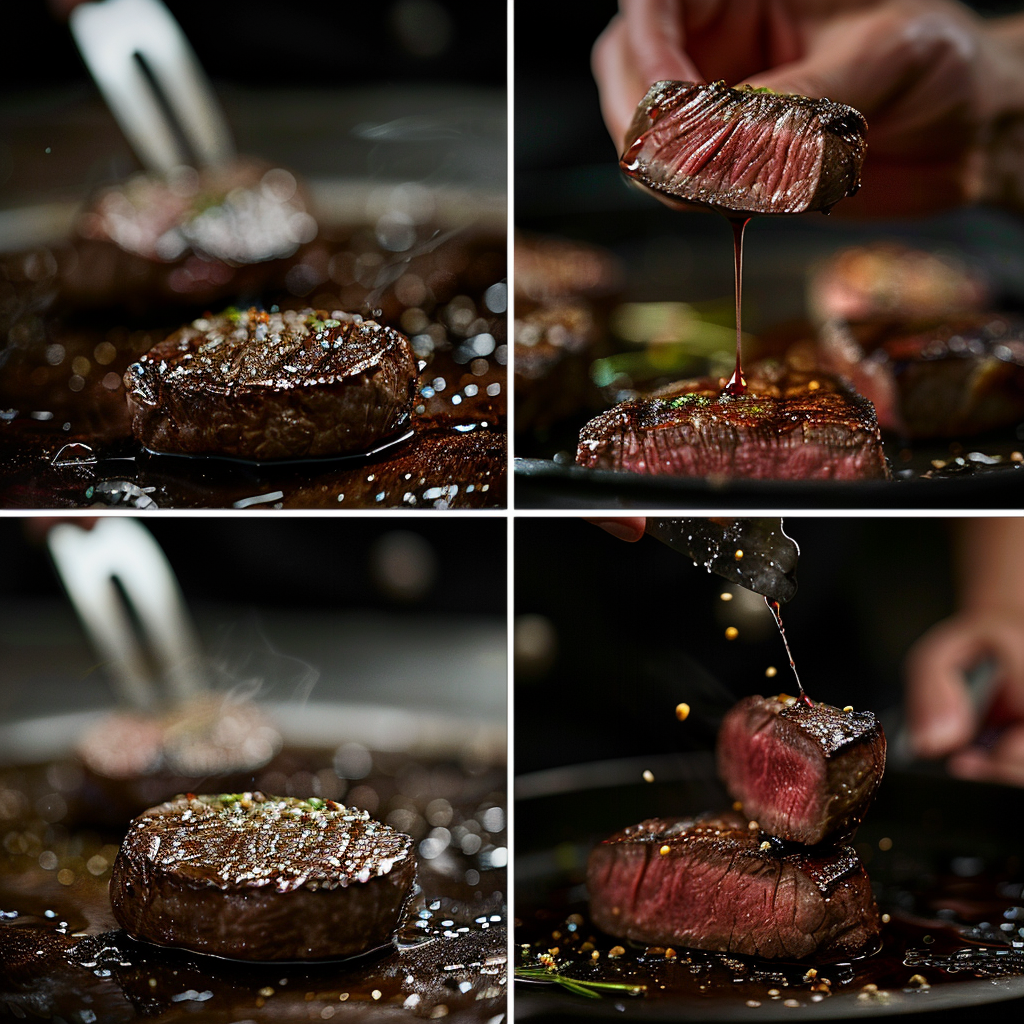
Changing the angle you take a picture of your steak can change what the photo seems to say. Pictures taken from above make everything look neat and let you see all parts of your meal at once, which is great if you want to show off how well you arranged your plate and the extras you’ve added. Taking photos from the side shows off how thick the steak is and how well it’s cooked, especially if you’ve nailed that perfect doneness on the edges. And getting in close with your camera lets you capture the texture and beautiful browned surface of the steak. Try using different camera lenses to either get a shot of the whole scene or focus in on the juicy bits.
Methods to Improve Chicken Skin Presentation
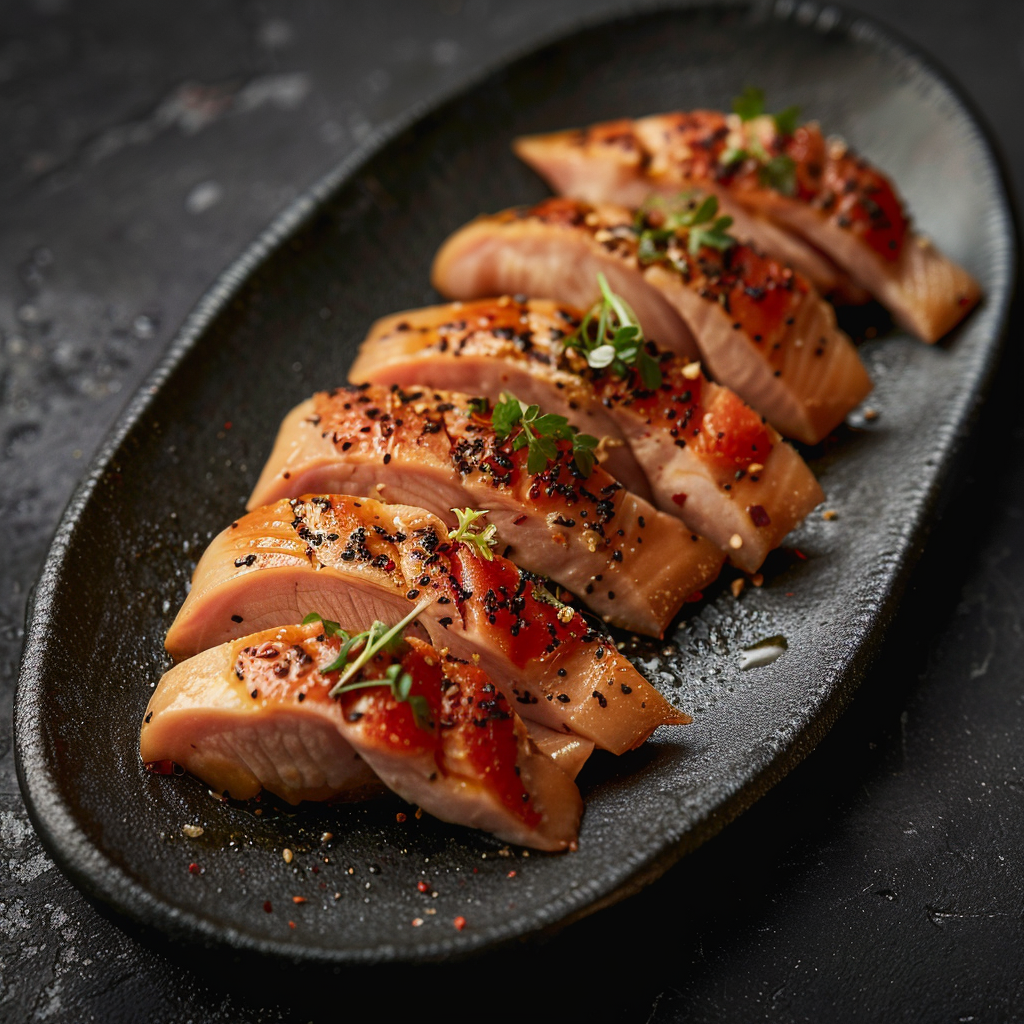
Making chicken skin look inviting in photos is essential – it needs to have a shine but not appear oily. To pull this off, just dab some oil or melted butter on the skin right before taking the picture. Also, using a cooking torch to gently crisp up the skin can work wonders; it adds a great texture that’s camera-ready. Remember, you want an all-over golden color. Uneven browning may be unappealing to your audience.
Handling Different Chicken Cuts and Preparations
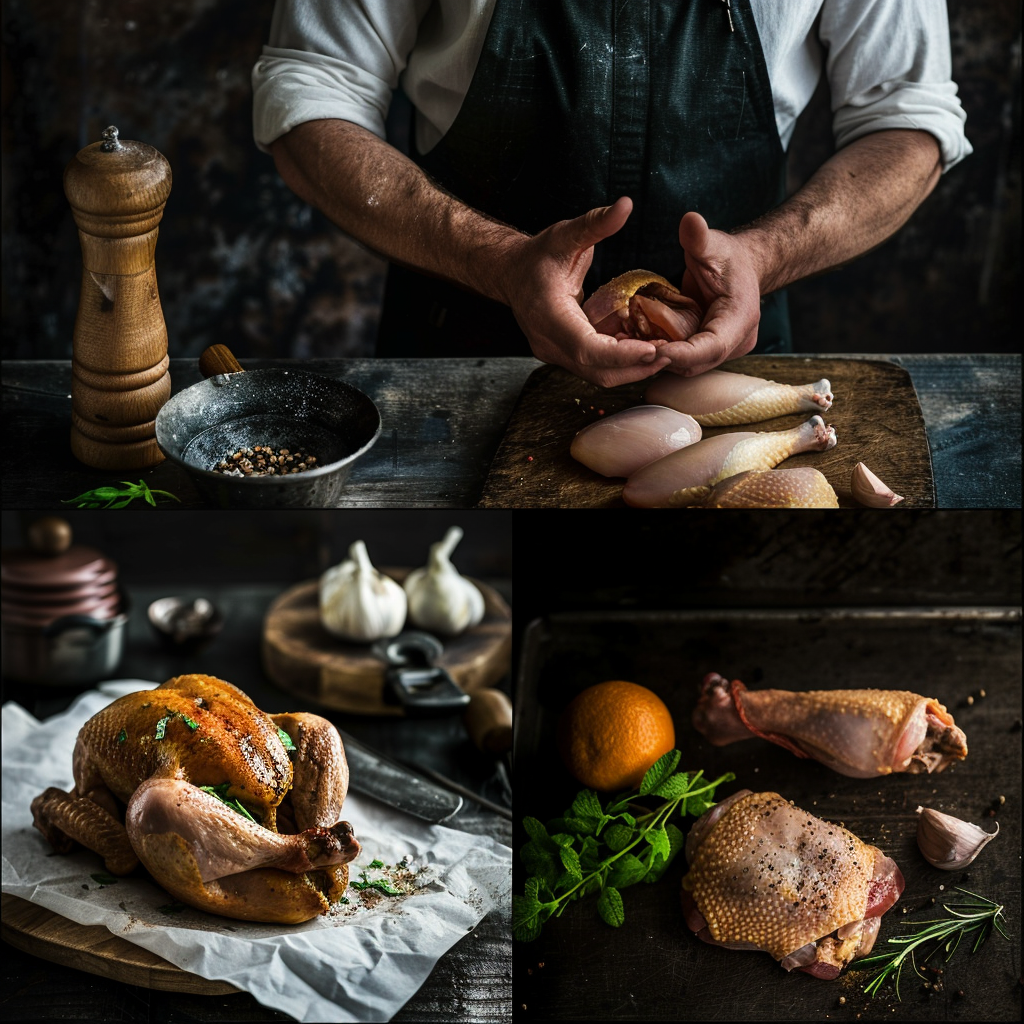
Different chicken parts need specific attention when you’re showing them off. You should highlight what makes each piece, like a bone-in thigh or a juicy breast, special. Try these hints:
- Make sure the chicken takes up most of the picture and looks full, this is key for smaller pieces such as wings or strips.
- With a whole roasted chicken, concentrate on the crisp, browned skin. Think about slicing it open to show off the moist meat inside.
- When you’ve got grilled chicken, focus on the grill lines. They suggest yummy taste and a real grilled touch.
Fun Ways to Serve Chicken
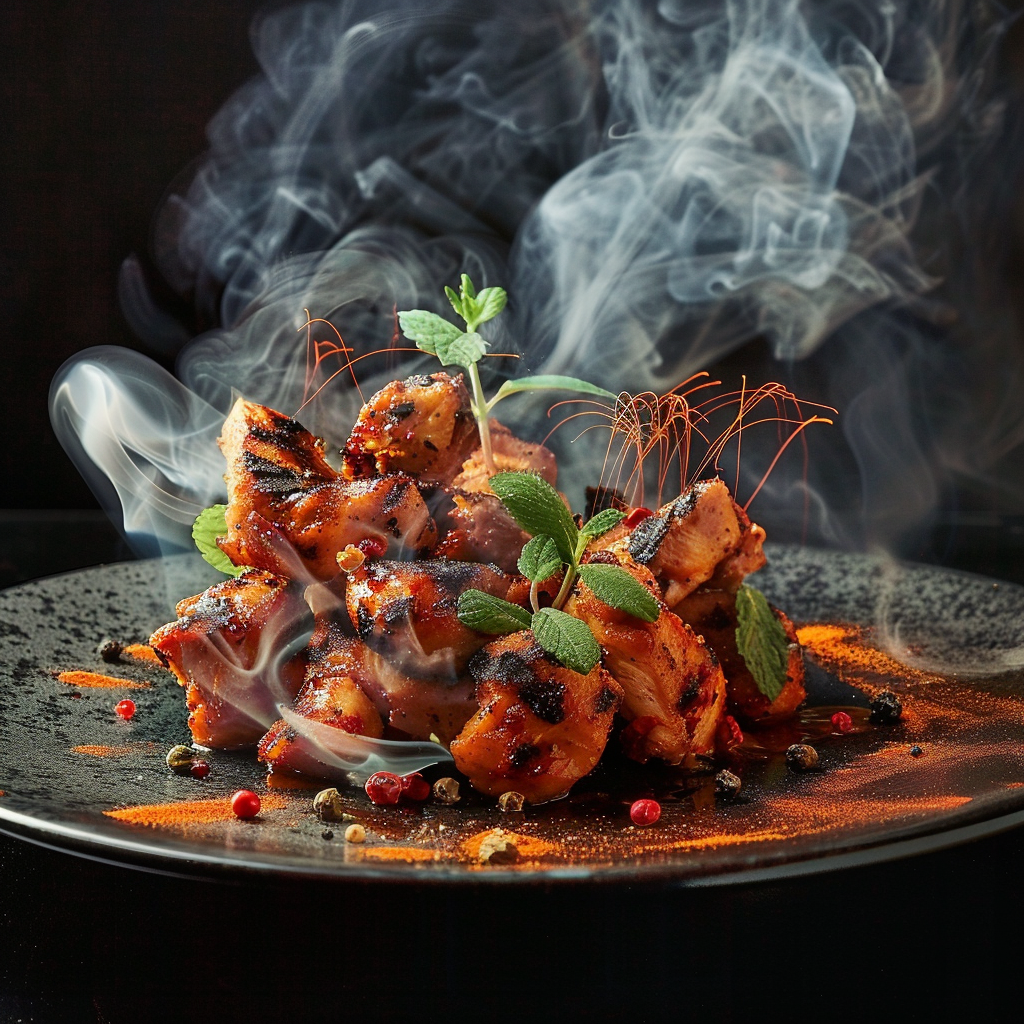
Showing off your chicken-cooking talents on a plate calls for some creative thinking and a good sense of color balance. When you’re ready to plate up, try these ideas:
- Bright veggies make a great border around your chicken, making it look better and showing that it’s part of a well-rounded dish.
- How you arrange the chicken matters; cut breast pieces on a slant to add excitement and show off the tender inside.
- Get inventive with your sauces – instead of just dumping them on top, how about some fancy streaks or small dots around the edge?
Don’t forget, the little touches can really take your chicken from looking alright to absolutely tantalizing in pictures.
Handling and Safety Protocols for Raw Meat Imaging
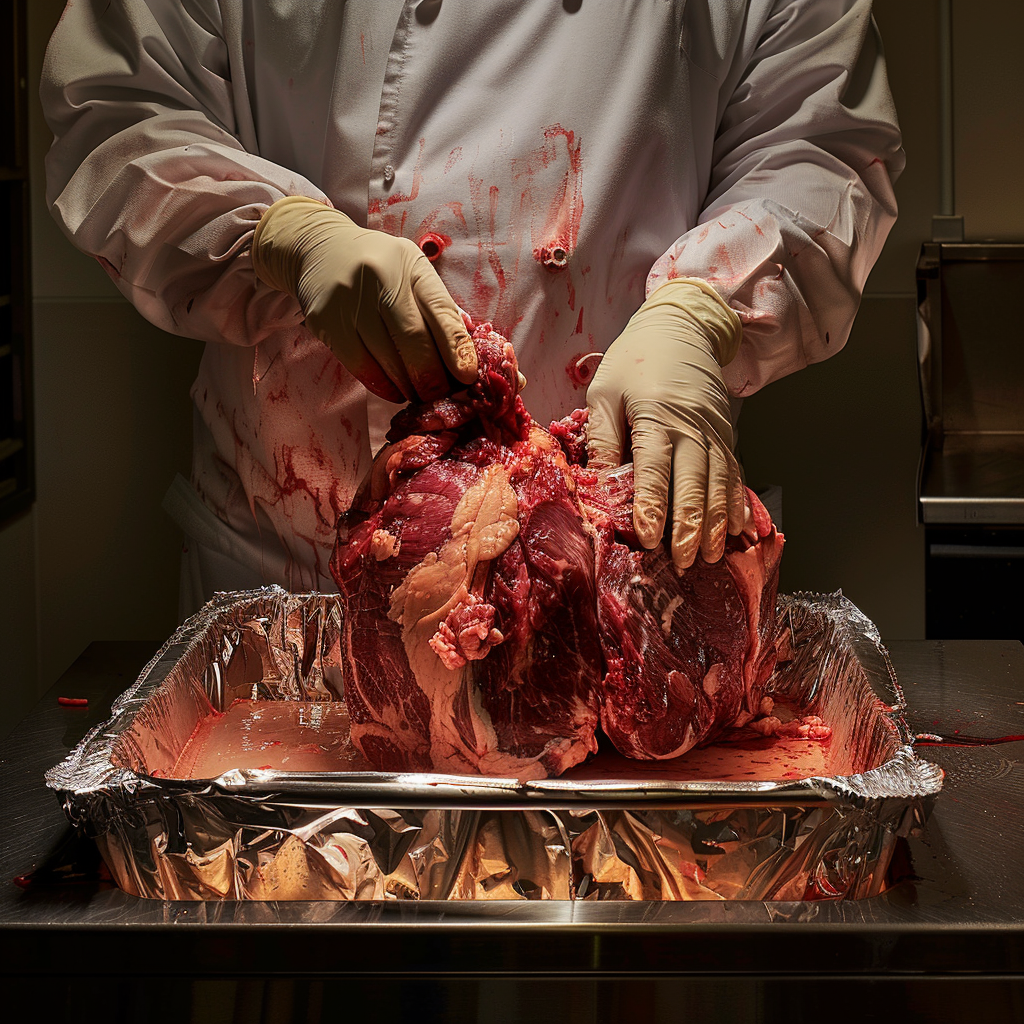
When you take pictures of raw meat, you have to be very careful and follow strict safety steps to avoid health problems. Make sure you clean your hands, tools, and all the counters before you start. It’s smart to use throwaway gloves when touching the meat so you don’t mix germs. Keep the raw meat cool; if it’s going to be out for a long time while you’re taking pictures, think about hiding cold packs under everything to keep it fresh.
Simple Ways to Capture the Fresh Look of Raw Meat in Photos
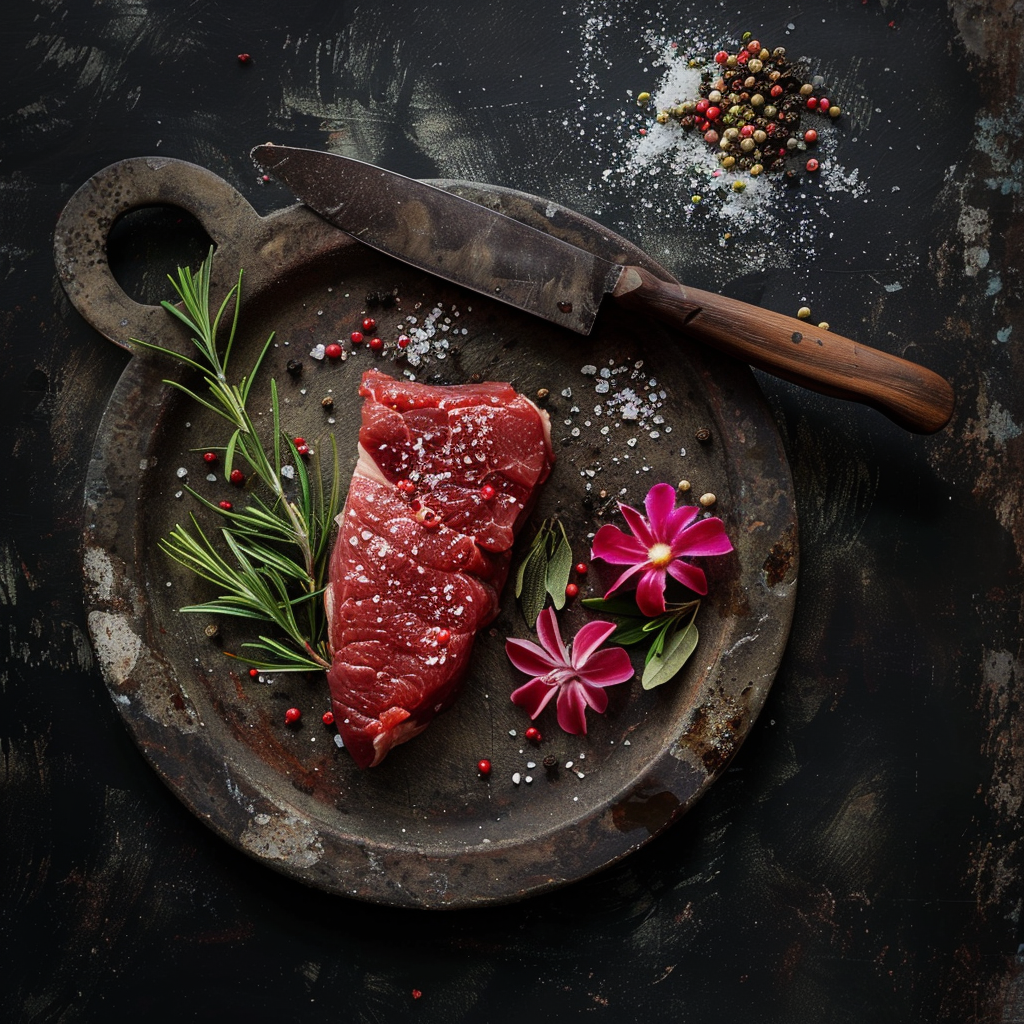
Taking pictures of raw meat so that it looks fresh and detailed isn’t too hard if you know what to do. First things first, lighting matters a lot –use soft light that spreads gently. This kind helps the meat’s natural shine and details pop. If you can, let light come from behind to make the surface look shiny. Keeping the meat wet is also key because when it dries out, it gets a not-so-nice, lifeless look. Brushing on a bit of olive oil can give it a nice shimmer and show off its lines and marbling. You’ve gotta be quick though, since meat loses its color fast when it sits out too long.
Using Blank Space and Simplicity in Photos
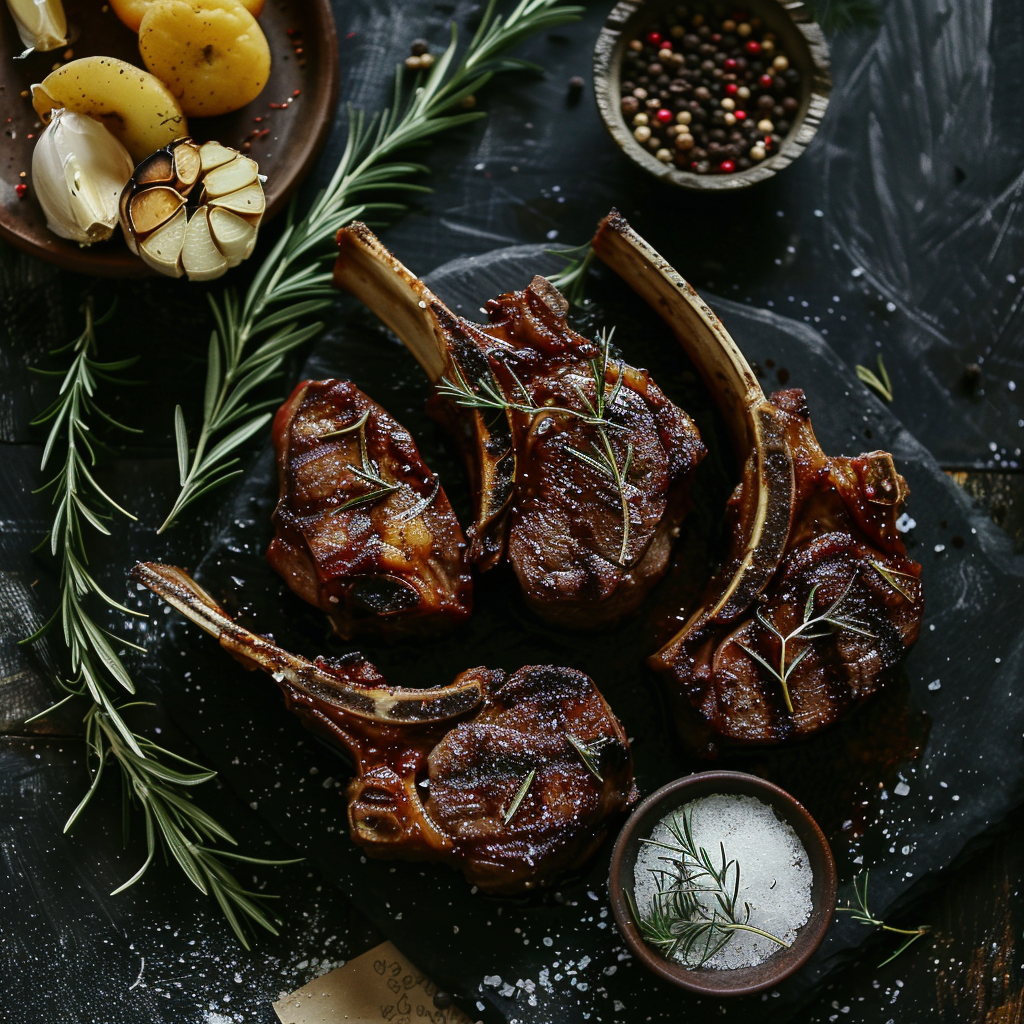
When you use empty space and keep things simple in photos of uncooked meat, the results are eye-catching. Setting the meat against a plain background or leaving lots of empty space makes sure it grabs all the attention, showcasing its natural look and color. Go for the “less is more” vibe, with plenty of space around the meat. This can make a powerful picture that’s easy on the eyes. It highlights not just the main subject but also gives off a modern, clean feel that looks great in today’s food pictures.
Post-Processing Meat Photography
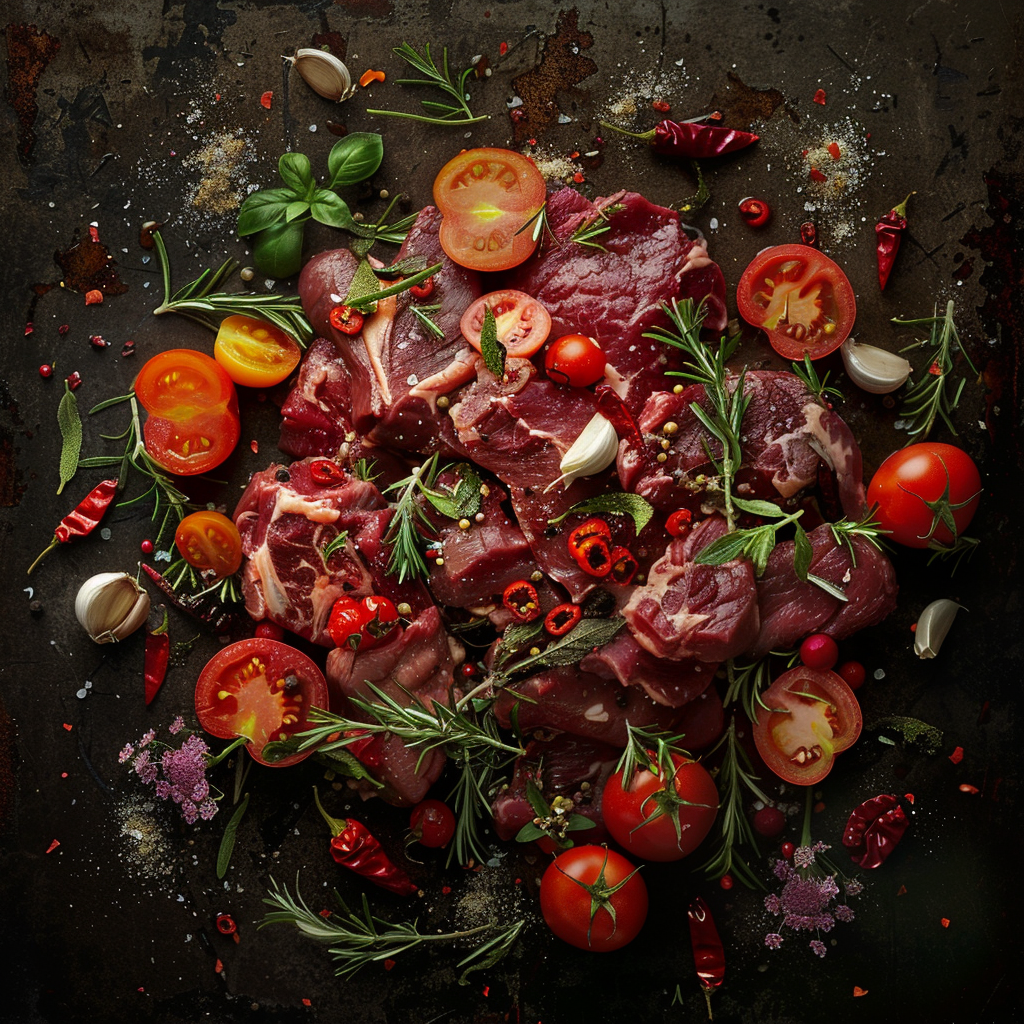
When you’re editing photos of meat, you’ll want the colors to pop and look as if that delicious steak is right there on your plate. Play with the color settings to highlight reds and pinks—you want them bright but believable. Tweak the saturation too—just remember, a little goes a long way. Too much color, and your meat might end up looking like something from another planet.
Sharpening Techniques to Bring Out Texture Details
The way meat looks, all gritty or marbled, really matters in a photo. Sharpening the image will help show off those details, but be careful. If you go overboard with the sharpening tool, you could end up with a grainy mess. Instead, try using a high pass filter on a soft light or overlay layer. It’s subtle and lets you focus on the important bits.
Retouching Tips for Enhancing Meat’s Appeal
A little retouching can make a good meat photo incredible. First off, clear away anything distracting like dust spots or unwanted reflections. Next, play around with dodge and burn to light up the right spots and add some shadows for depth. Just be cautious with these tricks and keep the meat looking like it would in real life.
Your main aim is to leave people hungry just by looking at your photos while still keeping it real. After all, no one likes feeling cheated when they realize the awesome-looking meat they saw in a picture is actually pretty average in the flesh.

About Author
Rachel Noël is a professional photographer and videographer from the UK with over 10+ years of experience. Rachel specializes in Underwater, Tavel & Portrait photography among other areas.
