Key Points
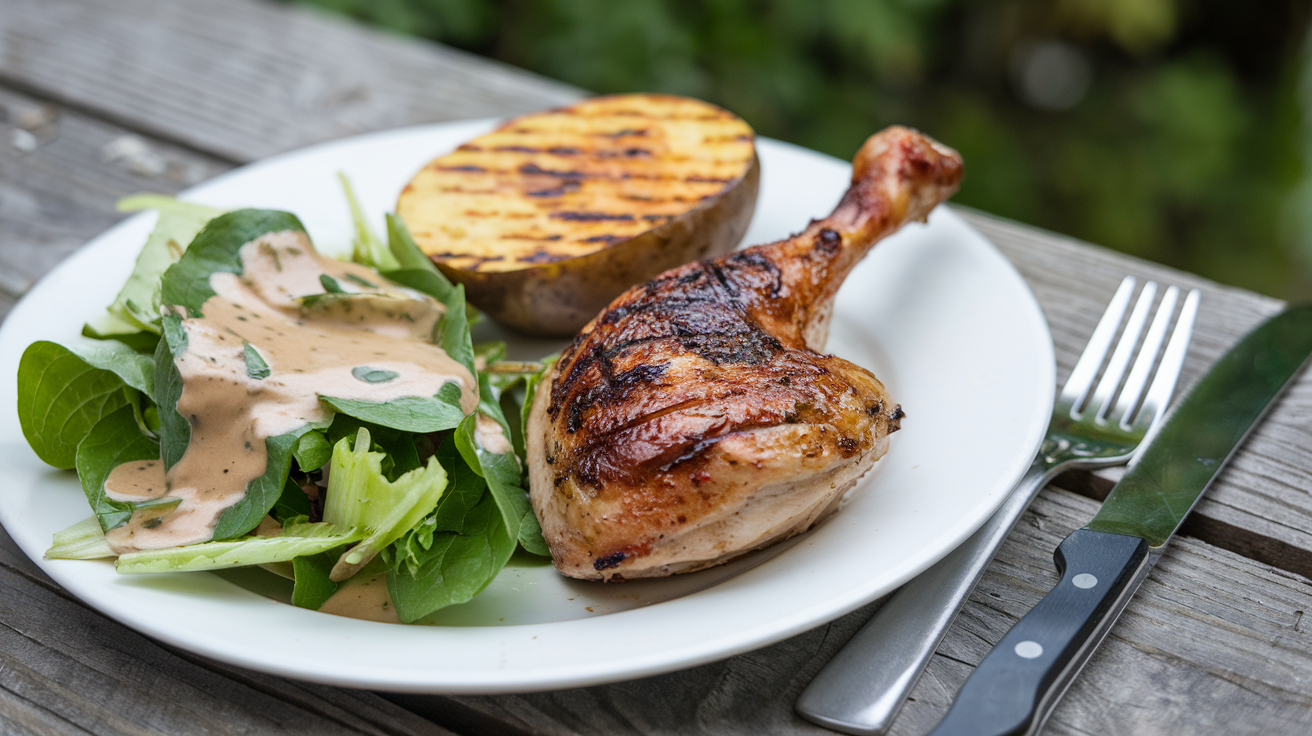
• Arranging Food and Design: When styling food for pictures, it’s important to place each part in a way that looks good to the eye. Playing around with empty space, different colors, and following the rule of thirds can help make a photo that catches attention and is nicely set up.
• Shine a Light on Texture: You need the right light to show off the food’s texture and color so it seems fresh and tempting. Sunlight is usually best, but you can also use fake light to copy sunlight or set a certain feel.
• Choosing Props: Picking the right extras like forks, napkins, and what’s behind your food can tell more about the meal and give your photo more interest. Make sure these extras go well with the meal and don’t take away from it.
Contents
- Key Points
- Importance of Visual Appeal in Food Imagery
- Food Photos and Styling: A Perfect Match
- Food Photography and Styling Essentials
- Selecting and Preparing Food for the Camera
- Techniques for Making Food Look Fresh and Appetizing
- 1. Utilization of Tools and Tricks
- 2. Enhancing Food Appearance
- The Role of Glycerin in Food Photography
- Arranging Elements for Balanced and Engaging Images
- Color Theory and Texture in Food Styling
- Editing Techniques to Enhance Food Images
- Retouching Details for Realistic and Attractive Results
- Building Your Food Photography and Styling Portfolio
- Frequently Asked Questions (FAQ)
Importance of Visual Appeal in Food Imagery
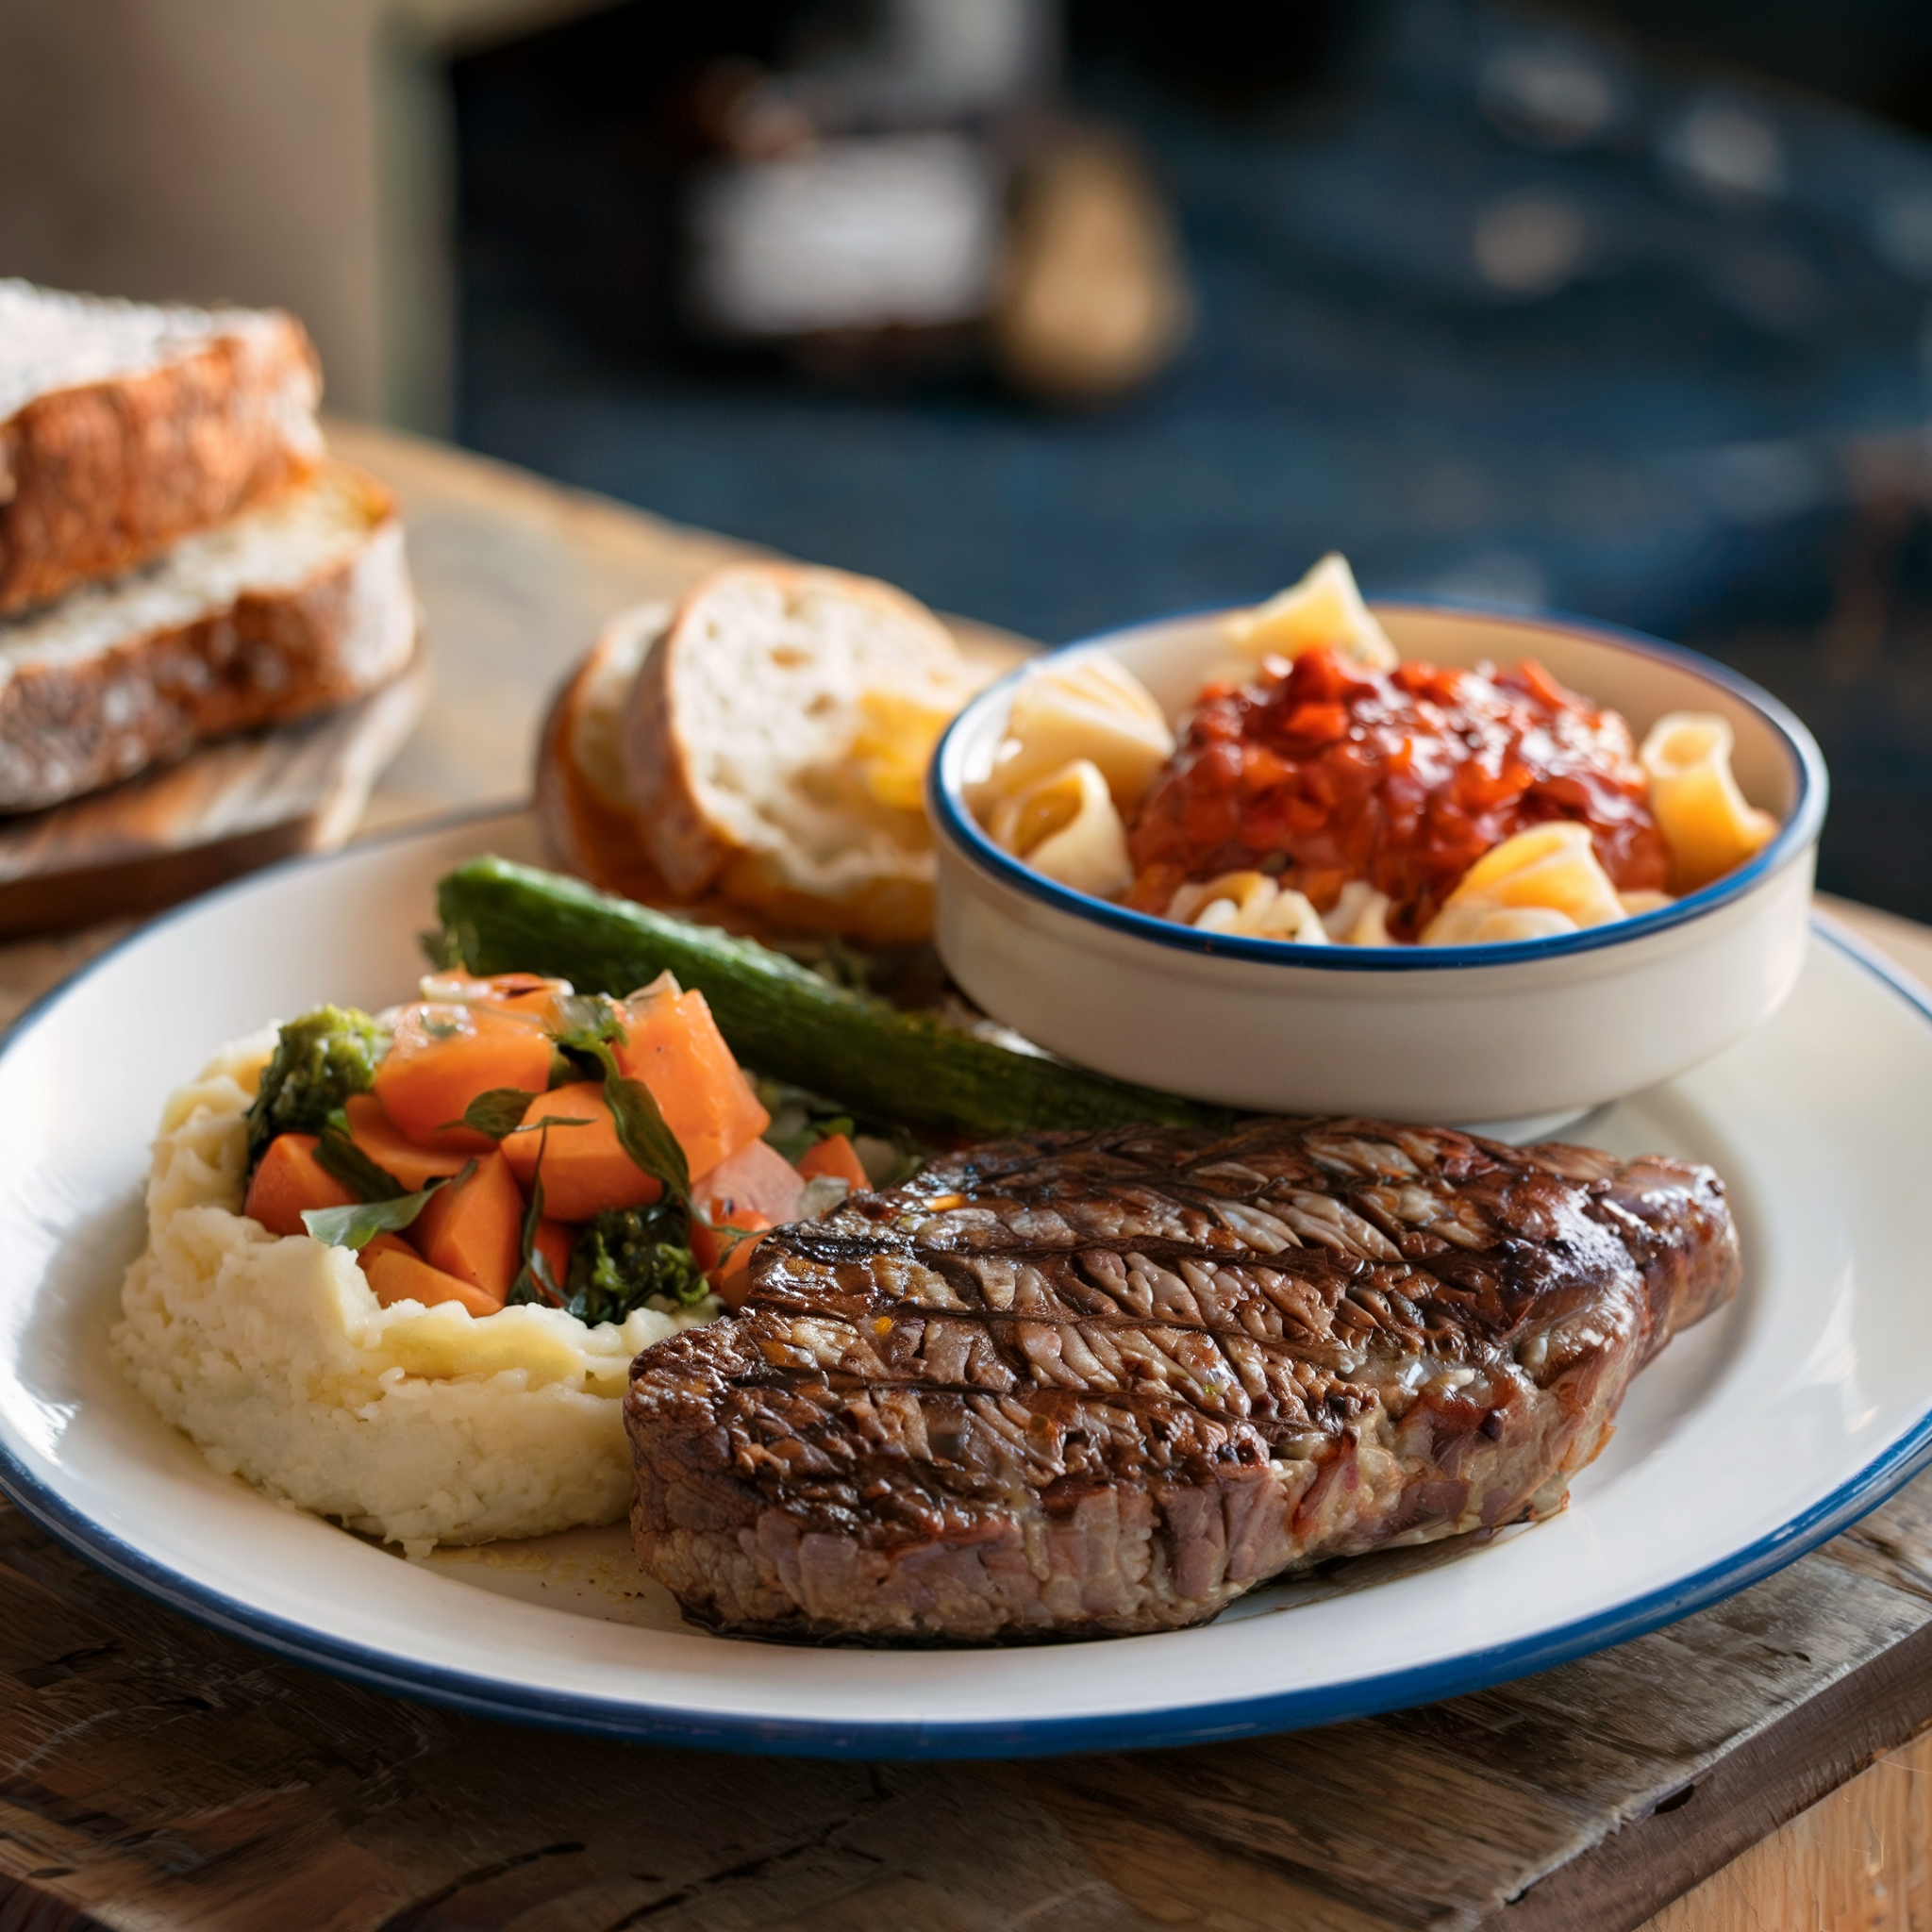
Visual appeal in pictures of food is hugely important. It’s all about the look that grabs your attention and makes your mouth water without even tasting anything. This is super important in ads, cookbooks, and menus, where you want to hook someone in to buy or try something. How good a food photo looks can really sway someone’s choice to test out a new dish or check out a restaurant.
Food Photos and Styling: A Perfect Match
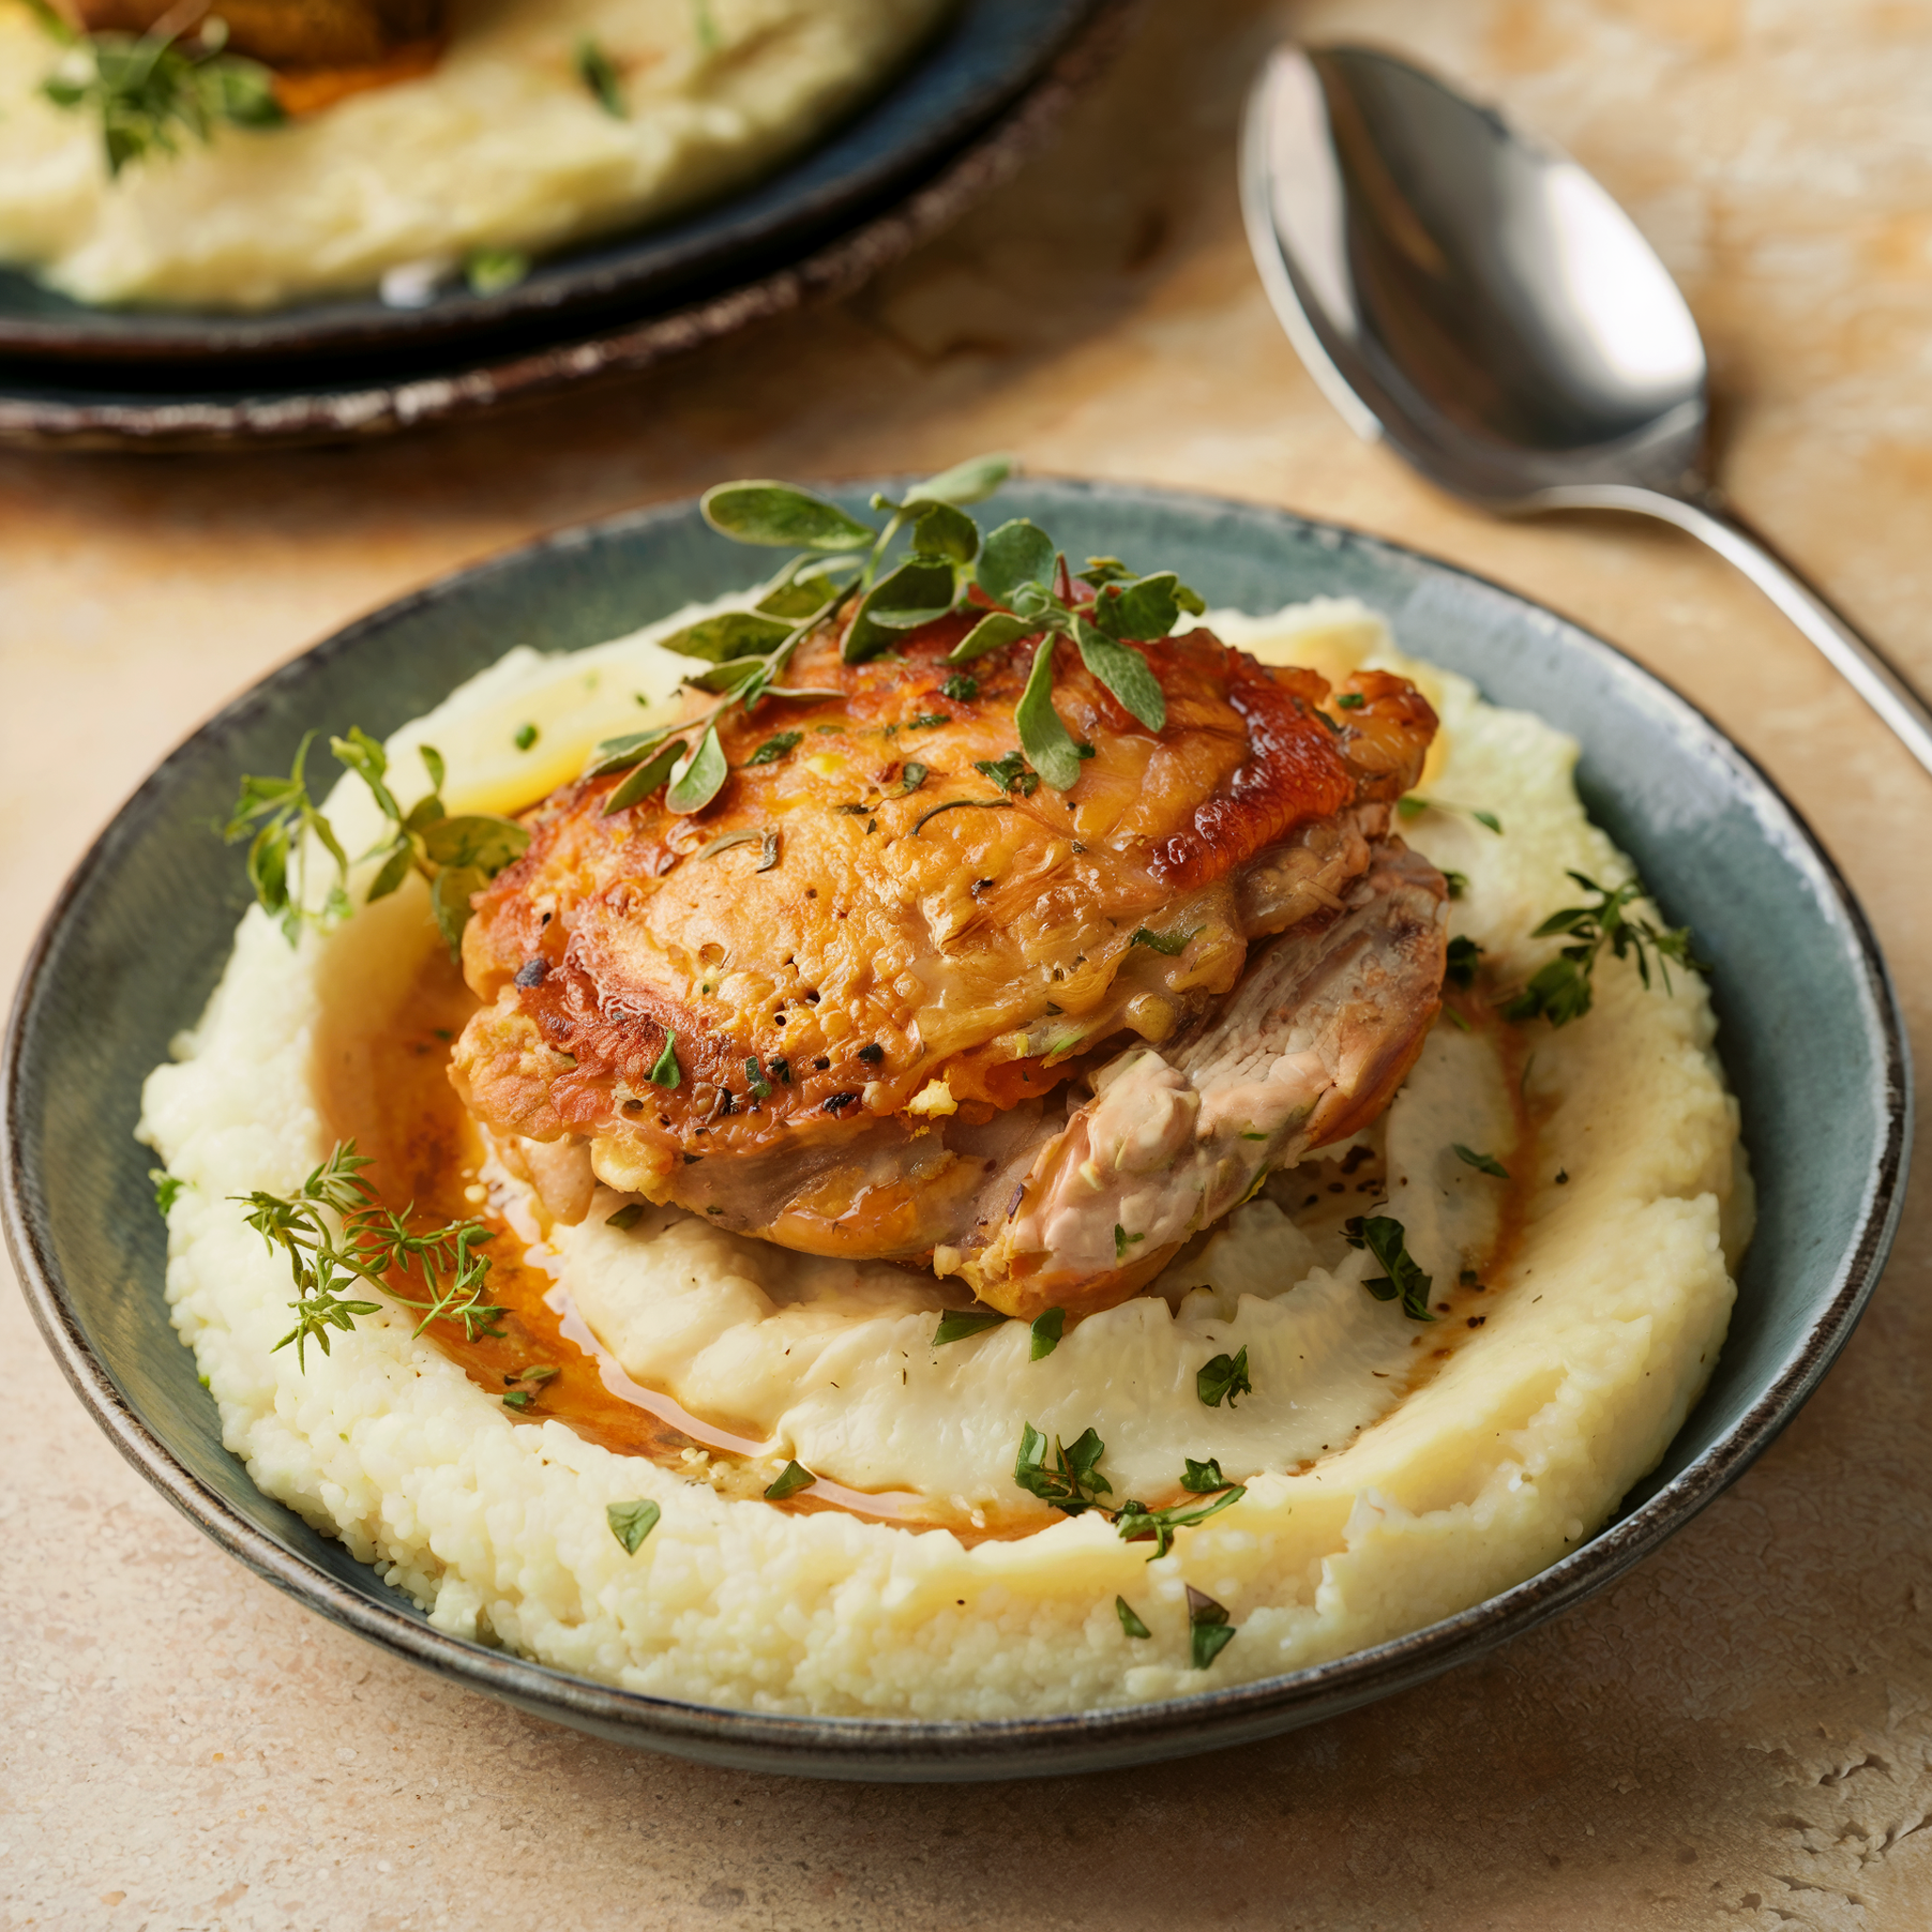
Food photography and food styling go hand in hand to create mouthwatering images. Photographers snap the pictures, making sure everything looks just right, while stylists make the food irresistible. They tweak the look of the ingredients, rearrange elements, and spice up textures for a shot that’s as delicious to the eyes as to the palate. Every tiny detail works together to make a picture that doesn’t just show off a dish but tells its story, too.
At the core of amazing food photos is solid photography skills that capture not only a dish’s look but also suggest how it might taste and feel. Being great at this means knowing all about composition, balance, and color so that people don’t just see your food—they feel like they can taste it!
Camera Tricks for Tasty Shots
To get that perfect photo, you’ve got to get your camera settings right. Use a lens with a big aperture for a blurry background that makes your dish stand out. Keep the ISO low to avoid noisy pictures and adjust the shutter speed based on the light and if you want to catch movements like sugar falling from a spoon.
The lens choice is a big deal. Go for prime lenses between 50mm and 100mm for sharp, appealing snaps. But don’t be afraid to try macro lenses for close-ups or wide angles to capture everything on the table.
The Role of Light in Making Food Look Good
Lighting is crucial in taking good food photos. Natural light is often best because it creates soft shadows and true-to-life colors. If you’re inside, use artificial lights and reflectors to recreate this effect and highlight your food from its best angle.
Where the light comes from matters—a lot. Light shining from the side can show off a dish’s texture and depth, while backlighting gives it a fresh glow. Watch out for strong shadows that might distract from your yummy subject, though!
A tiny oversight in lighting can change how your picture turns out, so take your time to adjust until it’s just right.
Natural Light vs. Fake Light
Choosing the right light source can make or break your food photos. Some photographers argue about whether natural or artificial light is better. Each has its perks.
Sunlight gives dishes a warm, natural feel that’s tough to copy. But man-made lights like LEDs give you control—you get consistent lighting no matter what time it is or what the weather’s like outside.
Your choice depends on the look you’re going for and where you are. For a real-life feel, sunlight is tops. But for something where you call all the shots—like in a studio—artificial light’s the way to go.
Shaping Your Light
If you want stunning food pictures, learn how to handle light details:
- Diffusing: Tone down bright lights with diffusers—stuff like thin cloth or cloudy glass. They can soften shadows and show off textures.
- Reflecting: Reflectors throw light back on your food, lightening up dark spots and making everything pop.
- Directing: Pay attention to your light source. Side lightning adds dramatic texture; backlighting gives a heavenly glow.
- Adjusting: Get creative with tools like barn doors and snoots to direct your light exactly where you want it, making shadows fall just right.
How light interacts with your dish can make it appear flat or full of life. Keep experimenting with these gadgets until you find the perfect mix where every piece of the meal looks its best under the light. There isn’t one magic answer; it’s all about creating a scene that feels right for your photo.
To wrap it up, it doesn’t matter if you’re using the gentle touch of daylight or crafting an image with artificial light—the key is knowing how light works. Once you get that knowledge, along with some neat light-shaping tricks, you’re all set to snap pics of food that’s almost too good not to grab through the screen!
Food Photography and Styling Essentials
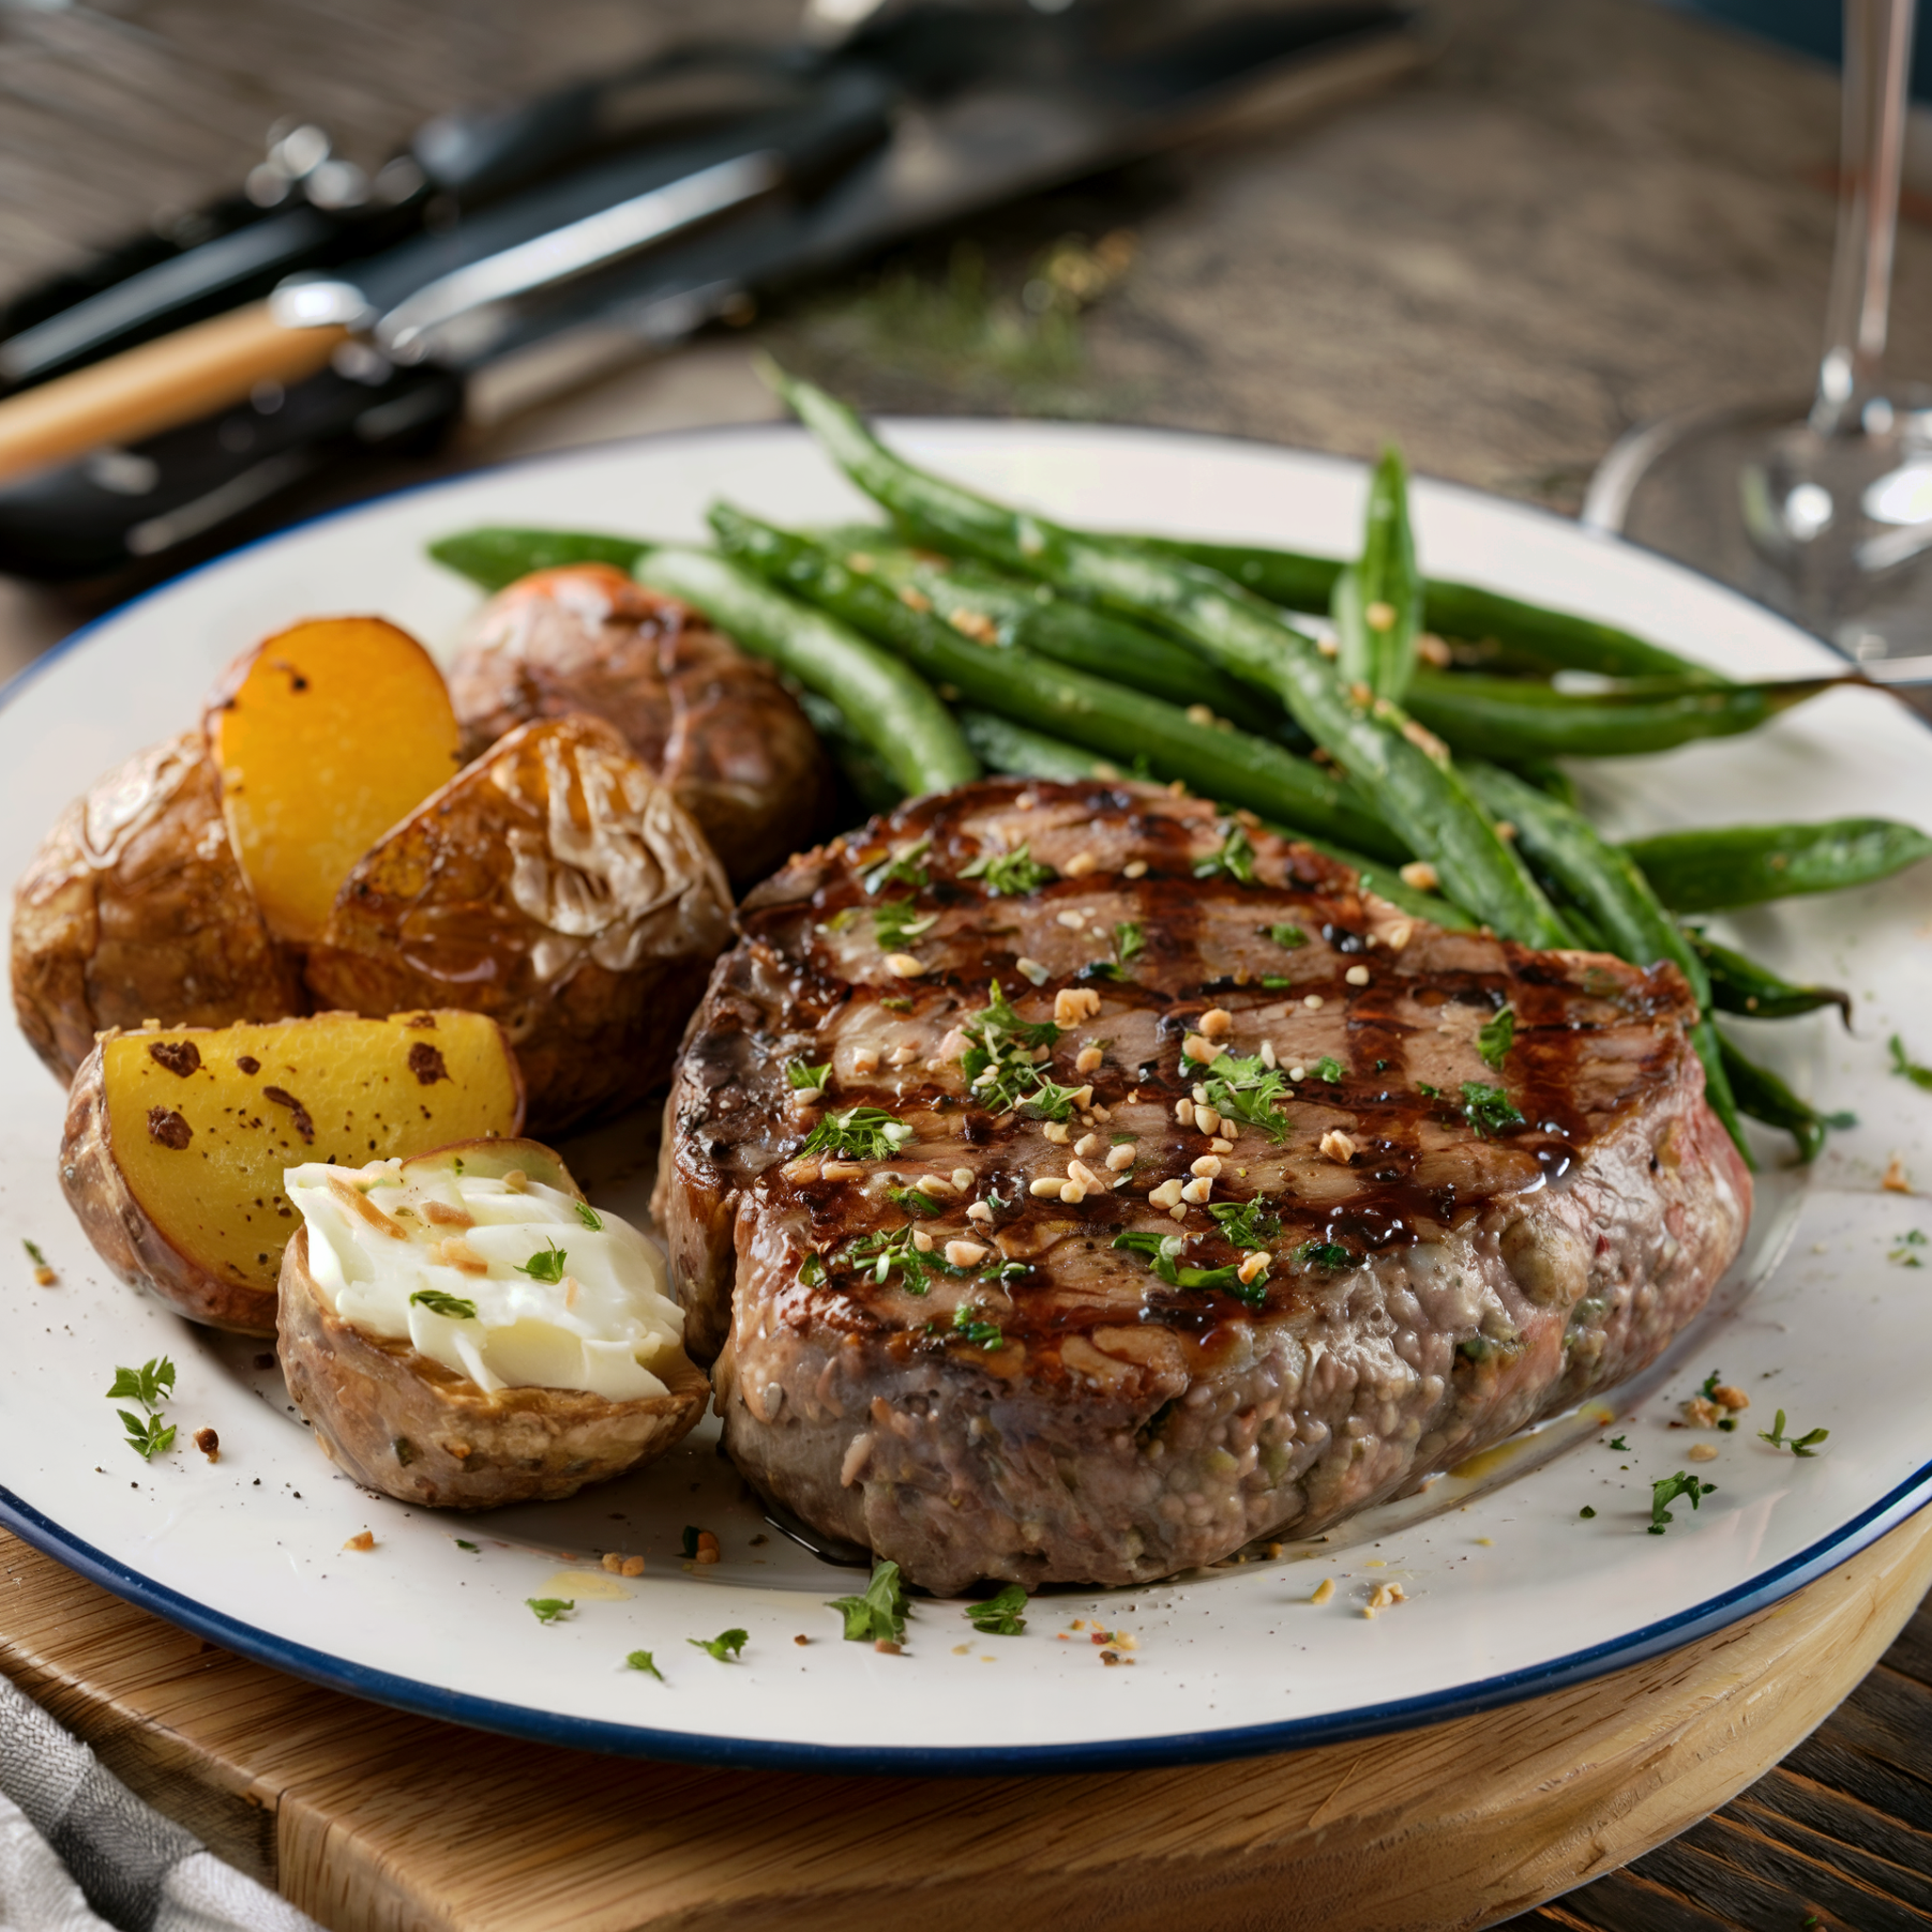
Good food photography is as important as the recipe. If you style the food right, it can make any meal look so good people will want a bite. The trick is to choose the best ingredients and prepare them to shine in front of the camera.
Selecting and Preparing Food for the Camera
Start by choosing fresh, good-looking ingredients. Bright vegetables, juicy fruits, and a perfect piece of meat stand out in photos. Wash everything carefully, dry it, and keep it cool until it’s time to take pictures. This will stop them from looking sad and tired.
Techniques for Making Food Look Fresh and Appetizing
Now comes the fun bit—getting your food to look amazing:
- Keep It Natural: Don’t do too much. Sometimes, just a little oil for shine or capturing steam from hot food is enough.
- Support Structure: Make your dishes look full. Prop up burger buns with paper you can’t see to make them look more tempting.
- Double Up on Ingredients: Use more of the tasty stuff. Pile on the cheese for a cheesier pizza look, or pack pies so there are no empty spaces.
- Browning and Charring: Use a blowtorch or broiler to give food a great color.
- Cool it Down: When shooting ice cream or melty things, colored mashed potatoes can stand in to look good under lights.
You’re selling how the food looks as well as how it tastes. Use these ideas right, and your pictures will catch everyone’s eye—or stomach! After some practice, your food shots will really grab attention with their gorgeous looks and fine style.
To get really good at styling food, you need a few skills and a couple of tricks. Knowing how to make food look delicious is key. Here are some advanced tips to help your photos look top-notch:
1. Utilization of Tools and Tricks
Food photographers use tools to enhance how dishes look. Tweezers let them place bits perfectly. Brushes are useful for adding sauces or oils carefully for that perfect sheen. Blow torches aren’t just for desserts; they can crisp up the edges of different foods for a genuine grilled taste.
2. Enhancing Food Appearance
Making food look textured and interesting is big in photography. Searing meat in a hot pan gives it a lovely crust and color. Spraying fruits and veggies with water makes them seem fresh and juicy. To suggest something’s been freshly baked, brown some parts more than others.
The Role of Glycerin in Food Photography
Glycerin is like magic in food styling. It’s thick and clear and keeps cakes or fruits looking moist longer than normal. It brings back dried cut produce, making it look new-cut for hours. Mixed with water, glycerin helps drinks or salads stay dewy.
Your gut feeling and being creative matter loads too. Sometimes breaking rules makes incredible pictures.
Great composition and smart design are vital in food photos—they turn an average dish into a visual feast. Your goal is to line everything up so the picture feels balanced and captures attention.
Arranging Elements for Balanced and Engaging Images
Think about how you arrange dishes and props to create layers and depth. There’s a “rule of thirds”—a grid that splits your picture into nin parts Place the main things along these lines or where they cross for a dynamic image.
The ‘golden ratio’ helps make scenes look naturally pleasing. Position key subjects a third into the frame instead of dead center. Props are handy, but don’t go overboard; too many can distract from your yummy subject.
Color Theory and Texture in Food Styling
Color theory uses colors that complement or contrast each other to make your dish stand out. Warm tones suggest cosiness, while cool ones can remind you of freshness. Like getting dressed, aim for coordinated but not too matchy.
Texture makes pictures interesting. Think shiny syrups on dull crusts or crispy greens next to smooth dressings. Mix textures to draw people’s eyes across your photo and make them want to grab the food.
In short, master composition rules to connect with viewers. But remember: rules can be bent to find what makes your style special. That’s what’ll get people to stop and marvel at your work.
After taking photos, it’s time to edit to jazz up your work. Editing refines images further.
Editing Techniques to Enhance Food Images
Edit to make your food stand out with small tweaks like:
- Color Correction: Make sure foods look natural and tasty by adjusting white balance—it changes the mood of a picture quickly.
- Exposure Adjustment: This works wonders whether you’re lightening dark spots or toning down glare.
- Cropping: It focuses on the dish better and fine-tunes composition. It also helps stick to specific sizes needed for various websites.
- Contrast Tweaks: Adding contrast brings details alive which makes the dish more enticing
- Sharpness and Clarity: Sharpening highlights garnishes and texture; clarity adds punch to middle tones.
A mix of these edits can freshen up any food shot.
Retouching Details for Realistic and Attractive Results
Digging into finer details, retouching smooths out any flaws:
- Spot Removal: Clean away splashes or blemishes that steal focus from your appetizing dish.
- Blemish Correction: Hide any less-than-perfect spots on fruits or veg for an impeccable appearance.
- Selective Sharpening: Instead of sharpening everything, pick areas like the front edge of cake pieces to pull eyes there.
- Dodge and Burn: Lightening or darkening bits of the photo can give shape, showing off fluffy bread or shiny glazes better.
This level of detail can significantly amp up how much people like your pictures, making it nearly possible for them to whiff or taste the dish through their screen. Merging tech skills with an artistic eye turns normal photos into visual feasts. But keep retouching real; folks typically like images that look achievable rather than perfect but out of reach.
Post-production is like secret sauce that dials up the awesome in food pics; a touch here, a swipe there transforms solid snaps into stunning ones Find balance — too much can spoil the realness Remember authentic looks good!
Building Your Food Photography and Styling Portfolio
To make a mark in the field of food photography and styling, you need an outstanding portfolio. This collection acts like your visual CV, showcasing your creative flair and proficiency with the camera. Assemble a portfolio that illustrates your range – include different types of food, play with light, and experiment with various perspectives to show off your adaptability.
Choosing Photos That Reflect Your Expertise
When picking out photos for your portfolio:
- Pick the Best: Go for quality over quantity. A few exceptional photographs are better than loads of average ones.
- Weave a Story: Opt for images that tell the enticing tale of the dish. Each photo should evoke feelings or whet the appetite.
- Stay True to Your Style: It’s important to embrace variety, but keep a consistent signature style to establish your personal brand.
Promoting Your Work
If you want to get noticed:
- Design a professional website that’s simple to use and puts your portfolio in the spotlight.
- Make good use of social media by consistently posting quality pictures and interacting with followers.
- Mingle with folks in the industry at gatherings or through online communities to connect with prospective clients and fellow professionals.
- Have printed items like business cards and pamphlets that feature your work on hand for when you run into people in person.
Frequently Asked Questions (FAQ)
How can a baker leverage colours to enhance food photography?
Bakers can harness the power of colours by implementing Colour Theory in their food photography, considering how different hues interact to make the subject stand out. They might choose a complementary color plate for their confections to create a striking visual contrast, or select pastel colors for a soft and inviting appearance. The use of vibrant plates not only adds depth but also attracts the viewer’s eyes, elevating the overall appeal of the dish.
What insights does ExpertPhotography offer as a food photography resource?
ExpertPhotography is a valuable source for those delving into the realm of food photography. It provides a wealth of tips and tricks covering everything from fundamental camera settings like ISO to advanced composition principles. This platform often features insights on styling strategies, light manipulation using artificial lights or strobes, lens recommendations for various shot sizes, and even the minutest details such as choosing cutlery that complements the scenes. For both novices and seasoned professionals, this site acts as an illuminating guide through the artful journey of food imagery.
What role do props play in creating engaging flat lay food shots?
Props play a pivotal role in crafting compelling flat lay shots. They are not merely decorative but are tools especially when it comes to establishing the scene’s narrative and guiding the viewer’s eyes across the image. Expert photographers select props like salad bowls from Pottery Barn or rustic cutlery from antique markets to evoke a particular mood. Elements like a linen tablecloth or a slab of raw wood can serve as a background, lending texture and context which help tie the entire flat lay shot together harmoniously.
Why is it crucial for a food blogger to understand light and composition principles?
For any food blogger aiming to captivate their readers with delectable food photos, a firm grasp of light and composition principles is essential. The right lighting can bring out the textures and colors of a dish, from shiny glazes to crumbly bread crusts. Understanding how to compose shots, whether they take a bird’s eye view for flat lays or an angled approach for added dimension, helps in creating an engaging narrative around the recipe or place being featured. By mastering these aspects, bloggers ensure that their photographs not only showcase the food at its most appealing but also convey their personal storytelling style.
Can you detail how post-processing affects food pictures?
Post-processing is an indispensable step in perfecting food pictures. A photographer’s editing style may vary from subtle color corrections to intricate retouching of details. Essential adjustments often include tweaking exposure levels, contrast, colour temperature for warmth or coolness, and employing sharpening filters to accentuate textures. Seasoned food photographers might employ layer masks in software like Photoshop to selectively edit portions of an image without affecting the whole. With fine-tuning, these edits refine the raw photographs into finished products ready for diner’s screens.
What are some pricing tips for budding food photographers?
Aspiring food photographers looking to establish pricing should consider several factors. Firstly, assessing the market rates and knowing one’s level of expertise aids in setting competitive yet fair prices. They must account for the time spent on shooting, styling, travel, and post-production. Additionally, investment in high-quality gear like tripods and lighting rigs should be factored into the cost. Offering packages that bundle shoots with editing can provide clearer pricing structures for clients. Also, maintaining transparent communication by providing detailed quotes and contracts helps build trust with potential clients.
About Author
Rachel Noël is a professional photographer and videographer from the UK with over 10+ years of experience. Rachel specializes in Underwater, Tavel & Portrait photography among other areas.
