Contents
- Taking Good Cheese Photos Matters
- Understanding the Importance of Photos for Cheese Fans
- Understanding Lighting and Composition
- Choosing the Best Gear for Snapping Pics of Cheese
- How to Style Cheese for Photos
- The Color Palette of Different Cheeses
- Making Cheese Colors Pop in Pictures
- Getting the Right Colors in Your Photos
- Cheese Board Design Simplified
- Exploring Cheese Photography
- Easy Tips for Improving Cheese Pictures
- Keeping Cheese Photos Real
Taking Good Cheese Photos Matters
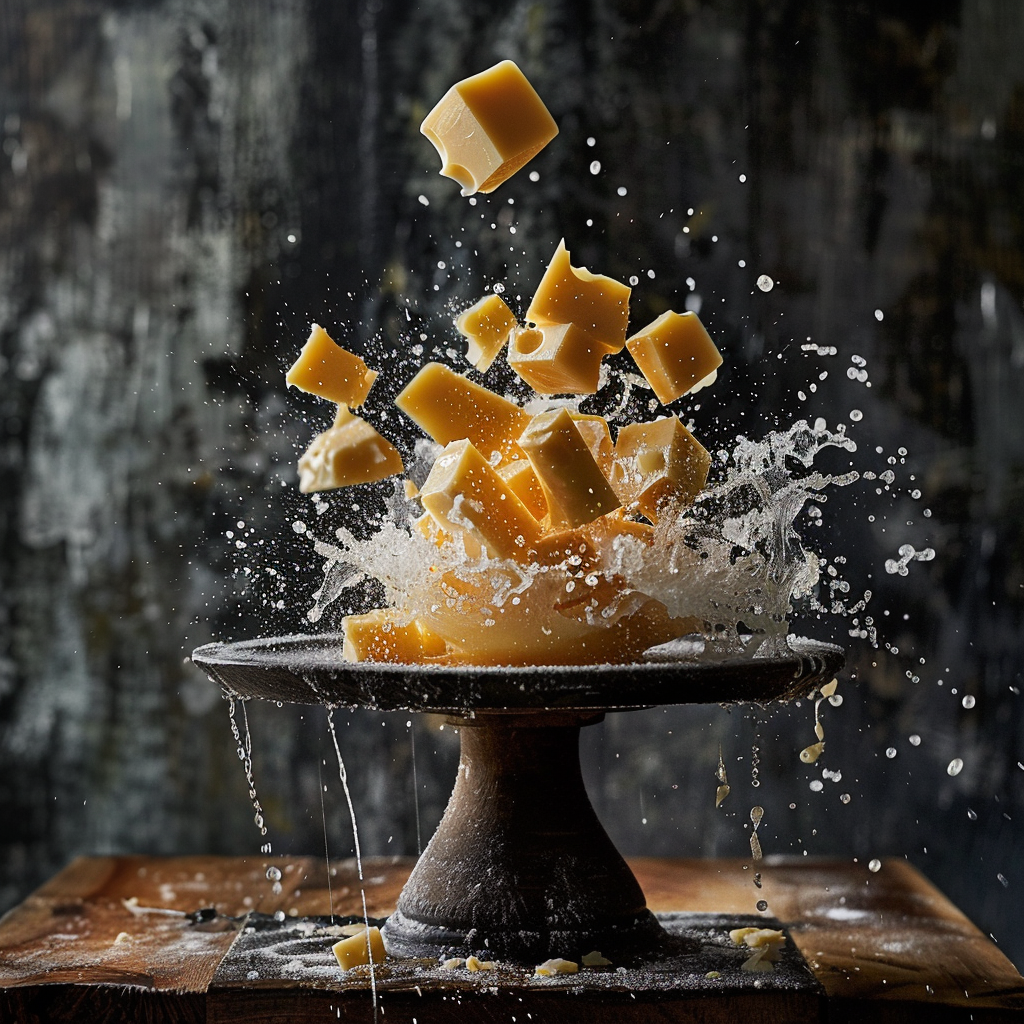
Snapping a pic of cheese is more than just showing what it looks like; it can really change how people feel about it. A sharp photo can show off how smooth Brie is or how Feta falls apart.
When people see these images, they start to drool and can’t wait to try some. The folks who take pictures of food have the power to sway what we want to buy and eat without us even sampling it first.
That’s why shooting a good-looking cheese photo is about more than making it look nice; it’s about getting our emotions involved and making us crave that cheese without actually tasting it.
Understanding the Importance of Photos for Cheese Fans
Appetizing pictures boost how much we enjoy cheese by giving us a look that complements the taste. Quality photos let cheese experts and shops show the quality of their cheeses – their origins, how they are created, and their special qualities. Photos are key in showing this narrative.
Taking great pictures of cheeses is both a skillful and imaginative art. At its heart lie two main things to get right: lighting and how things are set up. The right lighting is crucial to bring out the item’s texture and colors. It can be from the sun or artifical.
The best kind of light is a soft light that’s spread out to keep shadows and bright spots from hiding details. Setting up the shot is just as important. It’s how you place the cheese, dishware, and any extras in a way that looks good and grabs someone’s attention.
Understanding Lighting and Composition
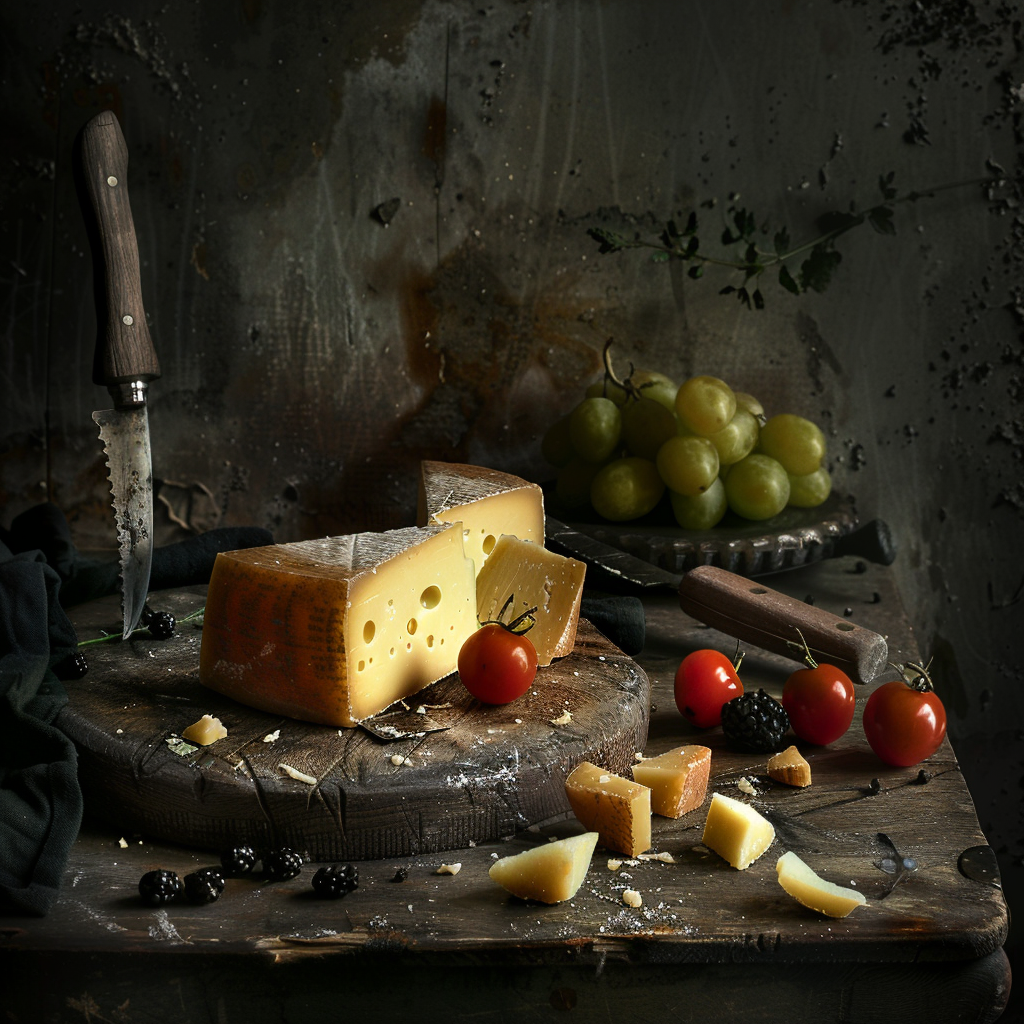
When taking pictures of cheese you need to understand how light and shadows work together. Shine a light from the side to make the cheese’s bumps and holes pop. Light it up from behind, and watch it glow. Try the rule of thirds or leave some empty space around your cheese to spice things up. Also, remember that taking pictures from different heights and sides can really change how big or funky the cheese looks.
Choosing the Best Gear for Snapping Pics of Cheese
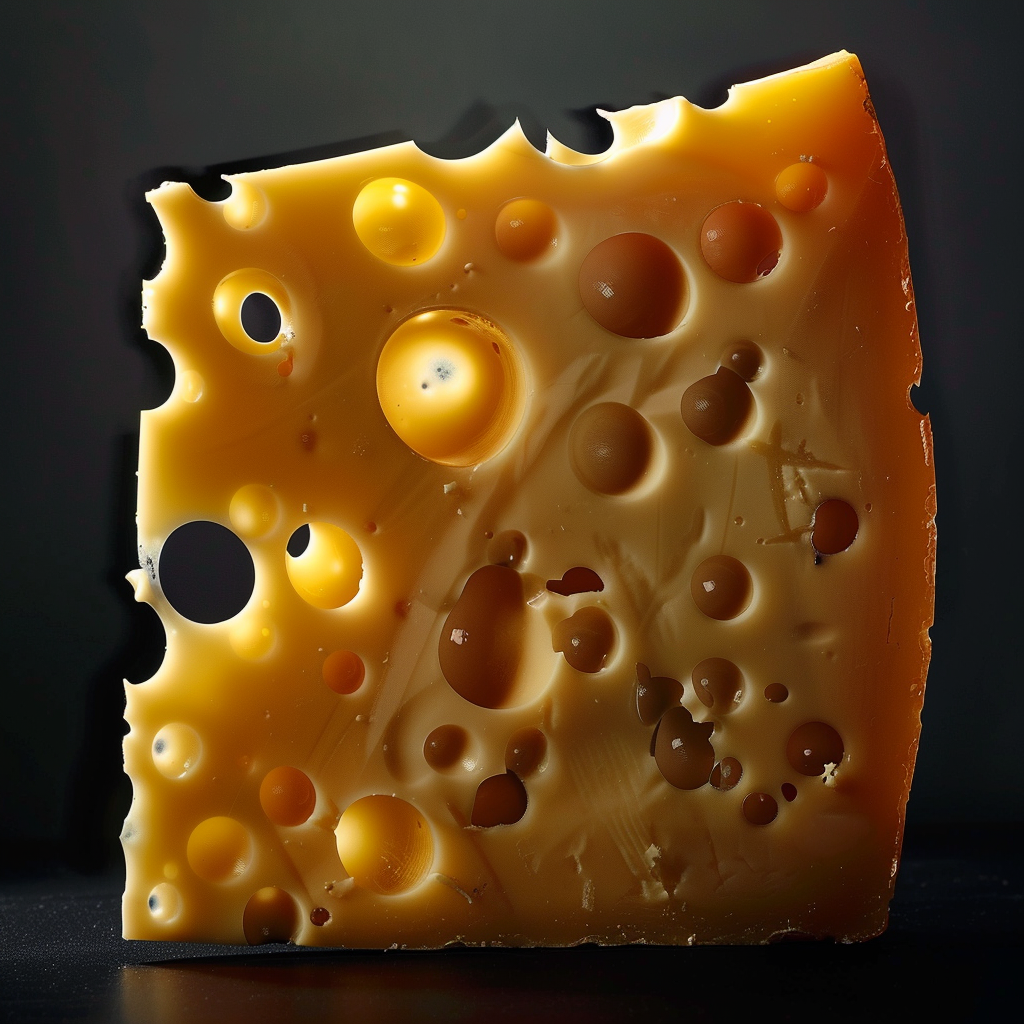
Picking the proper tools is key in food photography. You’ll want a camera that lets you tweak things like aperture, shutter speed, and ISO yourself. The lens matters too – grab a macro one for detailed close-ups and a regular 50mm for its flexibility when shooting cheese. And hey, throw in a tripod to keep your pics sharp, which is super handy when the light isn’t great.
How to Style Cheese for Photos
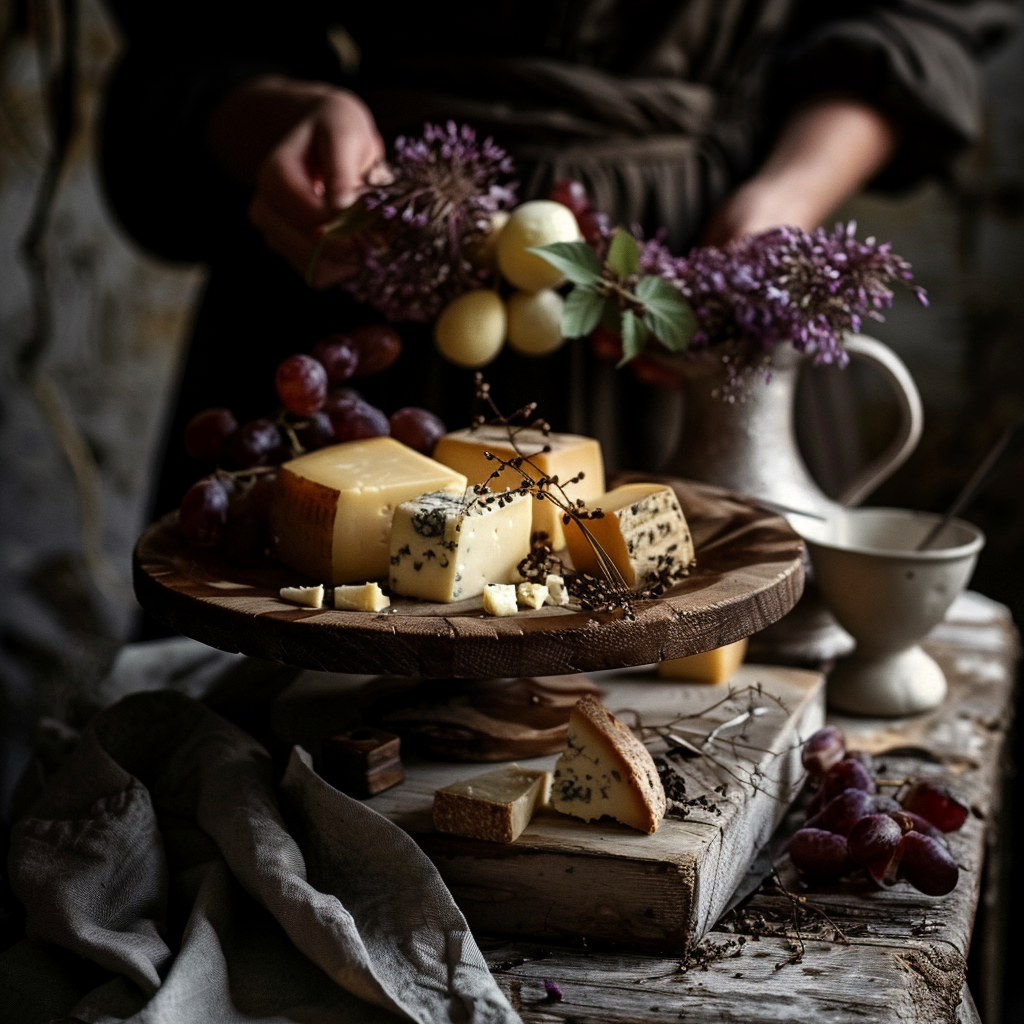
In order to make cheese look more appetizing in photos, you need to add a bit of flair:
- Start with a fresh cutting board or marble for a classic or fancy background.
- Throw in some extras like grapes, nuts, or honey for a touch of richness and variety.
- Think about the cheese’s warmth; cheese at room temp usually looks softer and more welcoming in pictures.
- Try different setups – pile up whole cheeses or arrange slices for depth.
Keep messing with it until you nail that perfect shot where your cheese looks its best.
Taking pics of cheese isn’t just point and click; it involves paying attention to little details to highlight its textures. There are key moves to make these stand out.
Show Off Texture with Close-Ups
First off, get in close. Tight shots can show off the cool textures in cheese, like a hard cheddar’s crust or brie’s softness. Close-ups let those textures shine.
Using Depth of Field
Then, work on the depth of field. By tweaking the lens, you can get the cheese sharp and the back fuzzy (also known as bokeh). This makes sure the viewer looks right at the cheese.
Playing with Light and Shadow
Learn how shadows and light mix. Light can bring out a cheese’s shape, making it pop. Shadows help show off dips and curves, adding depth to your photo. With a bit of planning around light and shadow, your cheese pictures can be like art.
The Color Palette of Different Cheeses
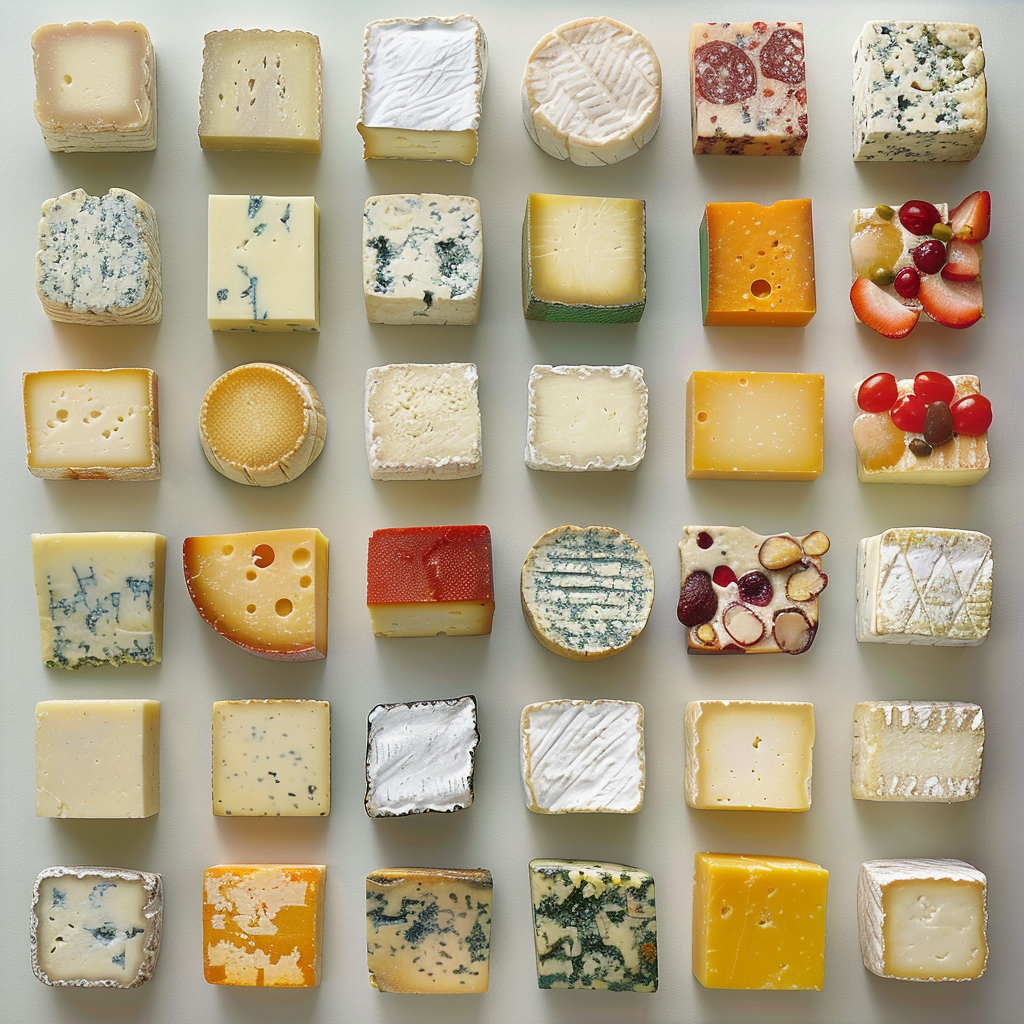
Taking pictures of cheese means paying attention to their colors. Brie and Camembert show off creamy white shades, while aged Cheddar and Gouda boast deep oranges and reds. Every cheese has its own color that can make your photo look better. You’ve got the light yellows of Swiss cheeses, and Stilton or Roquefort spotted with blues and greens. The aging process and what’s in the cheese can make these colors brighter or more toned down.
Making Cheese Colors Pop in Pictures
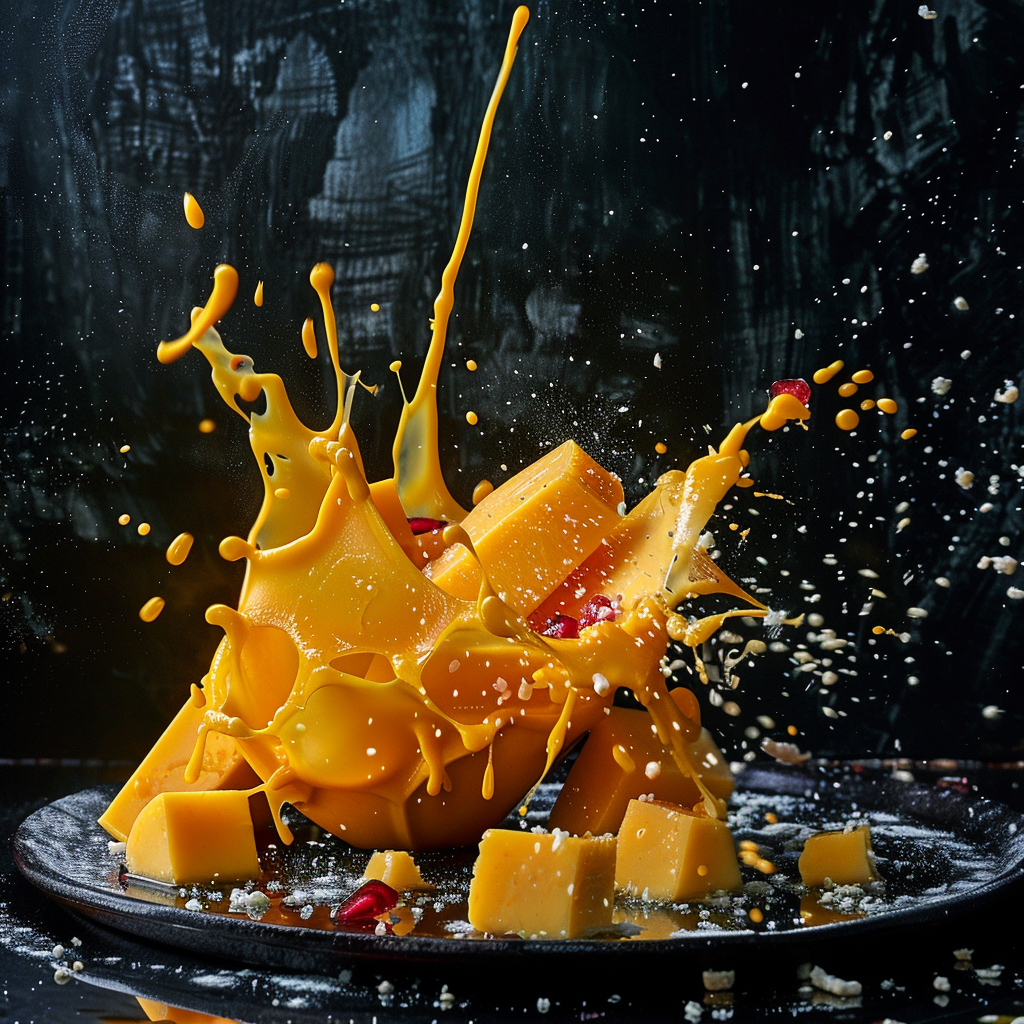
If you want your cheese photos to look great, try to use sunlight as much as you can. The sunlight brings out the natural colors and textures better than fake lights, which are often too strong. When you’re taking pictures inside or the light isn’t good, a white balance tool can fix the colors so they look just as tasty in the photo as they do in real life.
Getting the Right Colors in Your Photos
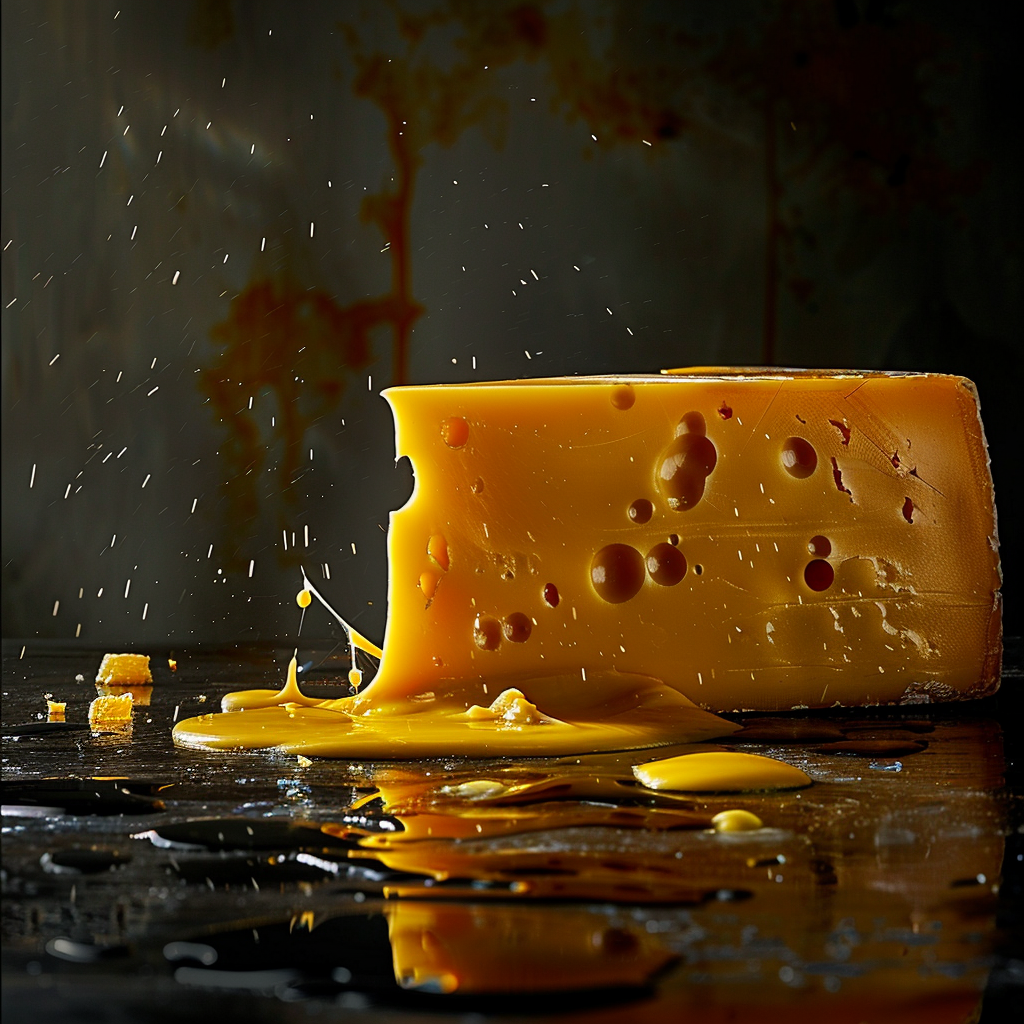
Once you’ve taken your photo, getting the colors right is key as you edit. Your goal is to tweak the shot so it looks like what you see with your own eyes. You want those cheese colors to look warm and deep but not too intense.
It helps to fiddle with the contrast, brightness, and hue controls—just don’t go nuts.
Remember, you’re trying to spruce up the photo’s natural beauty, not switch it up completely. Tools like Adobe Lightroom or Photoshop are great for this stuff, though simple editing apps can also do a lot. And hey, don’t stress the small stuff; a touch of graininess can actually give your cheese pics some down-to-earth vibes.
Cheese Board Design Simplified
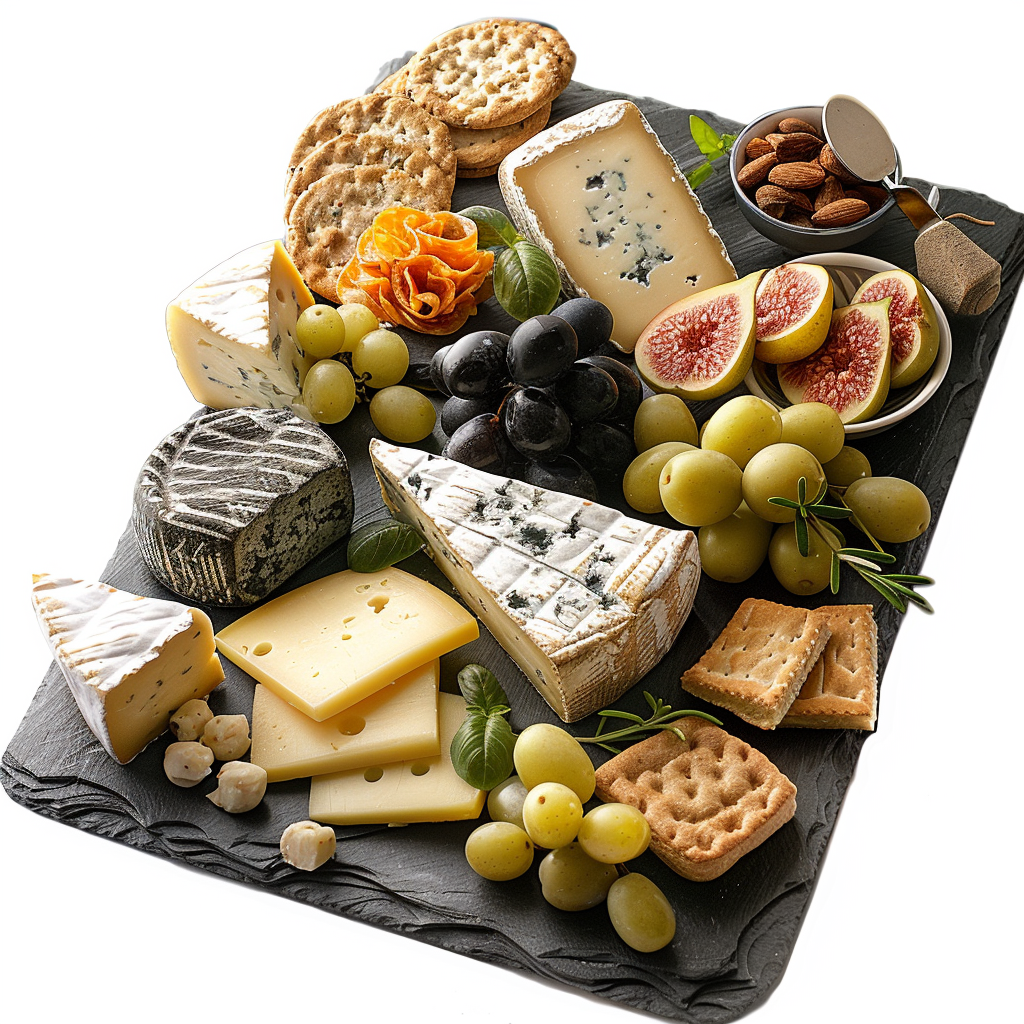
Putting together a cheese board is more than just randomly placing cheese on a surface. The way you arrange them matters. You want to catch people’s attention with different looks and shades. It’s truly a skill to set them up in an appealing way that makes mouths water.
Mixing Up Shapes and Sizes
Having a variety of shapes and sizes on your board is essential. Play around with different placements like stacking or laying out slices. Make sure each type of cheese stands out so it’s easy for people to pick what they want to try. This mix not only looks good but also encourages people to taste everything you’ve laid out.
The Role of Empty Space
In photos, sometimes the empty space, or negative space, can make your subjects – in this case, cheese – look even better. Leave some areas open to draw attention to the textures and edges of your cheese selection. And if things look a bit messy, like crumbled or oozing cheese, that’s ok! Small imperfections add a touch of realness and can tell a story in your photo.
Captivating your audience with the story of cheese starts with pictures that do the talking. Showing off its origins and the process from farmer’s hands to dinner plates makes for an engaging tale. This guide shows how to paint that picture through your images.
Sharing Cheese Stories
To really showcase cheese, start at the beginning. Show off the place where it comes from. Pictures of animals, green pastures, or old barns can say so much about a cheese’s roots. Take it further by capturing the actual making of cheese. Photos of the artisans, their tools, and steps of cheese coming to life can tell its history.
Setting the Scene
The setting in your photos is super important too. Whether it’s a formal dining setup or a casual picnic, the environment can make your cheese stand out more. Bring in elements like leaves or wood for natural cheeses, or keep it simple for those fancy modern ones. You want to tie the setting to what makes each cheese special.
Adding a Human Touch
Include some human interaction to give your photos feeling and connection. A person grabbing a slice of cheese or a cheese seller smiling adds life to an image. This gives your pictures an edge, making viewers relate or crave the experience themselves.
With careful arranging and focusing on small details, anyone can create cheese photographs that are more than just pictures; they narrate a tempting story that respects the legacy in every piece.
Exploring Cheese Photography
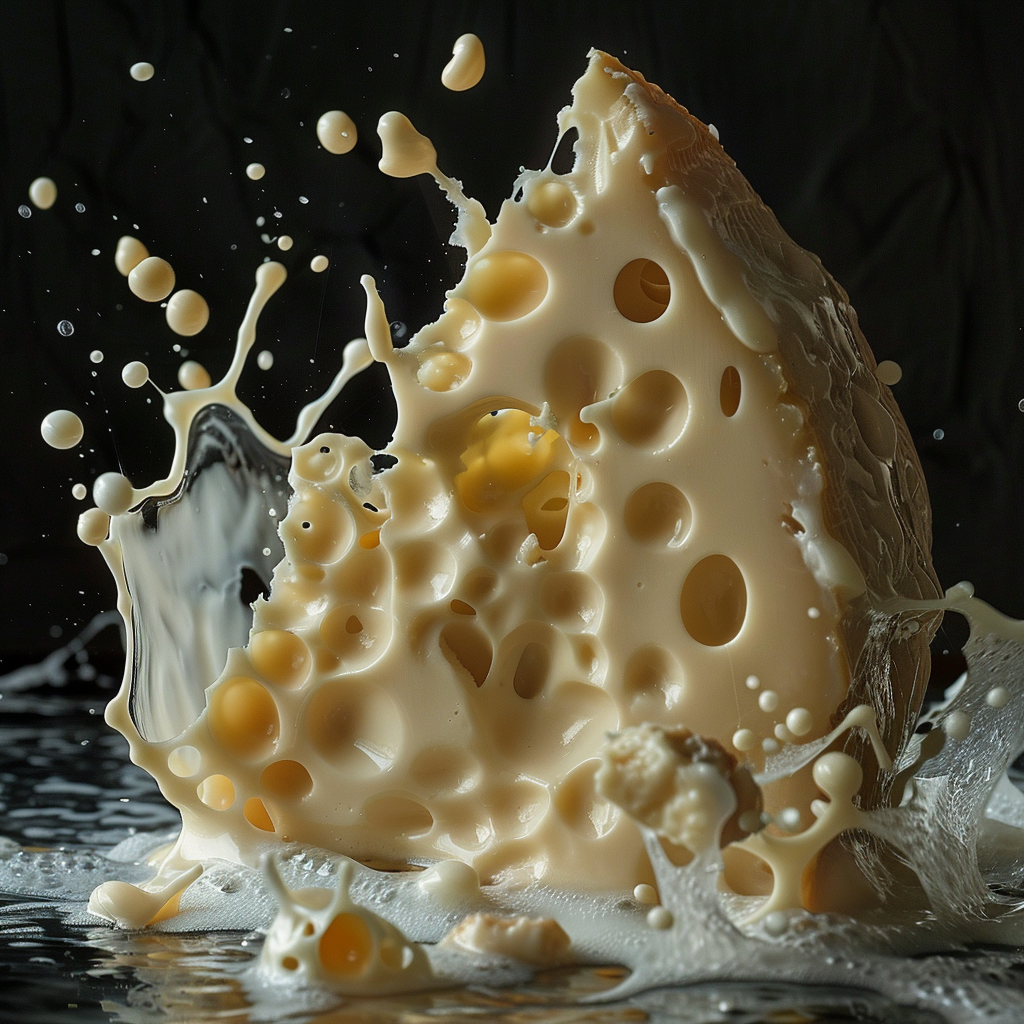
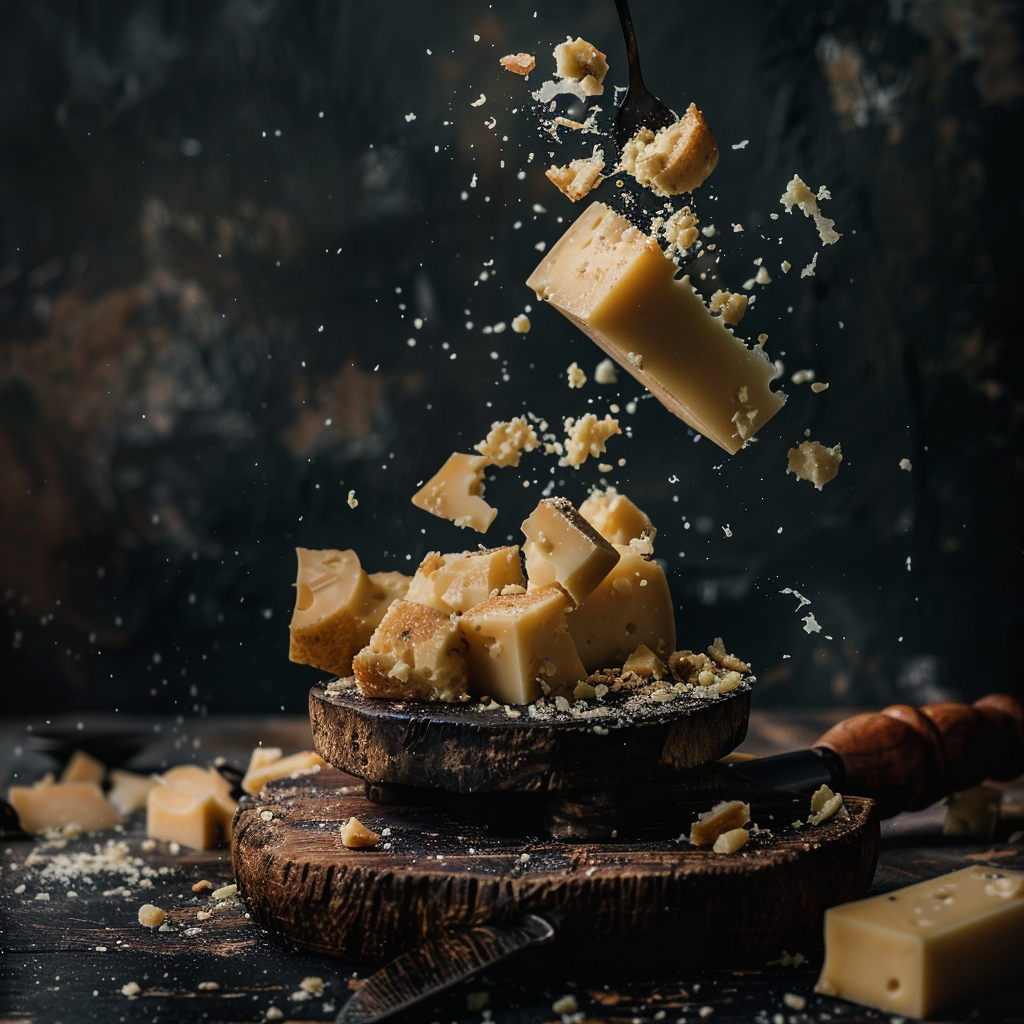
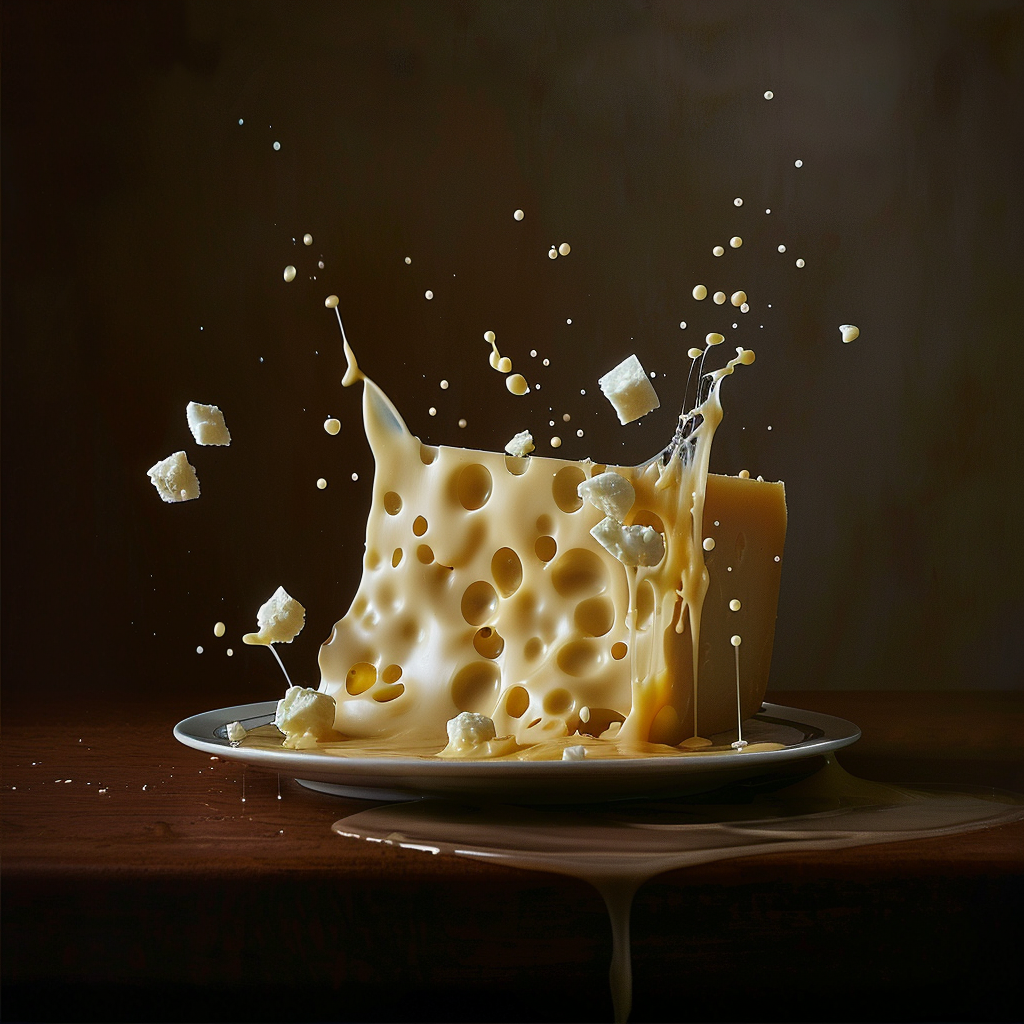
Taking pictures of cheese and making it look amazing is an art. It involves mastering the art of shooting from different angles and knowing how to showcase the true nature of cheese in a photo. You can make your photos pop by adding interesting items and backgrounds that complement the cheese. Bringing movement into your cheese photos, like capturing the moment cheese is being cut, can also make it more dynamic and captivating.
Angles and Perspectives
When you photograph cheese, try taking pictures from various angles to show off its unique texture and form. You don’t just want to take pictures from the top or side; you need to explore new perspectives. Close-up shots can highlight the small details, while wider shots can show the cheese in its environment.
Props and Backgrounds
Picking the right stuff to go with your cheese in photos is super important. You want things that add to the story but don’t steal the spotlight from the cheese. Choose props that connect to where the cheese is from or what’s in it. This makes your photo feel more genuine. Also, the background matters – whether you go for a wooden rustic vibe or a sleek modern look, it should set the right scene for your cheese.
Motion and Action Shots
Getting good shots of cheese in action, like being sliced, is tricky but looks fantastic when it works out. Showing motion, like a blur of the knife cutting the cheese, adds excitement to your picture. You have to time it right, though. For example, snapping a shot right when strings of cheese pull away from a slice of pizza really makes it stand out.
In a nutshell, if you know what you’re doing, you can transform a simple cheese pic into something pretty incredible. With every slice of cheese, choice of prop, and action captured, you’re telling a delicious story of taste, tradition, and skill. Use these pro tips to make your cheese photography shine.
Easy Tips for Improving Cheese Pictures
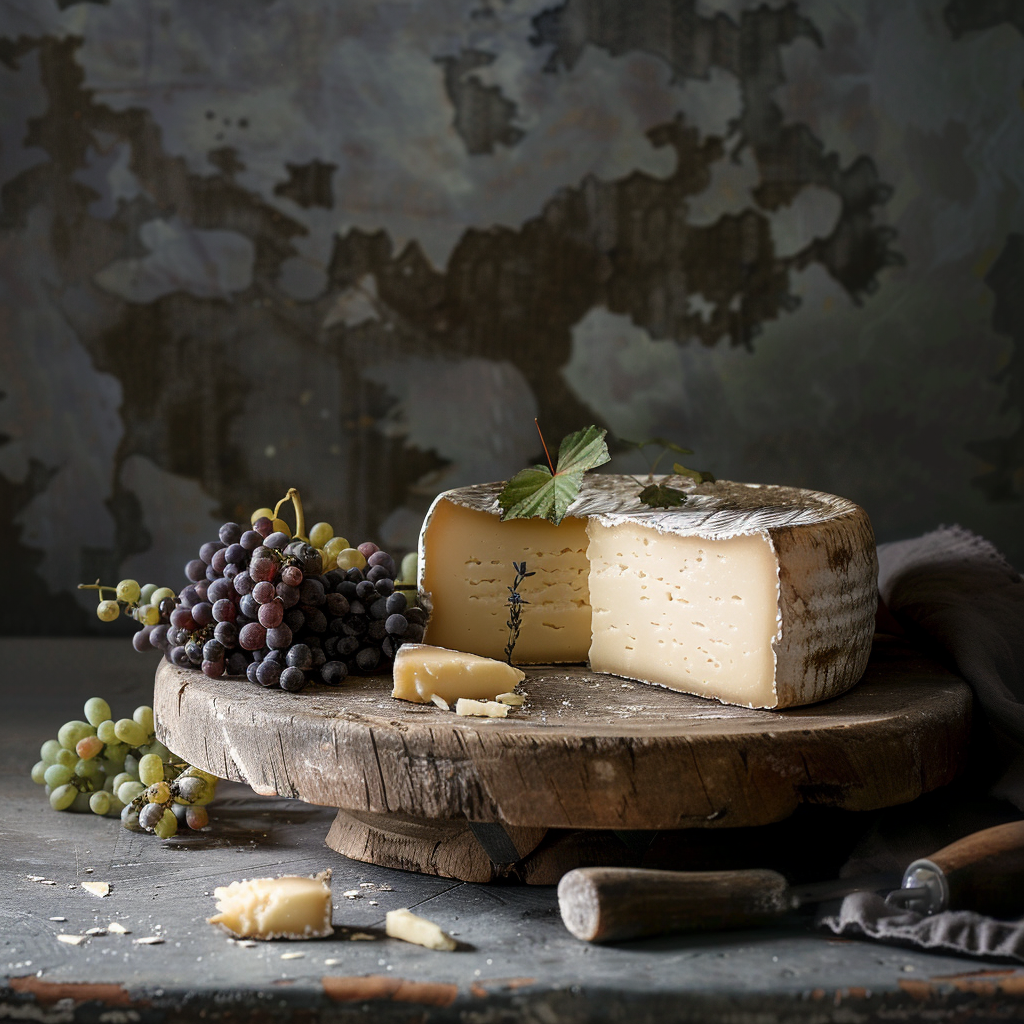
Even little tweaks can make cheese photos much better. Simple editing tricks are key to making your cheese pics stand out. Start by fixing the light and dark parts—this shows off the cheese’s texture and layers.
Make the details sharper, so that the texture really shines. Fixing colors is also basic; your cheese should look just like it does in real life. And don’t forget to trim the edges off your photo to cut out distractions and make sure your cheese is the star.
Keeping Cheese Photos Real
Editing is key, but remember to keep the cheese looking real. Too much editing can mess up the colors and textures, which makes the cheese look fake.
Try to make sure the colors are what you’d normally see. Don’t go crazy with the color saturation—it can make things look too intense.
Sharpness is good, just not too much of it. If it gets too sharp, the picture can come off too strong. The main thing is to make people want that cheese because it looks like the real deal.
How you photograph cheese depends on why you’re doing it. You might be showing it off in recipes, trying to sell it, or using it in magazines for different reasons. Each situation calls for its own tricks.
Cheese on Food Photos
If you’re taking pictures of cheese on food (like pizza for example):
- Start with a background that sets off the cheese’s color and makes it pop.
- Use natural light if you can—it’s great for showing off the cheese’s texture and true colors. Top-down shots are great for this to show how the cheese fits in with everything.
- Have tools ready to tweak things like melting bits or crumbs so it all looks just right.
- And don’t forget to take pics throughout cooking to show how the dish comes together.
Cheese for Ads and Promos
When you’re shooting cheese to sell:
- Make sure you have good, bright lighting so your photos really stand out.
- Set up the cheese with stuff that goes well with it—that gives people ideas of how to use it or what to eat it with.
- Use focus tricks to make the cheese the star but still show a hint of the background.
- Adding people or hands touching the cheese can give it some action and scale.
Cheese Photography for Magazines
When cheese is being featured in magazines, you want it to look genuine:
- Pick a place for your photo that tells a bit about where the cheese is from.
- Go for lighting that’s a bit softer and comes from one side to give the photo some mood with shadows and depth.
- The props should be simple and just there to support the cheese, not take over the shot.
- Get close-ups to show off those textures and special touches that say ‘this was made by hand.’

About Author
Rachel Noël is a professional photographer and videographer from the UK with over 10+ years of experience. Rachel specializes in Underwater, Tavel & Portrait photography among other areas.
