Key points
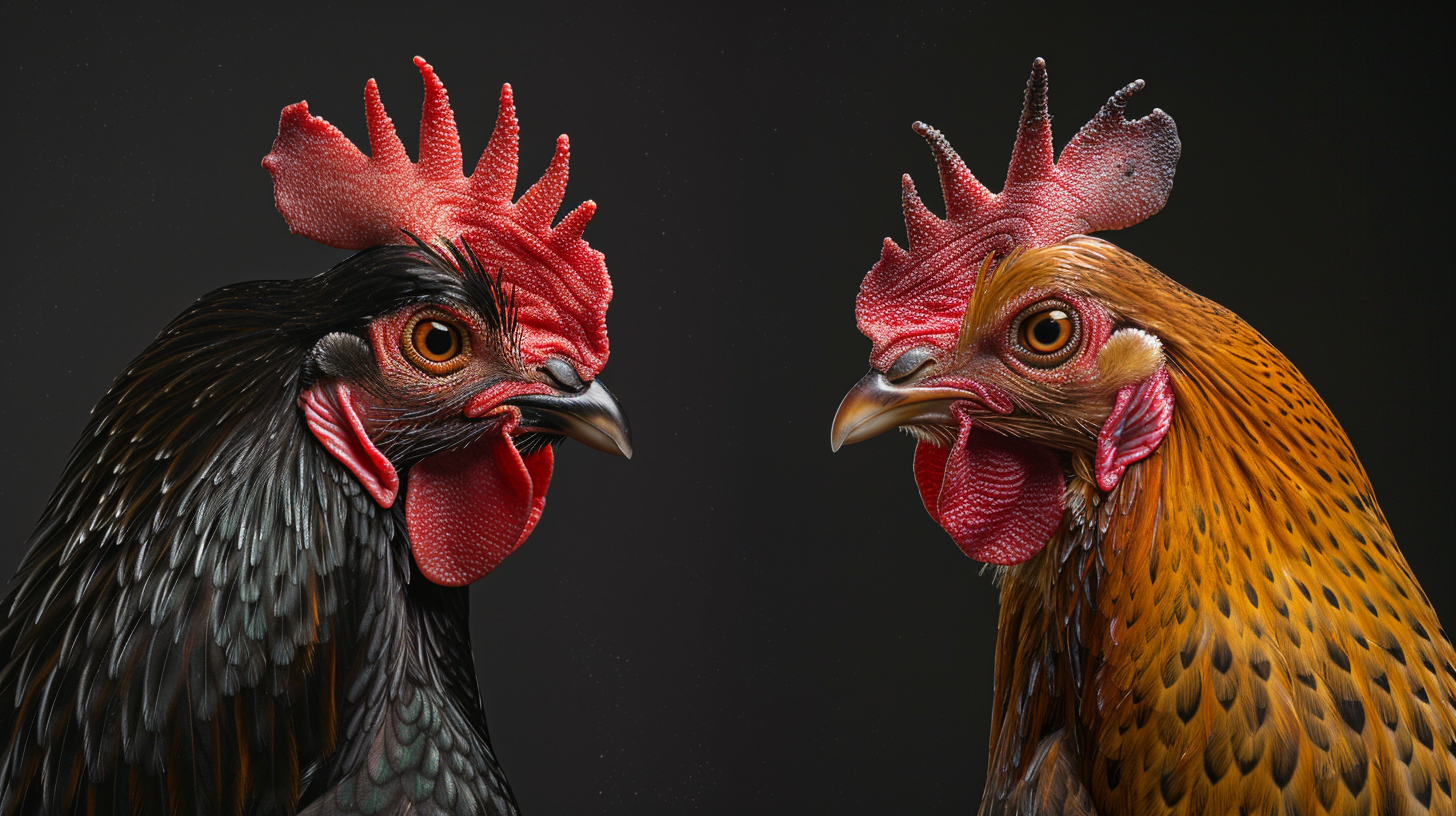
• Lighting: Good lighting is key to showing off the chicken’s texture and color in photos, making it look yummy. Natural light is best because it’s gentle and shows the details.
• Styling: It’s important to make the chicken look good. Think about the layout, use garnish, and choose props that go well with the chicken but don’t take away from it.
• Angles: The right angle makes a big difference in food pictures. Overhead shots are great for seeing the whole meal, while side views add depth and highlight how thick or layered the chicken is.
Contents
- Key points
- Natural Light and Its Impact on Chicken Presentation
- How to Light up Your Chicken Photos
- Choosing Props and Backgrounds for Chicken Photography
- How to Plate and Garnish Chicken Dishes
- Tips for Editing Food Photos
- Exploring Food Photography: Chicken as the Star
- Case Studies: Spotlight on Exemplary Chicken Imagery
- Breaking Down Composition and Lighting
- Dissecting Image Editing Methods
Camera Selection for Poultry Photography
Picking a camera for snapping pictures of juicy chicken isn’t easy. You need one that gives sharp images but doesn’t cost too much. A full-frame DSLR is really good because it has a big sensor, but a small mirrorless camera is easier to carry around.
Lenses Suited for Chicken Dish Close-Ups
The right lens is super important for close-up shots of chicken dishes. Macro lenses are perfect for this. They let you zoom in on all the tasty details of the chicken without making the image blurry.
Tripods and Stabilization for Sharp Chicken Images
You don’t want a fuzzy photo of your chicken! Tripods help keep your camera still so your pictures are clear. If you can spend a bit more, get a tripod with a fluid head. It’ll let you smoothly adjust the camera to find the best angle for your chicken pictures.
Natural Light and Its Impact on Chicken Presentation
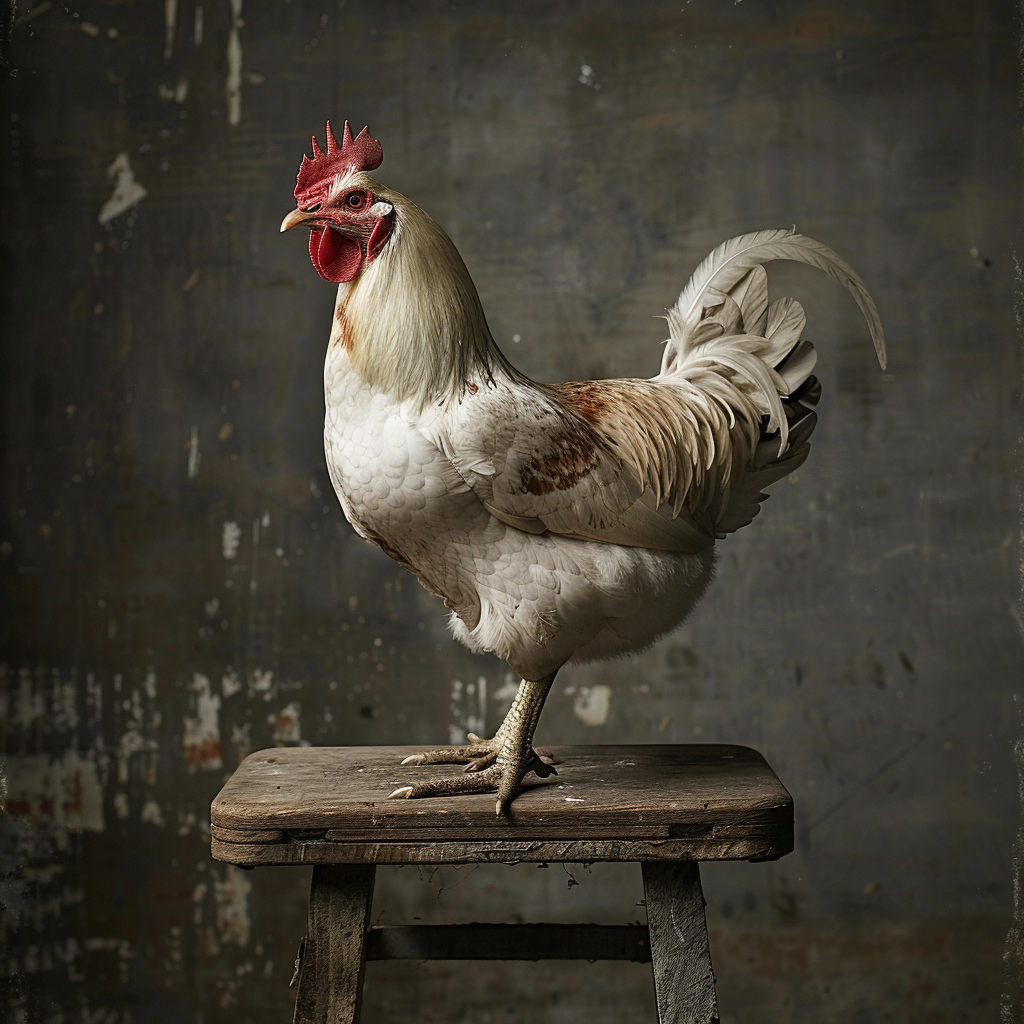
Using sunlight to light up food photos, especially chicken, can have a big impact. Sunlight’s soft and spread-out light makes the chicken look juicy and gives it light shadows that give a sense of depth. Plus, it brings out the golden brown colors in the chicken’s skin, making it even more inviting.
Benefits of Using Natural Light:
- It doesn’t cost anything and you don’t need fancy tools.
- Sunlight gives a real ‘sitting at the table’ feeling.
- It shows off the chicken’s true colors and surfaces.
Challenges with Natural Light:
- The light keeps changing with the weather and as the day goes on.
- Without curtains or boards to bounce light, controlling how bright the photo is can be tough.
How to Light up Your Chicken Photos
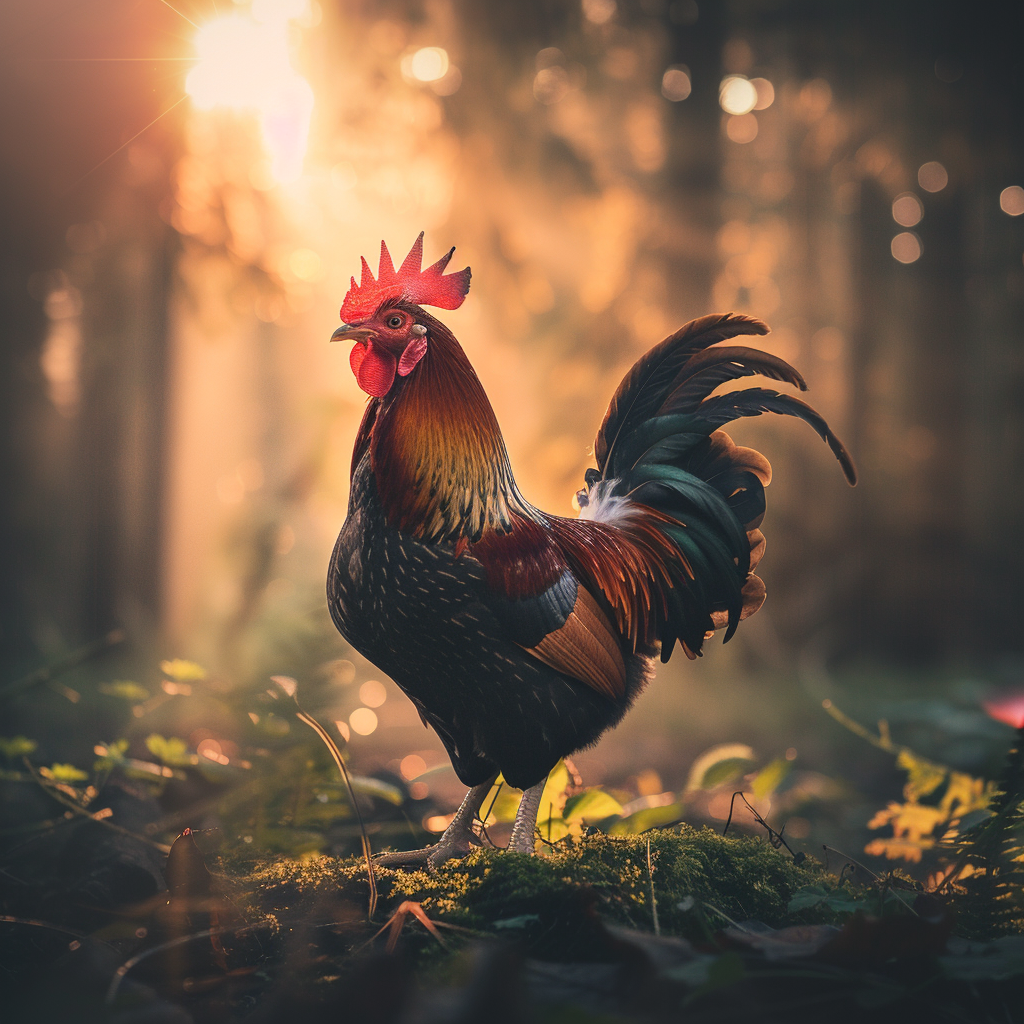
Even though natural light has its perks, you just can’t beat artificial light when you need control and steadiness. If you want your chicken’s texture to pop—for example, the crunch of roasted skin or sticky wings—artificial light is a must. With it, you can play around with shadow and highlight to bring out the dish’s shape and details.
Essential Artificial Lighting Tricks:
- Bright direct lighting: It’ll give you some dynamic shadows and make textures stand out more.
- Gentle diffused lighting: This smooths out sharp shadows and stops shiny or wet areas from glaring too much.
Different Kinds of Fake Lights:
- Strobe lights in a studio: These flash out a strong burst of light which is great for a freeze-frame effect.
- Lights that stay on: They let you see changes in real time, ensuring what you see is what you get.
If you mess around with angles and brightness levels, fake lighting can show off parts of the chicken you’d usually miss. But it’s a delicate dance—you blow away small details with too intense a light while going too dim might make tasty bits fade into darkness.
Framing Your Plate With the Rule of Thirds
To make your chicken plate look extra good, try framing it with the rule of thirds. Imagine your picture sliced up by two horizontal and two vertical lines into nine squares. Place the key parts of your meal along these lines or at the cross sections. This makes for a nicely balanced scene that naturally gets viewers looking where you want—at the juicy bits of your chicken dish. You could snuggle a leg piece along one of the vertical lines, maybe tossing some herbs or spices at the intersections for extra zing in your snap.
The Right Angles for Mouth-Watering Chicken Pics
A killer angle is key to flaunting your chicken’s best features. Different angles unveil details and depth. Here’s a rundown:
- Top-down shots: Great for seeing the full spread and sides—perfect if your meal is all over the table.
- Side viewing angle: When you want to spotlight moistness and stack height in something like a chicken sandwich, go from the side. That way, you show off all the tasty layers.
- Slightly tilted view: Tilt your camera for a bit of overhead and side views together, serving up an energetic and rounded impression of your meal.
Play with different levels and distances to find fresh looks. Still, keep the focus on the star—your chicken. Don’t get sidetracked by minor things. Angular variations help point out the best features right off the bat.
Show off your chicken so it’s drool-worthy in photos. Think about how you cooked it—roast birds tend to look better than boiled thanks to their golden colors. Don’t hesitate to brush a bit more oil or sauce on for that tempting shine. For pieces with skin, get that skin nice and crispy all over, and make sure you display its most delicious angle. Lift the chicken up with some scrunched foil if you need more depth before you snap away.
Choosing Props and Backgrounds for Chicken Photography
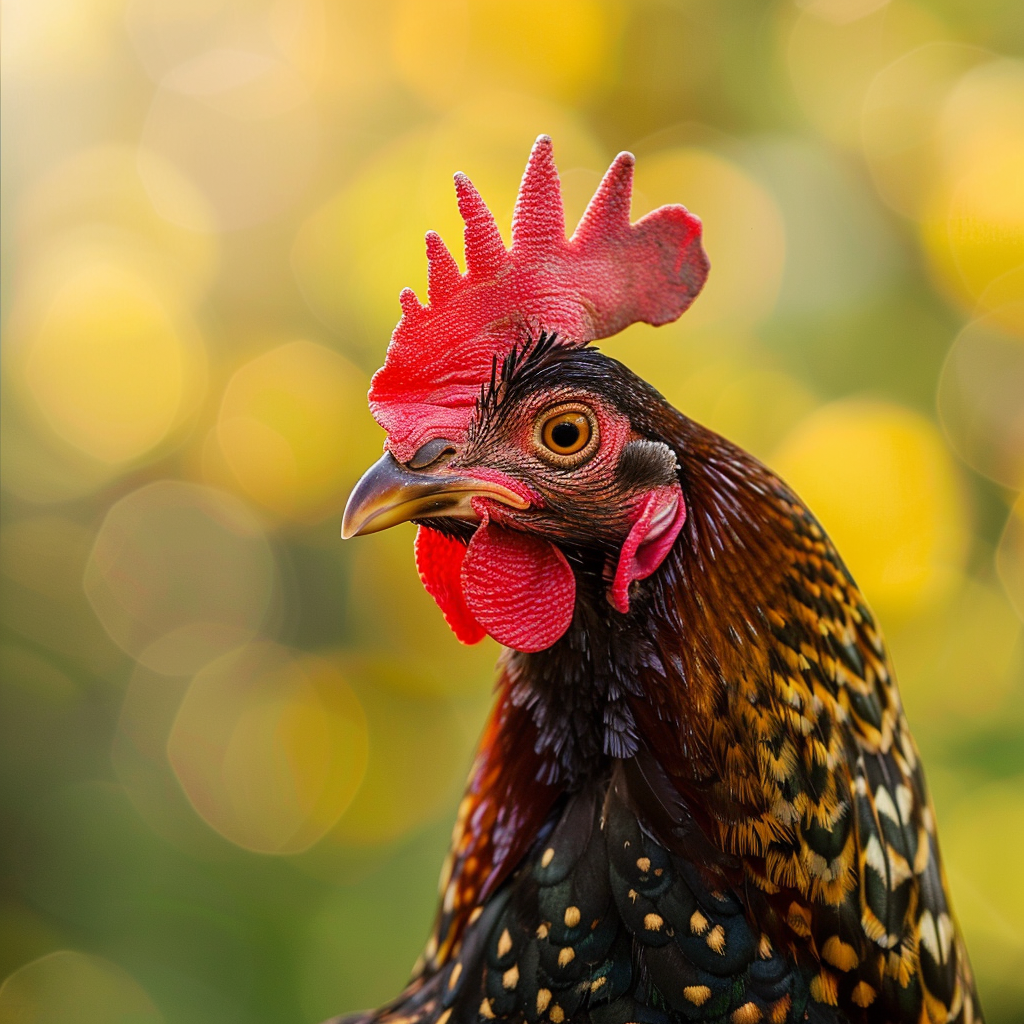
When you choose the right props and backgrounds, your chicken photos can really pop. Keep these tips in mind:
- Go for dishes and utensils that highlight the chicken without dominating it. Stick with simple colors that make the dish shine.
- The feel of texture is key; try using wooden planks or old-fashioned metal dishes to give a cozy vibe, or pick a shiny ceramic for a sleek look.
- Your backgrounds should be simple and complement the chicken’s colors. A plain tablecloth or a bare backdrop will do the trick.
How to Plate and Garnish Chicken Dishes
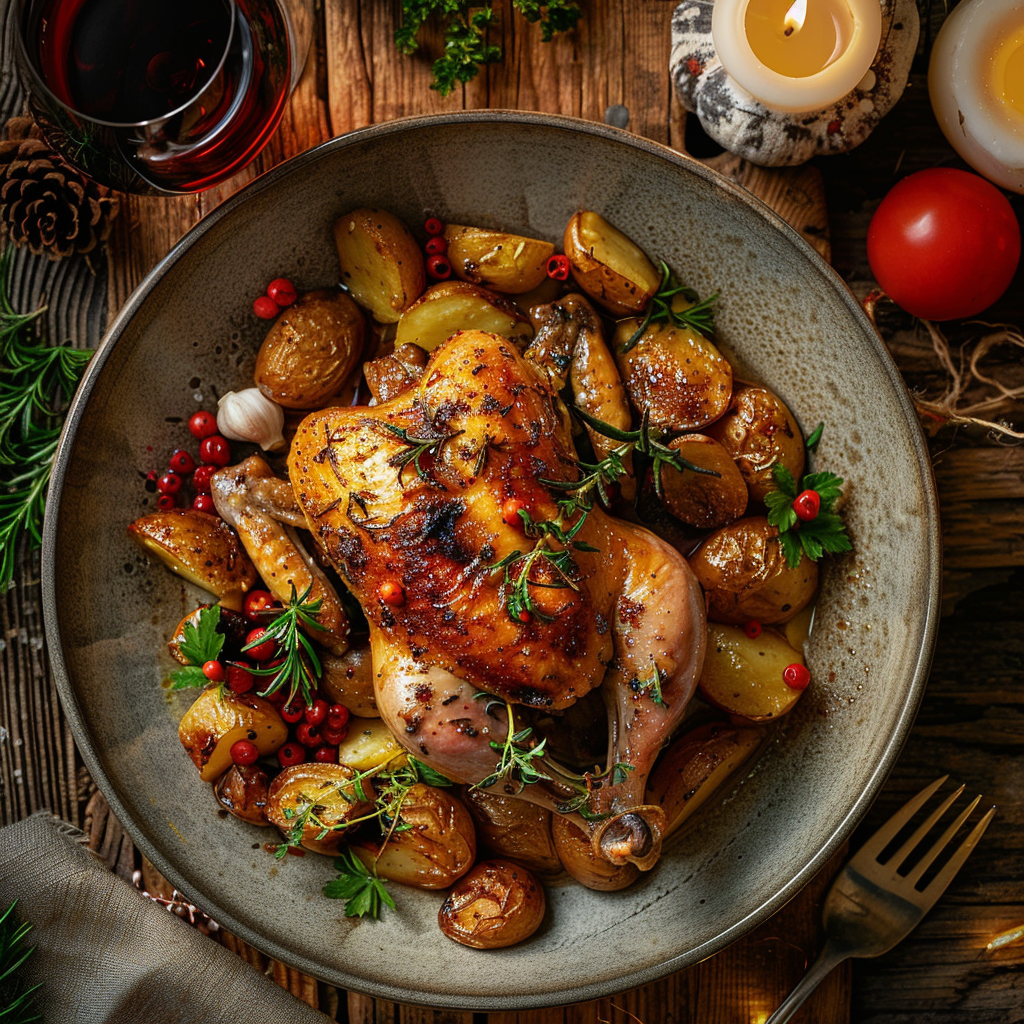
It’s important to make your chicken dish look good on the plate. Make sure there’s space around the chicken so it stands out. Arrange your side dishes like veggies or rice to make everything look nice together. Think about how the colors and shapes will look next to each other, and play with different heights on the plate.
When you add garnishes, toss some finely cut herbs or sprinkle a bit of fancy salt right before serving. This keeps them looking fresh and colorful. Put a few lemon slices or sprigs of herbs on the plate carefully. You want to decorate your dish without taking the spotlight away from your chicken.
Tips for Editing Food Photos
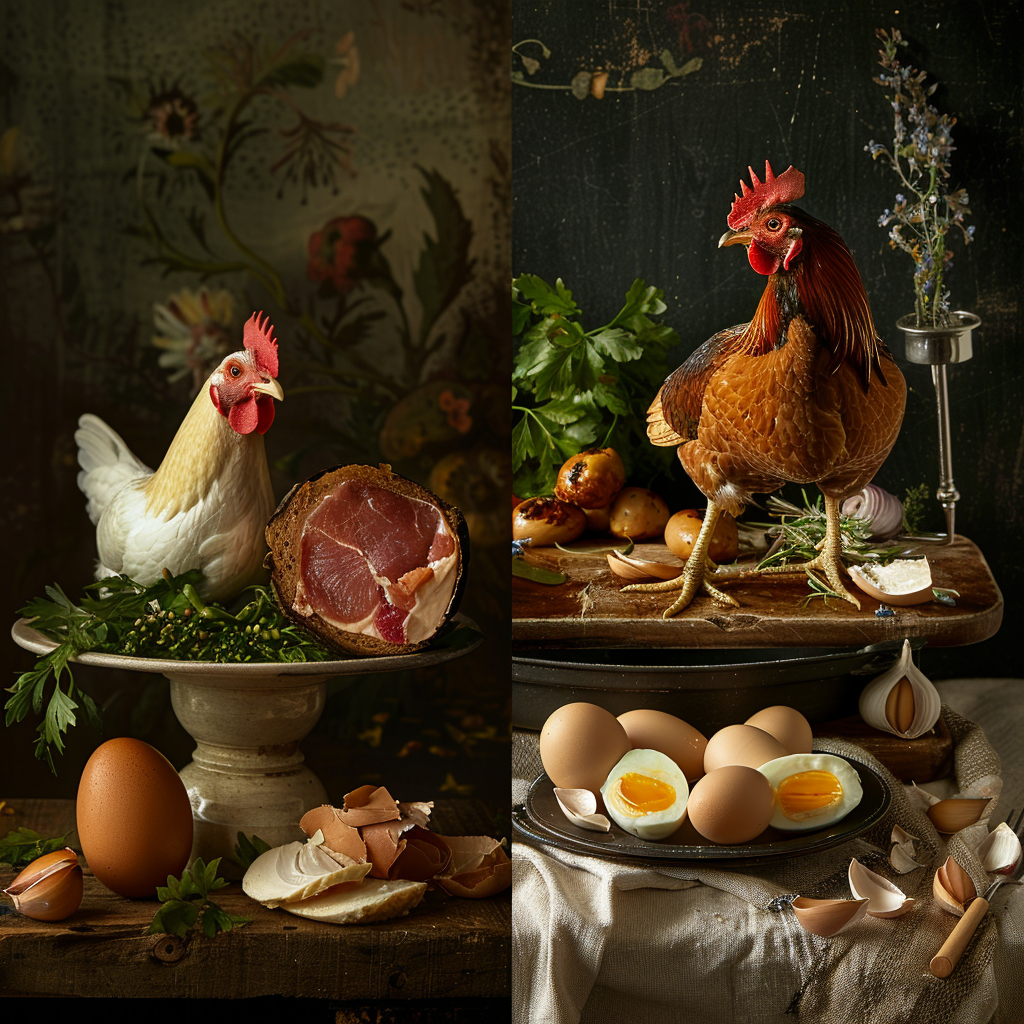
Capturing the ideal food photo, like of a chicken dish, takes expertise both at the moment of the photo shoot and later when tweaking it. Editing is essential to make your chicken images irresistible.
Making Chicken Look Good With Color Tuning
Getting the color spot-on is key to make your chicken look appealing in pictures. The right shades of golden brown and amber are the difference between a picture that makes you hungry and one that falls flat. Keep in mind these points:
- Tweak the white balance so the chicken’s true colors shine without any fake-looking tones spoiling your image.
- Up the saturation just a bit to bring out those warm shades but don’t go overboard or the chicken could end up looking phony.
- If needed, adjust the hue sliders carefully to find the most enticing color combo.
Editing Tricks for Perfect Chicken Photos
A little retouching can change an okay chicken picture into a stunning one. It’s about perfecting small details so nothing distracts from your main focus: the chicken. Try these techniques:
- Use tools like spot healing to get rid of any unsightly marks or spots on the chicken that might ruin its juicy look.
- For parts where the chicken has become too dark or light, use dodge and burn to bring back those lost details.
- Apply sharpening sparingly to highlight the chicken’s edges and skin so they pop but don’t look too harsh or pixelated.
Remember, editing should be subtle. You’re aiming for an image that looks as tempting as the actual dish. Keep in mind that practice leads to improvement, so go ahead and try out various editing methods until you nail down what suits your food photography style.
Exploring Food Photography: Chicken as the Star
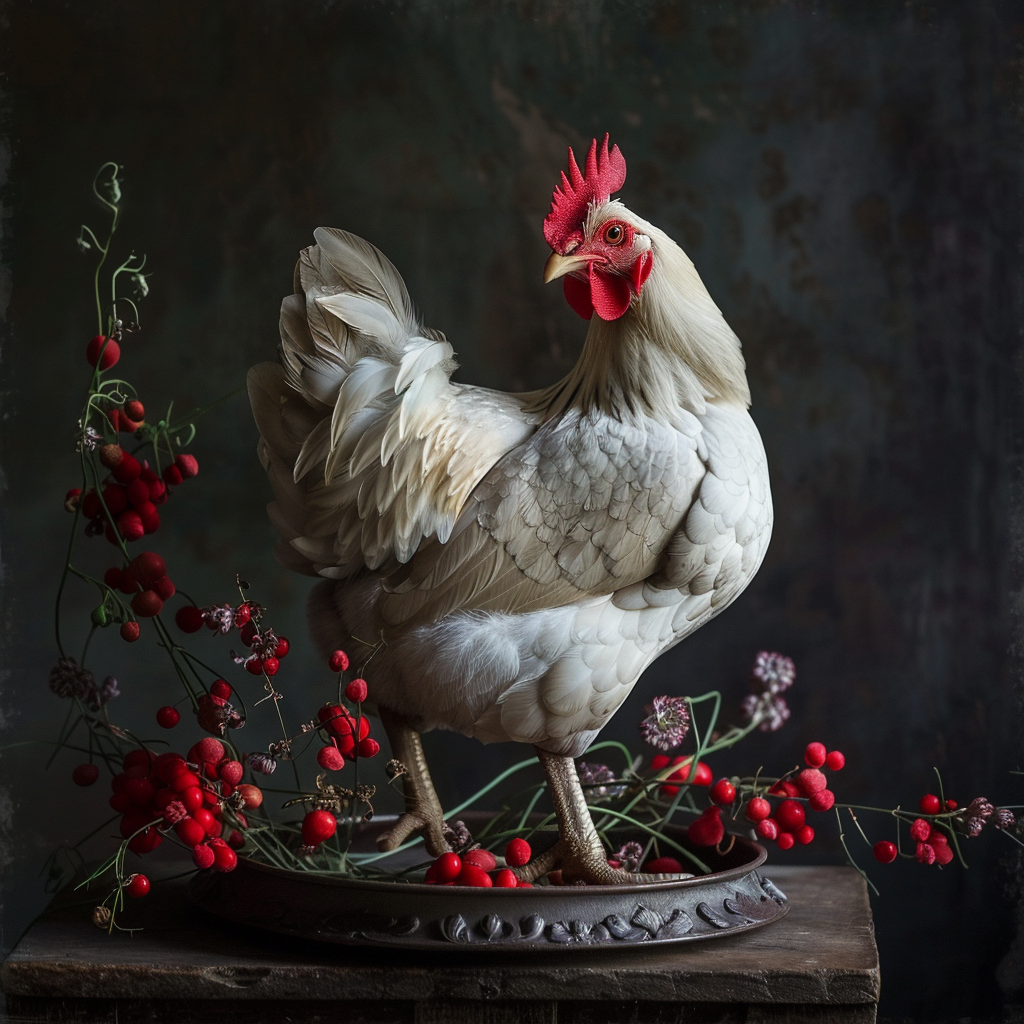
When it comes to food photography, chicken often grabs the spotlight. How your dish looks is just as important as how it tastes. Snapping a photo that makes chicken look juicy and inviting is a true craft. It involves knowing how to arrange your shot, play with light, and tweak the image afterwards. Let’s get into the nitty-gritty of taking chicken photos that will catch everyone’s eye.
Case Studies: Spotlight on Exemplary Chicken Imagery
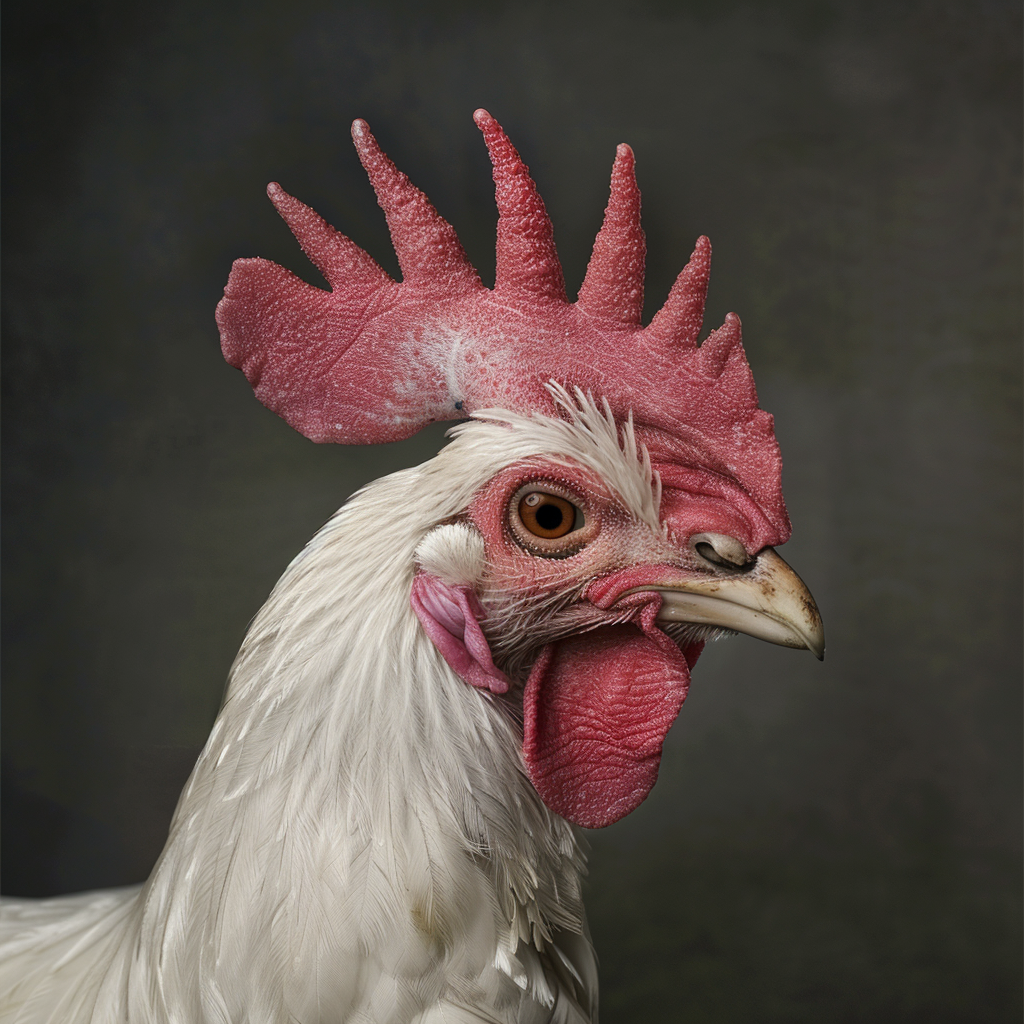
Examining case studies of top-notch chicken photography, it’s clear how experts take ordinary chicken dishes and turn them into eye-catching pictures. They excel at showing off the different surfaces and the inherent shine of the meat. Whether it’s a perfect golden-brown chicken on an old-fashioned table or a snap of it frying in a pan, these examples teach us the tricks of setting up and showcasing food pictures that really pop.
Breaking Down Composition and Lighting
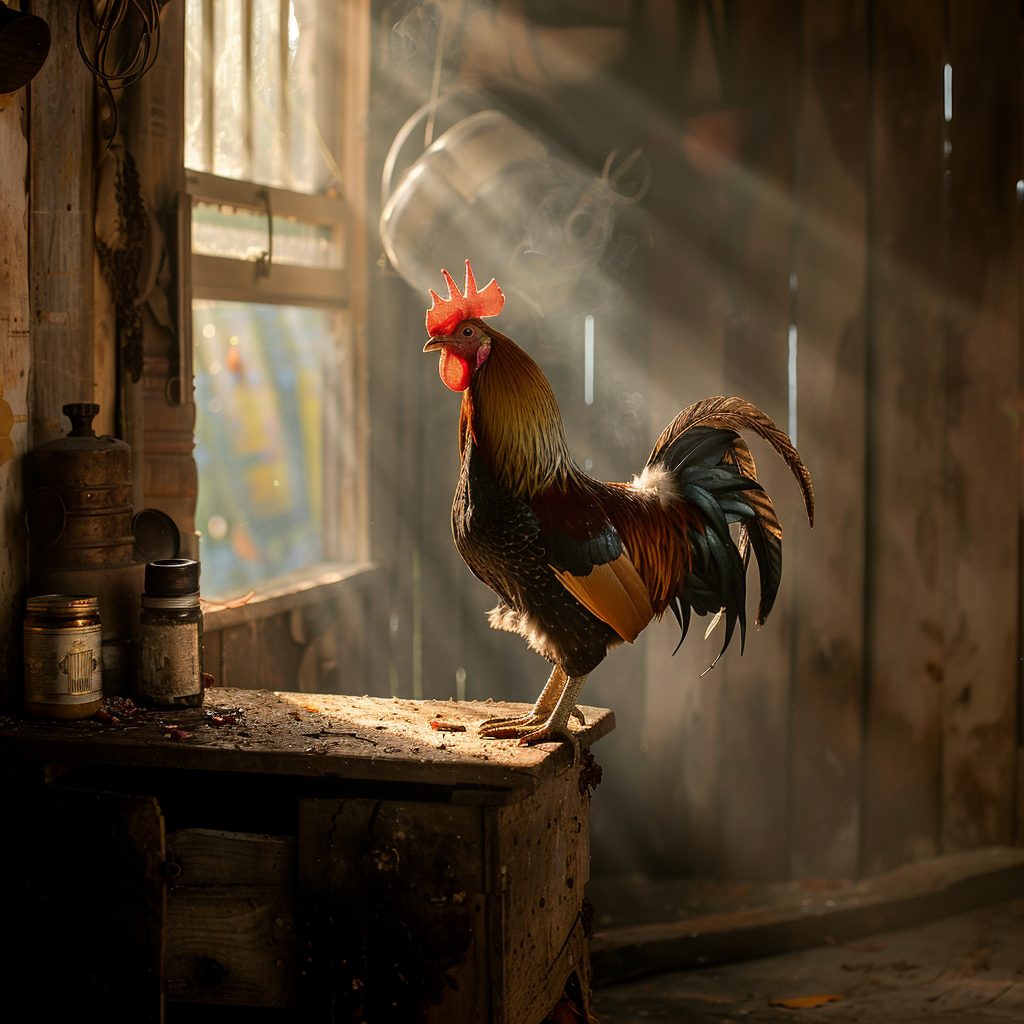
In food photography, getting the right composition and lighting is crucial. When taking pictures of chicken, the pros arrange everything in the shot carefully to make sure your eyes follow a path. They also play with light to throw some tempting shadows and shine on the food. By using methods like dividing the image into thirds or drawing your attention with lines, they make the photo look well-balanced and eye-catching. Often, they’ll use light coming from the side or soften bright daylight to really show off the chicken’s texture and make you want to dig in.
Dissecting Image Editing Methods
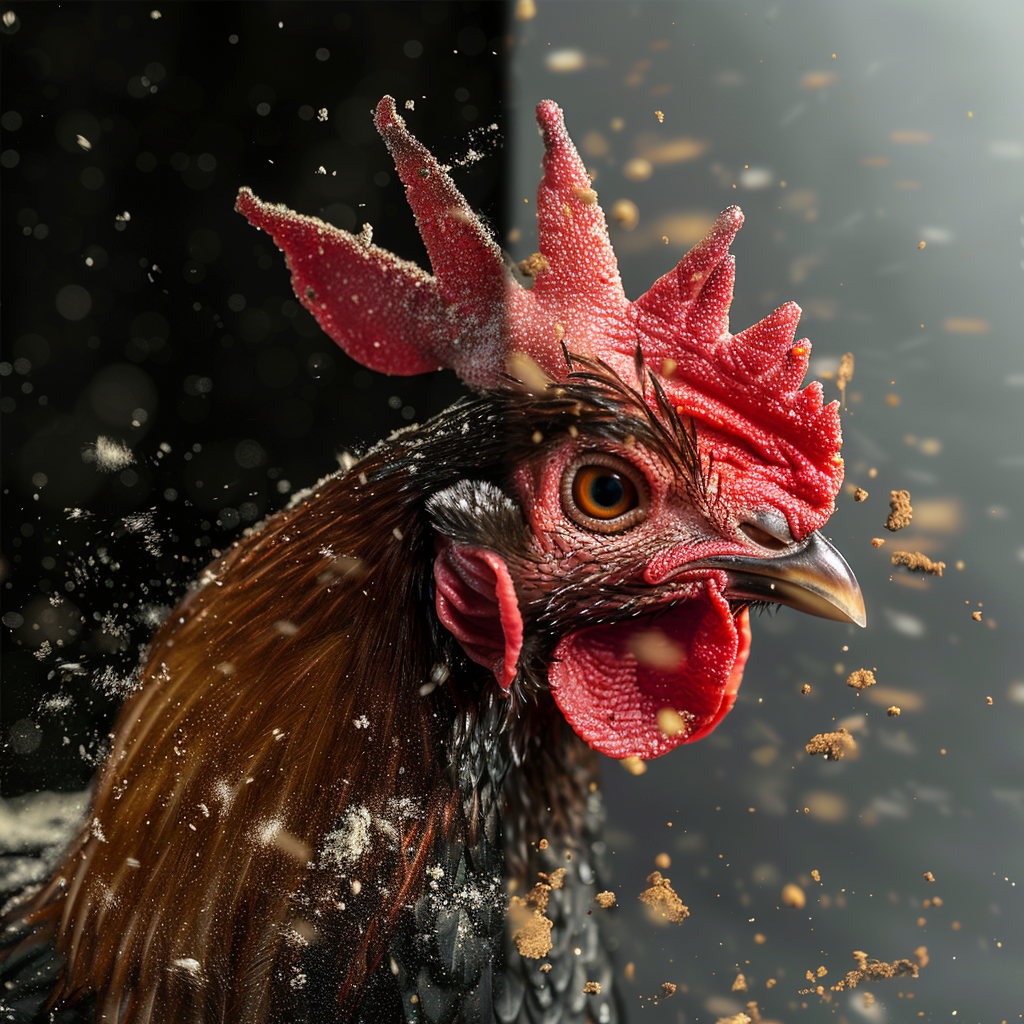
Digging into how people edit pictures of chicken helps us get why pros’ photos look so good. Fixing the colors adds a cozy feel, making the meal seem hot and yummy. They use a careful sharpening to show off the details but avoid adding grainy bits. Now and then, they’ll blur stuff in the back so the chicken stands out more. All these little edits wrap up the photo, making sure things like the crunchy skin and little green herbs look spot on.

About Author
Rachel Noël is a professional photographer and videographer from the UK with over 10+ years of experience. Rachel specializes in Underwater, Tavel & Portrait photography among other areas.
