Key points
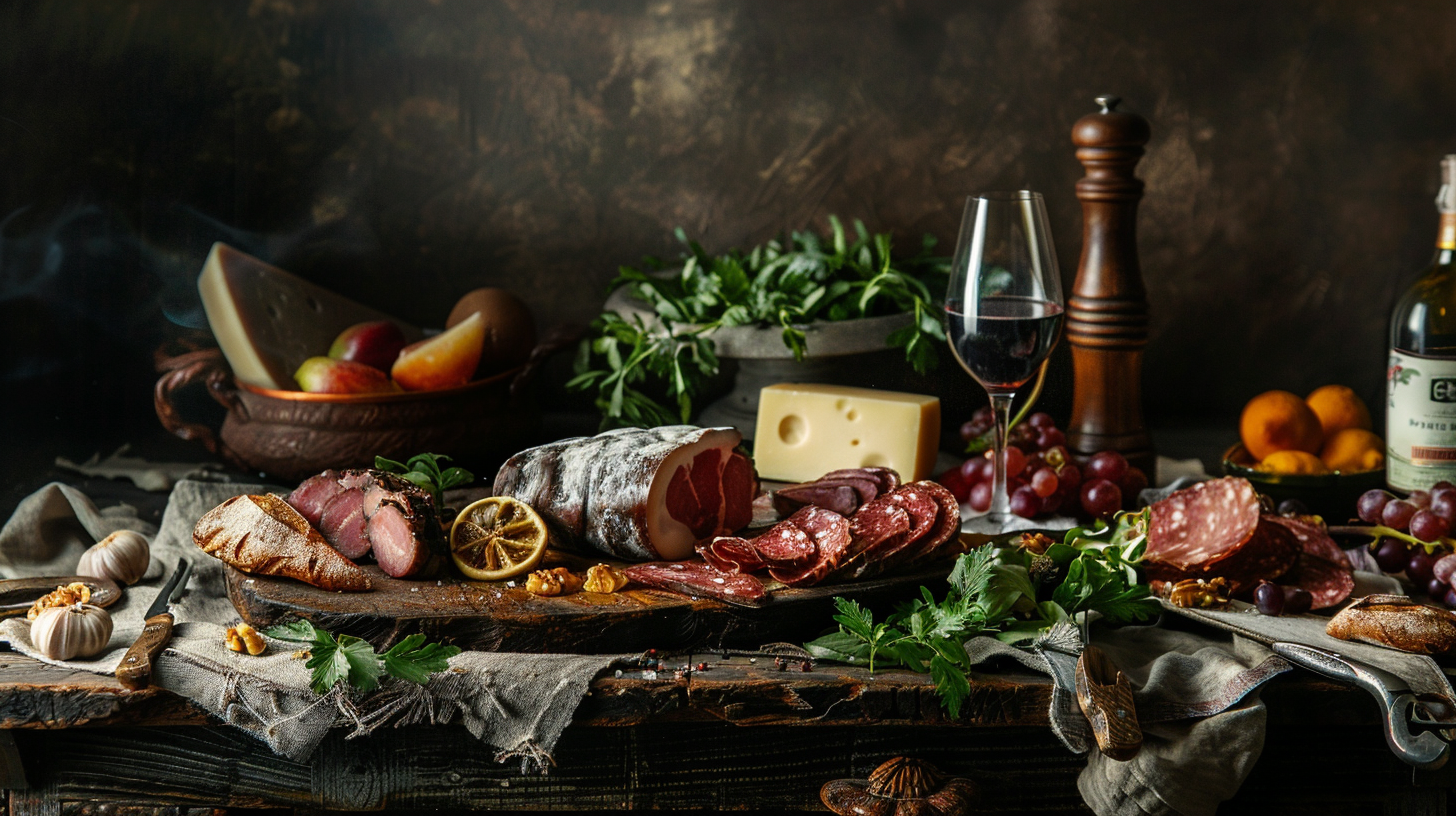
• Bold Lighting: Use lighting that has strong differences between light and dark, like side or backlighting, to make deep shadows and show off the texture. This gives your food photos a more dramatic and emotionally charged look.
• Vibrant Colors: Pairing opposing colors can really make your dishes pop. You can stir up feelings by using colors that are opposite on the wheel or stick to one color with a surprising splash of a different hue for effect.
• Layout and Perspective: Pick unusual views and pay attention to how you place stuff in the shot. Doing this can spice things up, lead someone’s gaze right to the grub, and put it center stage in your snapshot.
Contents
- Key points
- Exploring the Impact of Dramatic Food Photos
- The Importance of Mood and Atmosphere in Food Photography
- Overview of Chiaroscuro
- Basic Tips for Bright Photos
- Simple Tricks
- Historical Background of Chiaroscuro in Art
- Using Chiaroscuro in Food Photography
- Lighting Setups for Achieving Chiaroscuro Effects
- Camera Settings and Lens Choice for Chiaroscuro Style
- Improving Light and Shadow in Food Photos After the Fact
- What is High Key Photography?
- The Role of Light and Shadow in High Key Images
- Bright Lighting Tricks for Snapping Pics of Grub
- How to Set Your Camera for Bright Food Photography
- Tips for Editing Bright Food Photos
- Getting to Grips with Low Key Photography and Its Vibe
- Simple Tips for Dark Food Photography
- Camera Settings for Low Key Images
- Negative Space in Dark Food Photos
- Editing Food Photos After the Shoot
- Exploring Dramatic Food Photography
- Mastering the Art of Food Photography
- Tricks of the Trade
Exploring the Impact of Dramatic Food Photos
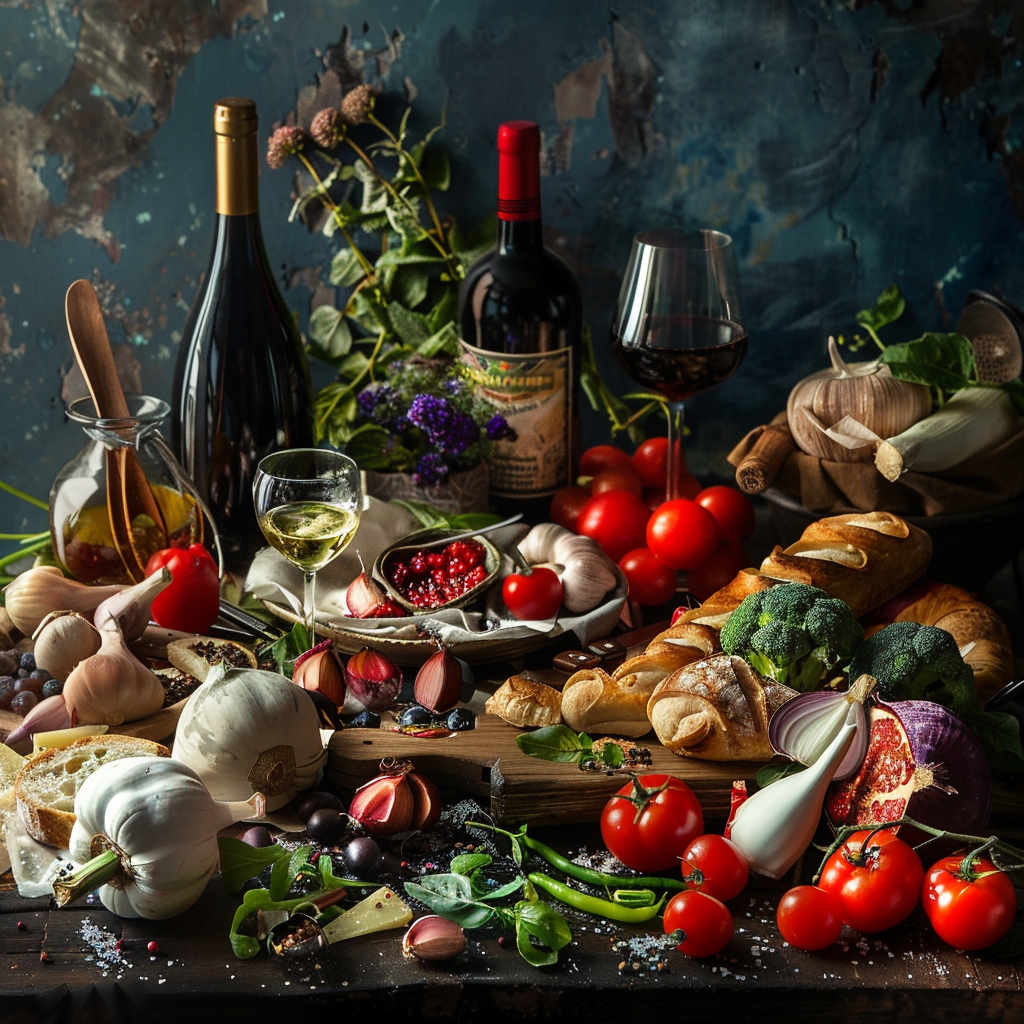
Dramatic food photography goes beyond just taking pictures of food. It’s about capturing the food’s soul and making it look stunning. Photographers work to create a specific feeling or tell a story through the image, focusing on things like contrast, shadows, light, and how they arrange the shot.
This type of photography aims to get a strong reaction from people who see it. It’s not just about showing you what the food looks like, but also what it feels like—maybe cozy, tempting, or reminiscent of the past.
To make the food pop, photographers use striking colors, clear textures, planned lighting, and set up the scene with purpose. They want the food to be mouth-watering, sure, but also packed with personality that strikes a chord with viewers. Dramatic food photos are everywhere—ads, cookbooks, Instagram—and they turn an ordinary dish into a magical food adventure.
The Importance of Mood and Atmosphere in Food Photography
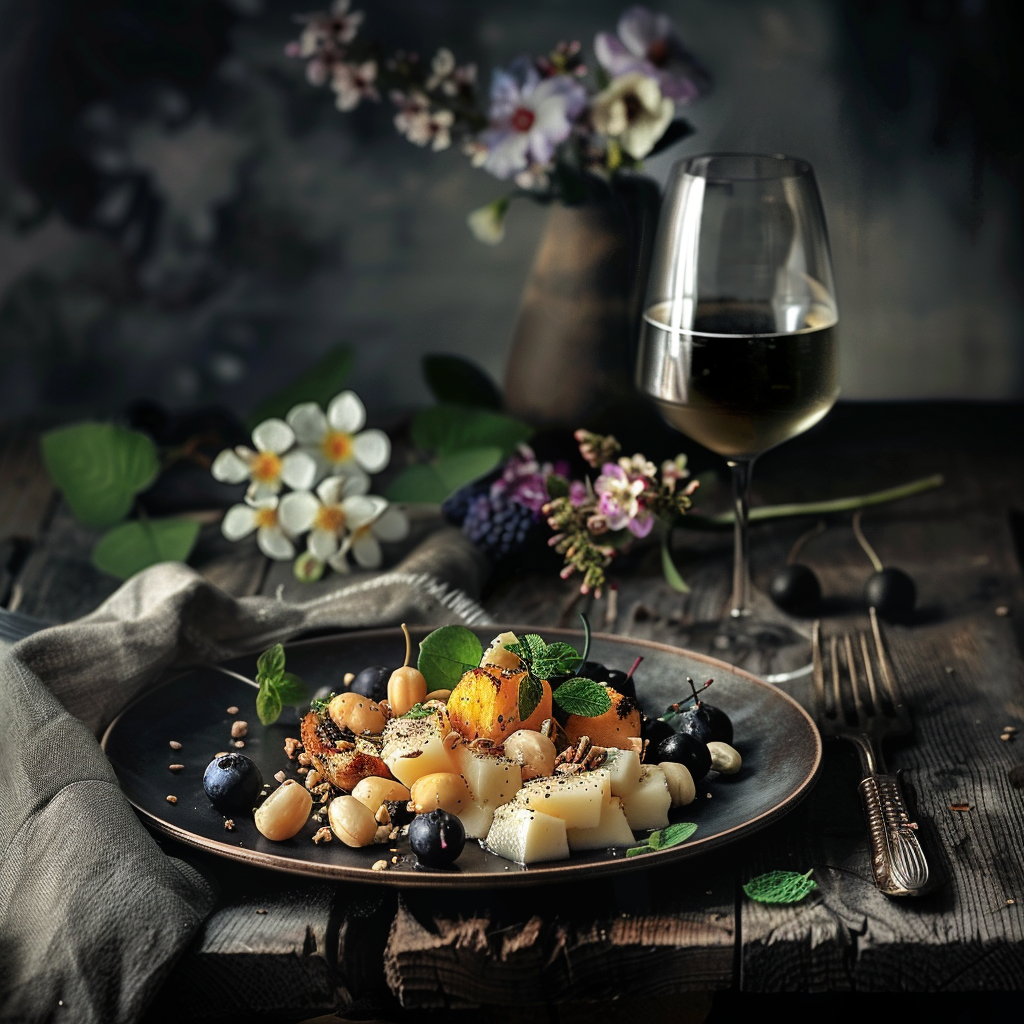
Mood and atmosphere are crucial in taking pictures of food. They help evoke certain feelings in the people who see these photographs. The success of food photography often depends on how well photographers can control mood and atmosphere to tell a story.
Creating the Right Mood
To get the mood just right for food photos, it’s important to pay attention to light, color, and how the food is arranged. Depending on the goal, whether it’s a warm and cozy feel or a bright celebration vibe, various elements must work together to bring out the desired emotion. For example, soft lighting with a yellowish glow can make people feel comfortable and remind them of good times.
Arranging the Scene
Choosing the right background and details on the set is also key for creating atmosphere. A rough wooden table or fancy tablecloth can change the whole look of the photo. Things like silverware and glasses help frame the food and make it more tempting.
Making It Feel Real
Besides what we can see, suggesting other senses like touch or taste can make a photo more powerful. Textures and signs of temperature, like steam or droplets, can make people think they can actually taste and feel the food even if they’re just looking at a picture or reading a magazine.
Wrapping Up
In the end, when mood and atmosphere in food photography are done well, they turn simple pictures into experiences. Such images invite us to not only look but to indulge in every detail we see. This shows just how important these elements are in taking great food pictures.
Overview of Chiaroscuro
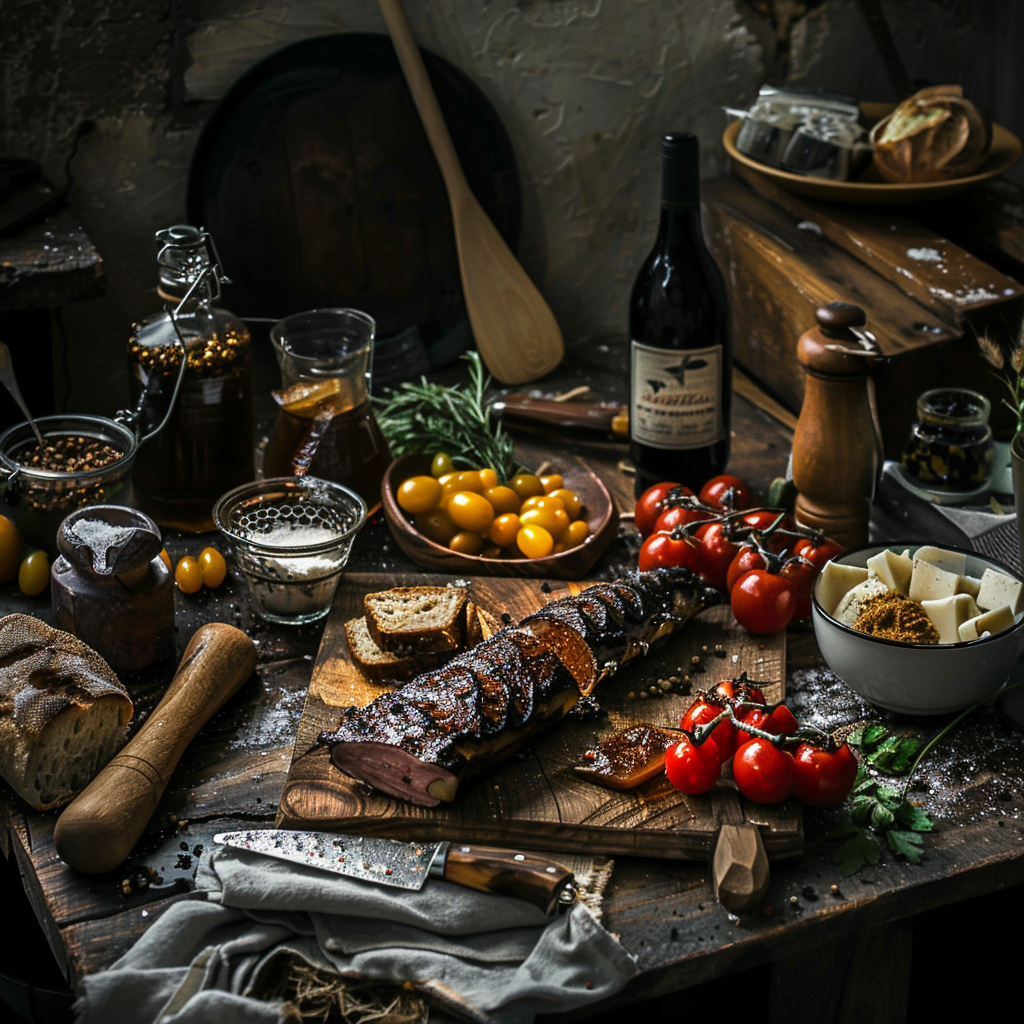
Chiaroscuro comes from the Renaissance era. It’s known for bold contrasts between light and shadow that give objects and figures a 3D look. This method really shines in food photography, where the play of shadows and light can show off the curves and details of the food, making the picture pop and sometimes giving it a dark, intense feel.
Basic Tips for Bright Photos
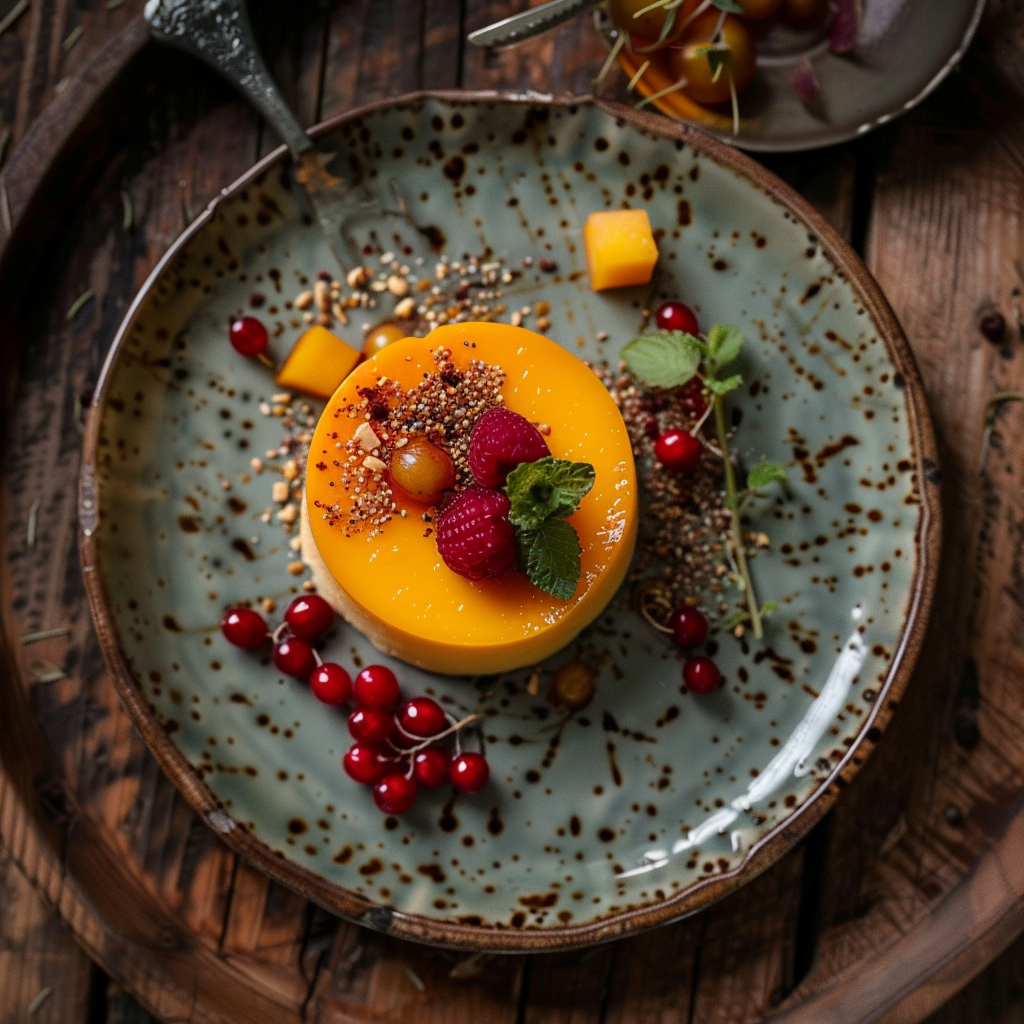
High key photography means filling the scene with a lot of light. This gets rid of dark shadows and doesn’t let strong contrasts form. Photos end up looking bright, breezy, and they give off a positive vibe. They usually have very little difference in tones and are pretty bright exposure-wise. Using this method can really make colorful meals standout and creates a simple, sleek style that fits well with today’s looks.
Simple Tricks
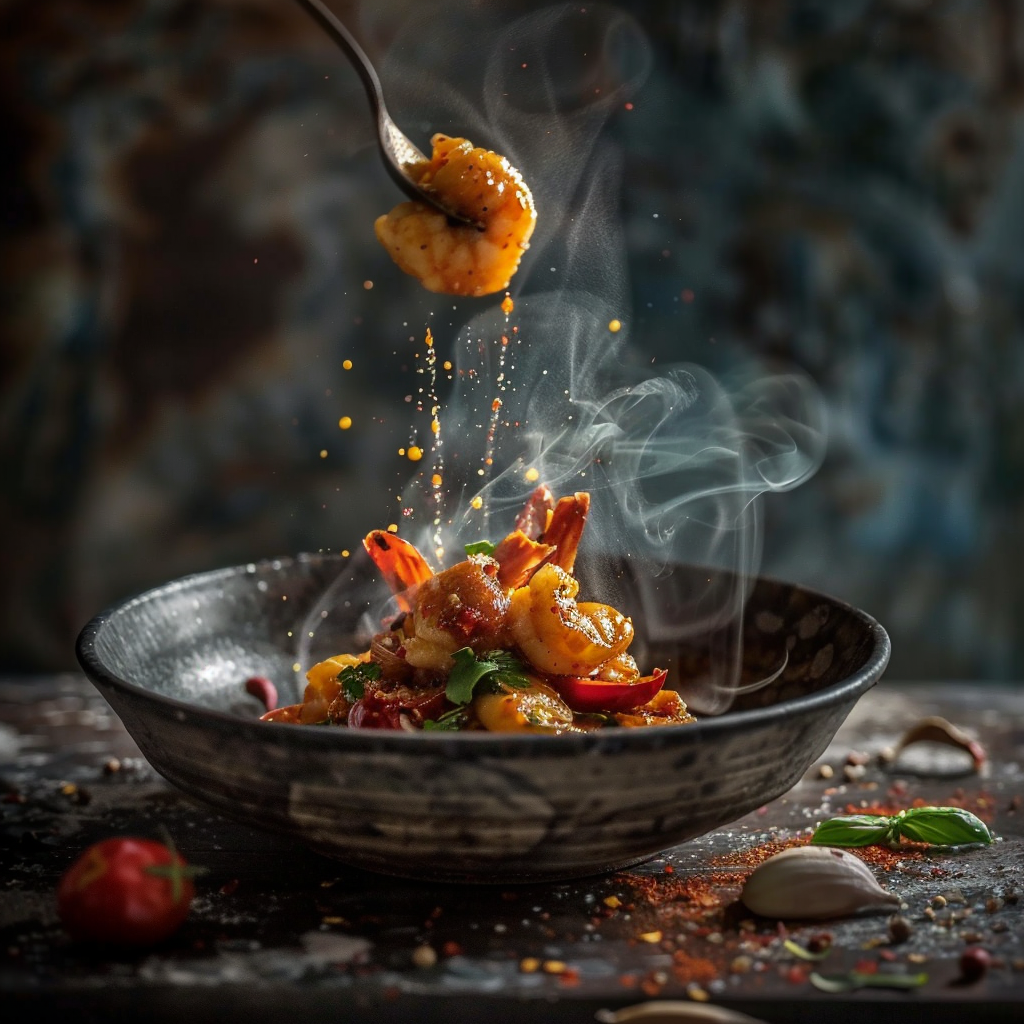
Unlike the bright and airy high key approach, low key methods lean towards darker shades and sharp contrasts. Pictures tend to show heavy shadows with bits of light highlighting the focal point. This approach crafts an enigmatic feel, stirring up a sense of drama and elegance. Photographers often use low key for spotlighting textures and details of food, allowing the rest of the scene to fade into a dim background.
Historical Background of Chiaroscuro in Art
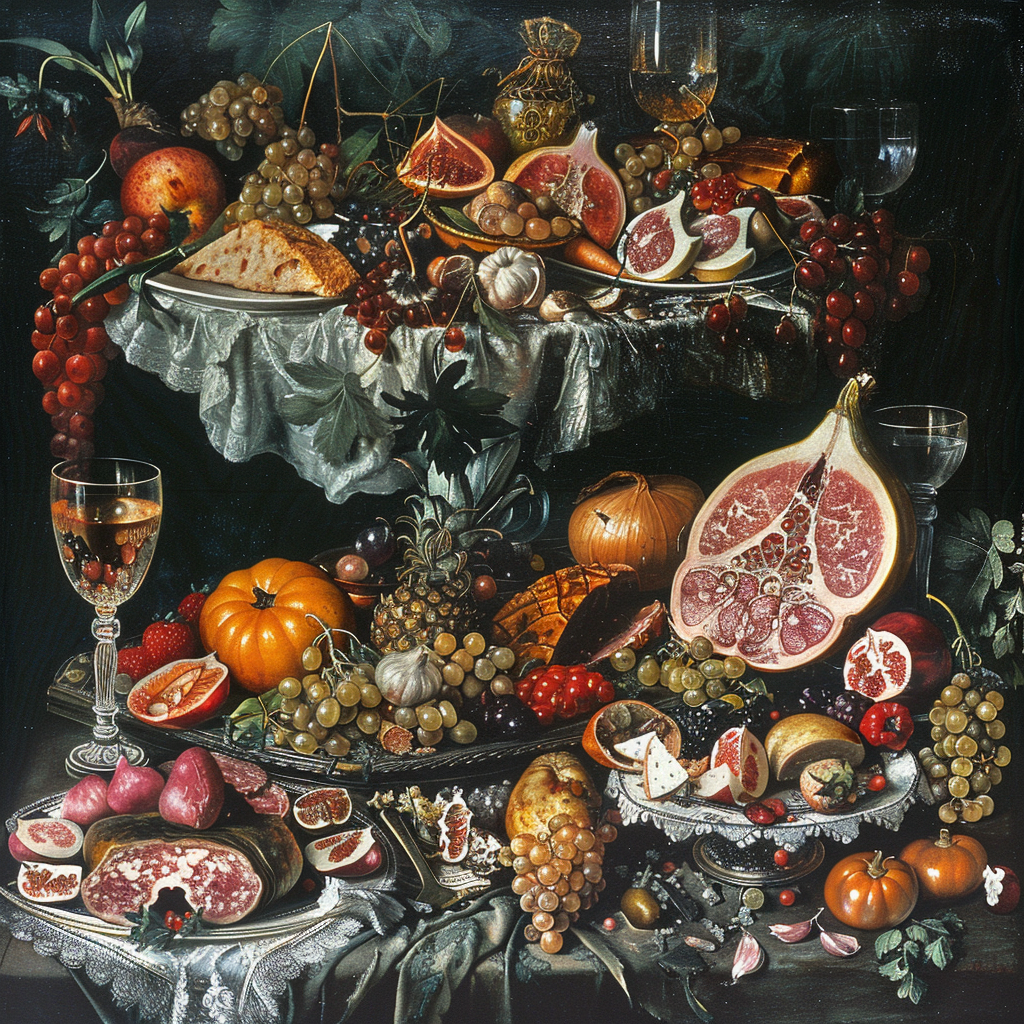
The art technique known as chiaroscuro started back during the Renaissance. Famous artists like Leonardo da Vinci and Caravaggio used it to create a strong contrast of light and dark in their paintings. This method gave their works a sense of depth and realism by highlighting the drama through these contrasts.
Using Chiaroscuro in Food Photography
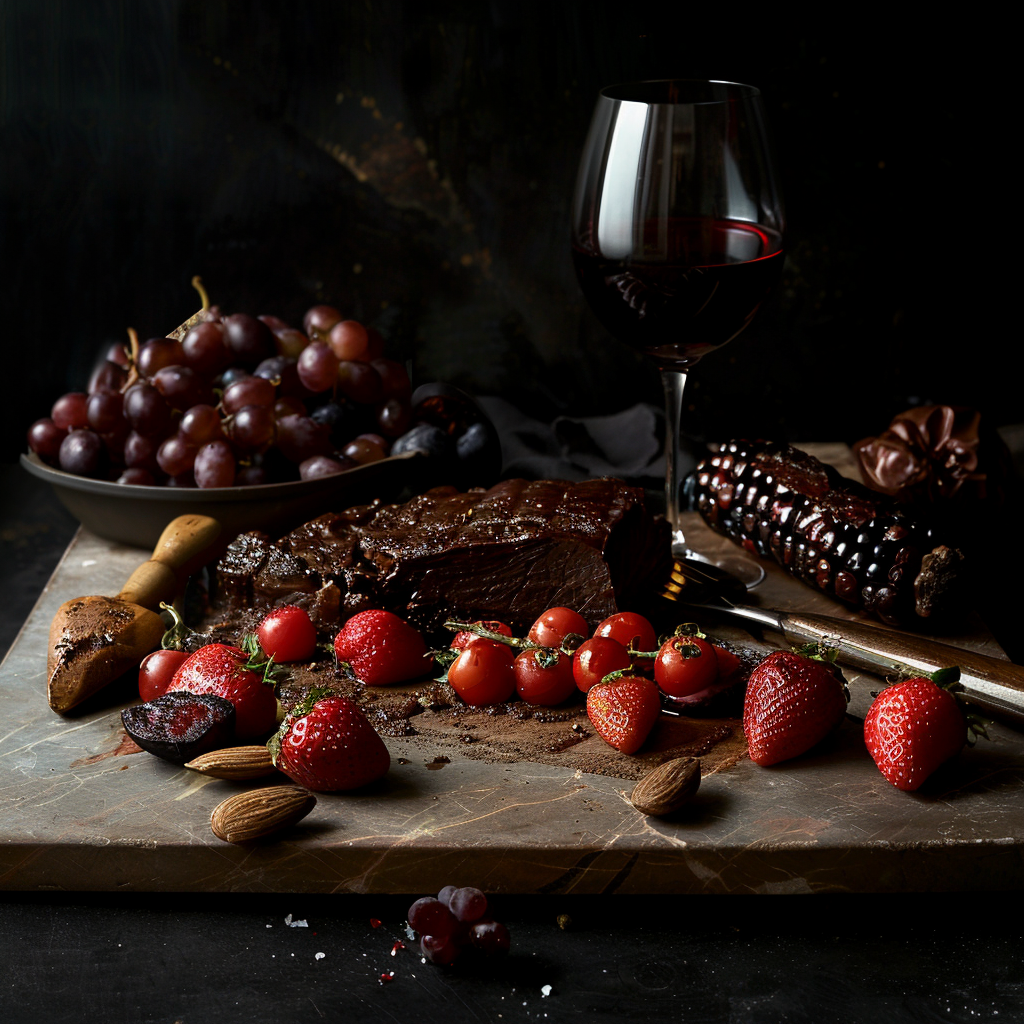
Using chiaroscuro in food photography makes the pictures pop with bold contrasts and a focal light on the dish. This technique brings out the texture and layers of the food, drawing viewers in. It’s a method that creates dramatic scenes, kinda like what you might feel looking at old masterpieces.
Lighting Setups for Achieving Chiaroscuro Effects
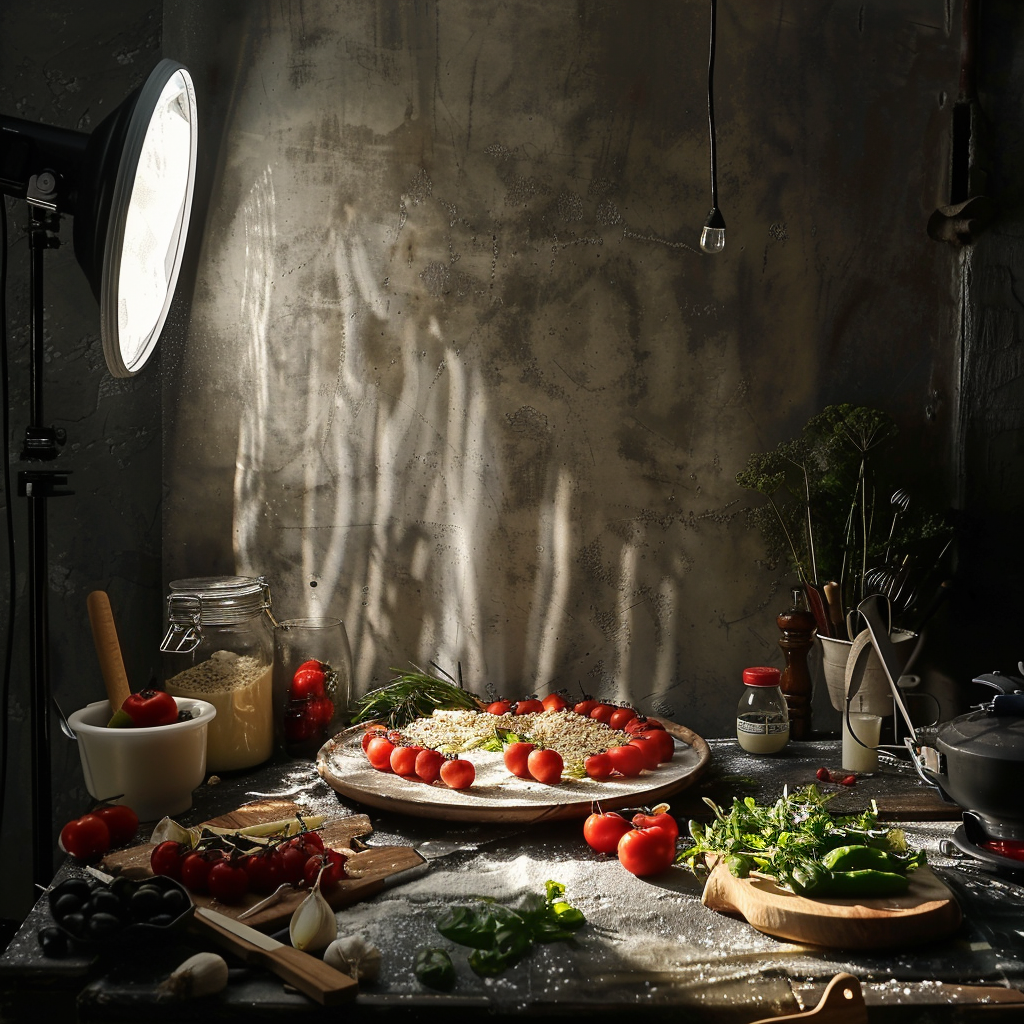
If you want to mimic chiaroscuro in your food photos, just use one light angled at your subject. This makes deep shadows and sharp bright spots. Throw in some diffusers or bounce cards to tweak that light—soften it up or bend it which way you like, really dial in on how stark you want those contrasts.
Camera Settings and Lens Choice for Chiaroscuro Style
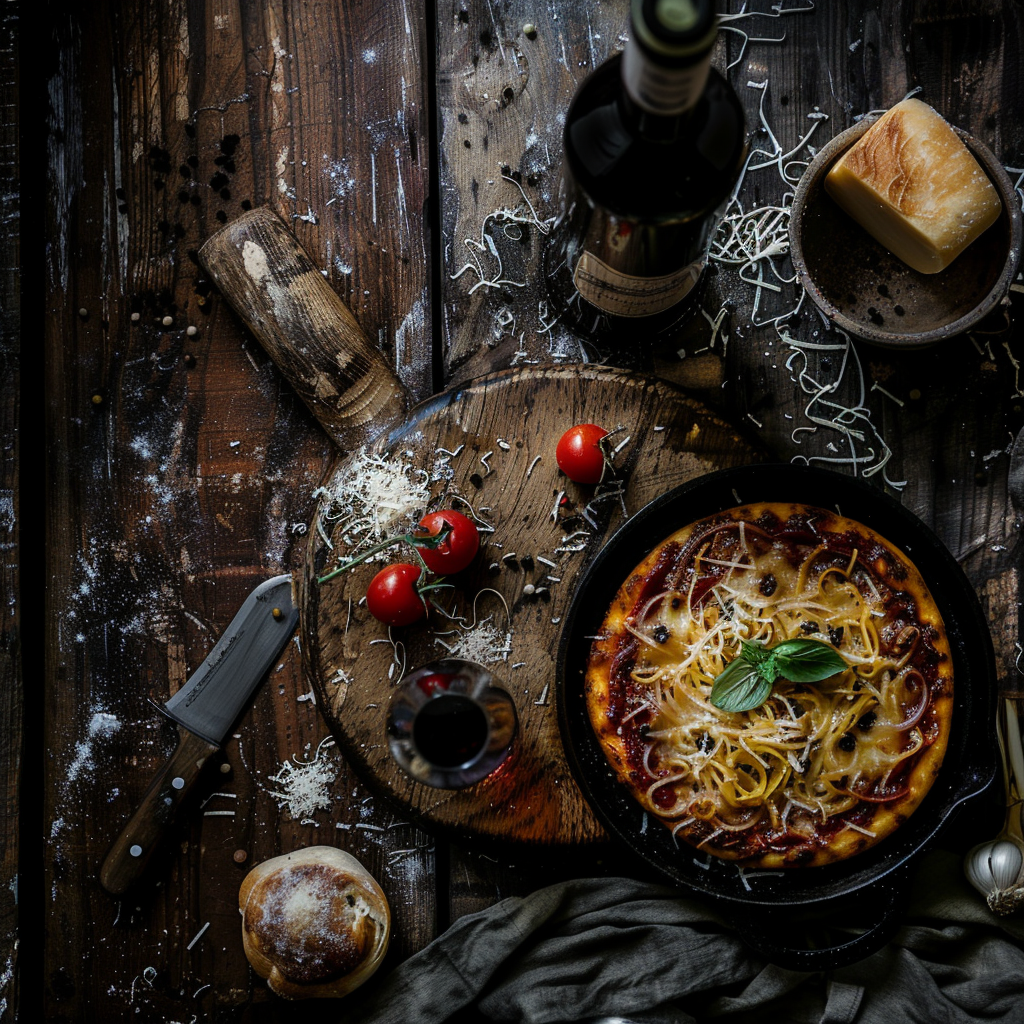
Picking the right settings on your camera is key when you’re aiming for that chiaroscuro look. You’ll want to use a low key aperture—think f/2.8 or even wider. This sort of setting lets you blur the background and make your main subject really stand out.
You don’t usually need a quick shutter speed unless you’re trying to catch something like steam or motion in your shot. Now, when it comes to picking a lens, a prime one with a big opening is often the go-to. It’s great because it lets in loads of light and gives you crisp, sharp images.
Improving Light and Shadow in Food Photos After the Fact
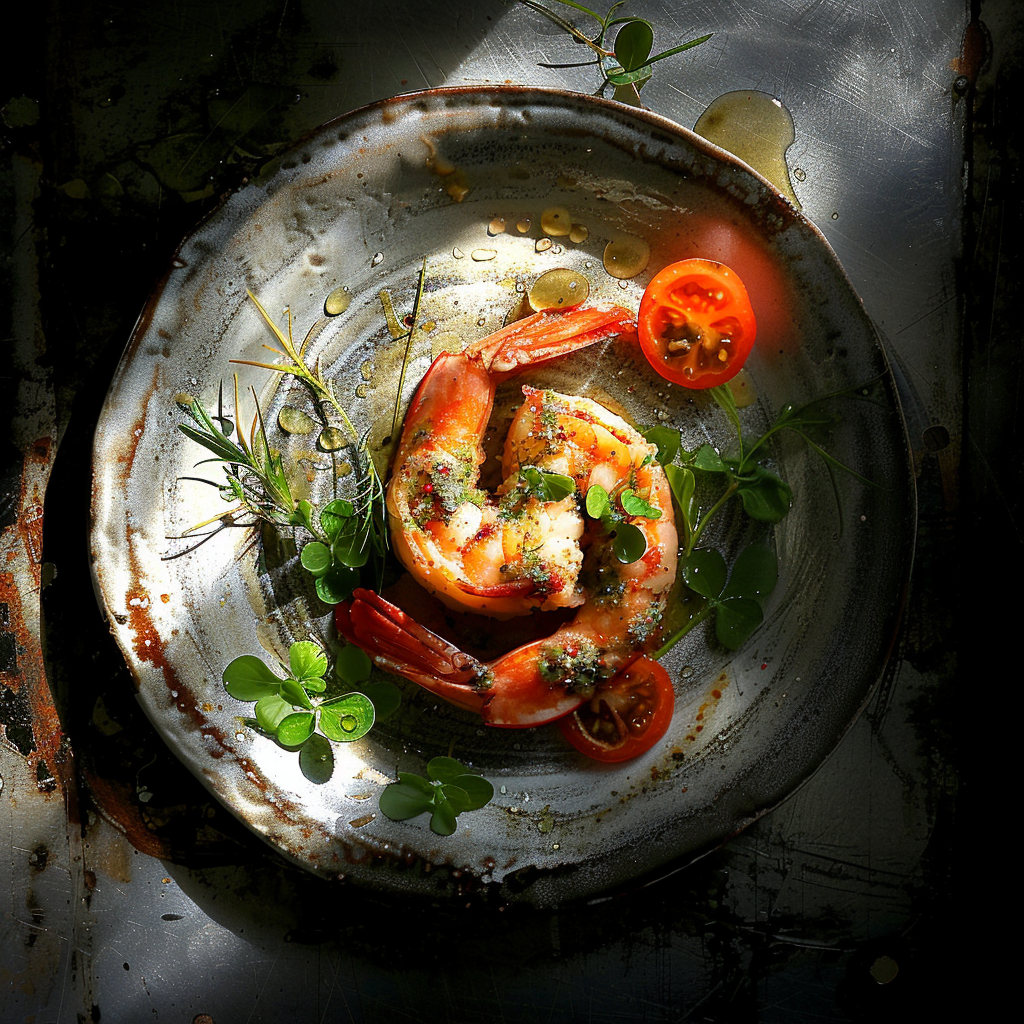
After you’ve taken your pictures, there’s stuff you can do to make the bright parts and dark spots stand out more. You can use things like the burn and dodge tools that come with photo editing programs to make certain parts of your picture darker or lighter. This cranks up the drama of light and shadow—chiaroscuro—that you caught while taking the photo.
What is High Key Photography?
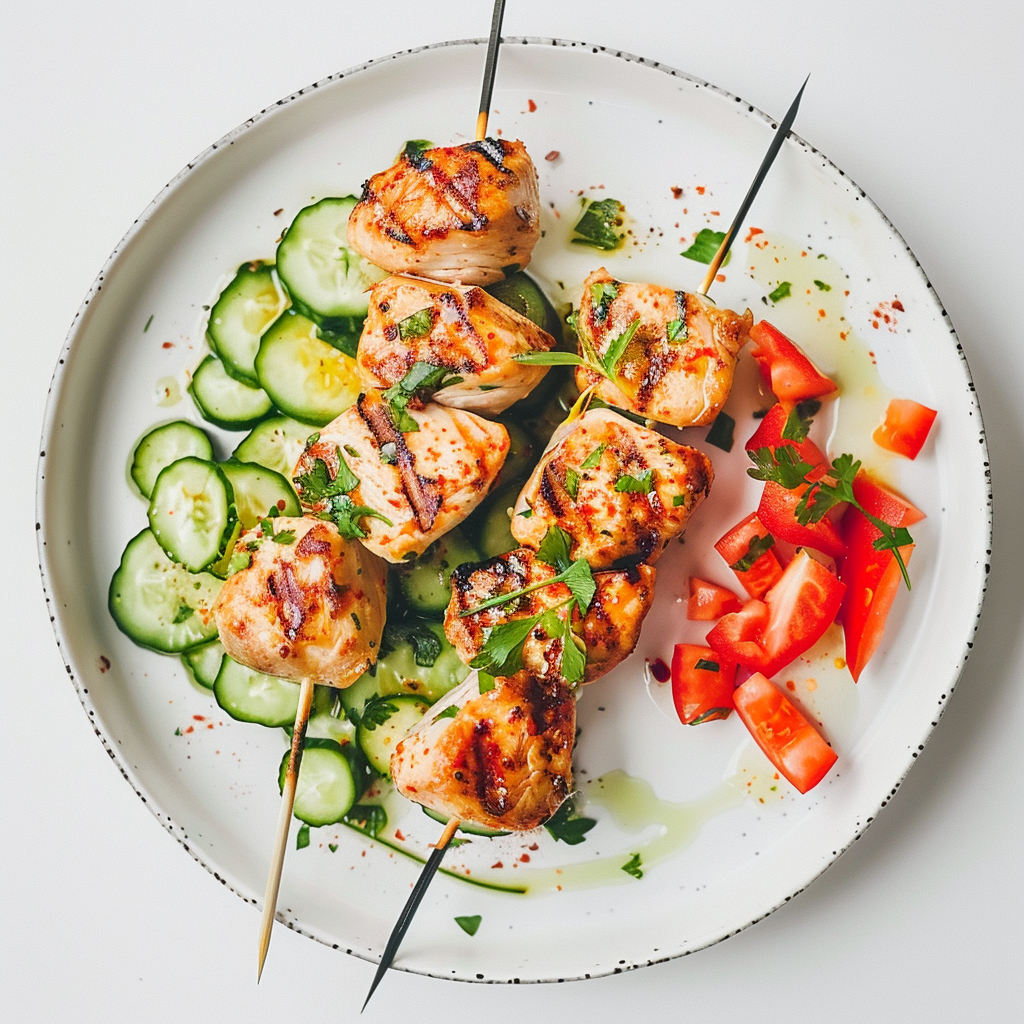
High key photography means you fill your picture with lots of light, making it look bright and cheerful. You’ll mostly see light colors and not many shadows in these photos, giving them a happy and lively mood. The pictures are often soft with the main focus slightly popping from a pale background.
The Role of Light and Shadow in High Key Images
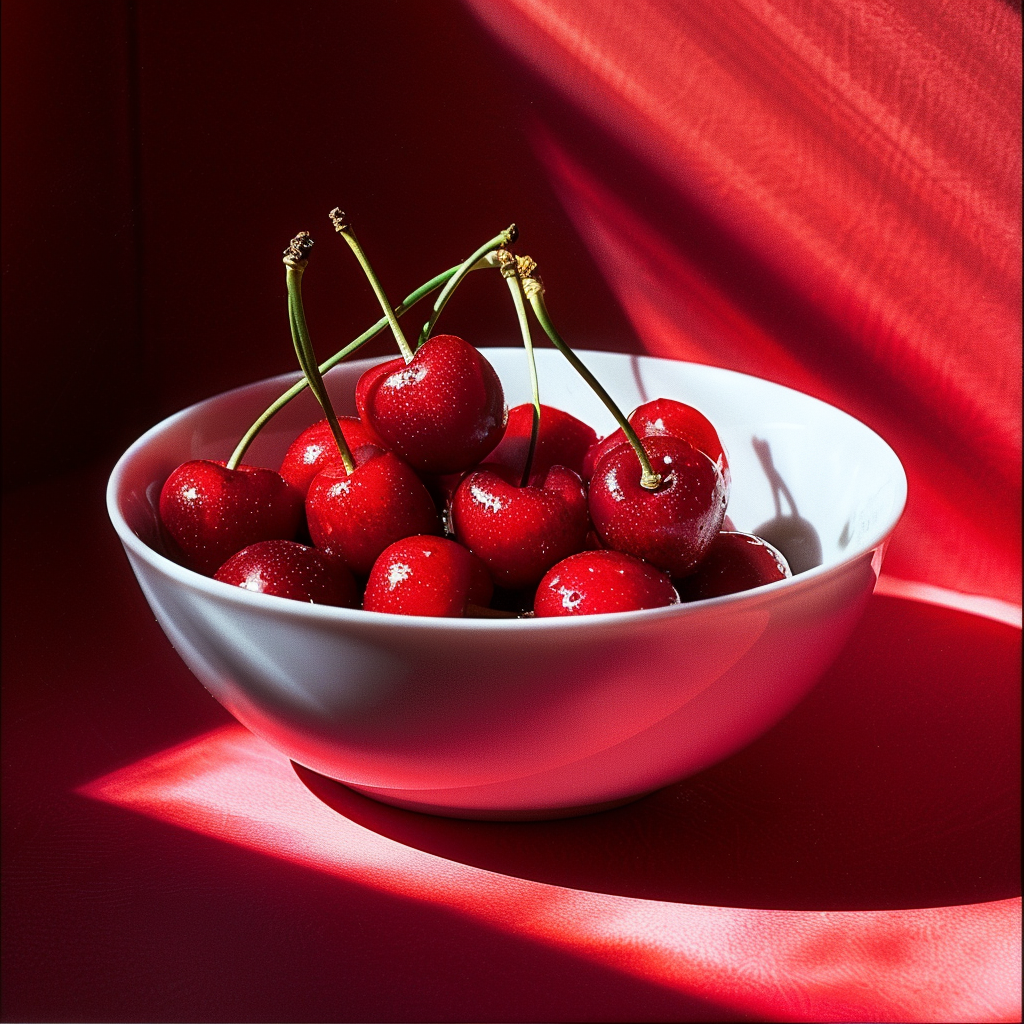
In high key photography, light is the main attraction. Shadows play a minor role, gently outlining the subject without adding a lot of depth or intensity. The aim is to keep shadows soft, allowing for a gentle, even light that provides just a hint of definition to the subject.
Bright Lighting Tricks for Snapping Pics of Grub
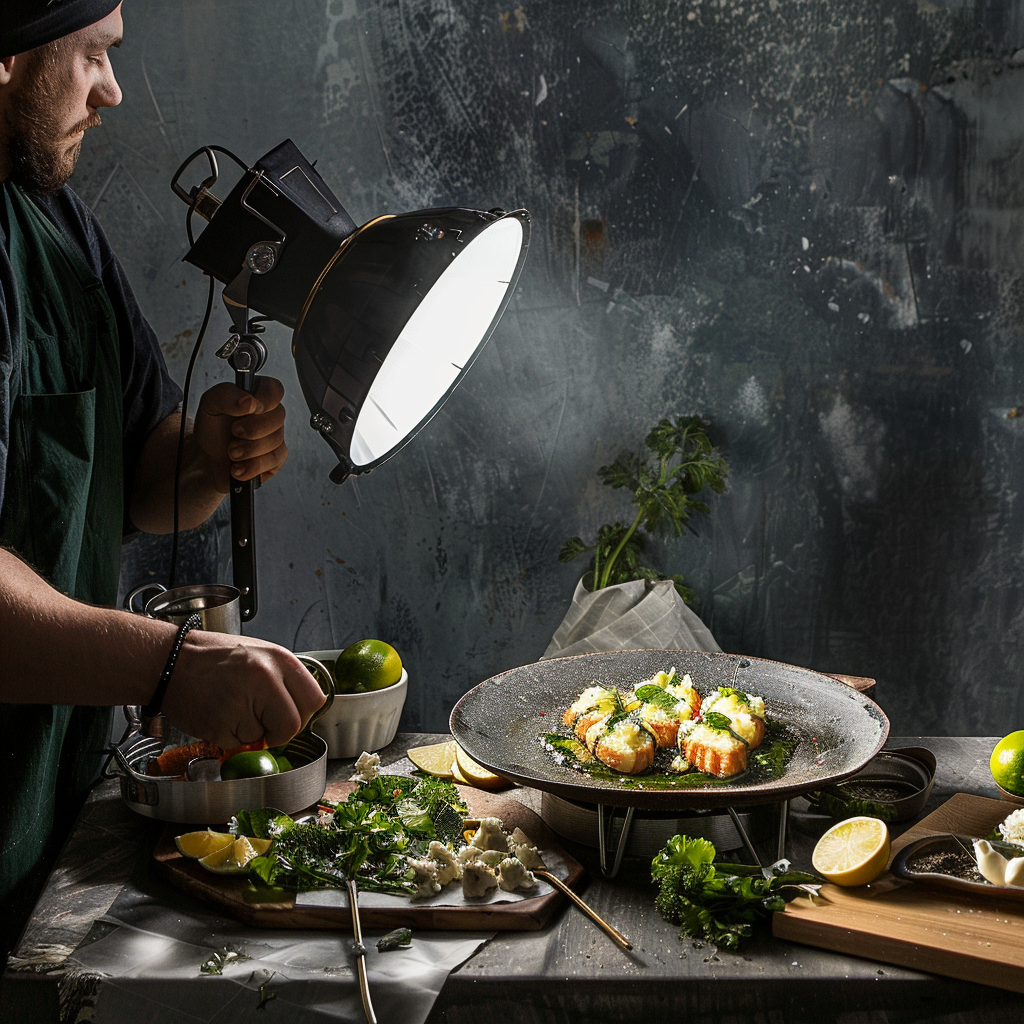
Getting that bright food photo vibe takes some prep work with your lights. You often use a bunch of light sources, right? Stick your main light close to the camera to make everything pop. Then toss in more lights or bouncing boards near your eats to get rid of dark spots and keep the lighting nice and smooth. Throw in some diffusers too, which are great for making the light all soft and stopping those super shiny spots.
How to Set Your Camera for Bright Food Photography
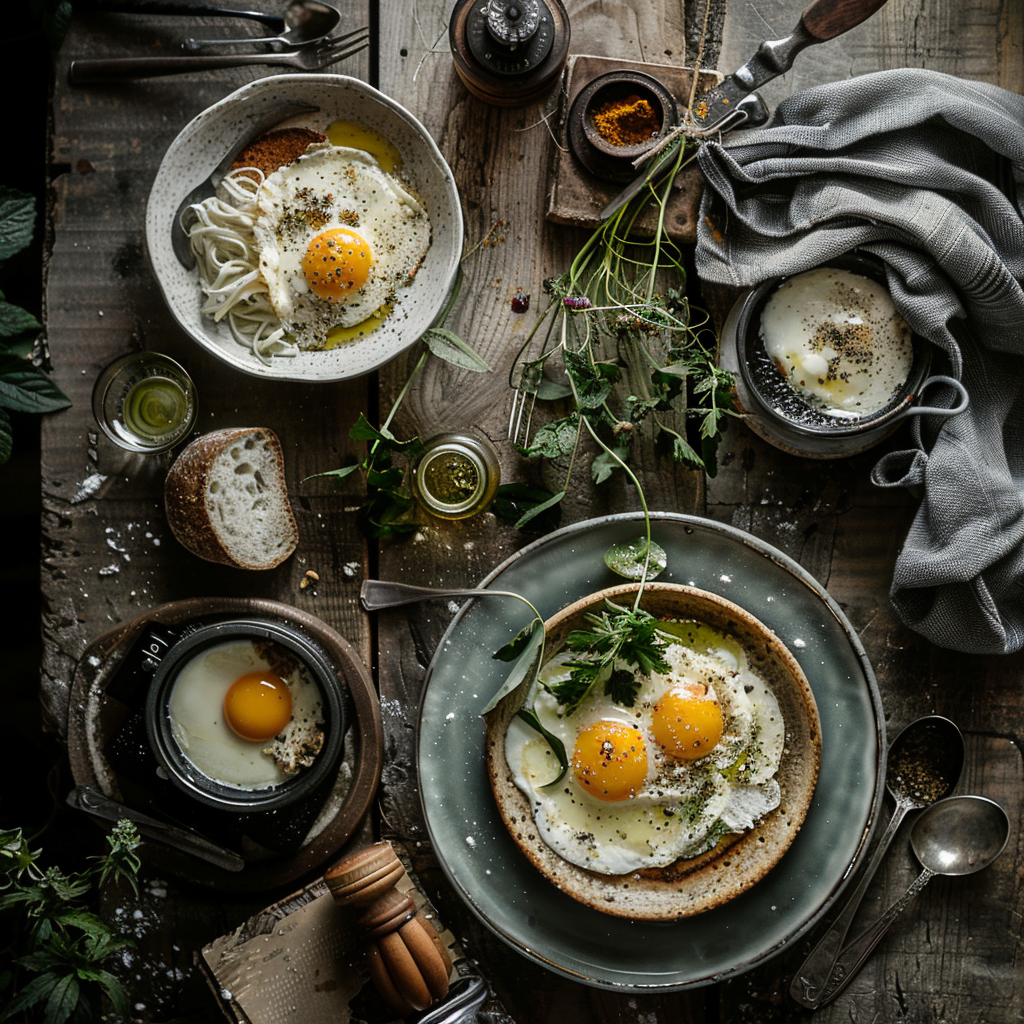
Taking pictures with a bright, high key style means tweaking your camera just right. Crank up that exposure a wee bit to let in more light—it’ll give you the brightness you’re after. Keep the ISO down low to avoid grainy shots, and go for a big aperture to keep your yummy subject sharp and make it pop against that glowy backdrop.
Tips for Editing Bright Food Photos
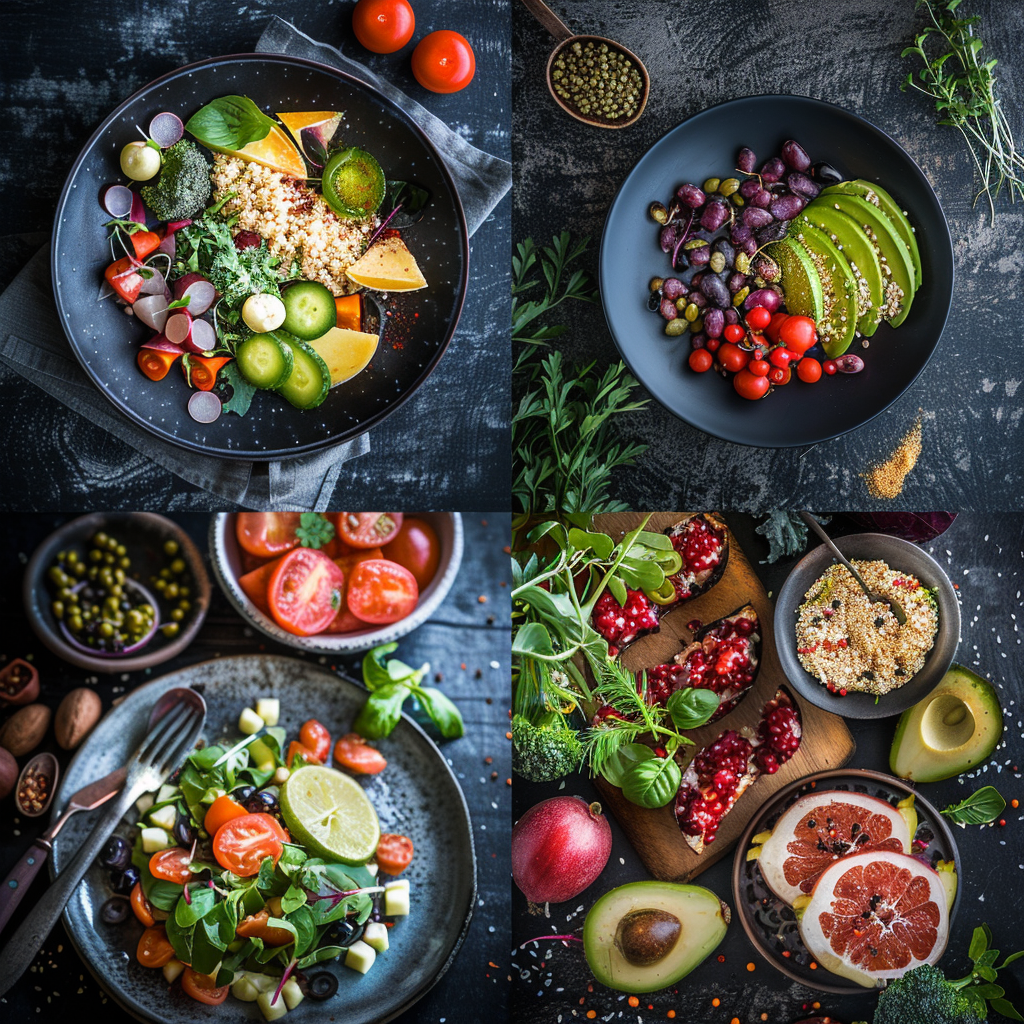
After snapping your photo, the editing stage is key to getting that bright, high key style you’re after. Pump up the brightness and tinker with the light spots to get the airy feel you want. Make sure your changes are gentle – you want your food to look tasty and real. The trick is to keep it simple: aim for clean and straightforward, not heavy-handed editing or excessive filtering.
Getting to Grips with Low Key Photography and Its Vibe
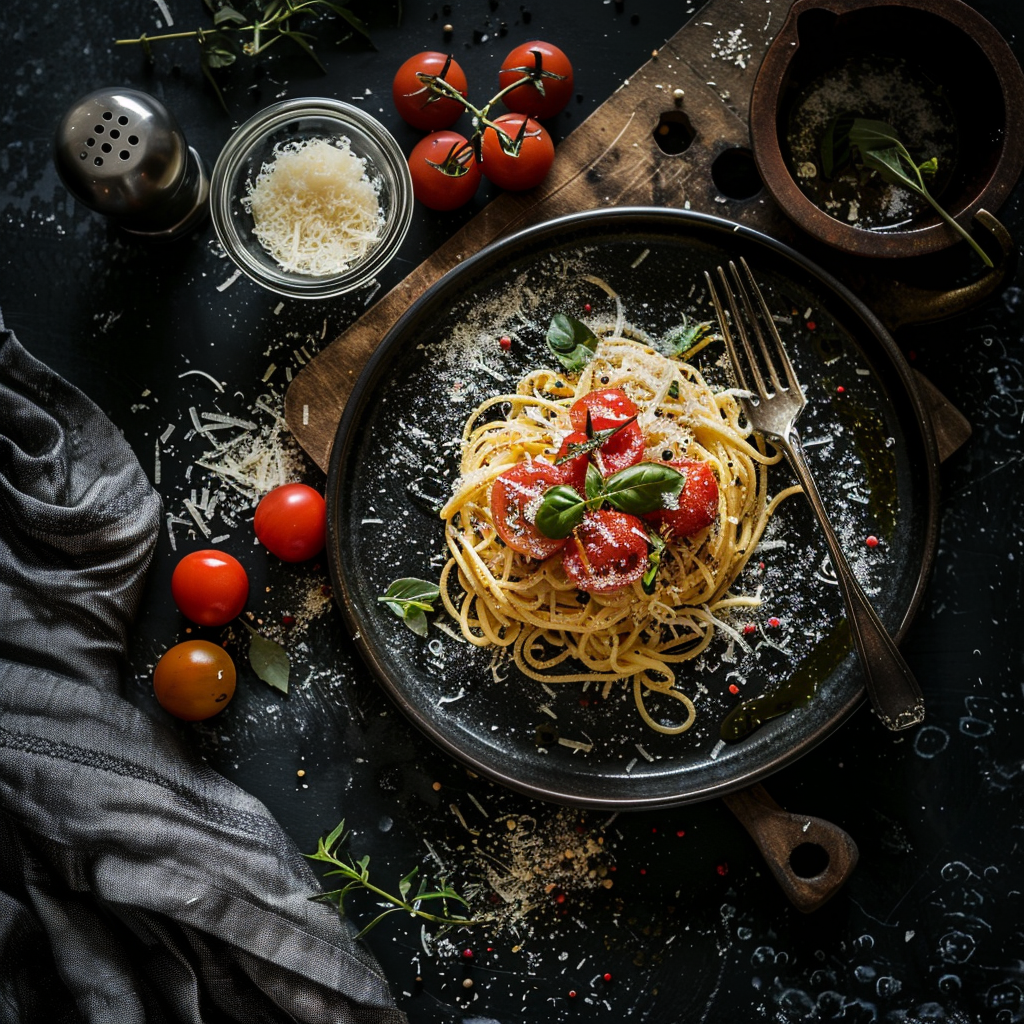
This type of photography leans heavily on dark tones to whip up a dramatic, cozy atmosphere. It’s all about playing up the shadows and contrasts to snap pictures that really draw the eye. Low key photos can stir up a sense of wonder or curiosity, ace for making food look both fancy and striking.
Simple Tips for Dark Food Photography
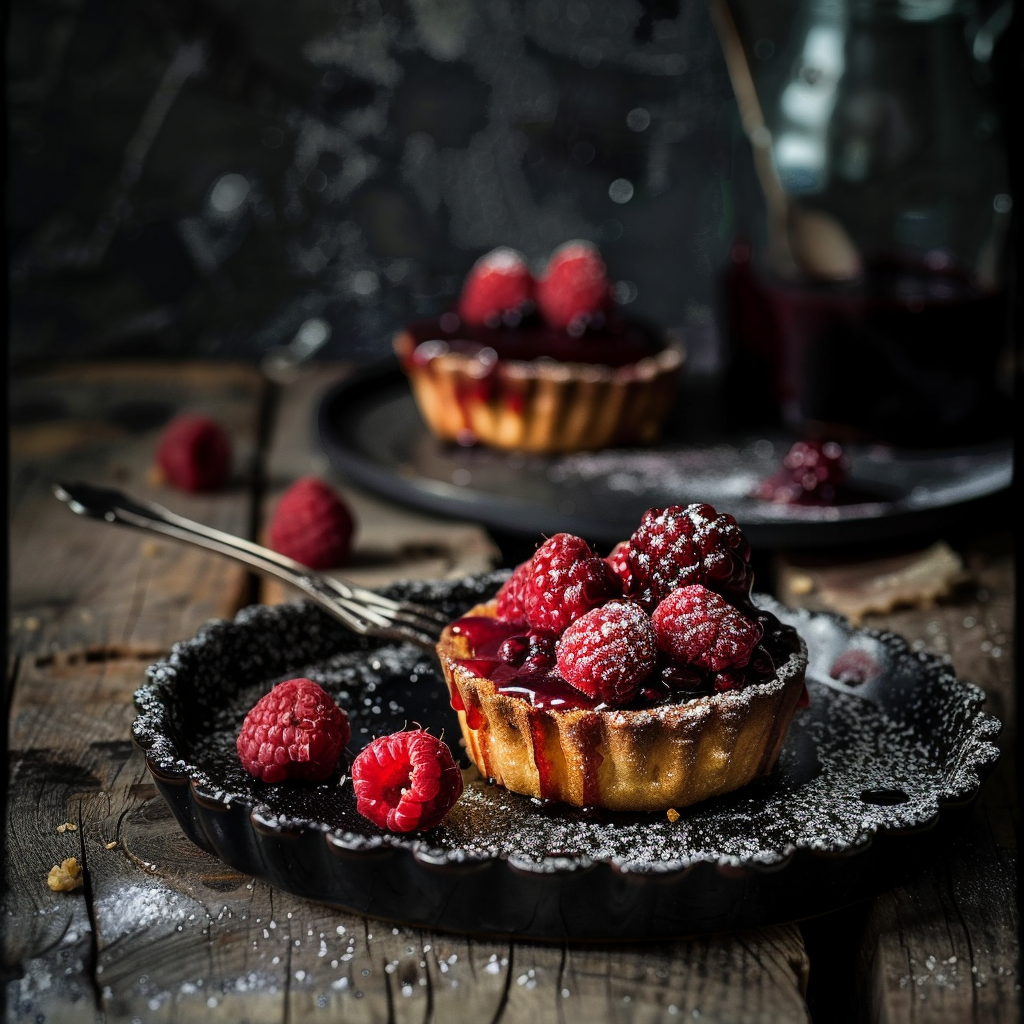
In dark photography, you must carefully manage the light. You use a bit of light, placing it just right to shine on certain areas while keeping others hidden. Here’s what you should do:
- Use one light for a sharp contrast
- Spread light softly to ease strong shadows
- Use blockers or reflectors to control the light
These methods mix to place light exactly where it’s needed while keeping the rest in the dark, amplifying the mysterious dark look.
Camera Settings for Low Key Images
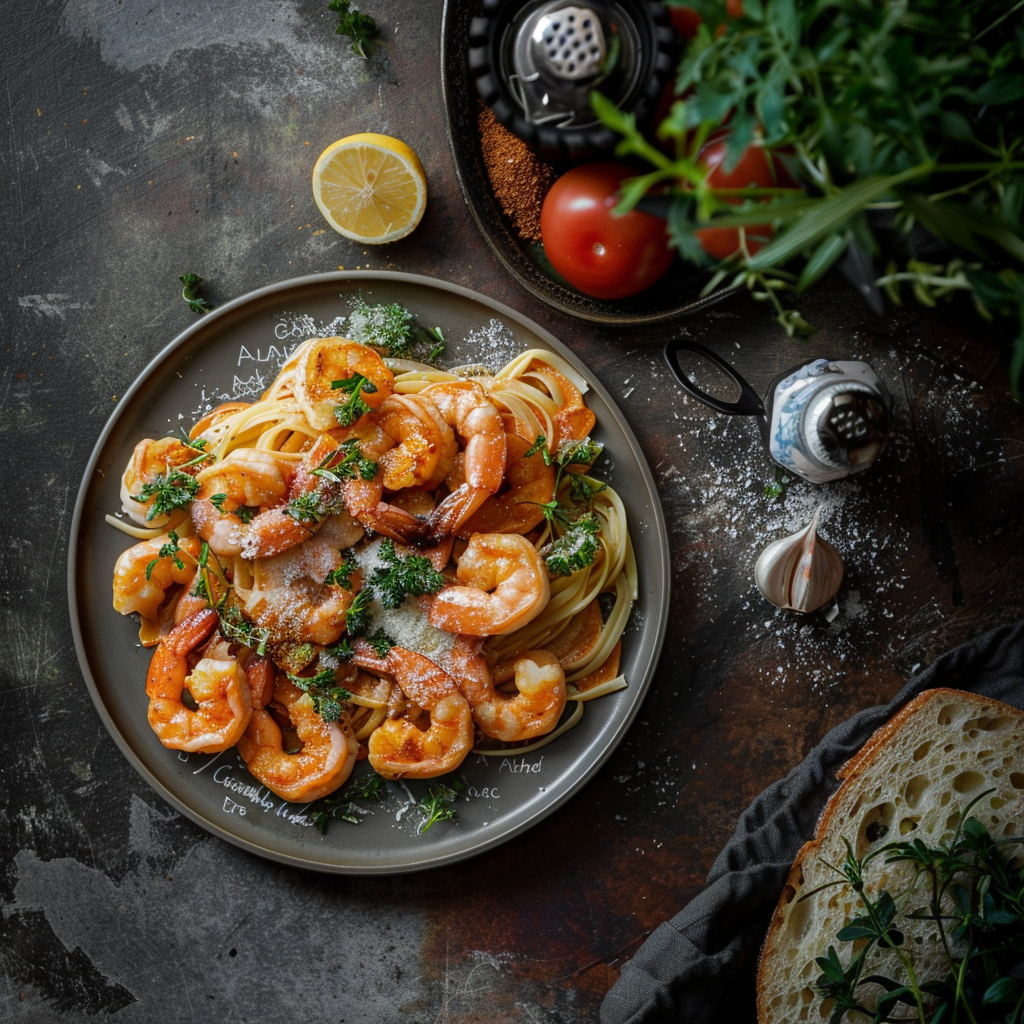
Taking low key images means the camera settings are really important. To get this style, photographers typically adjust their settings to:
- Lower the exposure, keeping the image mostly dark
- Choose a small aperture when they need to focus on depth
- Increase the shutter speed to stop too much light from ruining the shot
Using these settings makes sure that the food stands out, with its textures and colors looking strong against a dark backdrop.
Negative Space in Dark Food Photos
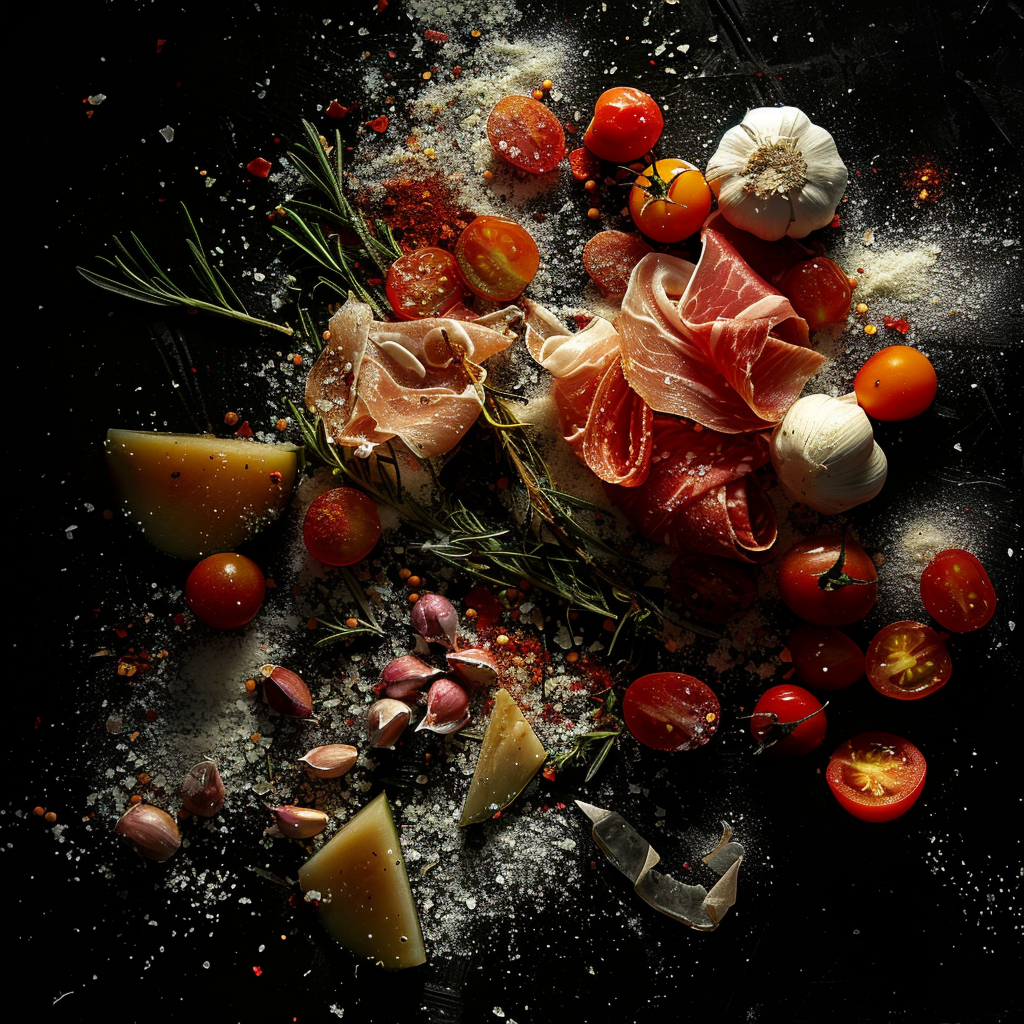
In dark food pictures, negative space is really important. That’s the space around and between the stuff in the photo. It’s not just there for no reason; it helps make the picture look better by balancing things out. This empty area makes sure your eyes go to the main part of the dish that’s all lit up, making it stand out even more.
Editing Food Photos After the Shoot
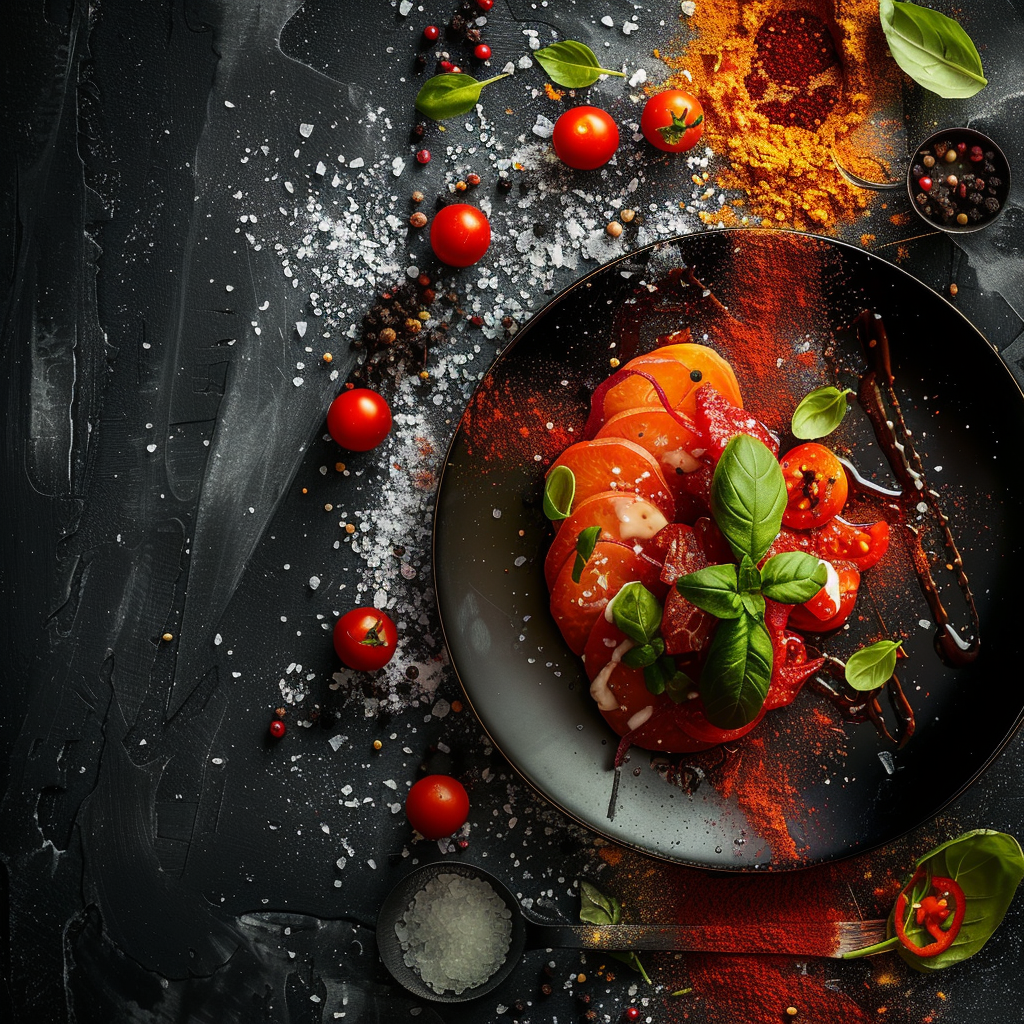
Once you’ve taken your photo, there’s still work to do. You can improve a low key photo in post-production by:
- Changing the brightness and contrast to get darker blacks and brighter highlights.
- Altering curves or levels to tweak the mid-tones and shadows.
- Sharpening the food’s details to make it stand out.
These adjustments can make the food in photos look more tempting by making shadows deeper or details clearer than they were at first.
To capture breathtaking food photos, it takes more than just a picture of a meal. It involves careful choices of style elements that add feeling and depth to the picture. When you’re going for a high-impact shot, the right props and backdrop can push the storytelling visually, showing off the dish’s texture and taste.
Picking Props and Backdrops for Impact
The right props and backdrops are key to setting a dramatic scene. Choose them carefully to match the mood you want to create. A contrast between food and its backdrop makes it jump out, but matching props can highlight your dish’s theme even more. Using different materials like old wood and shiny metal together adds interesting layers to your photos.
The Role of Color in Food Photos
Understanding color is important when you want your images to stand out. Colors affect how we think about taste. Warm colors often look tasty, while cool colors suggest something fresh. Using color schemes well, like complementary or analogous colors, can make a big difference in your images.
Add Textures and Layers for Better Moods
Adding different textures and layers turns a good image into a great one by giving a sense of touch through the screen. Use things like wrinkled fabric or fresh herbs to add more layers for depth. Natural textures like wood grain or marble add character to a photo as well as highlight the food’s texture.
Arranging Your Shots for Stronger Impact
A thoughtful arrangement guides viewers and focuses on the main point: the delicious food. Using composition rules like the rule of thirds, leading lines, or focus control draws eyes where they should be. Try out various angles and layouts for a more engaging and eye-catching presentation.
Exploring Dramatic Food Photography
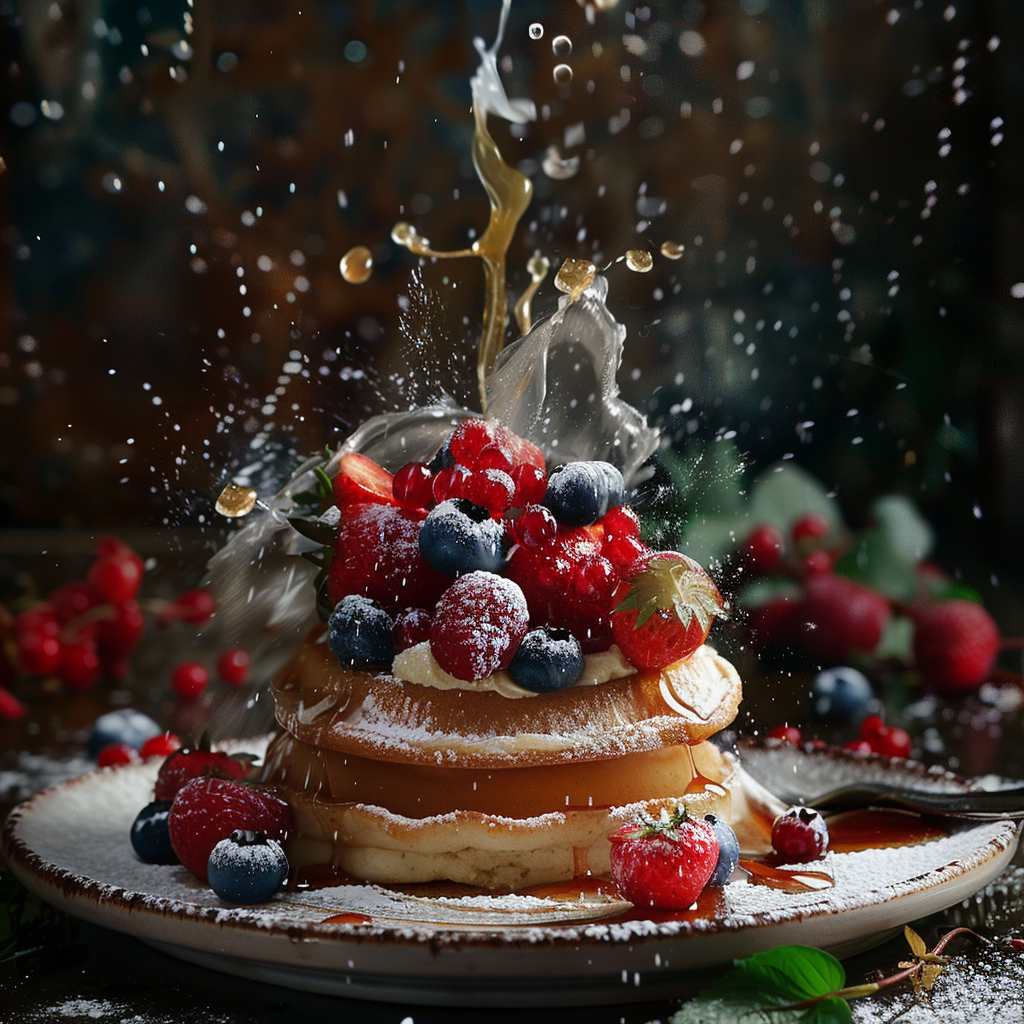
Taking pictures of food isn’t as simple as just photographing the dish before you. It’s about creating a scene that tells a tale, stirs feelings, and shows how food is more than something we eat — it’s an art form connecting with us on a deeper level. To capture images that really pop, you have to dive into the world of dramatic food photography. In this field, everyday meals become a show of splendor when viewed through a camera.
Mastering the Art of Food Photography
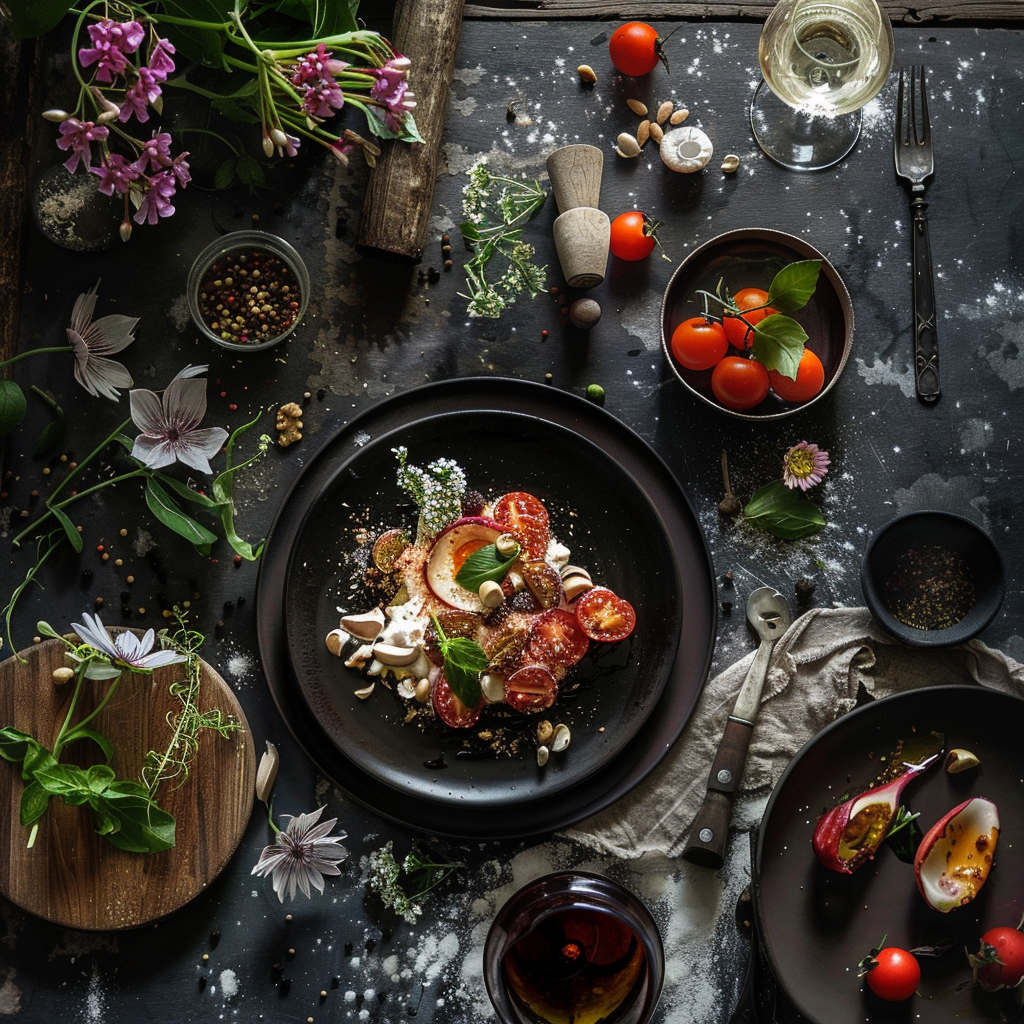
Picture a gooey chocolate cake dripping with raspberry sauce set against a dark scene, or imagine a juicy steak sizzling away on a grill, with bright sparks and vivid colors stealing the show. These aren’t your average dishes; they’ve been transformed into digital art. Restaurants use these tantalizing pictures to lure customers on social media. Food bloggers snap these powerful scenes to show what you might whip up using their recipes.
Behind-the-Scenes Secrets
Ever wondered how those stunning food pictures are made? A lot goes into them. Photographers carefully manage the lighting to create deep, mood-setting shadows, choose just the right surfaces to make textures stand out, and may even use tiny tweezers to tweak little details on the dish. Finding the perfect angle is crucial and usually involves some trial and error to get it just right.
Chatting with the Pros
Talk to expert food photographers and they’ll tell you about the patience required to catch natural light at just the right moment, or how they make dishes look hot off the press with fake steam. They’re meticulous about picking colors that pop, play around with various lenses for that perfect blur effect, and keep an eye on how everything in the shot is arranged. These photographers know their equipment inside out, but they all agree: sometimes you just have to wait for that perfect shot.
Tricks of the Trade
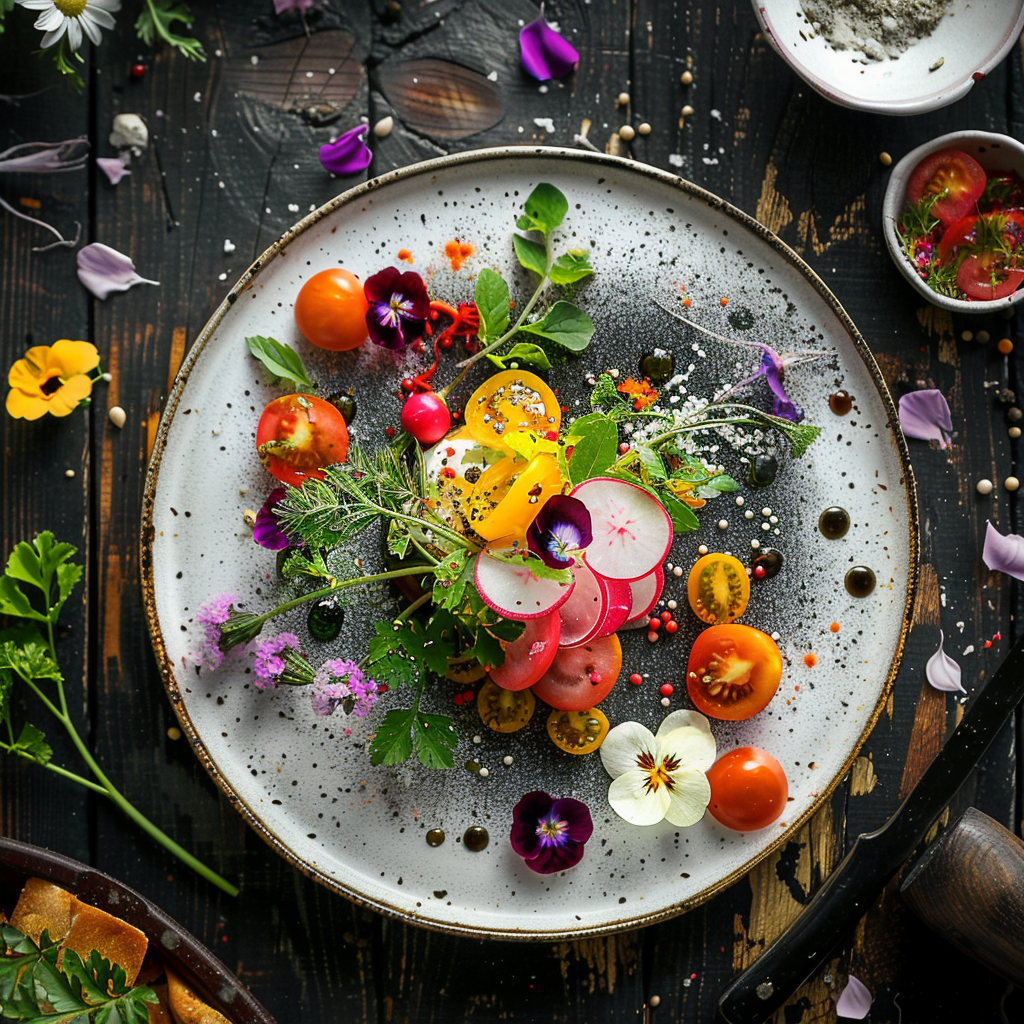
Chat with pros and you’ll find loads of handy advice. They use thin cards to brighten dark shadows and put diffusers in place to tone down strong light. These gurus have it all. They’re big on capturing images in RAW to tweak them later and stress that the photo should tell a story. Some like to keep decorations simple so the meal shines, but others throw in extras to back up the story the picture’s telling.
About Author
Rachel Noël is a professional photographer and videographer from the UK with over 10+ years of experience. Rachel specializes in Underwater, Tavel & Portrait photography among other areas.
