Key points
• Lighting is key in photographing drinks. It shows off the textures, colors, and shapes, making the image appealing.
• Composition and Styling are important. How you arrange things and the choice of glasses, backgrounds, and extras like ice or fruit can make the drink look better.
• Camera Angle and Focus shape how we see the drink. Picking the best angle and focus can highlight the top parts of the drink and give off the right feeling.
Contents
- Key points
- Overview of the Genre
- Importance of Visual Appeal in Drink Imagery
- Cameras and Lenses Best Suited for Capturing Drinks
- Lighting Equipment Specific to Drink Photography
- The Role of Light in Highlighting Texture and Color
- Techniques for Crafting Shadows That Add Depth
- Rule of Thirds and Framing Drinks
- Angles and Perspectives in Showcasing Drinks
- The Art of Wine Photography
- Getting the Word Out About Your Beverage Photos
Overview of the Genre
The world of drink photography covers many kinds of drinks, from hot coffee to cold cocktails. Each type needs its own way of shooting. For example, showing steam for hot drinks suggests warmth, while showing cold drinks with dew or ice cubes makes them seem refreshing. To be great at photographing drinks, you need to know how liquids act and use that knowledge to get the shot you want.
Importance of Visual Appeal in Drink Imagery
Looks matter a lot in pictures of drinks. They grab people’s notice all about your product. The photos affect what they tusdtasteand quality. Great photos show us the taste, texture, and even temperature of the drink. A good image can make you almost hear a soda fizz or feel a warm cup’s heat. So, getting the right angle and the textures right and picking props that fit the look matters a lot in drink photography.
To take amazing photos of drinks, you need the right equipment. This will not only make your photos look profprofessionalbut let you try different styles and techniques.
Cameras and Lenses Best Suited for Capturing Drinks
The camera and lens you choose for drink photography can really make a differeddifferencequality results. DSLR or mirrorless cameras are often favorite choices thanks to their image quality and flexibility. Many photographers go for a standard 50mm lens; macro lenses are also good. Macro lenses let you focus on small details, like beads of water on a glass or tiny bubbles in sparkling wine, adding something special to your pictures.
Lighting Equipment Specific to Drink Photography
Lightning is super impotimportantthe job. It’s about how bright it is and where it comes from and how it hits what you’re shooting. You usually want one main light, like a softbox or umbrella, to light up the drink evenly. But going beyond the basics helps your work stand out. Backlight or side lighting can make clear drinks shine and look more inviting. Using LED lights or even simple reflectors can help control shadows and bright spots, so you can set the mood you want in your photo.
Lighting does a lot for the mood in a photo, so playing with these tools is worth it because even small changes can make your shot perfect.
In drink photography, light is everything. It shows off drinks’ natural colors and textures. If you know how to use light and shadow right, you can make these features pop in your photos.
The Role of Light in Highlighting Texture and Color
If you use lighting right, it can turn a drink photo from okay to wow. Shine light just right, and you can bring out dew on a cold glass or the dark color of whiskey. It’s all about how you put your lights to bring out drinks’ best parts and to get that perfect vibe.
Techniques for Crafting Shadows That Add Depth
Shadows add depth to your photos. They create space around your subject and bring some drama to what you’re showing. To make good shadows:
- Try light from different angles to see how it affects things.
- Use diffusers to soften shadows for less harsh look.
- Type reflectors to balance shadows and highlights.
Remember that shadows should help, not hide key details or overpower the picture. Finding balance is key – work with light and dark until the photo looks just right.
To nail drink photography, mix art with technique. Knowing how to set up your shot is crucial for making images stand out. Let’s explore some basic strategies, like the rule of thirds and unique angles, which help turn simple drink photos into something special.
Rule of Thirds and Framing Drinks
A common way to set up a shot in drink photography is using the rule of thirds. Imagine your picture split into nine equal parts by two horizontal and two vertical lines. You can place your drink where these lines meet or along the lines – it makes the photo look better. Say you put a cocktail along the left vertical line, with the garnish or foam on top lining up with an intersection – instantly it has balance and grabs attention.
Angles and Perspectives in Showcasing Drinks
Changing your angle adds excitement to your photos. Top-down shots are perfect for showing off a drink’s rim and what’s inside it, while low angles make the drink seem bigger and more impressive. Side angles are great for showing texture. Mix it up; trying new angles might reveal a fresh way to show the same old drink. And don’t forget closeups – they’re great for catching bubbles in fizzy drinks or little drops on a cold glass.
Think of these tips as just a start point. Get creative and play around – sometimes breaking rules is how you get those eye-popping shots!
The Art of Wine Photography

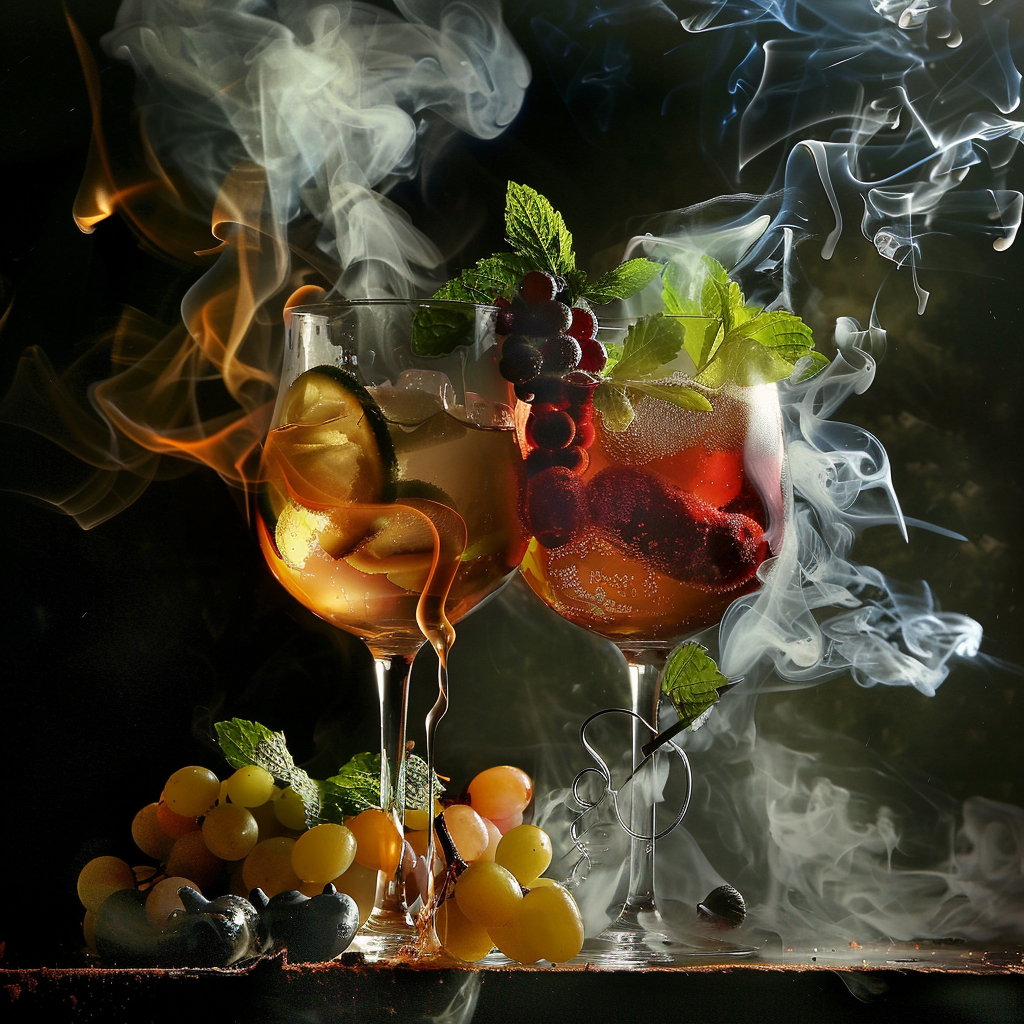
Wine photography is more than taking pictures. It’s an art that captures the beauty and color of wine while telling its story and stirring emotions.
Bringing Out Wine’s Colors
The secret to showing off a wine’s beauty is in its colors – they can be dark purple, bold red, light pink, or shiny gold. The best shots use natural light to highlight these shades. If you can’t use sunlight, soft artificial light works too. Just make sure not to use bright lights that cause glares and hide the wine’s real color.
Choosing the Best Glass
The right glassware matters a lot. Different wines go best with different shaped glasses. The shape influences how light reflects on the wine, affecting how we see its color and texture. Always go for a super clear glass to make sure that nothing takes away from the wine itself.
Lighting the Scene
Your goal with lighting should be to make the wine clear and shiny. Set up your lights to create reflections in the wine, which makes it look bright and inviting. Using backlighting or side lighting helps do this. It’s important to play with highlights and shadows to show off the wine’s deep colors.
In short, good wine photos focus on color, choosing the right glasses, and setting up lighting that shows off the clarity and sparkle of the drink. A great picture invites people to taste and enjoy what’s in the glass.
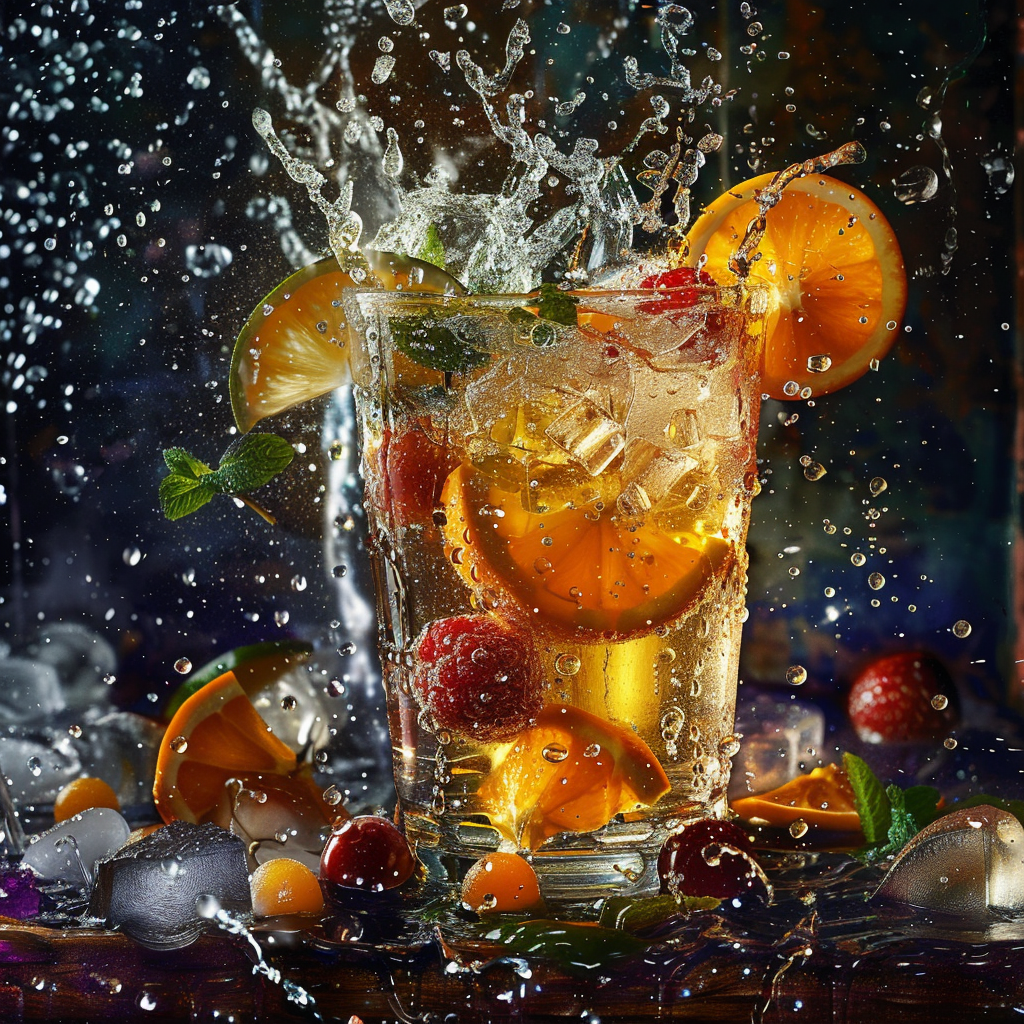
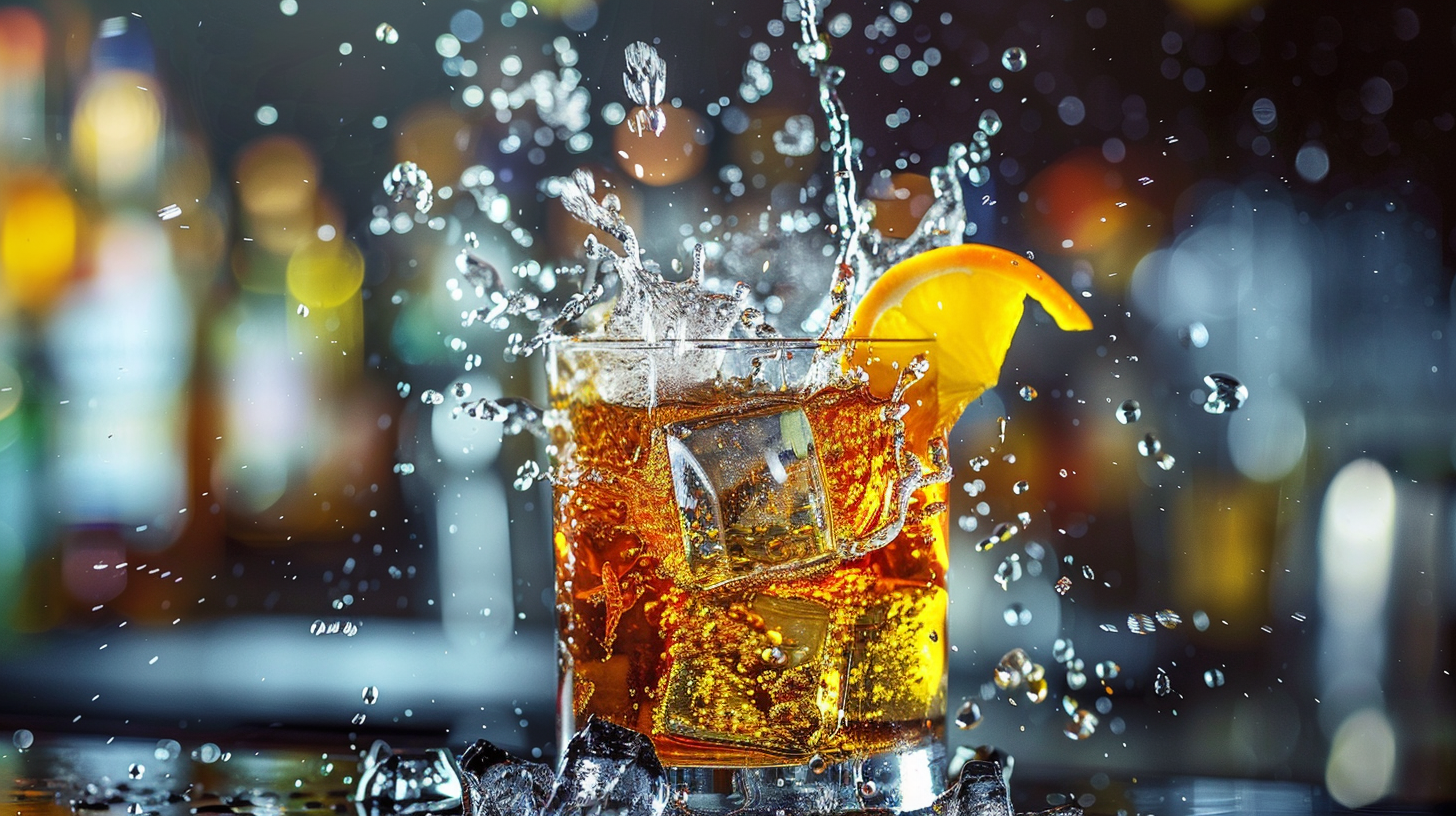
For drink photography, paying attention to details like ice, bubbles, and wet look on the glass can make a photo feel like an experience. You need careful attention and some smart techniques for these.
Ice Photography Tips
To take pictures of ice without losing detail, backlighting is key. Stay quick to prevent melting, or use fake ice that looks real under lights. Close-up lenses also help you catch the sharpness and cool patterns in the ice.
Capturing Bubbles
Fizzy drinks get their charm from the bubbles. To catch them floating up, side lights work best. A fast snapping speed stops the bubbles mid-move and a tripod keeps everything steady. Stirring the drink now and then creates more bubbles for a lively photo.
Making and Shooting Fake Wet Look
Get fake wet look that lasts by mixing glycerin and water and spraying it on the outside of a clean glass. Pick a backdrop that shows off those drops and use soft light to avoid harsh reflections.
Getting the style right in drink photos can really make them pop. Your main job is to complement the drink, not steal the spotlight.
Picking Settings for Different Drinks
Choose backdrops and surfaces that match your drink’s vibe. For example, an old-style beer might look good on a wood surface with softer backgrounds while cocktails might need something shiny and colorful. Think about whether reflective or matte surfaces work best for what you’re shooting.
Using Props Wisely
Props help tell a story about when and where you’d enjoy a drink. They should fit into the scene smoothly and not get in the way of the star — your drink.
To wrap it up, styling drinks in photography is about finding balance. Aim to make decisions that produce images that feel as good as they look. Keep trying new things until your photos reflect both the drink and your own style.
Edit Photos for Better Looks
When you’re done taking pictures, editing them can make them shine even more. Play with brightness, contrast, and sharpness to bring out their best features. Cropping can also help focus on the drink itself.
Getting Colors Right
Color matters a lot in photography since it affects how tasty a drink looks. Start by getting the white balance right so that colors look real. Then fine-tune saturation and vibrancy so that everything looks natural but still exciting. If needed, adjust certain colors in spots that could use some tweaking.
Having a variety-filled portfolio is key to showing you’re a pro at drink photography. Include different types of drinks – think cocktails, smoothies, fancy coffees – and show various moods from fun to classy. Change up your angles and compositions so you show off your flexibility.
Remember, context is important too. Add pictures with stories behind them to show you capture more than just drinks; you capture moments.
Always keep your portfolio up-to-date with only top-notch shots that show off your specific style.
Getting the Word Out About Your Beverage Photos

For folks to notice your beverage photography, you gotta market it smart. Start with setting up a slick website and hop onto social media, especially Instagram—it’s eye-candy central and chock-full of foodie pros. Think about pushing your stuff with some snappy ads on these sites to snag your target crowd.
Hitting the pavement is crucial too; rub elbows with the local coffee joints, pubs, and eateries to swing them your photo services. Get your face out there at food and drink shindigs or by joining related clubs—snap pics, make friends, and flaunt what you can do for them with killer visual content.
Teaming up could be a jackpot move as well. Scout out drink stylists or concoction creators who can jazz up your shots with their magic. Plus, happy clients are golden—they do the talking for you and bring in more biz.
To kill it in marketing, mix click-savvy tactics with real-world yapping. Fire up about your love for snapping drinks and show ’em why you’re the head honcho compared to the rest.

About Author
Rachel Noël is a professional photographer and videographer from the UK with over 10+ years of experience. Rachel specializes in Underwater, Tavel & Portrait photography among other areas.
