Key Points
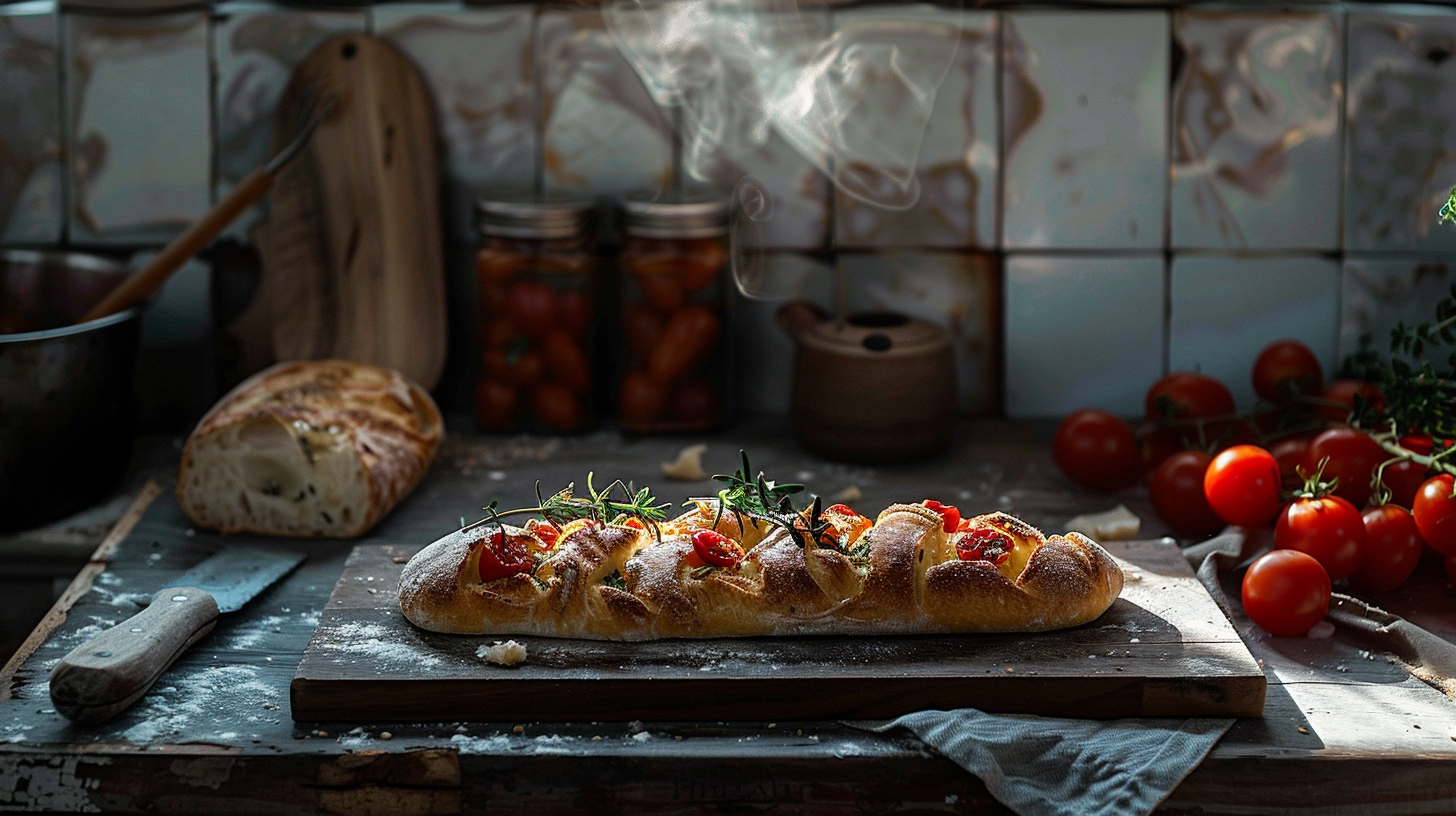
• Lighting: In classic food photography, it’s important to use either natural light or gentle artificial light. This creates a cozy vibe and shows off the food’s texture and colors, which helps make it look yummy.
• Composition: When you’re setting up the shot, place things intentionally. Use the rule of thirds or have lines that lead the eye, making a well-balanced and nice-looking photo. The goal is to make sure the viewer focuses on the food.
• Styling: You’ve got to pick and arrange stuff like silverware, plates, and napkins carefully. You do this along with the food to set a certain feel or theme and to share a bit about where the dish comes from or its background.
Contents
- Key Points
- Historical Context and Evolution
- Importance in Cooking
- Role in the Photography Industry
- Choosing Between Sunlight and Electric Lights
- How Light Affects Your Photos
- How to Craft a Mood and Atmosphere in Food Photos
- Camera Settings and Equipment for Top-Notch Food Photos
- Improving Color and Contrast in Food Photos
- Refining Images for a Sleek Look in Food Photography
- Cropping for Improved Composition
Historical Context and Evolution
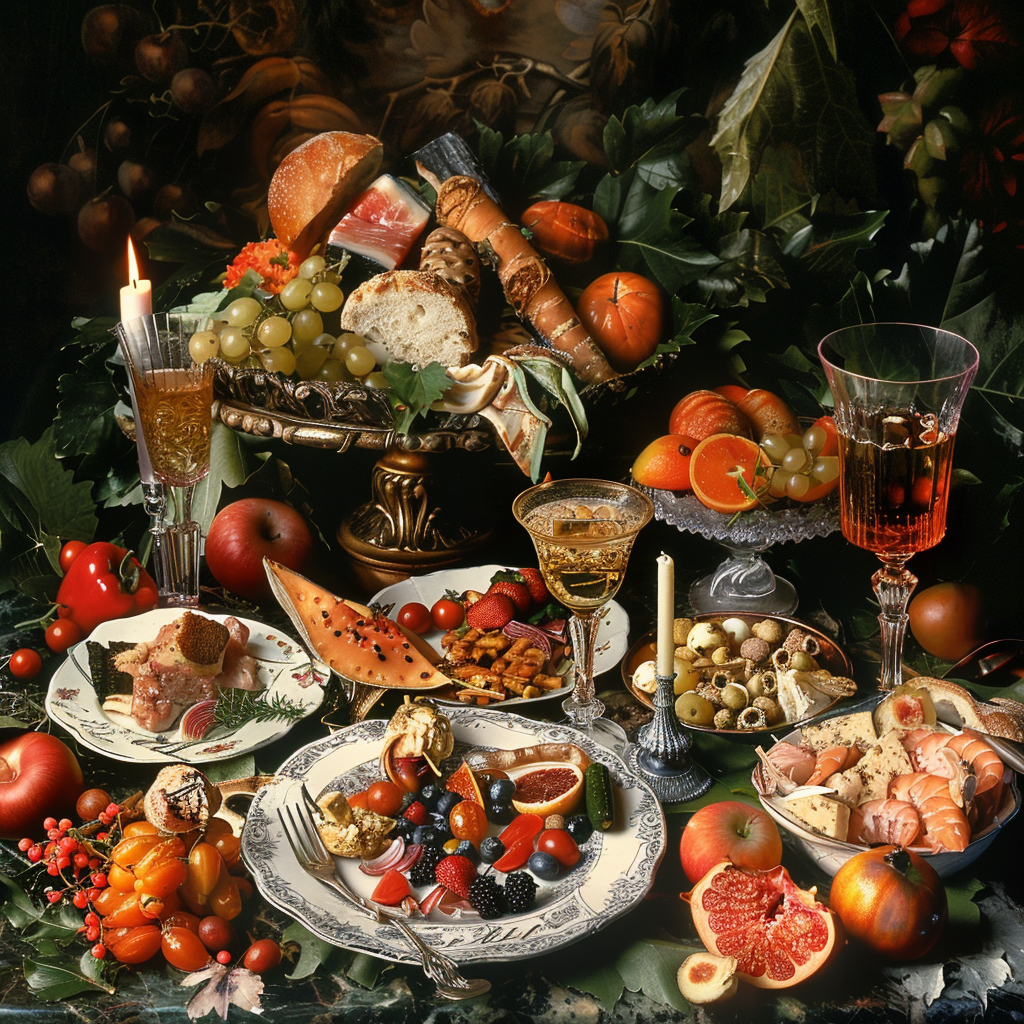
The journey of food photography has deep historical roots. It’s grown with tech advancements and changing cultures. It started by simply recording different foods and dishes for learning or selling stuff. Yet, as time passed, it took on more of an artsy vibe.Soon after the first cameras popped up in the 1800s, some folks began to snap pictures of things that don’t move, like food.
But the true rise of food photos came about during the mid-1900s. As cookbooks and magazines got more popular, they needed snazzy pics to catch people’s eyes.Then the 1950s rolled around with its bolder, attention-grabbing shots.
Photogs played around with lights and how to set up a shot to really make the food’s textures and colors pop. By the time we hit the ’80s and ’90s, making the grub look good (food styling) was key for top-notch photos.Enter the digital era and—bam!—huge changes.
Now we had fancy digital cameras and editing tools that could tweak pics to make them look super sharp and almost too perfect. These days, anyone with a smartphone can be a food photog wizard, plastering their eats all over social media for kicks.
Importance in Cooking
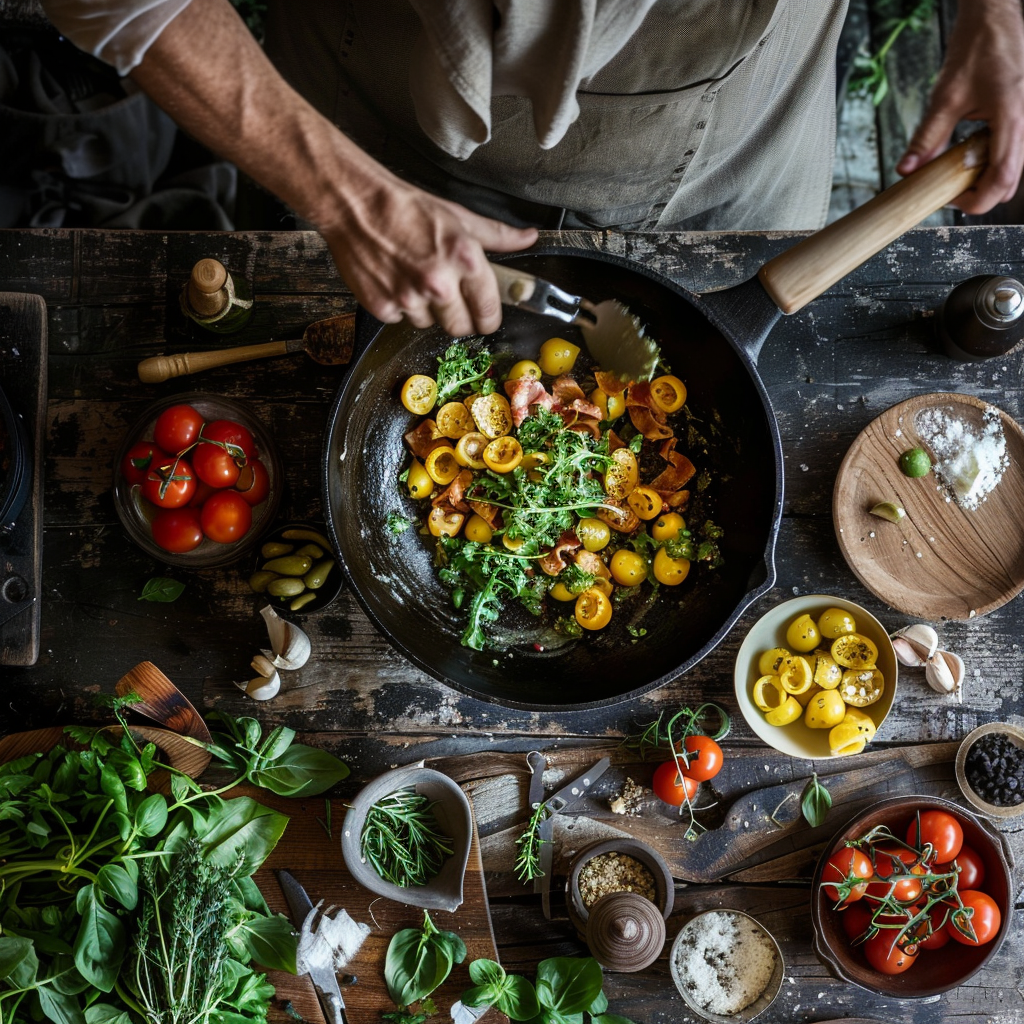
In cooking, how food looks is almost as important as how it tastes. Great pictures of food can make your mouth water and make you want to eat that food. This is really important for advertising restaurants, cookbooks, and any products related to food.
By using good food photography, chefs and marketers can show off their recipes visually so people don’t just learn about the dish—they get hooked on how it looks.
Role in the Photography Industry
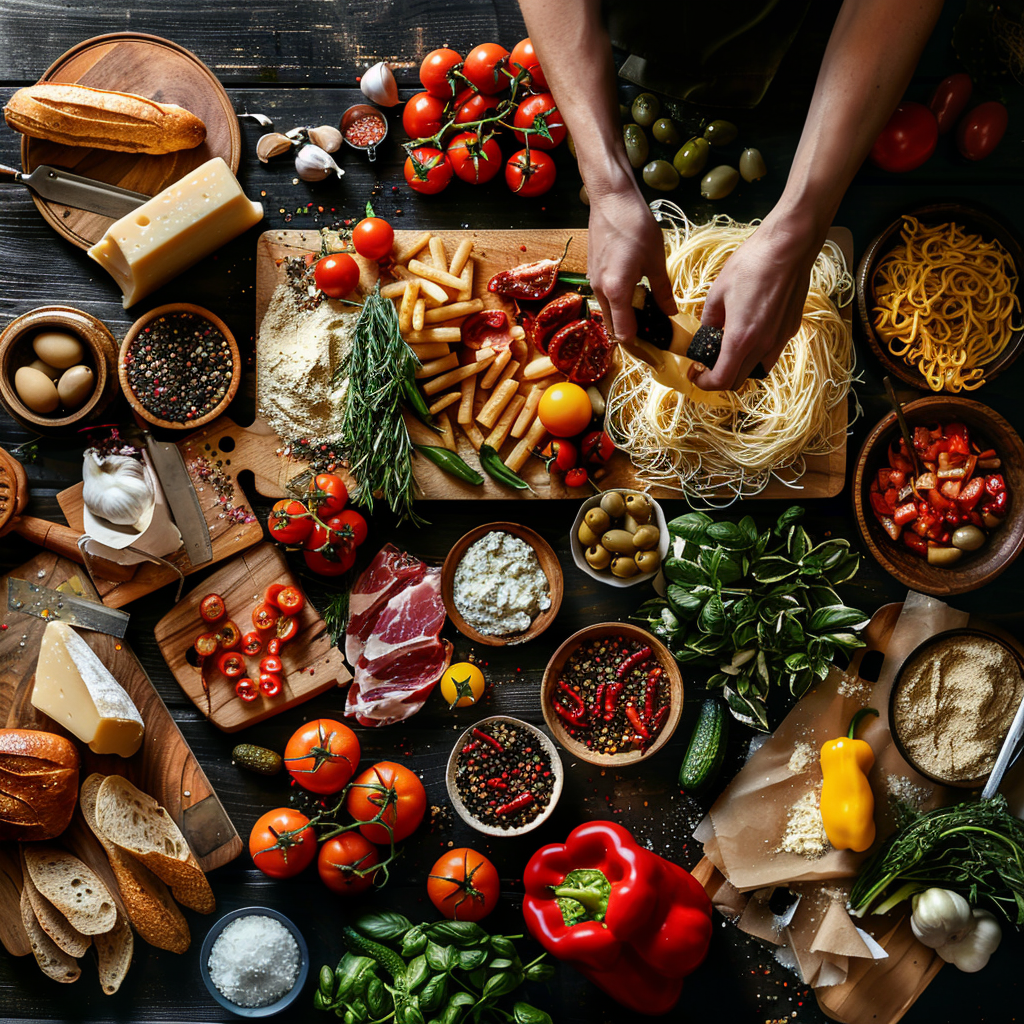
Food photography is a special part of the photography world. It needs an eye for detail, knowledge of how to set up a shot, and the skill to show food’s true nature. More than just showing food, this type of photography tells stories.
It highlights textures and colors, and sometimes it shows off where food comes from or its cultural background. This field pushes photographers to be creative and learn more about lighting and styling, all while playing a big role in brand marketing and advertising for the food industry.
To take pictures of food that really show off what it’s like, you must get the beauty of classic food photography. This kind of art makes ingredients, dishes, and cooking methods look attractive. Skilled photographers use design ideas to create welcoming pictures that tease your senses.
Elements of Design in Food Photography
In food photos, design elements are super important. These are things like lines, shapes, space, and size. They help make the subject look good in the photo. Lines pull your sight, while shapes fill out the content. Space gives shots room to breathe so things don’t get too busy. Sizes keep things balanced so no single part takes over.
Color Theory and Its Application
Photographers use color theory to set the mood and make you hungry. Colors can make you feel things; warm ones can make you want to eat while cool colors might say ‘fresh’. A good mix of colors can make a photo pop, with contrasts or similar colors working together. Picking the right background and props helps the main dish shine.
Texture and Pattern in Classic Food Compositions
Textures and patterns bring energy to food pictures. Textures make you think of how something feels, like the crunch of bread or creamy softness. Patterns can come from how the food is arranged or from things like how silverware is set down. Using textures and patterns well draws attention and adds depth for a photo you can almost feel.
In classic food photography, how you put everything in your frame matters a lot if you want drool-worthy photos. it’s about arranging elements to tell a story or show off the best bits of the food.
Rule of Thirds and Its Significance
The rule of thirds is key for great photo composition. You split the image into nine even parts with two sets of lines lining up horizontally and vertically. By placing important parts along these lines or where they meet, you can make your photo more balanced and interesting. This makes it easy on the eyes and can make the food look even better.
Balancing Elements for Visual Appeal
Balancing things out is crucial for an eye-catching food photo. We’re not talking perfect symmetry but rather making sure objects in your shot feel evenly spread out. Maybe you’ve got a big salad on one side and a small garnish on the other. It doesn’t need to be spot-on balanced, but it should guide the eye around the photo nicely.
Use of Negative Space to Enhance Food Subjects
Negative space is all about the open areas around your food. In food photography, using this space lets your subject be the star. A plain background emphasizes a dish’s colors and textures, focusing all attention on it. Smart use of negative space also makes everything look simple and classy, putting more punch into your food’s presence in the shot.
In short, getting these composition tricks right can take an ordinary meal picture to a level that looks super appetizing. Keep practicing, and you’ll snap pics that make anyone who sees them hungry.
Choosing Between Sunlight and Electric Lights
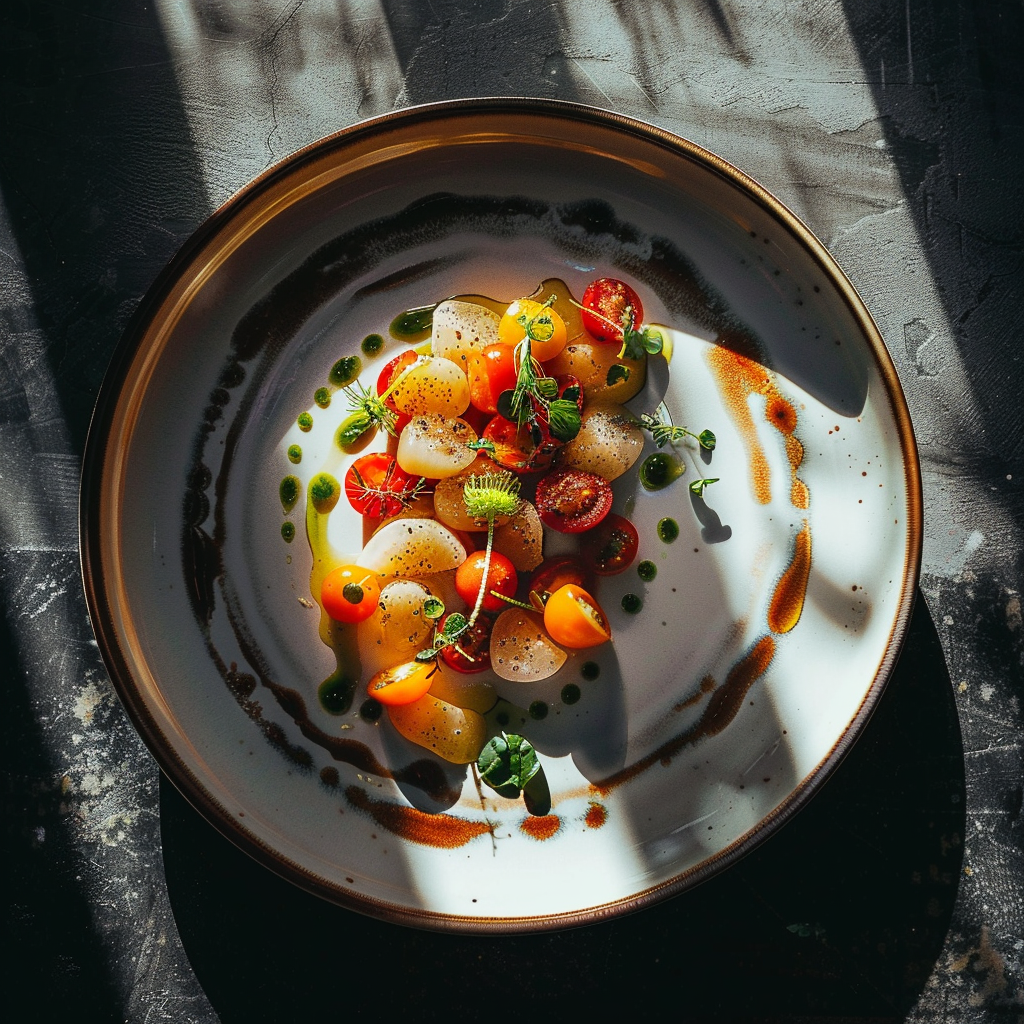
Picking the right light is key when you’re into food photography. You’ve got two main kinds to work with: the sun’s natural light and man-made artificial lights. The sun’s shine gives your eats a cozy, real feel that seems super welcoming because it makes colors look true to life. That’s why so many photographers dig it.
But then there’s lighting you control yourself — like flashes or LED panels. These lights let you tweak how bright they are, change the shades of white they cast and point them wherever you want. This is awesome because no matter if it’s night or you’re stuck with gloomy weather, you can still get the vibe you want in your shots.
How Light Affects Your Photos
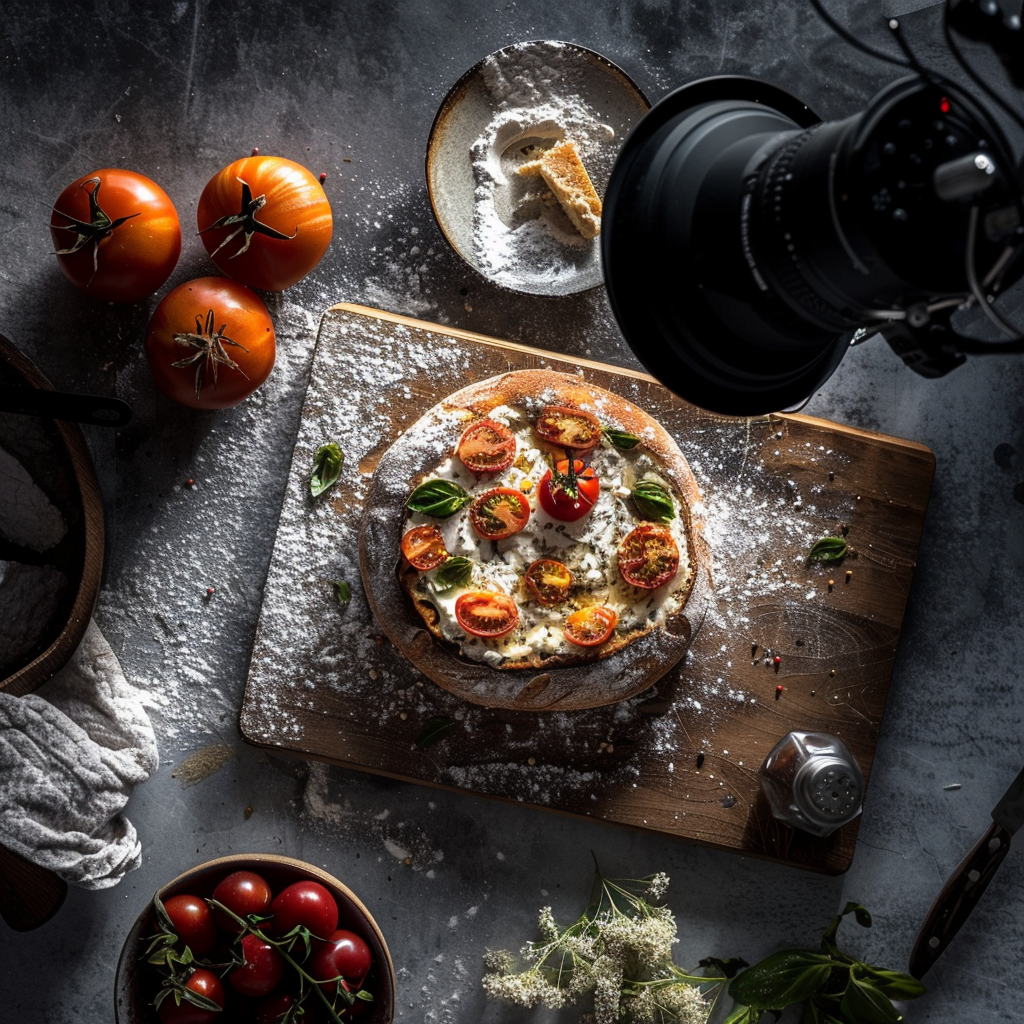
The way light hits your food can change how it looks in a photo a lot. If light comes from the front, it lights up your food, makes colors pop and keeps shadows small. But if you light it from behind, shadows get deeper which can make your food look pretty cool and full of shape.
Side lighting is a mix — it shows off the bumps and lumps in your food with shadows and bright spots. Also, the type of light matters too. Soft light wraps around your food, making things look gentle and calm because there aren’t many harsh shadows. On the other hand, hard light has bold contrasts and makes everything look sharp and lively.
How to Craft a Mood and Atmosphere in Food Photos
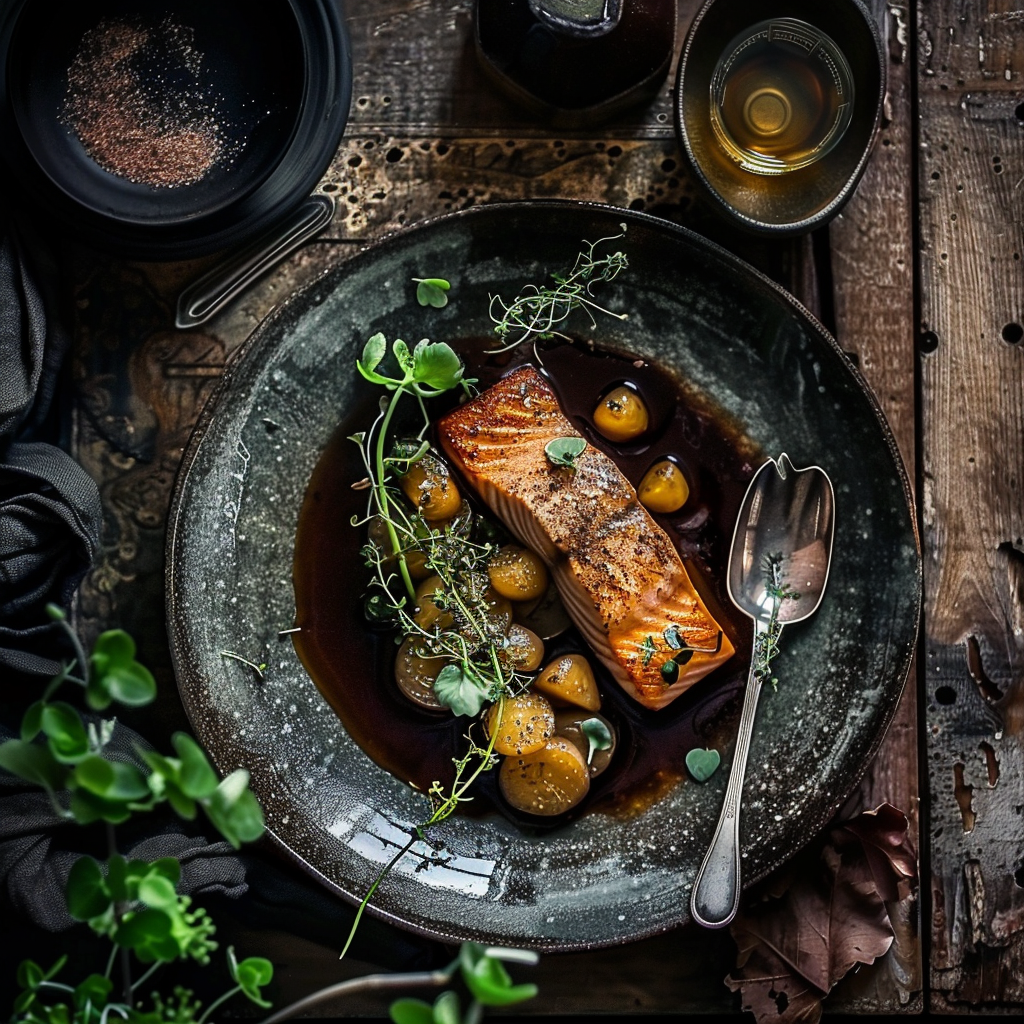
To make food photos look great, you’ve got to mix some art tricks. Use soft, spread-out light with tools like umbrellas or softboxes for a calming or old-school vibe. Want more drama? Try crisp light with specialized tools to direct it. And don’t forget, shaping shadows with light can make your pics mysterious or romantic. Drop some colored films over lights to change the mood, or use reflectors to even out the dark spots. Get all these bits right, together, and your photo will tell a tasty story.
Picking the Right Extras and Backdrops
The stuff around your food is super important in a photo. The challenge is choose extras that look good with the dish but don’t hog the limelight. Think about how big things are, what they feel like, and their color so that they match the food. For backdrops, keep it simple – go for plain colors or gentle textures that make your food stand out without being too in-your-face.
Choosing Colors That Make Your Food Irresistible
The colors you pick for your food shots can really make mouths water. Stick with colors that we see in food itself for the best effect. Like earth tones make veggies look extra fresh, and light, soft colors set off bright dishes well. Aim to play up colors that get taste buds tingling just by looking.
Setting Up Your Food for a Classic Style
For photos that never get old, stick to classic ways of putting food on the plate and don’t cram everything together. Give each item its own space. It should look natural and thought-out. You can layer or tuck ingredients to add more story to your shot. It doesn’t matter if you’re doing simple or homey style, let the dish do the talking.
Camera Settings and Equipment for Top-Notch Food Photos
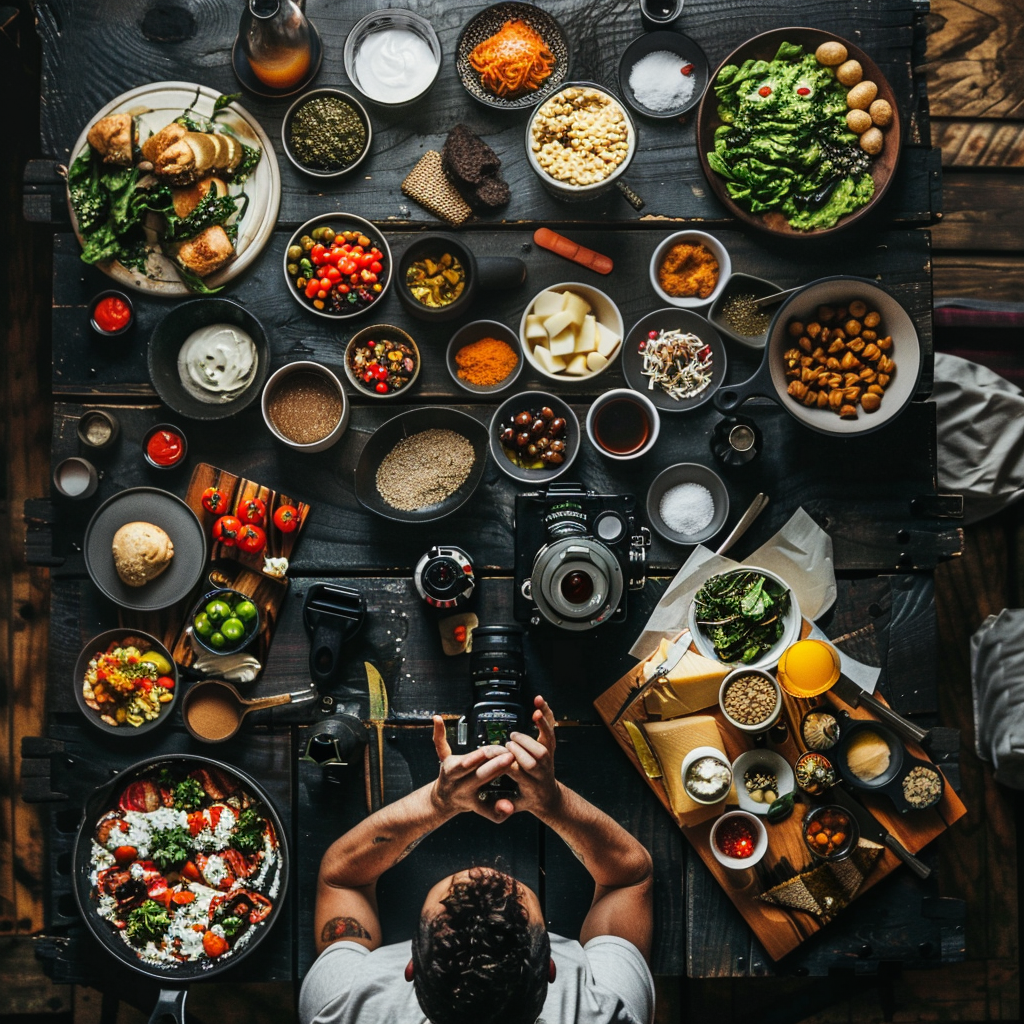
If you want your food photos to look as good as the dish tastes, it’s not just about what’s on the plate. It’s also about how you show it off. To snap those mouth-watering pictures, start with the proper gear. A DSLR or a camera that lets you tweak settings manually is key. You can play with things like how much light you let in (aperture), how fast your camera snaps the picture (shutter speed), and how sensitive it is to light (ISO). Add a sharp lens to the mix, and you’re golden.
Picking Lenses for Cool Effects
Want different vibes in your food shots? Try these lenses:
- Macro Lenses: Awesome for close-ups. They catch all the little details.
- Standard Lenses: These guys are like our eyes and work for most pictures.
- Telephoto Lenses: They zoom in tight, getting rid of background messes.
- Wide-Angle Lenses: When you need to show the scene around the grub.
Tweaking Aperture, Shutter Speed, and ISO for The Perfect Light
Get the lighting spot-on by messing with:
- Aperture (f-stop): This changes the focus depth. Low numbers like f/2.8 make the back all fuzzy, so the food pops out.
- Shutter Speed: It’s about how quick the shutter clicks. Faster means no blur. That’s key if there’s movement, like pouring syrup.
- ISO: It’s how much light your camera needs. Stay low to dodge noisy snaps—go high only when it’s dim, and you’ve got no other tricks up your sleeve.
Stands and Steady Gear for Crisp Shots
You need something stable like a tripod to keep your images tack sharp. It cuts out the shakes from your hands and lets you use slower shutter speeds without ending up with blurry photos. Also, try a remote control for snapping pics or set a timer. That way, you don’t jiggle the camera when you take the shot. This comes in handy when dealing with slow speeds or making sure everything’s just right in your frame.
Improving Color and Contrast in Food Photos
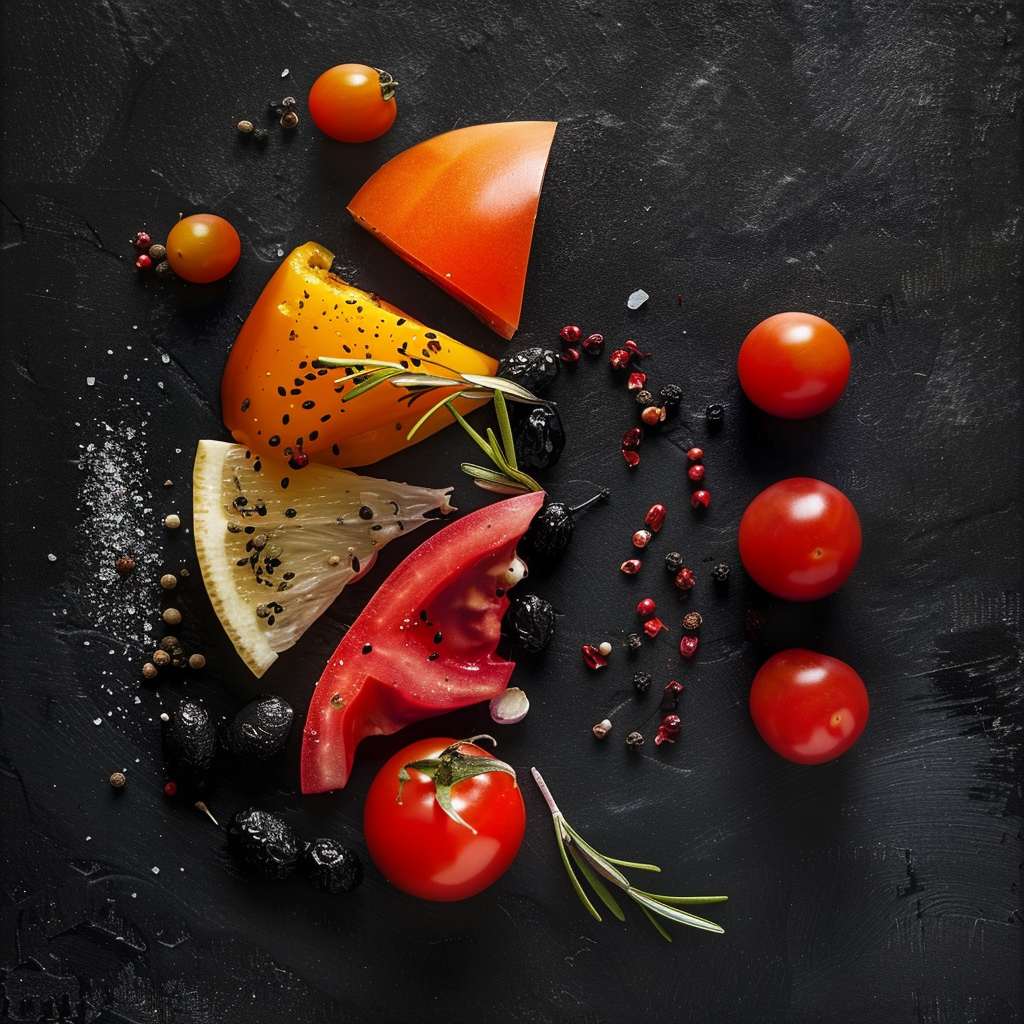
To get better at food photography, you’ll need to use editing software to add some punch to your photos. Taking a good photo isn’t enough; you need to boost the colors to make the dish stand out. By increasing vibrancy, your dishes seem to leap out from the screen, tantalizing the viewer’s appetite. Playing with the contrast also makes a big difference—shadows get darker, and the bright spots light up more. The play of color and contrast is crucial; it’s a mix of light and shadow that brings out the textures and makes each component in the photo stand out.
Refining Images for a Sleek Look in Food Photography
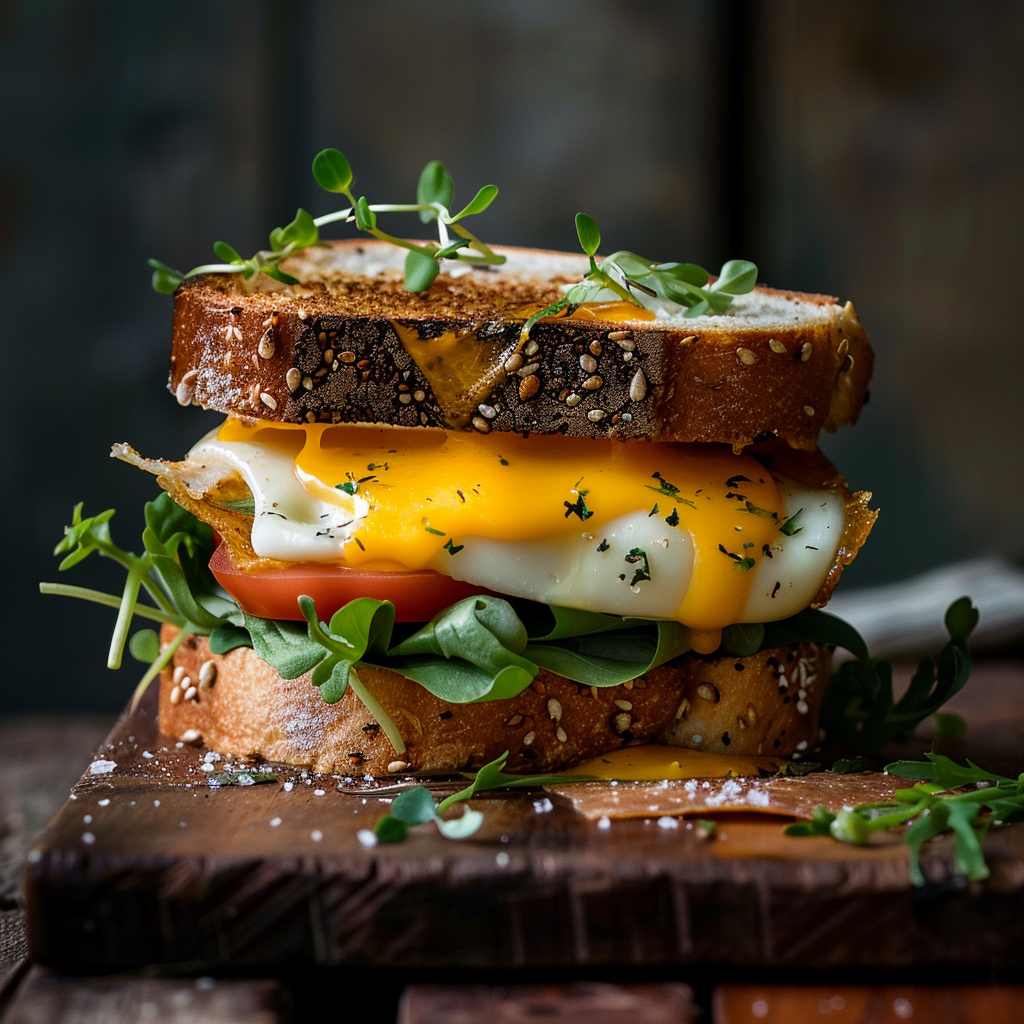
Picture putting a perfectly looking meal on the table, with every bit of garnish in place. Retouching acts like your online touch-up, giving a sleek look by removing pesky crumbs or streaks from your picture. It’s similar to cleaning the plate at an upscale eatery, making sure nothing distracts from the main attraction: the food. Ironing out flaws requires some time, yet that’s what you need to do for appetizing snapshots.
Cropping for Improved Composition
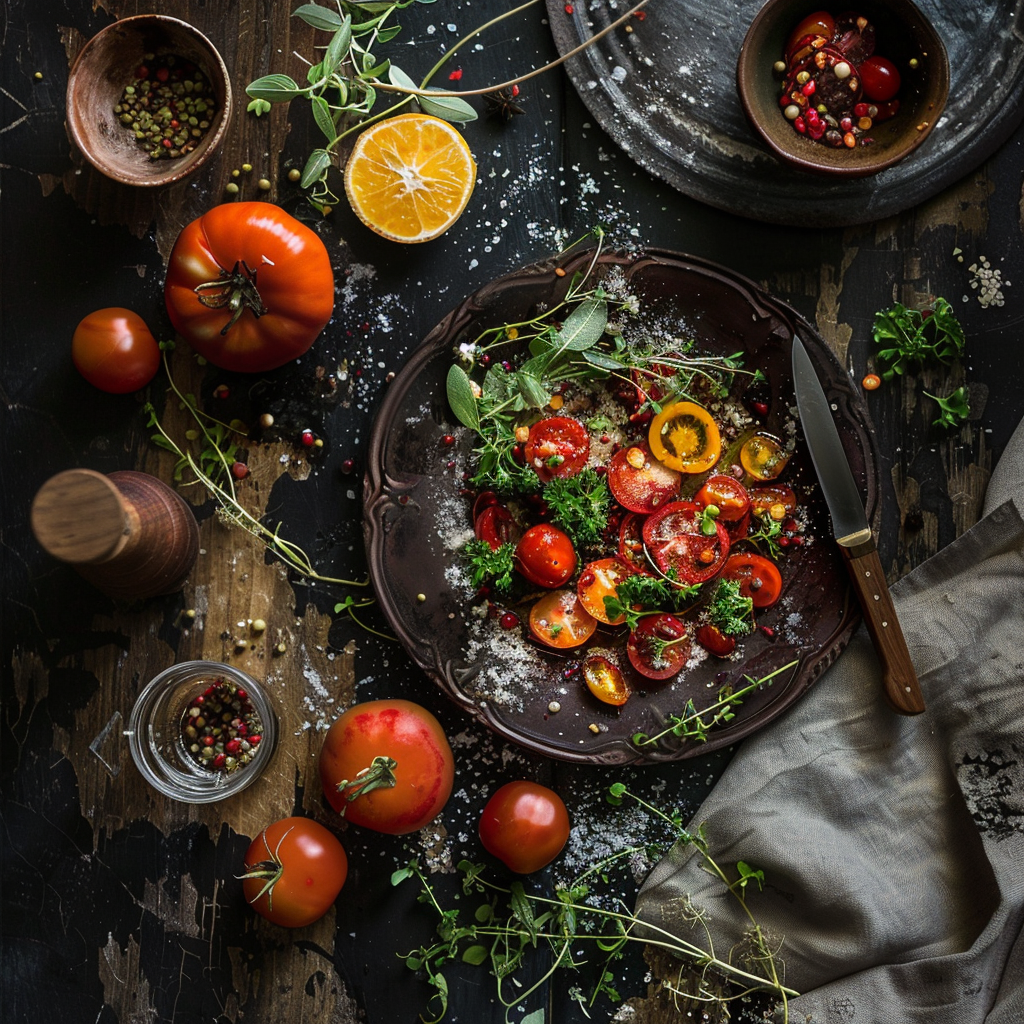
To draw people in to your food photos, you often need to cut out the unimportant parts. Cropping helps highlight what matters most in your picture. It lets you pick the ideal frame within your frame, building a scene that shares your intended story.
Removing distractions makes the photo more striking and directs viewers’ eyes where you want them. What’s the payoff? You get an image that doesn’t just show food, but transforms it into something people crave.
Photographing food is serious business. You can’t just take good-looking pictures. You also have to think about ethics and show the food truthfully.
Authenticity vs. Enhancement in Classic Food Representation
It’s important to balance how real a dish looks with how much you improve its look. A bit of touch-up might be needed to make the dish pop, but you don’t want to trick your audience. So, photo editors are in a tough spot. They need to spice up photos without changing what the food is really like.
Transparency in Food Styling and Manipulation
Making food look great can be tricky, and sometimes stylists use stuff that isn’t edible to make a dish more tempting. This practice is pretty common, but those doing it should think hard about whether they’re being misleading. It’s best to be honest with people about how much tweaking went into that perfect shot. This way, you won’t shock consumers with the secrets of creating such mouth-watering images.
For food photographers, showing off your best work is key. You don’t just want a bunch of nice pictures; you want to show off your skills, style, and the top-notch quality you always bring to the table.
Selecting Your Best Work for Presentation
Choosing wisely is crucial. You’ve got to look through your shots and pick only the ones that really show off your talent. It might be tempting to throw in everything, but you should focus on quality over quantity. Aim to wow with a few amazing photos instead of burying people under tons of meh ones.
Consistency in Style and Quality
Keeping a steady quality and style in your portfolio is vital. It says a lot about how professional you are. The photos you choose should not just be consistently high quality but they should scream that they’re taken by you. Clients should see your unique touch in every image.
Online and Physical Portfolio Options
Today, an online portfolio is a must-have. It lets clients from all over see your work. But don’t ignore the power of a physical portfolio. It can really stand out in person-to-person meetings. Both kinds have their uses and reach different audiences, so it’s smart to keep up both types to cover all your bases.
About Author
Rachel Noël is a professional photographer and videographer from the UK with over 10+ years of experience. Rachel specializes in Underwater, Tavel & Portrait photography among other areas.
