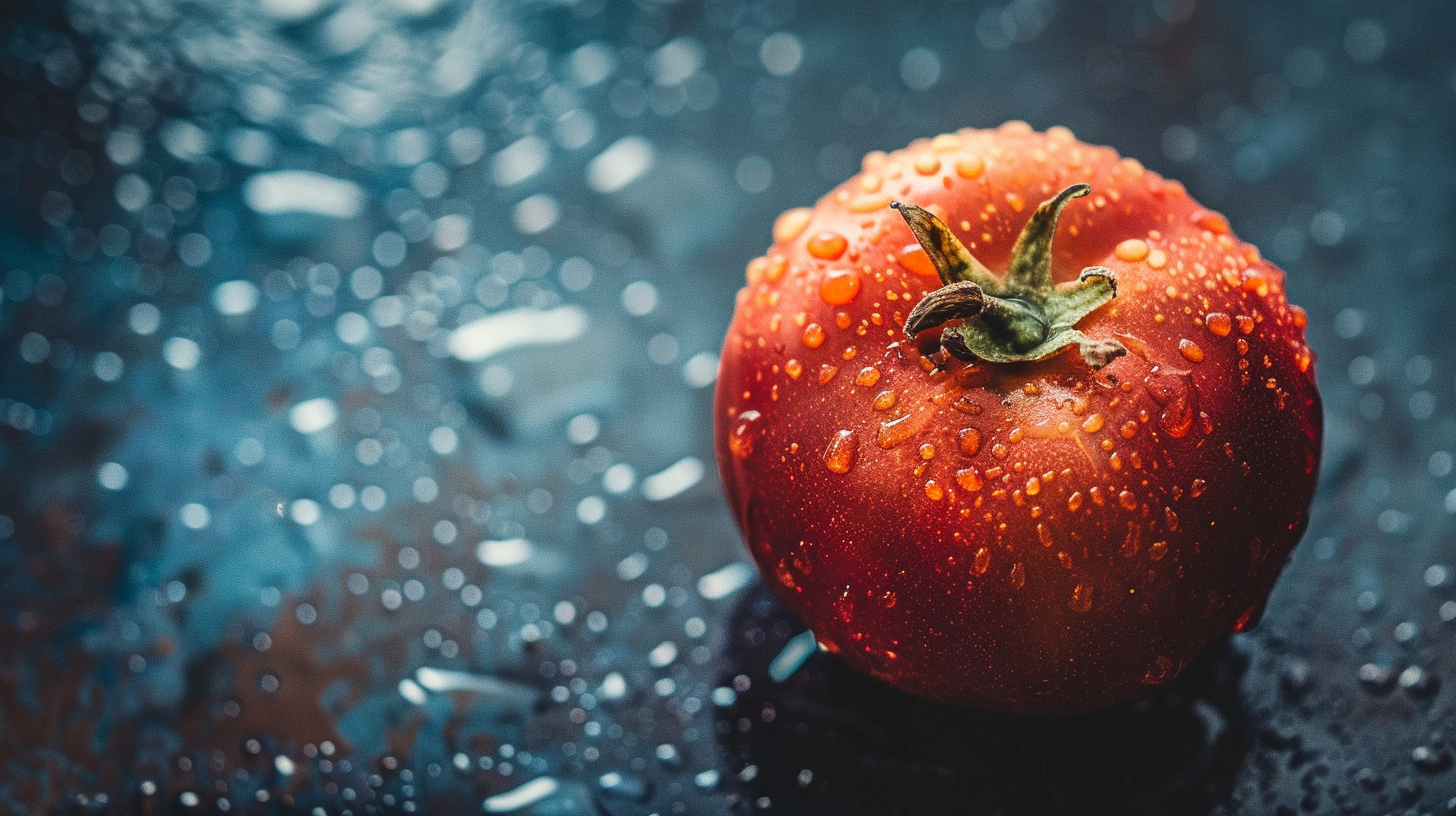
Key points
• Lighting plays a crucial role in macro food photography. It brings out the colors and textures, giving the food depth. Good lighting can change a dull photo into one that makes your mouth water.
• Composition and Focus are key to directing attention to the main part of the dish in macro food photography. Arranging the items properly and using a shallow depth of field helps to focus on the subject and make it pop.
• The right Lens Choice is super important for getting those detailed close-up shots in macro food photography. A macro lens captures all the tiny details of food that a regular lens might miss.
Contents
- Key points
- Macro Photography and Food
- Choosing Equipment
- Importance of Lighting
- Controlling Depth of Field
- How to Compose Your Shot
- Getting the Focus Right
- The Need for Patience
- Best Cameras for Macro Photography
- Lenses and Zooming In
- Using Tripods for Stability
- Lighting for Detail
- Frame Your Food Up Close
- Playing with Depth of Field
- Showing Off Texture and Detail
- The Role of Color and Contrast
- Natural Light and Its Benefits for Macro Shots
- Artificial Lighting Setups
- Controlling Shadows and Highlights
- Diffusion and Reflection Strategies
- Abstract Macro Food Photography
- Having Fun with Focus and Blurry Backgrounds
- Using Props for Better Pictures
- Exploring the Best Macro Food Photography
- Photographer Insights on Macro Techniques
- Comparing Photos: Before and After Editing
Macro food photography zeroes in on the fine details and enhances the allure of a dish by showing off its textures and colors. These close-ups breathe life into the cuisine, turning simple meals into feasts for the senses. By focusing on certain features, these pictures make food look more tempting and interesting.
This type of photography is not just about snapping good-looking photos—it’s also practical. For example, it’s an excellent tool for advertising because striking photos can make people want to try a dish or visit a restaurant. Since we “eat with our eyes” first, great macro photos can be the nudge that makes someone decide to buy something.
Plus, with platforms like Instagram, the importance of eye-catching food photos is even bigger. These sites love sharing attractive images, and a top-notch macro photo can go viral and make a chef or restaurant famous. So, macro food photography not only has to look delicious, but it should also tell a story that connects with what people want and feel.
Also, we shouldn’t overlook its educational value. For folks into cooking or gastronomy, these photos can teach about cooking methods or show how good the ingredients are. They put the spotlight on skill and imagination, inspiring people to see the craftsmanship in preparing dishes.
To wrap up, macro food photography turns food into more than just something to eat; it becomes a form of art. It’s about making things look pretty, marketing effectively, becoming popular online, and teaching people about food. Each aspect ensures every photo isn’t just a picture; it’s a journey into discovering tastes and textures that you might not notice otherwise.
Macro food photography focuses on getting really close-up images of food items, turning even plain meals into impressive pieces of art. It highlights all the little things—like patterns and shades—that you usually don’t see. Photographers use special equipment like macro lenses to get these up-close shots that bring out details invisible to our eyes.
Macro Photography and Food
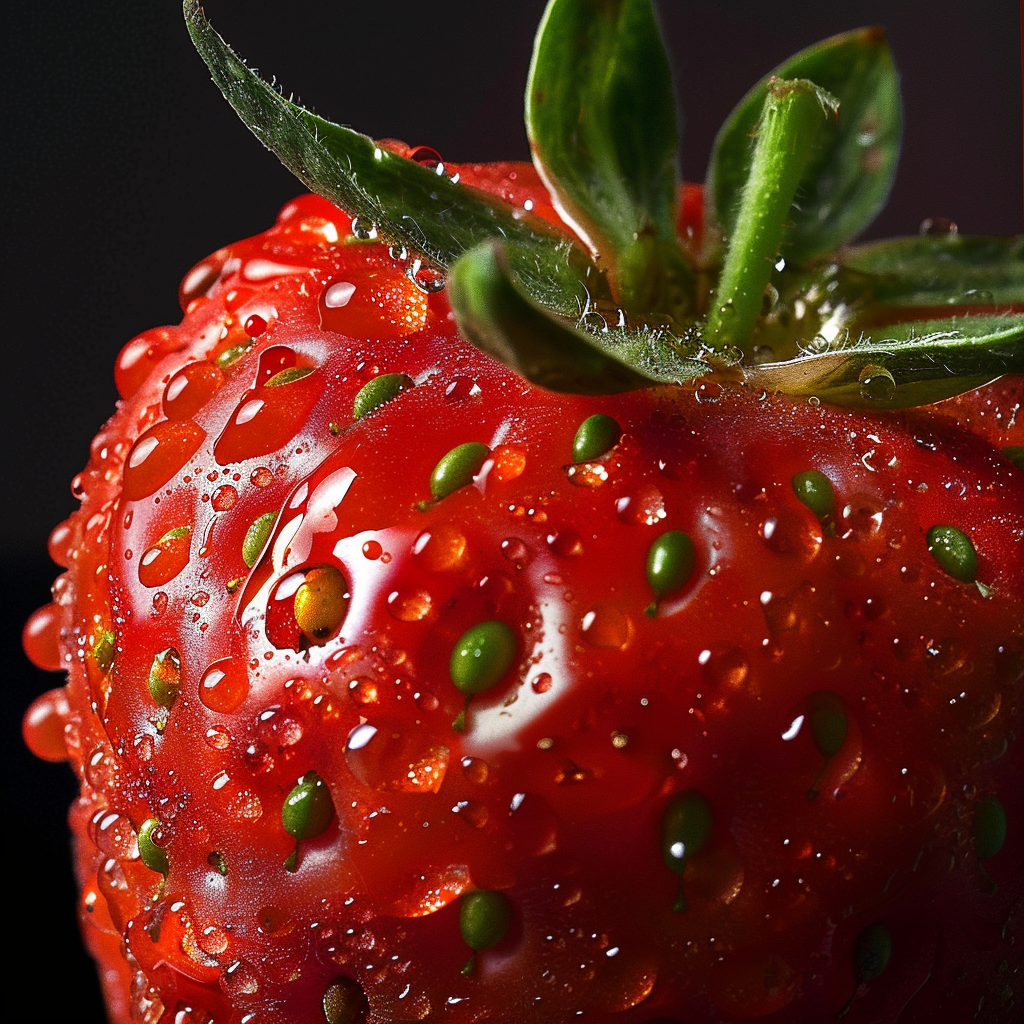
Macro photography brings a creative twist to capturing food images. It involves technical skill and an artistic eye to make the pictures stand out.
Choosing Equipment
Picking the right gear is key in close-up food photography. A macro lens is best for its ability to zoom in and produce sharp images. You can also use extension tubes or close-up filters with normal lenses.
Importance of Lighting
Good lighting is crucial. It makes food look better by showing off textures and details. Soft, diffused light works great for reducing shadows. Tools like reflectors and diffusers can help control the light just right.
Controlling Depth of Field
In macro photography, the focal area is really thin. Adjusting the aperture is important to keep the right parts of the food in focus and softly blur the rest.
How to Compose Your Shot
A good composition is vital. For close-ups of food, think about the rule of thirds, using lines to lead the eye, and contrasting colors. Arrange everything in your shot with care to make it more than just pretty – it should tell a story too.
Getting the Focus Right
For small areas of focus, manual focusing is often better than autofocus. This way, you can concentrate on important parts of the scene like a tiny droplet or pastry texture.
The Need for Patience
To get amazing macro food photos, you need to be willing to try different settings and approaches. Great results usually come after a lot of experimenting, so keep at it!
By using macro photography techniques, you can turn simple pics into tempting images that really show off your food.
Best Cameras for Macro Photography
If you want to capture close-up details of food, choose a camera made for macro shots. These cameras can focus closely to capture clear, detailed images of food’s textures and colors. There are many options, like top-notch DSLRs or mirrorless cameras.
Lenses and Zooming In
The lens magic in macro photography comes from its ability to magnify. True macro lenses can make the subject life-sized on the sensor, while others can zoom in even more. Picking a lens with the right zoom level is crucial for your food shots.
Using Tripods for Stability
Keeping your camera still is super important for sharp pictures. A solid tripod helps avoid blurriness and provides precision, particularly when you need long exposures or very accurate focus.
Lighting for Detail
Catching all the details in macro shots means having the right lights. From softboxes to ring lights, each type can shape your subject to bring out the best in your food photo.
Crafting a stunning composition is essential when getting into macro photography of food. This style lets you highlight beautiful features hidden in everyday dishes, drawing viewers into the small world of food’s details.
Frame Your Food Up Close
Framing matters — it’s how your subject fits in the picture. Often, macro shots mean getting very close to your food. Cutting close around the edges removes distractions, putting all eyes on the yummiest parts of the dish.
Playing with Depth of Field
The depth of field can shift attention to certain features like dew on fruit or bread’s texture. Find the balance so that the main elements are crisp and clear.
Showing Off Texture and Detail
What sets macro food photography apart is its focus on texture and detail. The right lighting can underline textures, turning ordinary ingredients into something special.
The Role of Color and Contrast
Using contrasting colors makes photos stand out and creates emotion. Managing light and shadow enhances colors and adds depth to your delicious subjects.
Natural Light and Its Benefits for Macro Shots
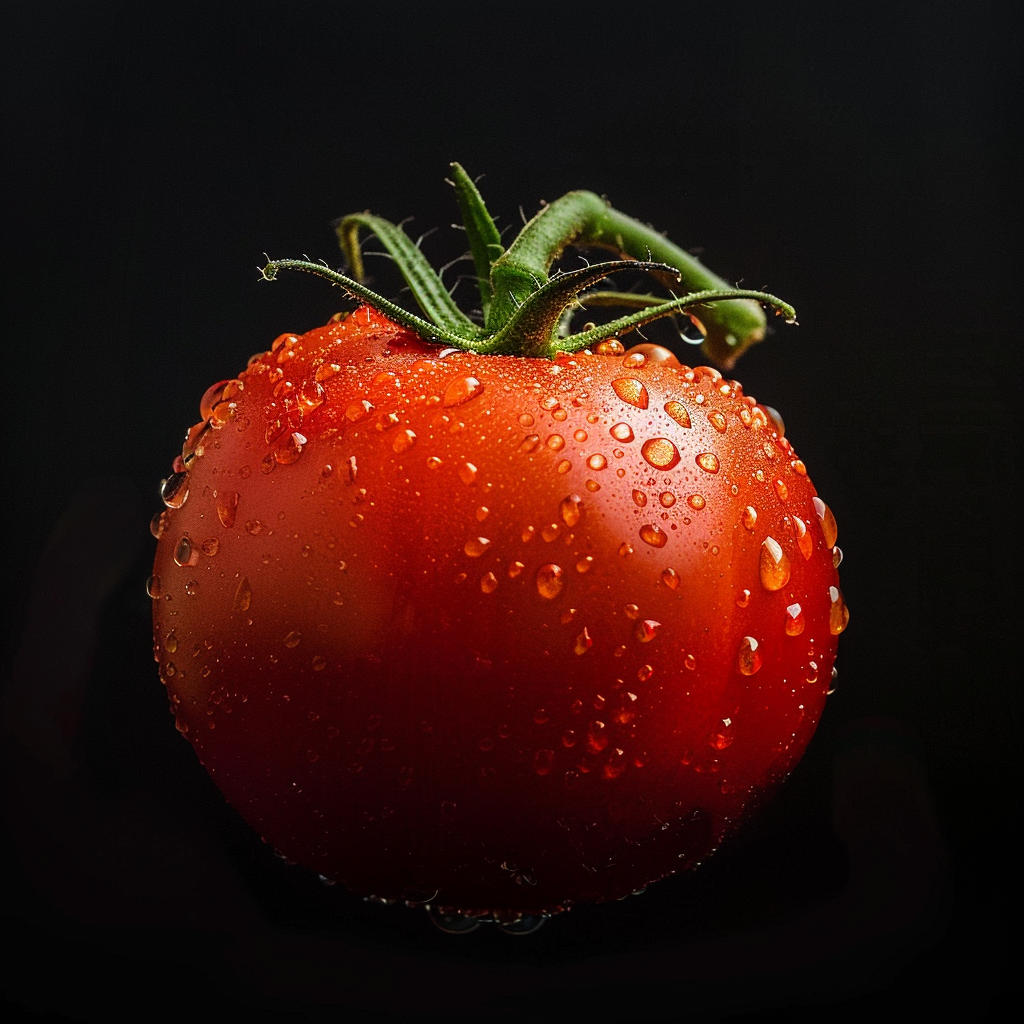
Natural light can make a big difference in close-up food photos. It gives you a gentle, scattered look that’s hard to duplicate with fake lighting. This type of light not only makes the food’s details stand out but also keeps the real colors looking great without adding odd shades. And there’s more – it’s free and always there, which means you can save money on costly gear.
Artificial Lighting Setups
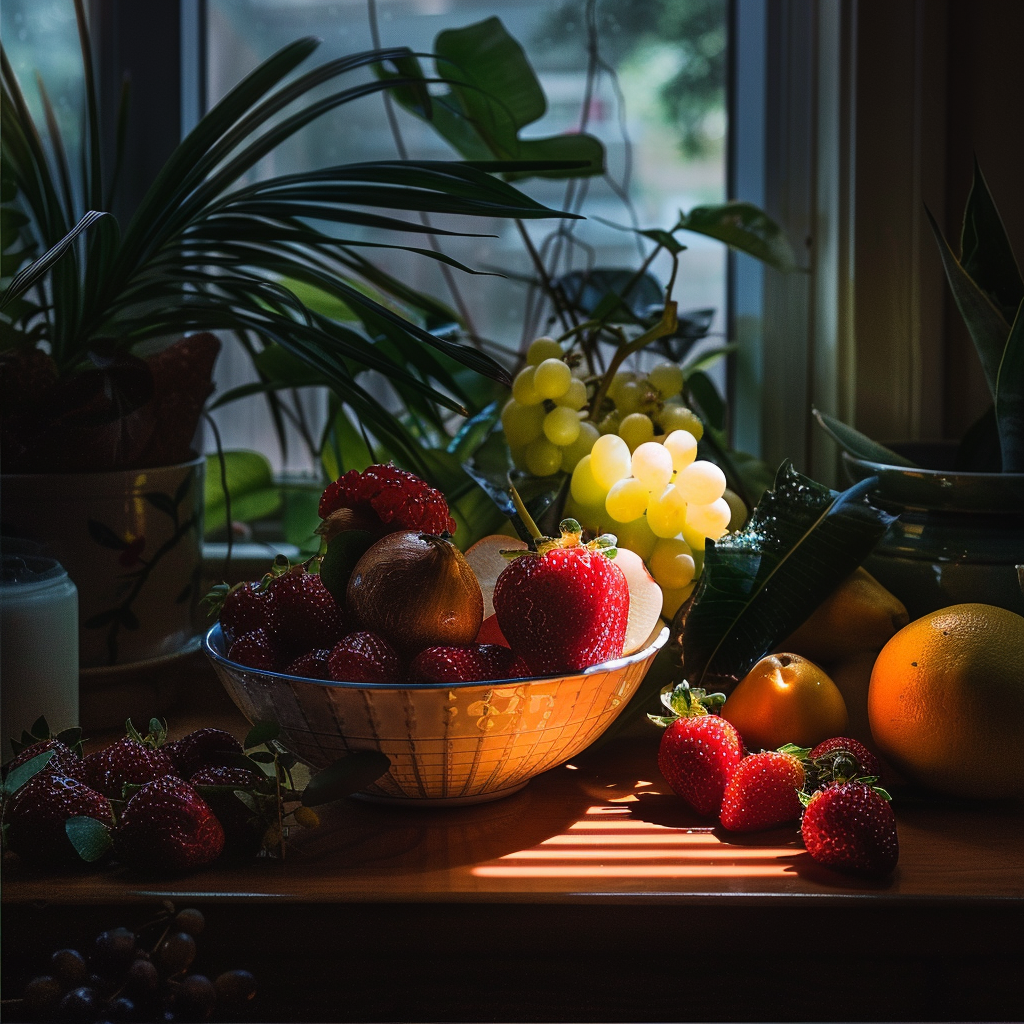
Sometimes, you can’t use sunlight, and that’s when you turn to artificial light. Photographers have a whole toolbox for this—think flashes, LED panels, and lights that stay on all the time. You can mess around with how bright they are and where they point, giving you a lot of say in the final photo. A popular trick is to pick a main light to show off the main bits and use extra lights to make sure the shadows don’t get too dark.
Controlling Shadows and Highlights
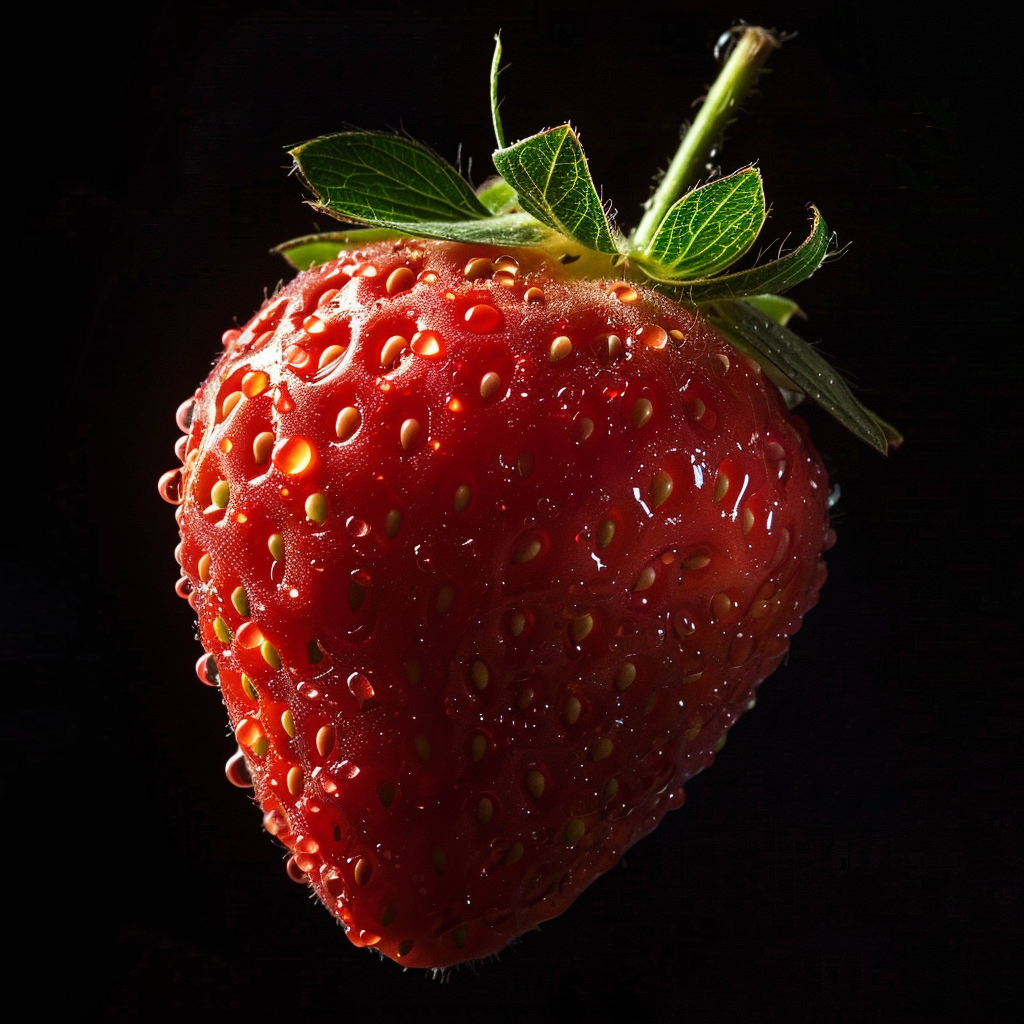
For macro food photos to pop, getting the right amount of shadows and bright spots is key. Shadows are important because they give a sense of fullness and texture, but too many can hide the details. To deal with this, you need to set up your lights and reflectors just right, so they hit your food in a way that brings out the best in both the dark and light areas.
Diffusion and Reflection Strategies
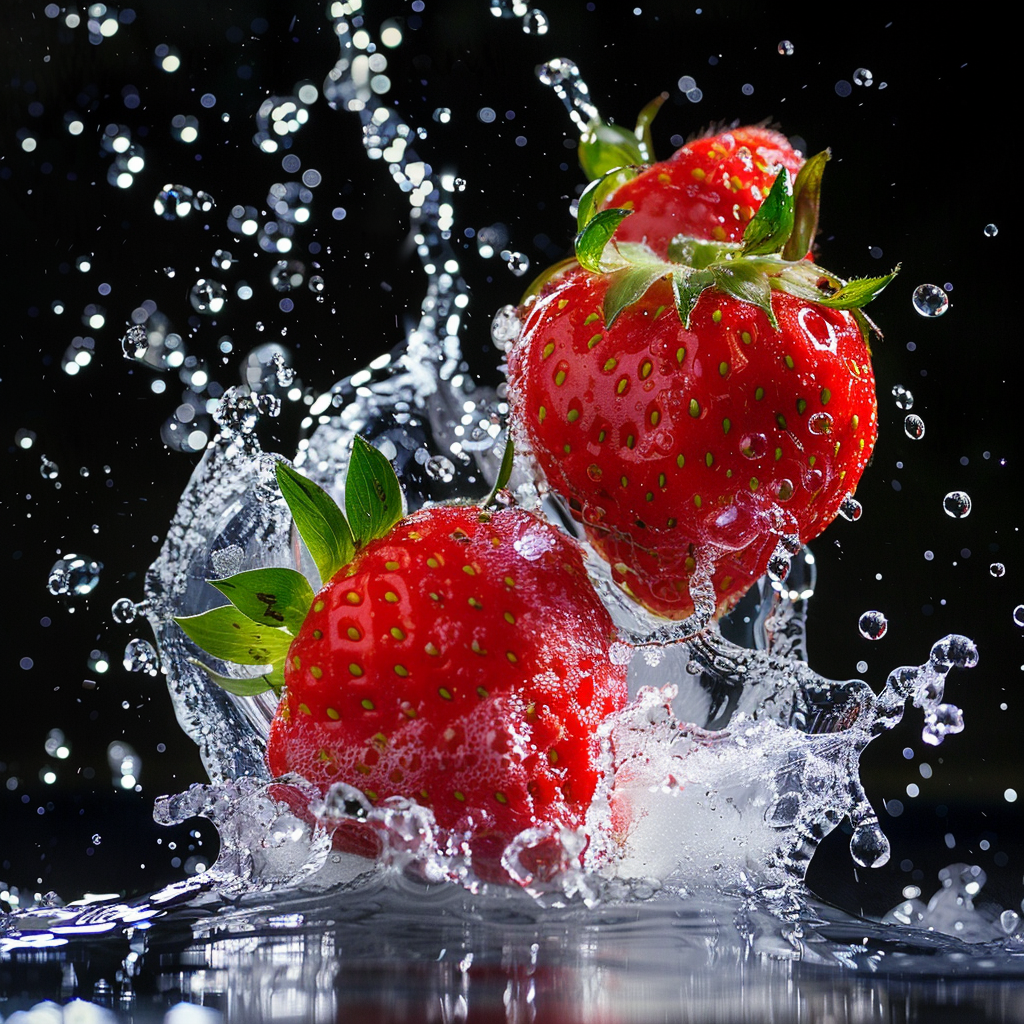
Working with diffusion means toning down harsh lights. Diffusers make the light soft, spread it out, and cut down on glare and sharp shadows. Then there are reflectors; they’re used to push light back into dark spots. By using these tools smartly, you can get a well-lit photo that still shows off the fine details and subtle shades in your food pictures.
In macro food photography, taking the picture is just the beginning. To really bring a photo to life, you need to be good at editing it afterward. We’ll look at four key steps that can turn a decent macro food photo into an amazing one.
Cropping and Resizing for Impact
The way you crop and resize a photo can really change how it affects people. Cut out the extras from the sides and zero in on what’s important to draw in your audience. Always aim for high resolution to keep your photos crisp and clear, no matter if they’re blowing up for a billboard or going small for social media.
Sharpening Techniques for Enhanced Detail
Next up, let’s talk about how to sharpen images to bring out details. Smart sharpening can make textures stand out, which is crucial in food photography. But you’ve got to be careful—not too much sharpening or the photo will look fake. A gentle approach is best.
Color Correction for Appetizing Results
Getting the colors right is essential to making food look tasty. It’s all about tweaking the colors and how vivid they are to show the real deal but make it look even better. You need a keen eye because you want that dish to look as yummy as possible without changing its true colors.
Retouching Tips for Perfection
The last step is retouching, and it’s what can make your image perfect. You clean up little flaws like unwanted shiny spots, dust, or marks on the food. The goal is to show off the best version of the dish while keeping it real.
By focusing on these editing stages, photographers can seriously improve their macro food images. This will result in pictures that aren’t just high quality but also have a strong connection with folks looking at them.
Abstract Macro Food Photography
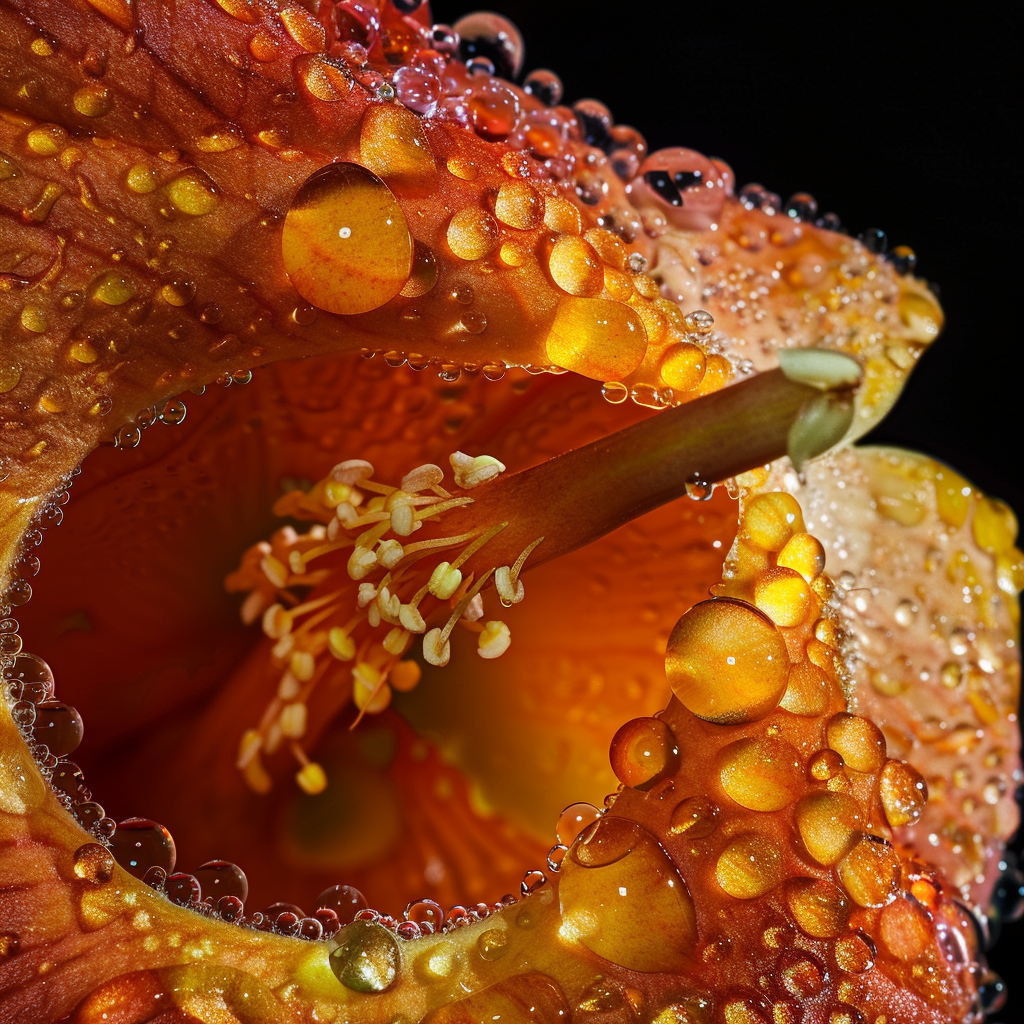
Macro food photography lets photographers show off the tiny details and textures in food that people usually miss. By zooming in, it highlights the amazing patterns and colors in dishes. These photos make regular food look fascinating by focusing on shapes and design instead of how food normally looks.
Having Fun with Focus and Blurry Backgrounds
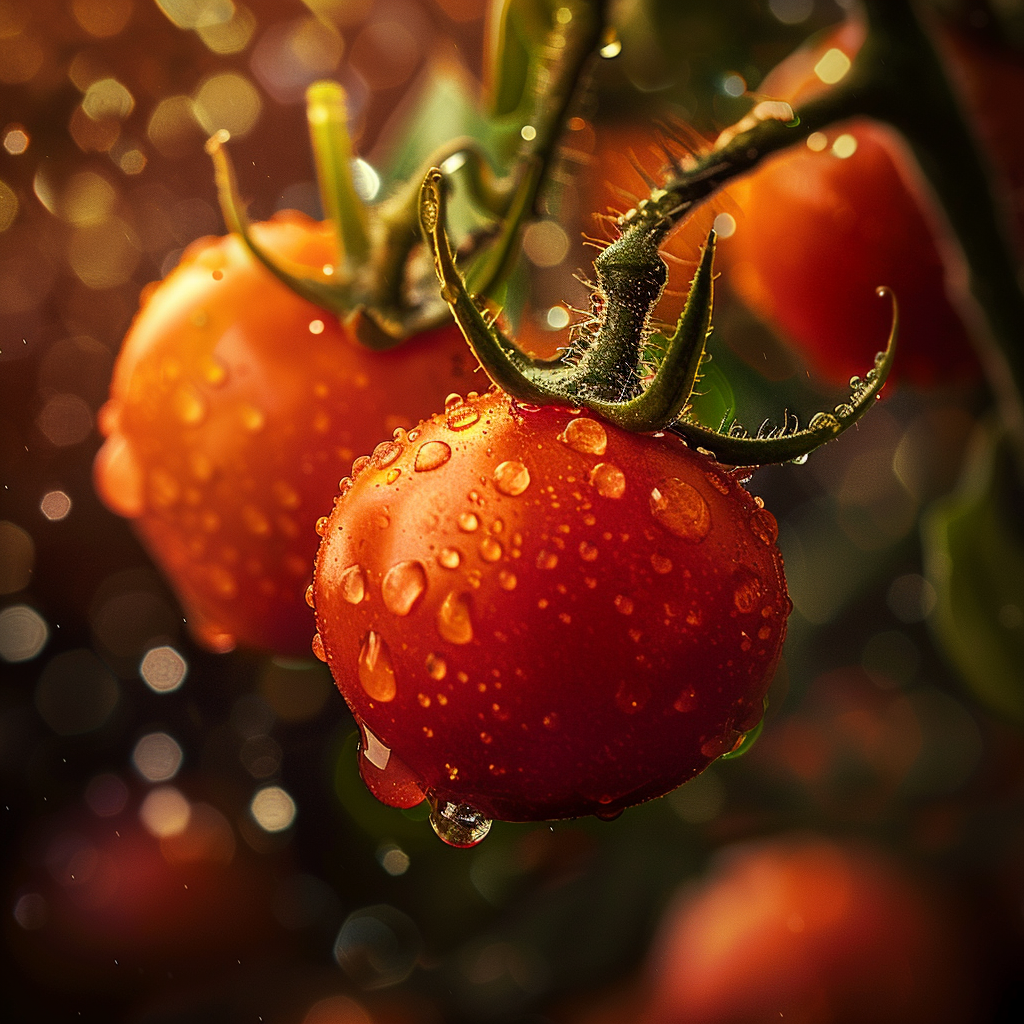
When it comes to close-up food photos, getting the focus right can really make your pictures pop. If you focus on just part of your dish and let the rest fade into a soft blur, you’ve got what’s called bokeh. This cool blur makes the sharp parts look even better, sorta like they’re the star of the show. It draws you in, giving the photo a kinda magical feel that makes the main bit stand out.
Using Props for Better Pictures
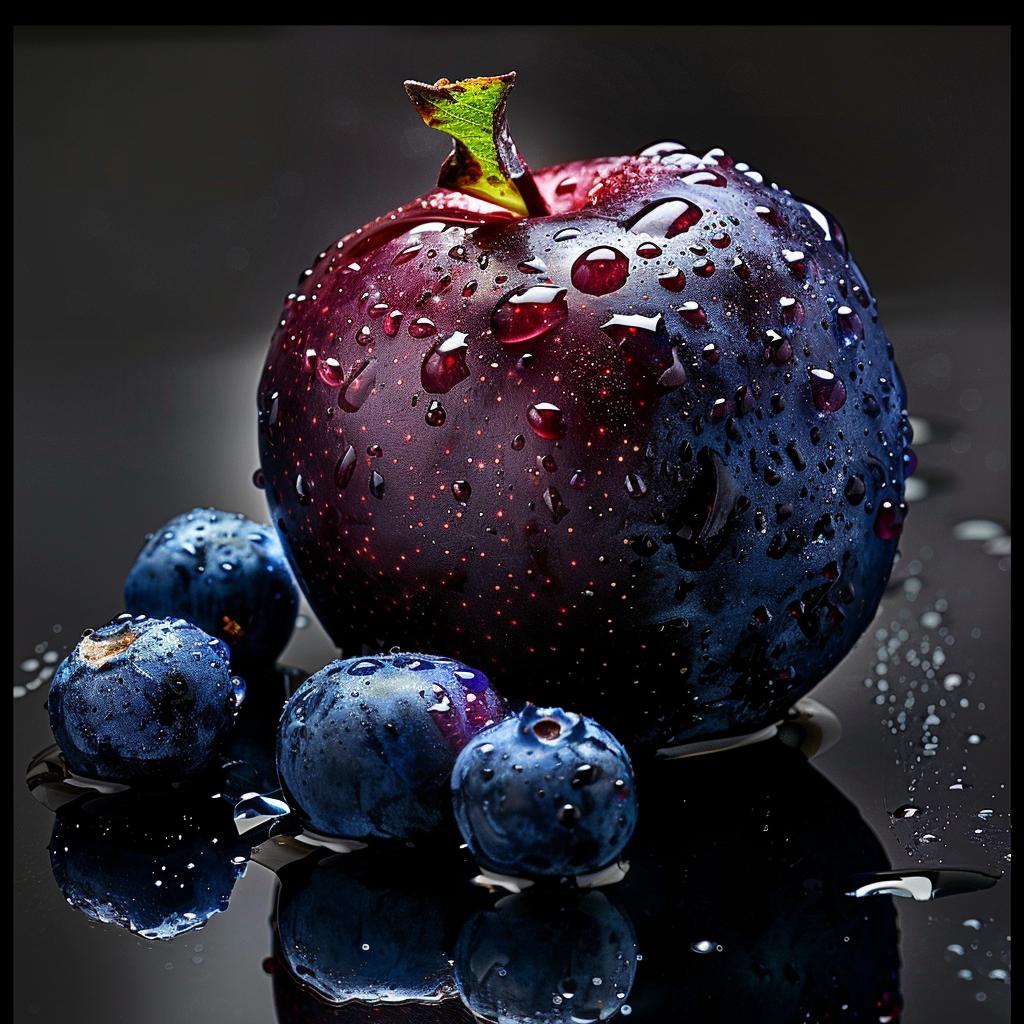
Adding props to your food photos can really make them pop and get people interested. Things like utensils, fabric, or small bits of food help show how big or small everything is and lead your eye around the picture. Props also give your photo a bit of a story, making it more than just a picture—it becomes something people can relate to.
Keeping Your Camera Still
When you’re taking close-up shots of food, the smallest movement can mess up an otherwise great photo. A good way to stop this is by using a solid tripod which keeps the camera still and helps you take the same shot over and over without changing anything. Also, using something like a remote control for your camera or its timer can stop shaking from pressing the button. But what if there’s a breeze or the table’s not steady? Clamps or weights can keep things from moving. And if you need to adjust the focus just right, using the live view on your camera can be a big help without actually touching it.
Fixing Light Problems in Close-Ups
Good lighting is super important in macro photography. If you’re getting too close and natural light isn’t cutting it, or you’ve got shadows messing up your shot, using diffusers can soften things up and get rid of those shadows. Reflectors are great too because they throw light back into the darker spots and make everything look even. Sometimes you might need extra lights like LED panels or maybe a ring light to brighten up your subject just right—without being too much. Try lighting from different sides to see what looks best.
Avoiding Common Errors
Even pros mess up sometimes with macro shots. Mistakes like not getting close enough or getting so close you can’t tell what the food is are pretty common. You gotta really know what your lens can do to avoid that. A lot of photographers don’t think about how deep the sharp part of their picture will be—that’s called depth of field. To fix that, use a small aperture (that’s the bigger f-number) and you’ll get sharpness all over your food. Don’t forget to touch up your photos after to make them even better. Post-processing can clean up little blemishes you didn’t notice while shooting.
Looking at other people’s awesome food shots can teach you a lot. The best ones out there are done by photographers who can get real close, showing off every tiny detail, color, and texture that usually goes unnoticed. These shots turn everyday food into works of art.
Exploring the Best Macro Food Photography
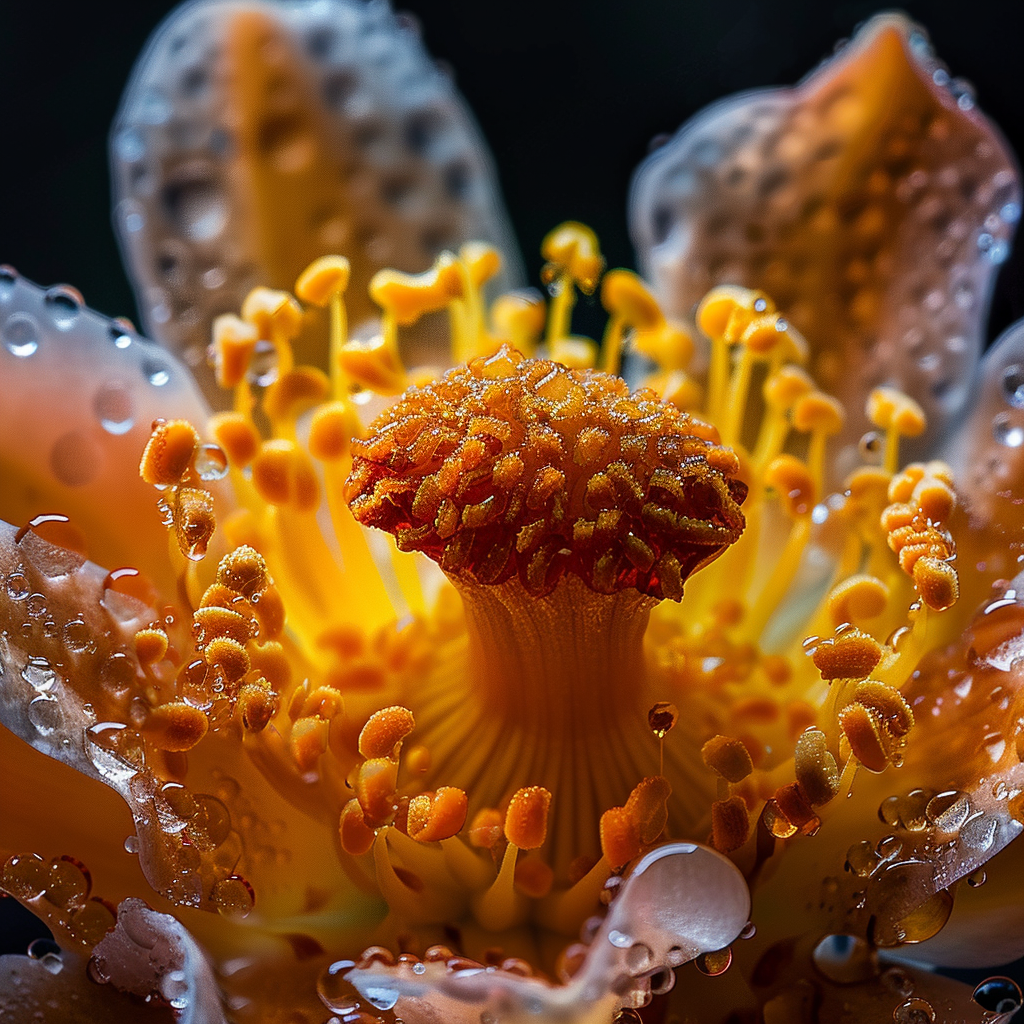
A close examination of amazing macro food photos shows they share key traits that make them stand out:
- Lighting: Skilfully using natural or studio light shines a spotlight on the main part of the photo.
- Composition: Arranging the pieces in the shot with care.
- Focus: Sharply honing in on certain bits to pull in the viewer’s gaze.
- Color and Contrast: Bringing in bright colors and stark differences ensures the subject steals the show.
All these elements combine to tell an enticing visual tale that draws you in.
Photographer Insights on Macro Techniques
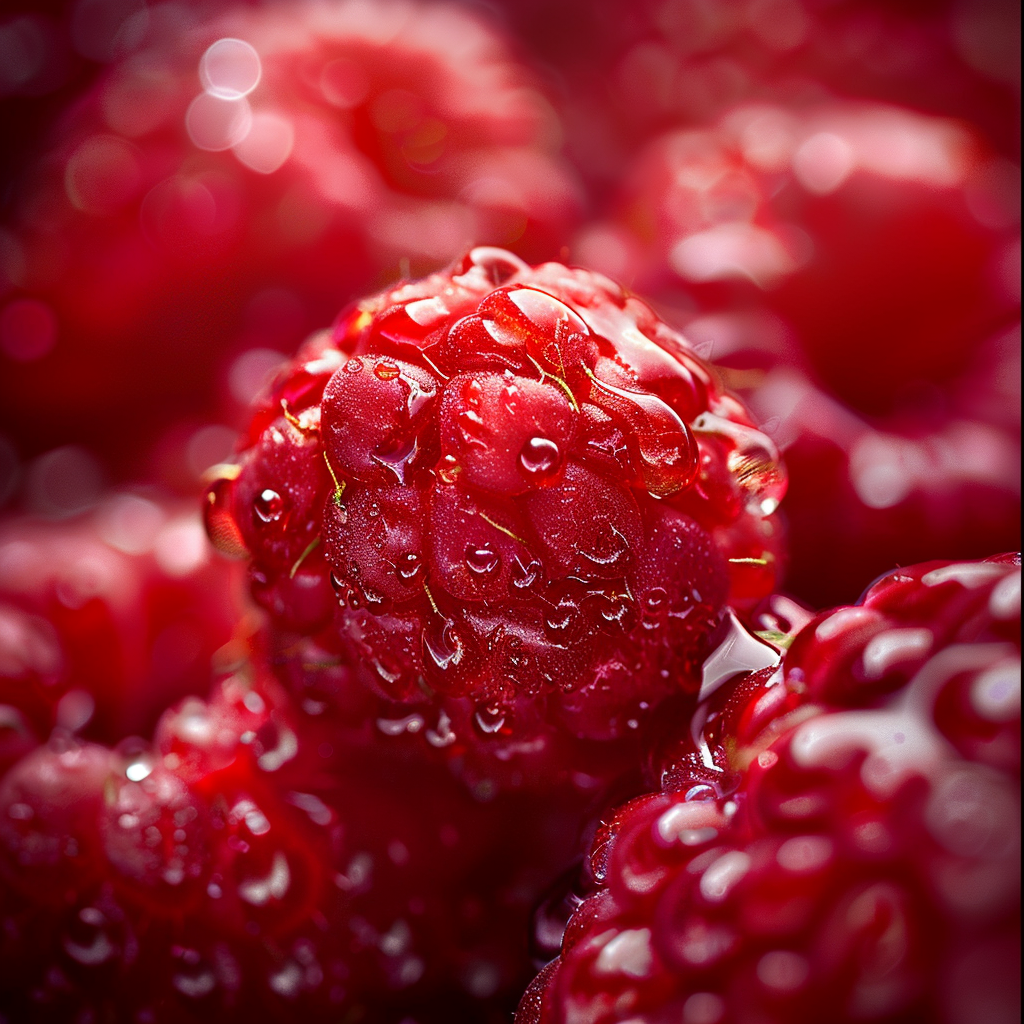
Expert photographers usually give tips about their macro photography skills. They stress that you need to be patient and focus on details when taking close-up shots of food. For instance, having a macro lens and using a tripod can result in really clear pictures. Playing around with how much of the shot is in focus can also highlight textures in an interesting way. It’s key to know your subject and how it looks under different lighting conditions.
Comparing Photos: Before and After Editing
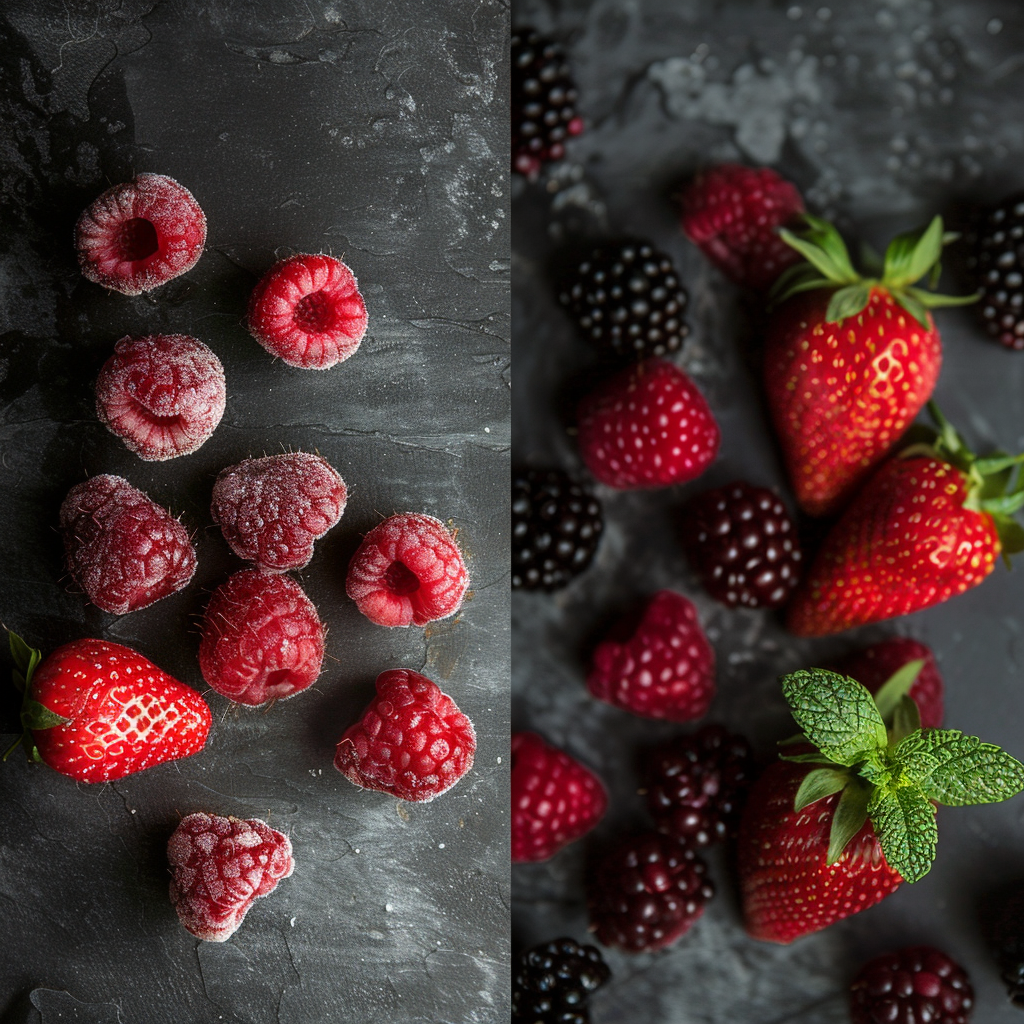
The dramatic change that editing can bring to a photograph is evident when looking at before and after comparisons. Simple changes in how bright an image is, the strength of its contrasts, and the intensity of its colors can have a major impact. Breaking it down:
- Exposure: Tweaking how light or dark the photo is, along with its shadow details to get the right balance
- Contrast: Playing with contrast to either make the photo pop or mute it down a bit to draw attention to the main focus
- Saturation: Altering how intense or subdued the colors are to give the photo a more lively or true-to-life look
At this point in editing, a decent photograph can turn into an exceptional one since these final edits infuse the image with depth and feeling.
About Author
Rachel Noël is a professional photographer and videographer from the UK with over 10+ years of experience. Rachel specializes in Underwater, Tavel & Portrait photography among other areas.
