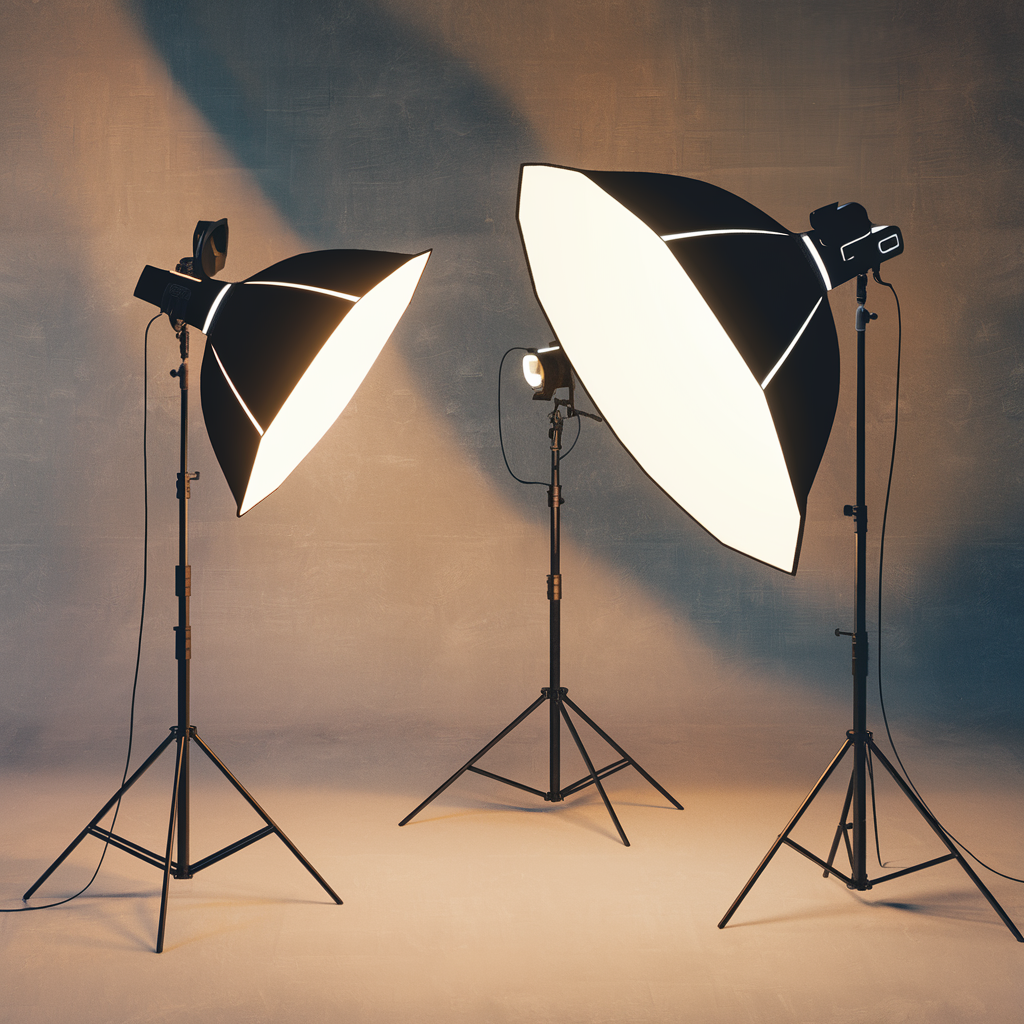
When it comes to dealing with models, that means using light in order to make the model look their absolute best. By using three-point lighting, a photographer can make a model look gorgeous.
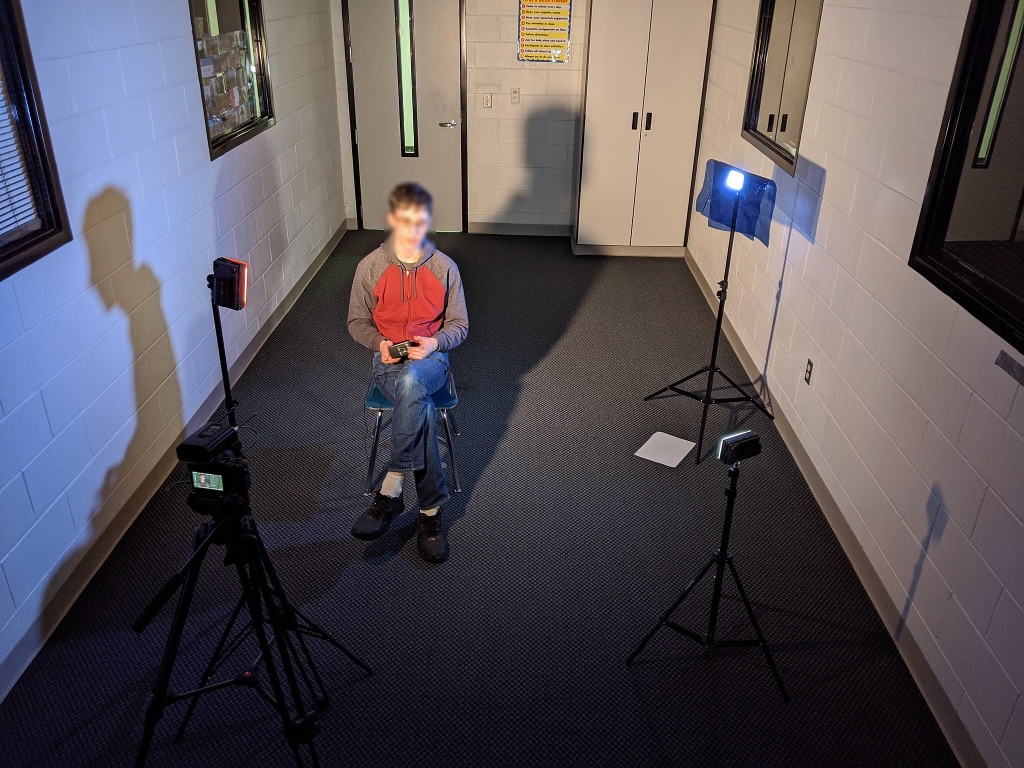
The primary light, fill light, and backlight can make a world of difference when used in your photography. It is just a matter of taking the time, doing it right, and a willingness to have some fun with the materials at hand.
Contents
Starting With The Key Light
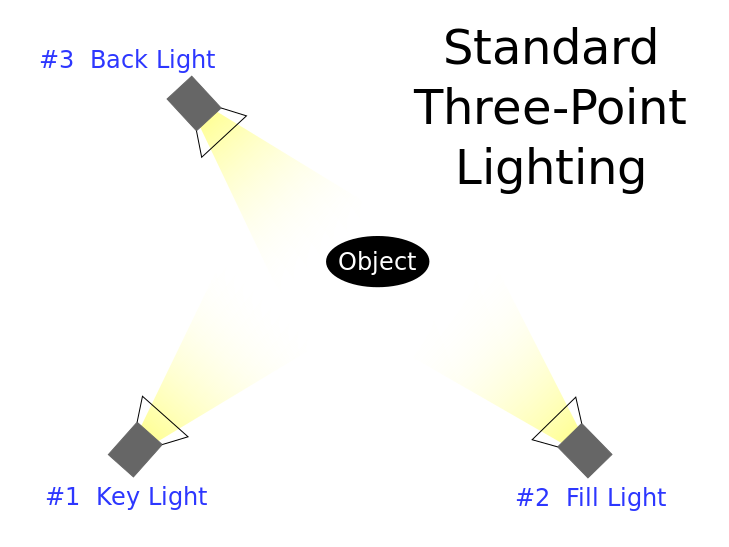
Your biggest light is your primary light. This will provide most of your illumination, and define the lighting of your shoot. The primary lighting should be your largest light and the one that the others must deal with. You want some shadows to play with in order to accentuate the model’s details as well as to hide others; you want muscles, facial features, and even some jewelry to stand out even as you want to hide some imperfections. The primary light is your first step to defining the best possible picture of your model.
By manipulating the primary light and finding the best angle you can make some dramatic improvements. Most photographers put the light at an angle in order to create some shadows; those shadows help to highlight the desirable details of the model. If you put the primary light directly in front of the model you can wash the model out, practically eliminating any fine detail; if you put it too far to the side then the shadows are too deep and put too much of the model into darkness. The primary light thus helps define just how much of the model can be seen.
One of the biggest questions you will face is whether to use a hard light or a soft light. Most photographers use a soft light because it is easier to deal with overtime for the model and it makes editing a little bit easier after the shoot. However, hard light is better when details need to be accentuated; it provides much more detail as the shadows are starker and harder to ignore. While this is usually done by using light bulbs of different wattage, the same effect can be accomplished by putting a muslin sheet between the target and the light.
Then You Fill Things In With The Fill Light
The fill light helps diffuse some of the shadows and eliminate the starkness of the primary light. It is so named as it fills in the parts that would otherwise be hidden thanks to the primary light; thanks to the fill light they can be properly illuminated. The fill light helps to eliminate unwanted shadows; in essence, it helps to eliminate some of the higher contrast in the shot, making the model look more natural. Ironically, the fill light eliminates some of the artificiality of the shot by providing more light.
The fill light is usually placed at a complementary angle to the primary light; if you put a line projecting directly from the model, then the primary and fill lights should form a 90-degree angle. An alternative school would put the fill light at the same angle as the primary light. As noted, the idea is to use the fill light to somewhat counter the primary light and that is done most effectively when the two are at an angle to each other. While this makes it seem that both are placed at 45-degree angles, that does not need to be the case and you are encouraged to experiment on your own.
And Then You Hit Them From the Back With The Back Light
Sometimes the primary and fill lights can be a little too much and actually leave the model looking a little flat. One way of dealing with that is to use a backlight to provide a halo effect on the model. The backlight, as it sounds, is usually placed behind the model in order to provide a radiant effect from behind the model; this can help provide not only a halo effect but can also separate the model better from the background. For those looking to add an extra dimension to their work, a backlight can work wonders.
Putting It All Together
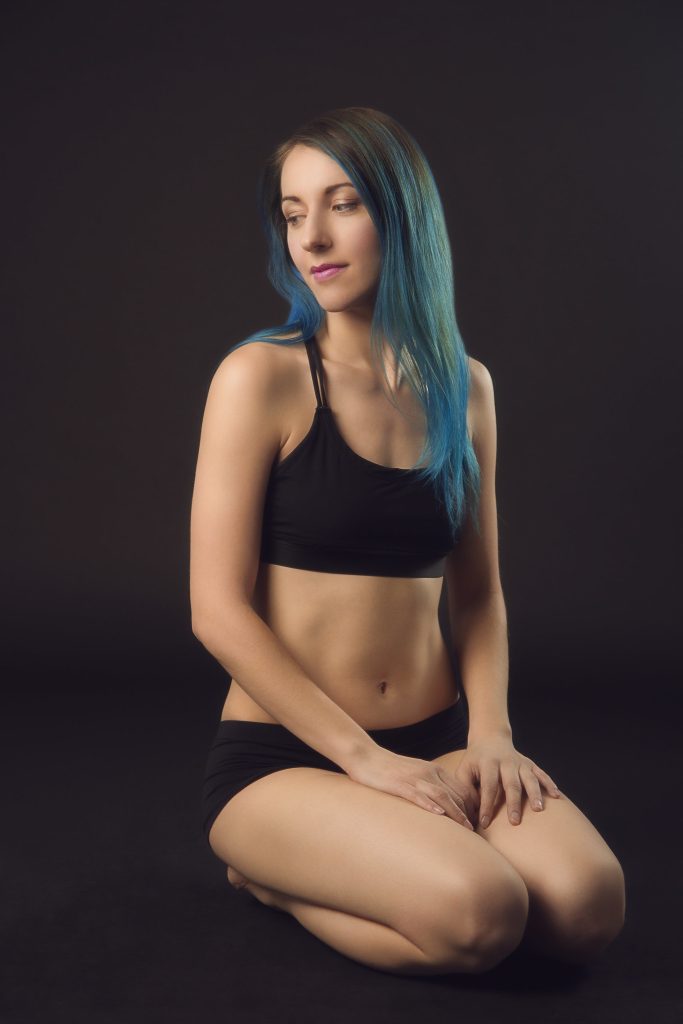
When combined a three-point light system can make for some impressive effects. The primary light will provide the majority of light, as well as the majority of the shadows. The fill light will provide illumination to counter some of the shadows as well as help accentuate some of the details. The backlight helps provide an additional effect that can both provide a halo effect and better separate the model from the background. By working in concert the three lights can create some rather startling pictures, especially for those used to flat pictures.
The three-point system is one that most beginning photographers avoid because it can seem a little complicated. However, it is actually simple to implement and can be done with a system as simple as three mechanical lights, three bulbs of different wattage, and possibly a muslin sheet, all of which are inexpensive to pick up and easy to find. It provides a really great tool for any photographer to master, providing a way to create some gorgeous pictures and provide some new tools for your toolkit. This is definitely something that will differentiate the amateur from the professional.
About Author
Rachel Noël is a professional photographer and videographer from the UK with over 10+ years of experience. Rachel specializes in Underwater, Tavel & Portrait photography among other areas.
