Key points
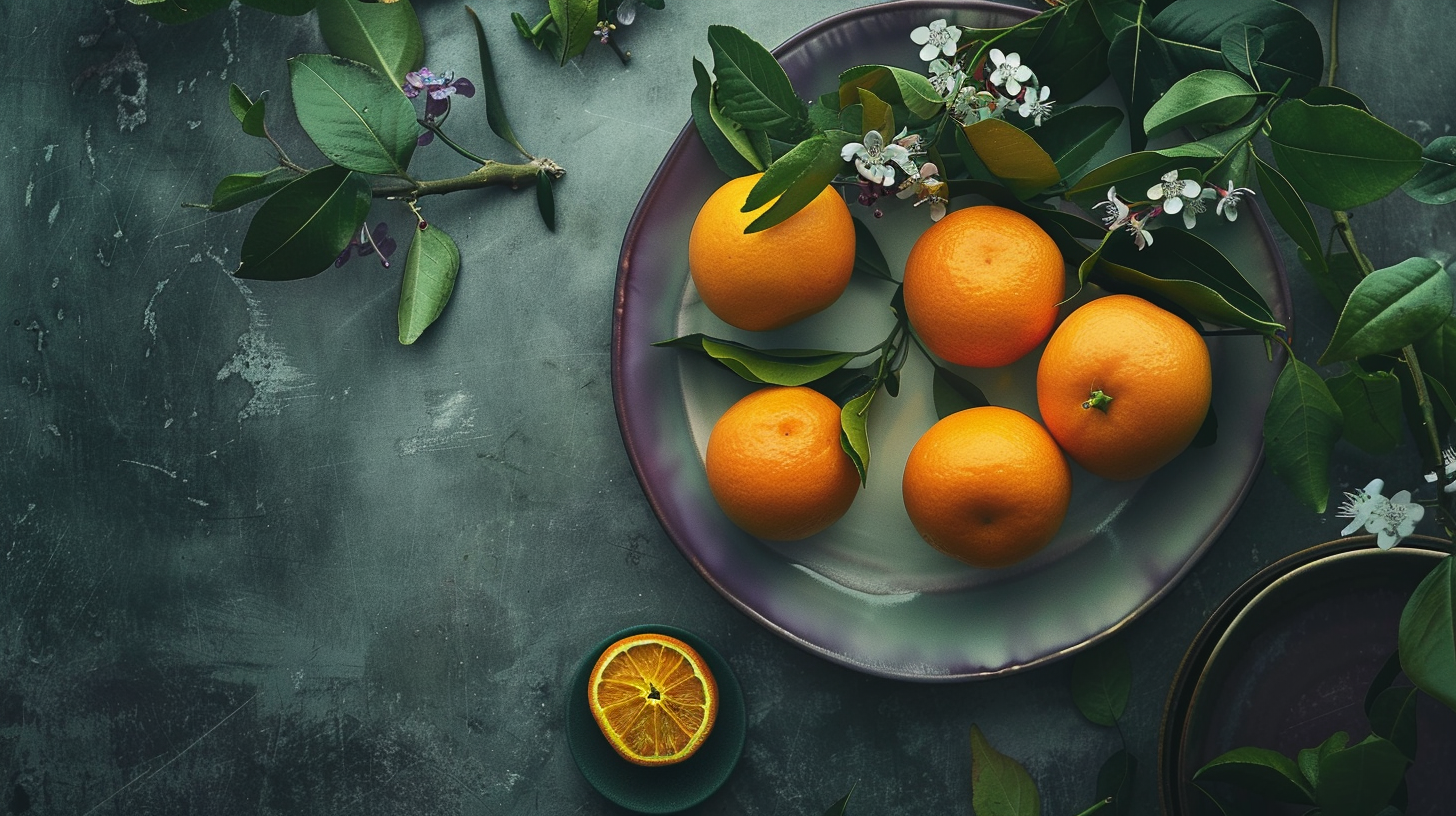
• Composition and Balance: When you’re taking pictures of food from above, it’s all about arranging everything nicely. You want to make sure that the colors, shapes, and textures look good together and lead the eye through the picture.
• Lighting: Getting the lighting right is super important for taking good flat lay photos. Most of the time, natural light is best because it’s gentle and shows the real colors of the food. But you can also use fake light to make some parts stand out more if you need to.
• Props and Background: The stuff you put around the food and what’s behind it can really help tell the story. You need a simple and plain background so it doesn’t take away from the main star: the food. And the little items you choose to include should fit the theme and feel of whatever you’re photographing.
Contents
- Key points
- Definition of Flat Lay Photography
- Why Flat Lay is Important in Food Photos
- All About the Flat Lay Technique
- Understanding Lighting in Food Photography From Above
- Key Camera Settings for Food Photography From Above
- Tripod and Overhead Rig Setups
- Add a Personal Touch
- Dynamic Compositions with Layering
- Making a Story with Flat Lay Photos
Definition of Flat Lay Photography
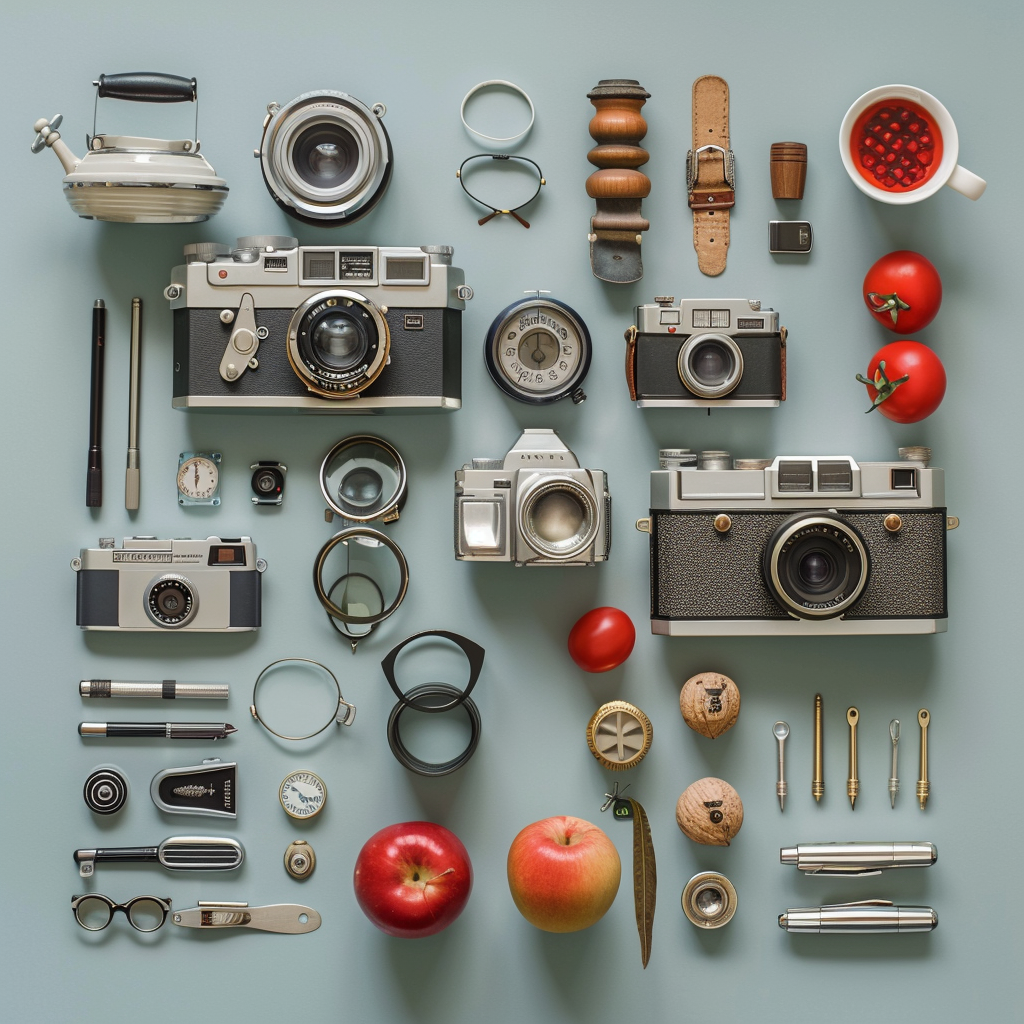
Flat lay photography is when you take pictures from above, pointing the camera straight down at stuff laid out on a flat surface. This creates a cool top-down look that makes things look really tidy and clear, without any depth like you’d get if you took the photo from another angle.
Why Flat Lay is Important in Food Photos
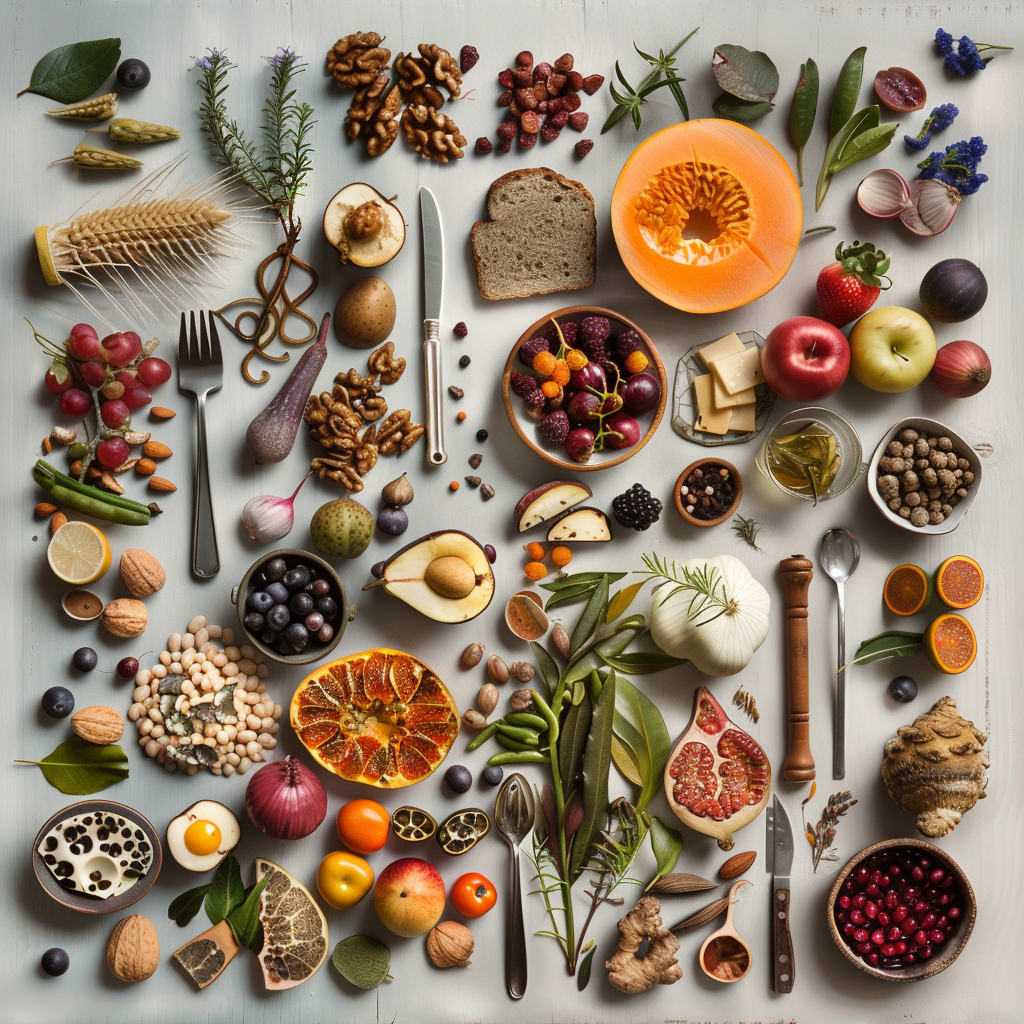
Flat lay photography does more than just make food look good. It highlights the food’s texture, what’s in it, and how it’s placed together. It’s really important because it can make a simple dish look like an artistic masterpiece. Plus, flat-lay lets you add extras like utensils, spices, and little decorations that make the photo even better.
All About the Flat Lay Technique
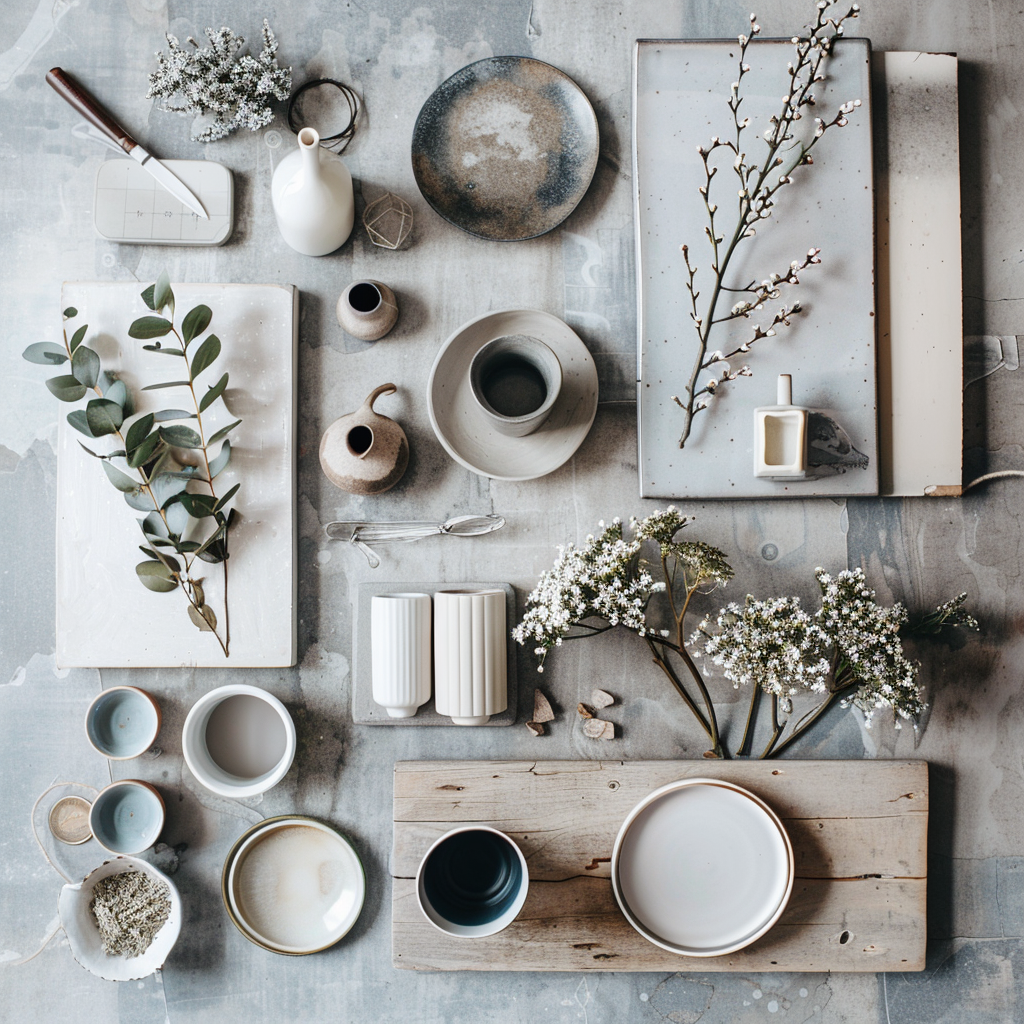
Using the flat lay technique well involves a couple of key steps. Start by choosing a plain background to keep the focus on your food. Good lighting is critical; you want soft, even light to avoid harsh shadows. Next is the layout – go for a balanced design that may use the rule of thirds for a pleasing effect. Finally, add dimension with various textures or layers, and be mindful of how the colors work together to really enhance your image.
The Rule of Thirds in Flat Lay
In a flat lay, picture your scene divided into nine equal parts by two horizontal and two vertical lines. The rule of thirds tells you to place important parts of your scene where these lines meet because it tends to look better than if they are right in the center. This approach can give your photos balance, so they don’t seem forced.
Balancing Elements in the Composition
For a visually pleasing flat lay, it’s essential to have balance. It’s not always about being symmetrical – it’s more about arranging different sizes and shapes so they are spread out well in your photo. Think about how heavy or light each object looks; smaller or lighter items can balance out the bigger or heavier ones if you put them in the right place.
Use of Negative Space
Negative space – the empty spots around and between the subjects of a photo – is quite useful because it stops the photo from becoming too busy and guides viewers’ eyes to the focal points. When used wisely, negative space can make as much of an impact as the objects themselves, resulting in a sophisticated and intentional arrangement.
Color Theory in Flat Lay Arrangements
Colors are vital for an attractive flat lay. Using complementary colors, which are found across from one another on the color wheel, can help your photos pop. On the other hand, analogous colors, which sit side by side on the wheel, create a sense of unity and flow. Be aware of how the colors of your food, backdrop, and accessories work together to set the mood or theme of your picture.
Understanding Lighting in Food Photography From Above
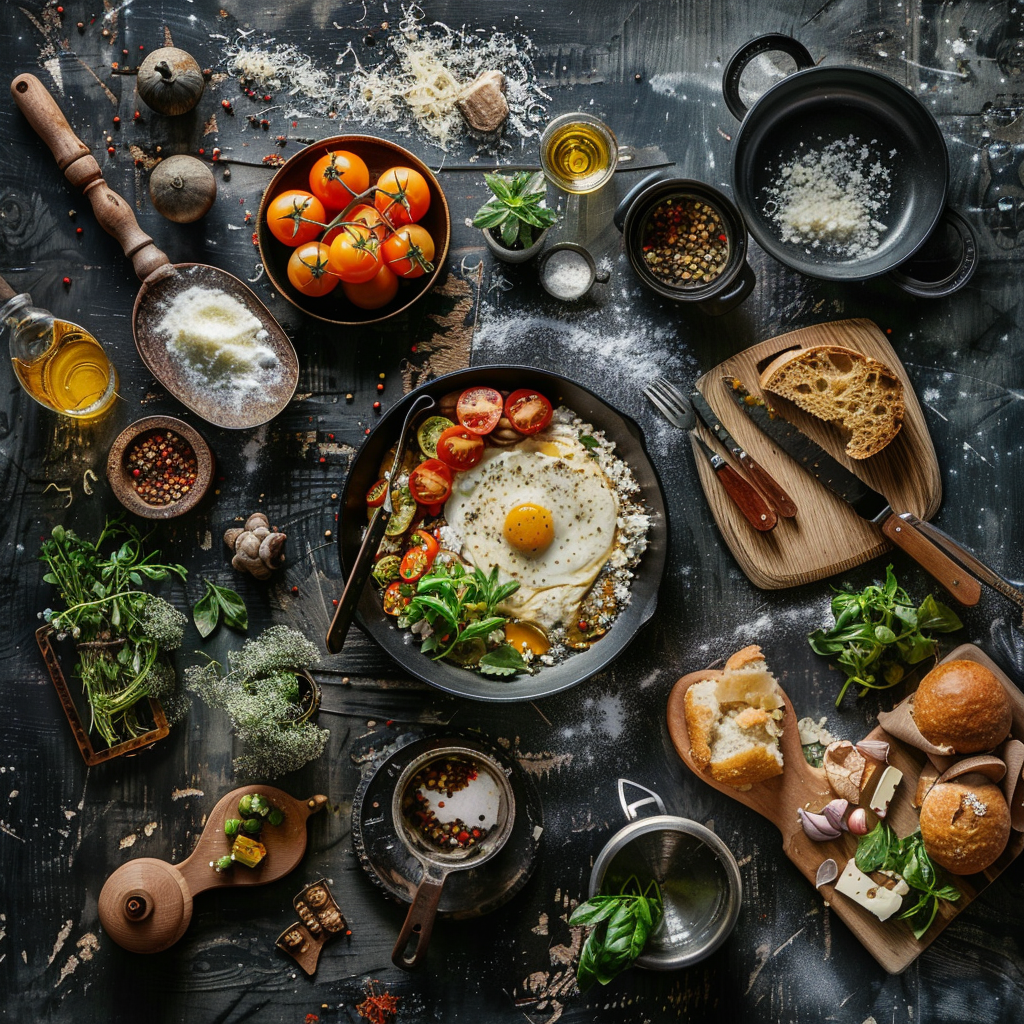
Learning to use light, whether it’s from the sun or a bulb, is key to taking good photos of food from above. The right lighting will show off the food’s texture and colors and set the mood for your shot.
Natural vs. Artificial Light
Both sunlight and man-made light have their perks and downsides. Sunlight gives food a natural soft look that makes it seem fresh but you can’t control the sun and might get stuck with bad lighting. Artificial light means you can shoot any time and tweak the light how you want, though it can be tough to make it look real.
Where the Light Comes From Matters
The angle of the light can change your photo’s style. Light coming from the side makes your food look more 3D and shows off its texture, while top-down light makes things look flatter but pops the colors more. Soft light usually looks better than sharp, direct light that can throw unflattering shadows on your food.
Playing With Shadows and Shine in Flat Lay Shots
Having the right amount of shadow and shine is important too. Shadows can give your picture depth and contrast; just don’t go overboard or you’ll lose details. You want enough shine to make the food look tempting, not so much it steals the scene. It’s all about balance, making sure your food looks its yummiest.
To wrap it up, good lighting makes a huge difference in flat lay food shots. Knowing how to work with different lights, getting the direction right, and handling shadows and highlights will help your food pics make people hungry.
A big part of styling overhead food photos is creating an inviting scene. Your choice of extras like napkins or cutlery can really affect how tasty your picture turns out. Pick things that match your food’s look without taking the spotlight off it.
Choosing Props and Backdrops
Choosing the right extras and backdrops is super important for a good flat lay. Here are some tips:
- They Should Fit In: Use stuff that goes along with your dish and adds to its story.
- Size Matters: Everything should be the right size. Too big is distracting; too small might not even be noticed.
- Keep It Simple: A plain backdrop keeps the focus on your food; too many details can pull attention away.
Picking Textures and Patterns
Different surface feels and designs can make your food stand out. Try mixing things like wood or cloth, but don’t let them overpower your plate’s look. Depending on how fancy your dish is, decide on either bold or subtle textures and patterns.
Keeping Your Style For Your Brand
Having a unique look isn’t just cool – it helps people recognize your brand. Keep your photos looking similar to build trust with your followers. From choosing a color theme to using certain props regularly, sticking to one style lets you stand out in the sea of food photos.
Key Camera Settings for Food Photography From Above
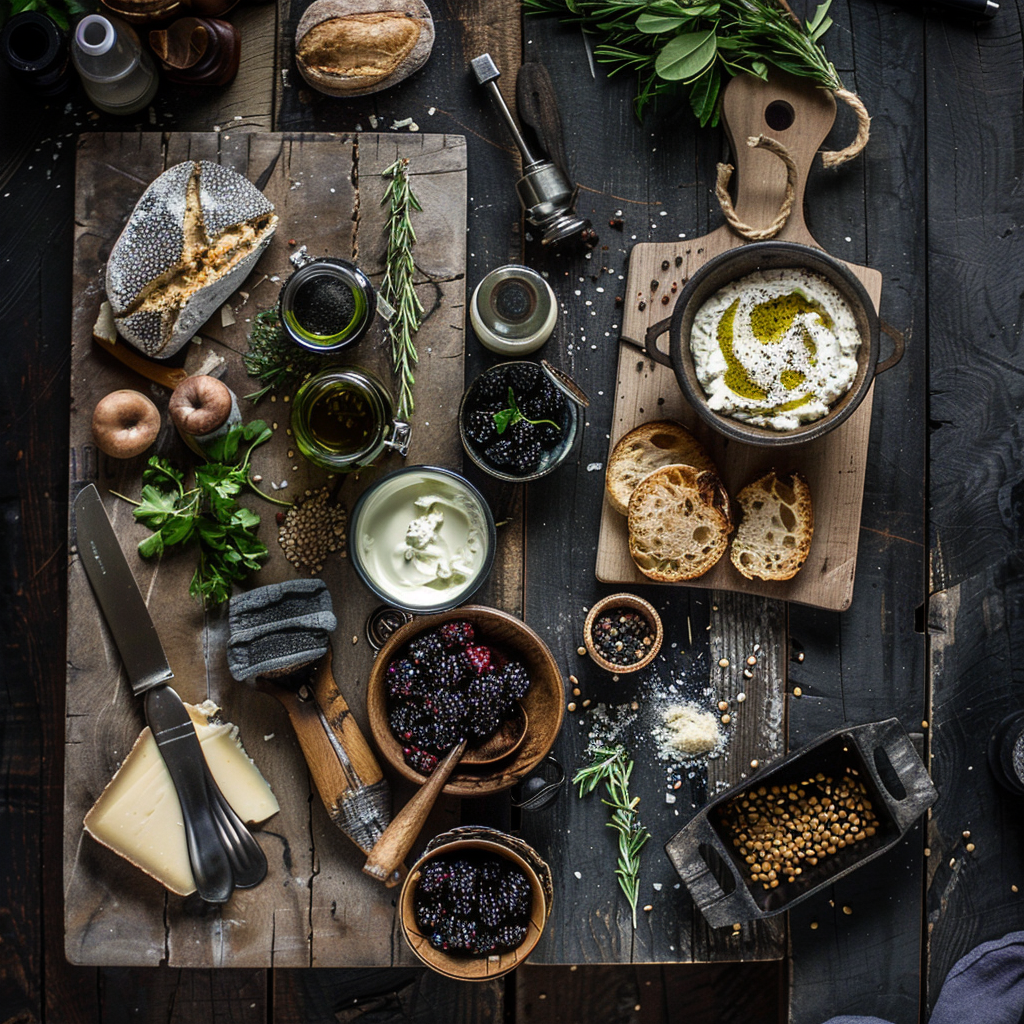
Getting the ideal shot in flat lay food photography heavily depends on your camera settings. First off, let’s talk lenses. You’ll want a prime lens with a focal length of about 35mm to 50mm. These lenses mimic what your eyes see and give you a realistic perspective without any weird stretching at the image edges. When you’re ready to set your camera, go for an aperture setting between f/4 and f/8. This range helps everything in your dish stay clear while making the stuff behind it look gently blurred.
Next up, we’ve gotta tackle shutter speed and ISO. Choose a shutter speed fast enough to keep everything crisp; usually, 1/125 sec is sufficient. As for ISO, the rule is simple: the lower, the better to keep your photos free from noise. An ISO value around 100 or 200 is typically good if your lighting is on point. Last but not least, pay attention to your white balance. You must tweak it so it fits your light situation perfectly, making sure the colors in your photo look just like they do in real life.
Tripod and Overhead Rig Setups
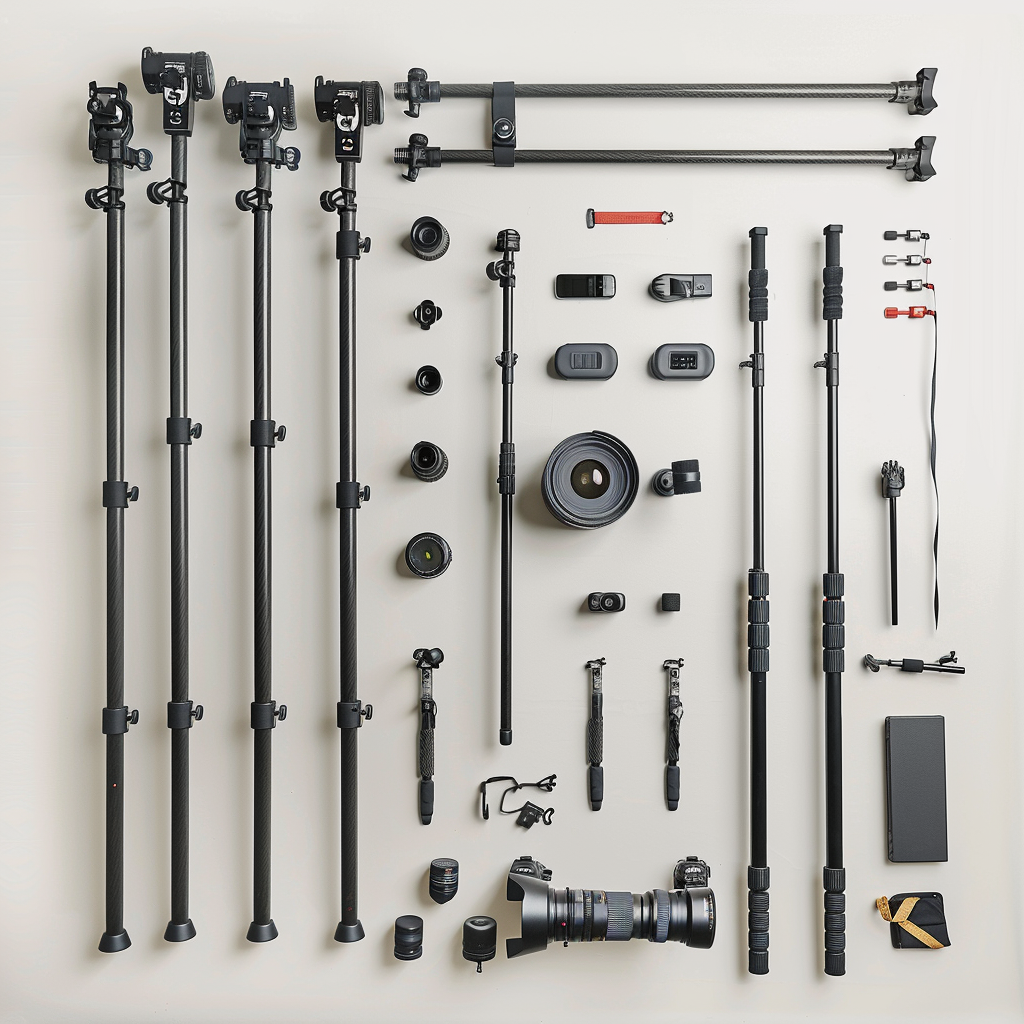
For an outstanding top-down view, it’s crucial to have a sturdy tripod and overhead rig. These gadgets are key for shooting your camera securely above your food. To prevent any wobbles, use a remote trigger or the timer on your camera.
Camera Angle and Height Adjustments
Tweaking the angle and height of your camera is vital for a good flat lay photo. A top-down angle usually works best, but don’t hesitate to adjust the height. Zooming in can highlight the food’s texture, while zooming out captures more background, telling a fuller story. Be sure your camera is even to keep the flat lay look accurate.
Once you’ve got these aspects figured out, you’re closer to nailing flat lay food photography. Go ahead, layer those flavors, and take your best shot!
Adjusting Exposure and Contrast
In editing, changing exposure can make a big difference. If you overdo it, your photo will be too light; if you underdo it, too dark. Contrast is also key, as it defines different elements in your photo. A slight contrast boost helps give your food image depth and appeal.
Color Correction for Food Appeal
The right color balance is essential for making food look yummy in photos. Sometimes colors aren’t true to life due to lighting and camera setup. Make subtle color tweaks to ensure your food photos are appealing and realistic, like boosting certain colors or adjusting the overall vibe to make the dish look fresh and inviting.
Cropping and Straightening for Impact
If your initial flat lay shot isn’t perfect, cropping and straightening in post-production can do wonders. Cropping removes distractions and focuses on your dish. If lines like plate edges aren’t straight, small adjustments can polish up the entire photo.
Dealing with Reflective Surfaces
Shiny surfaces can be tricky in flat lay photos, causing glare that lowers image quality. To beat this challenge, diffuse harsh reflections with soft light—you can bounce light off walls or ceilings. You could also use a matte board or black cloth to soak up reflects and cut down on shine for better photos.
Arranging Food for Aesthetic and Realism
To find balance between looks and realism in your food setup may seem hard but you can do it. Pay attention to color, shape, and texture harmony. Jazz up your main dish by adding strategically placed cutlery, ingredients, and herbs.
And don’t forget—less can be more. Don’t overdo the styling. Let some items be naturally messy or partly eaten to give off a genuine vibe as if you’re inviting viewers to try a bite.
Overcoming Common Flat Lay Pitfalls
Knowing common mistakes is key to mastering flat lay photography:
- Unbalanced compositions: Make sure everything in the photo has a reason to be there and adds to a nice-looking result. Use composition techniques smartly.
- Inconsistent theme or style: Your photo should tell a story that fits together. Choose props and backgrounds that suit the food you’re taking a picture of.
- Poor lighting: Good lighting can transform a photo. Sunlight is great when photographing food; if not available, go for quality artificial light that looks like natural light.
Avoiding these errors takes work, but practice makes perfect. Don’t rush; try different setups to see what looks best on camera. And most important, have fun with it! Often, the best pictures come from playing around with unexpected layouts or simply enjoying the process.
Add a Personal Touch
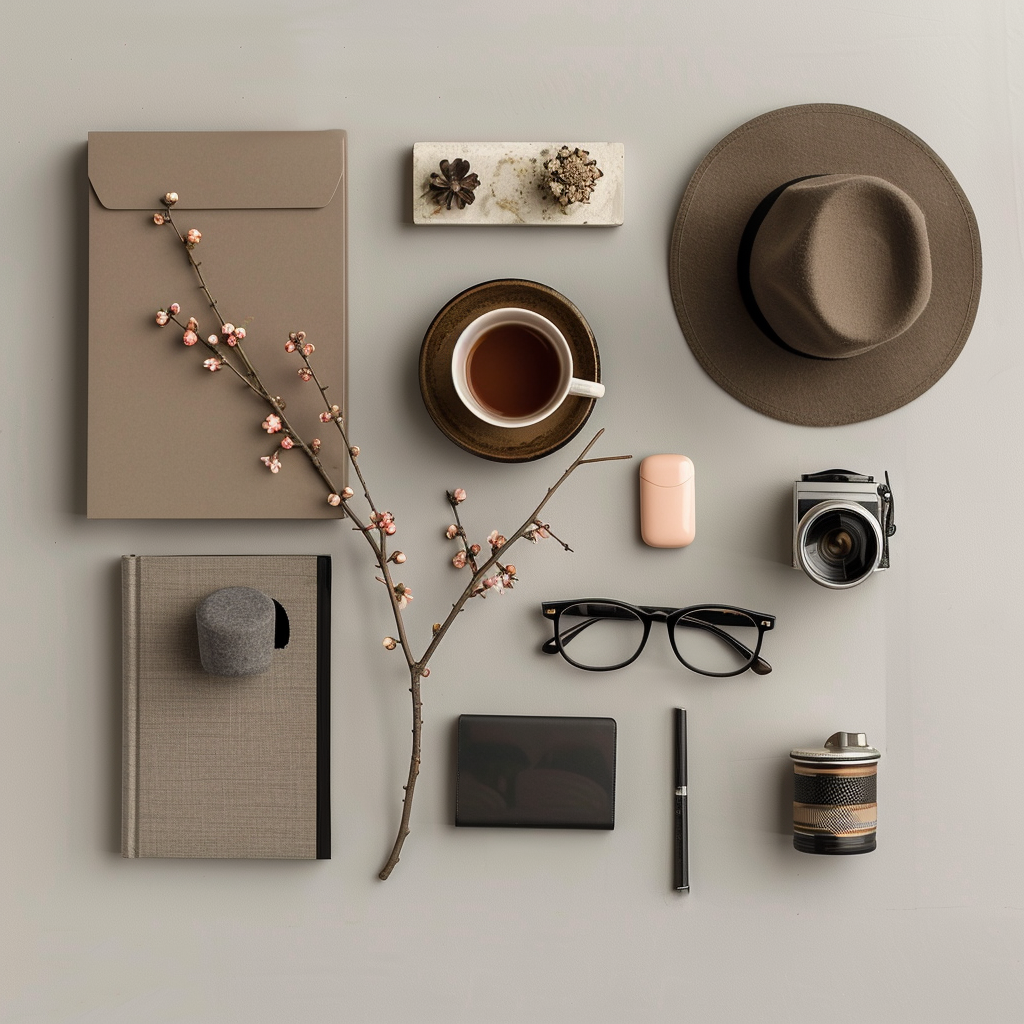
When you put personal touches in a simple photo, it makes it easier for people to connect with the picture. This can breathe new life into your food photos and make them more appealing to viewers. For example, showing hands with silverware or carefully arranging food items adds realism. These details give a sense of size and background and show actions such as pouring syrup on pancakes. These actions make the photo seem lively and genuine.
Dynamic Compositions with Layering
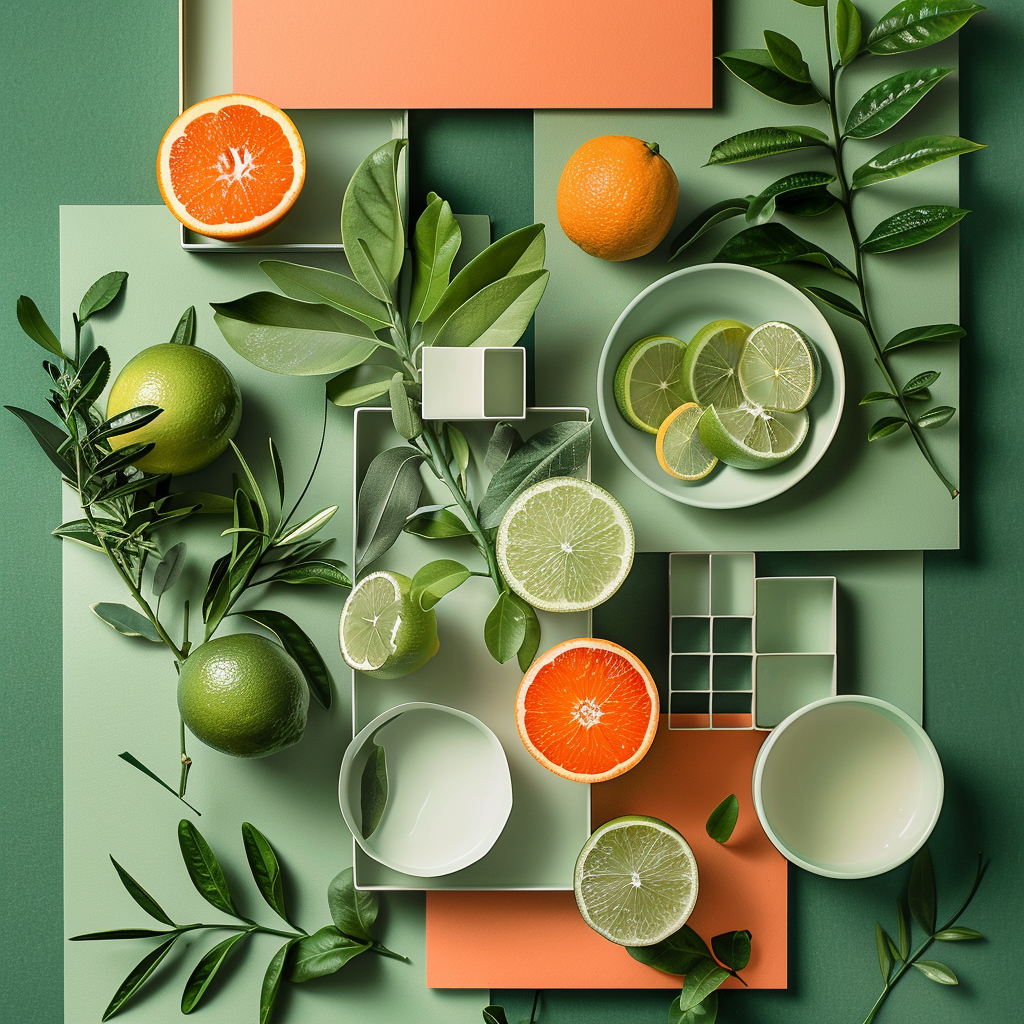
Making your flat pictures more interesting is simple when you add layers. First, pick the main thing you want people to see, then add different things around it that feel nice to touch and look good together. Throw in stuff like fabric, silverware, or kitchen gadgets to give your picture layers—this makes it look deep and draws the eye all over without taking attention away from the star of the show.
Making a Story with Flat Lay Photos
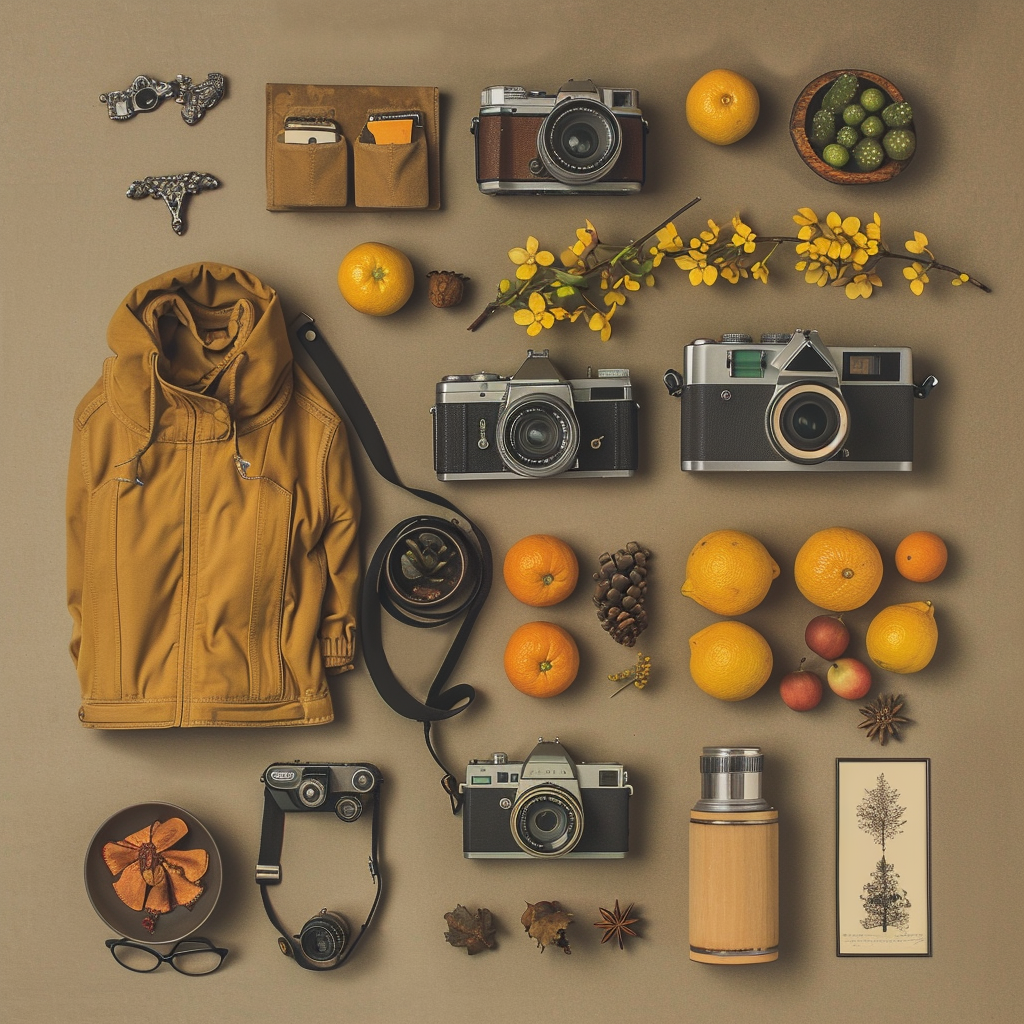
Telling a story is crucial in photography, and that includes flat lay shots. When you pick out and place your items thoughtfully, you can tell an engaging story. Imagine you’re showing the hurry of getting breakfast ready or the chill vibe of a dinner party at night. Think about the story your setup tells. Arrange your food and other items so they don’t just show a single moment. They should also give little clues about what happened earlier or what might happen next.
About Author
Rachel Noël is a professional photographer and videographer from the UK with over 10+ years of experience. Rachel specializes in Underwater, Tavel & Portrait photography among other areas.
