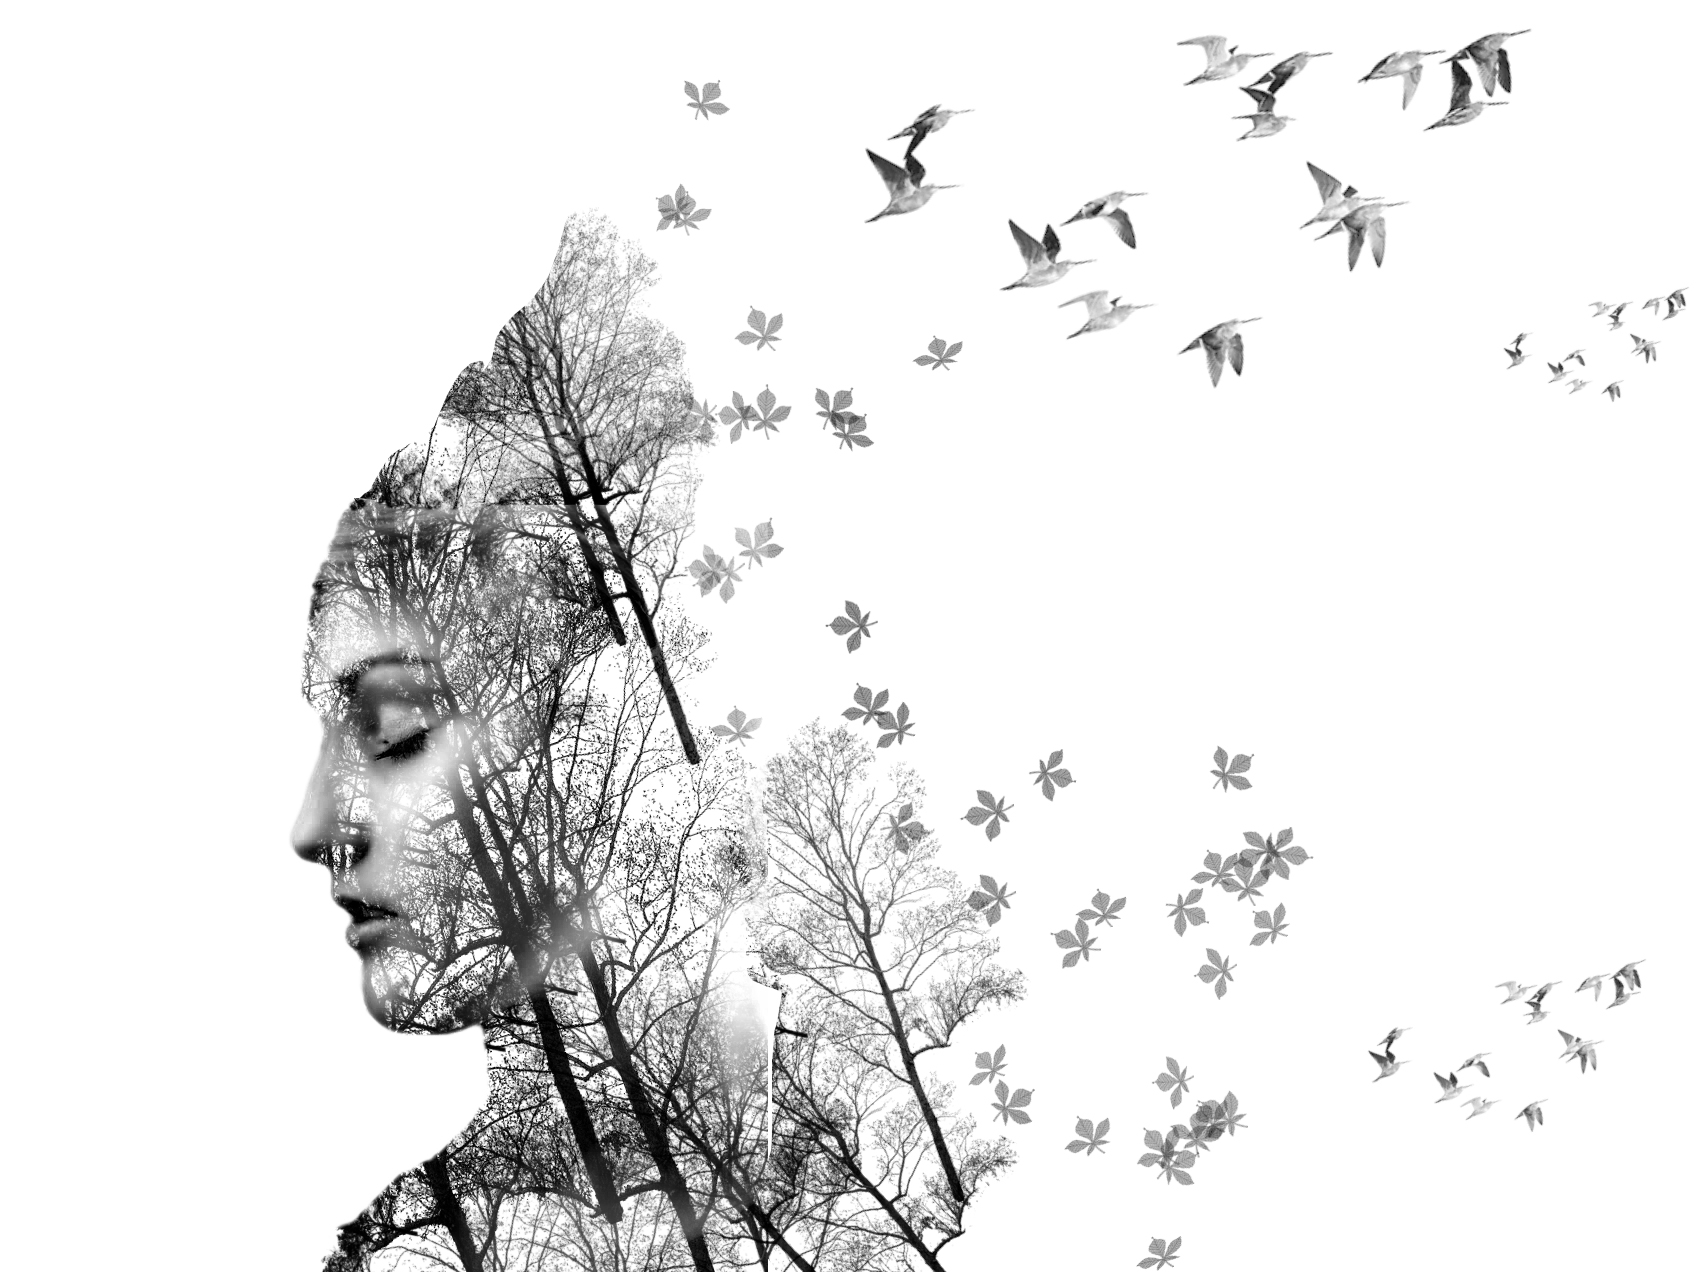
This technique involves merging multiple exposures into one image. You can tell new stories and create new effects with double exposure whether it is with shooting using the built-in features of a camera or manipulating images in Adobe Photoshop. Double exposure is the photography world’s version of collating.
Contents
- What Exactly Is Double Exposure
- Different Techniques and Tools
- Know the Project’s Objectives in Advance
- Composition Matters
- Prep Images
- Select the Base Photos
- Experiment with the Clarity
- Adding the Second Image
- Pay Attention and Stay Creative
- Merge Other Double Exposures
- Practice Makes Perfect
- Think about Your Tools
What Exactly Is Double Exposure
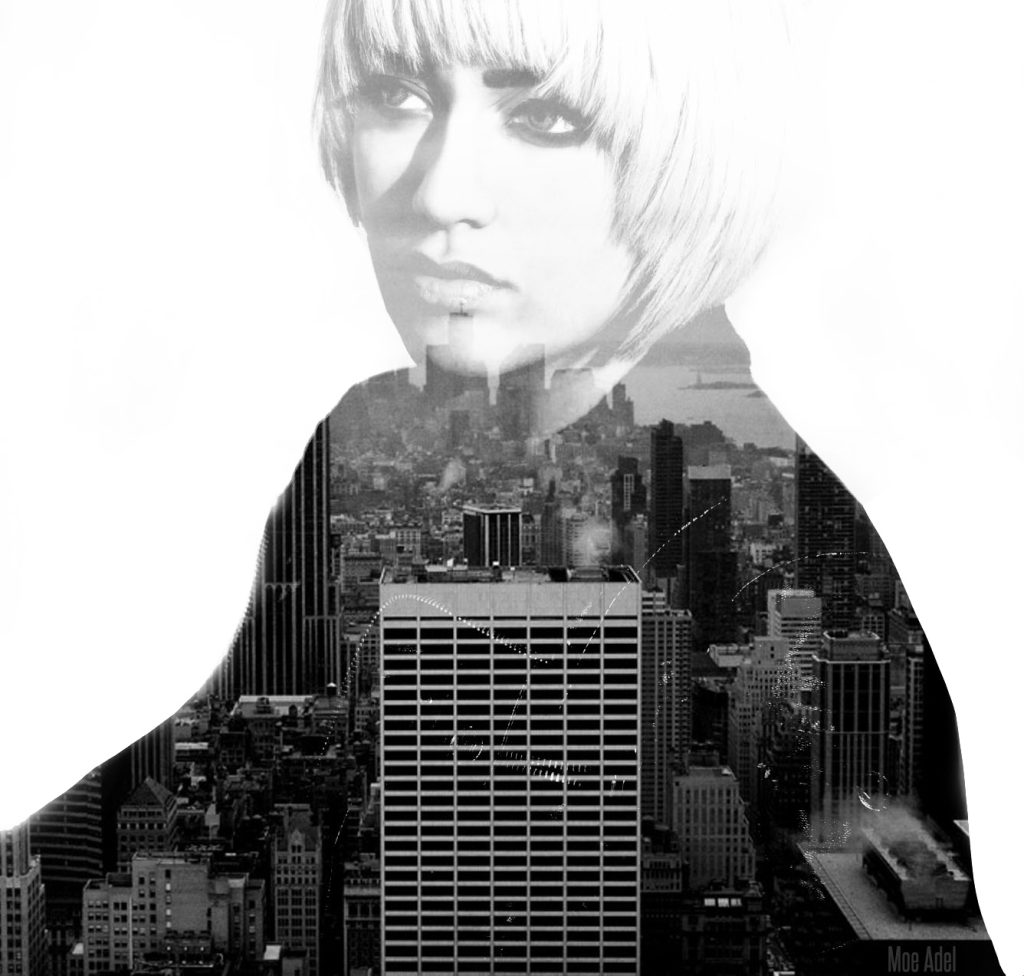
Double exposure photos produce a dreamy or ghost-like feeling. You combine two images, overlaying them, to produce the double exposure effect. There are digital cameras that have a double exposure setting. Some photographers combine photos using the double exposure setting on their digital cameras or utilizing programs like Adobe Photoshop.
Your goal is to create work that is surreal or humorous. You could take a portrait of a person and combine it with flower imagery, or you could take a landscape and add cartoon stock images. You need to know your theme, and goals, and have potential images in mind if you want to start experimenting with double exposure.
Different Techniques and Tools
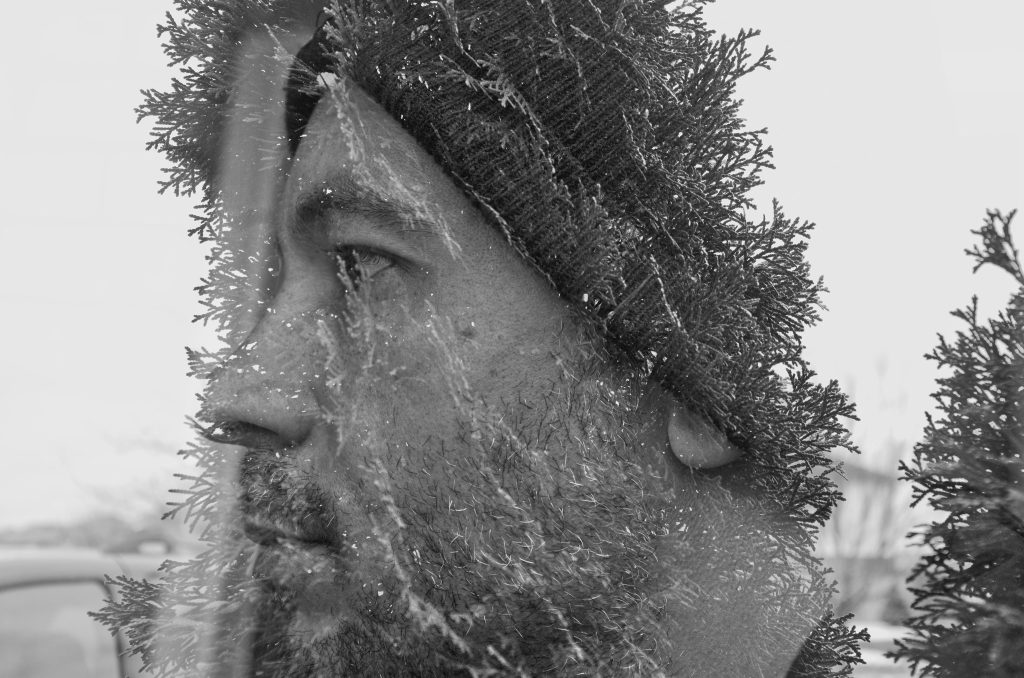
You can create a double exposure with a camera or in Photoshop. If you use a camera, you take the first photo, rewind the film, and then take the second photo. The camera will expose the second image on the first one.
When you develop the film, you can get creative and create different effects. You can also take two pre-existing pictures and play around with them in programs like Adobe PhotoShop using a layer mask.
Know the Project’s Objectives in Advance
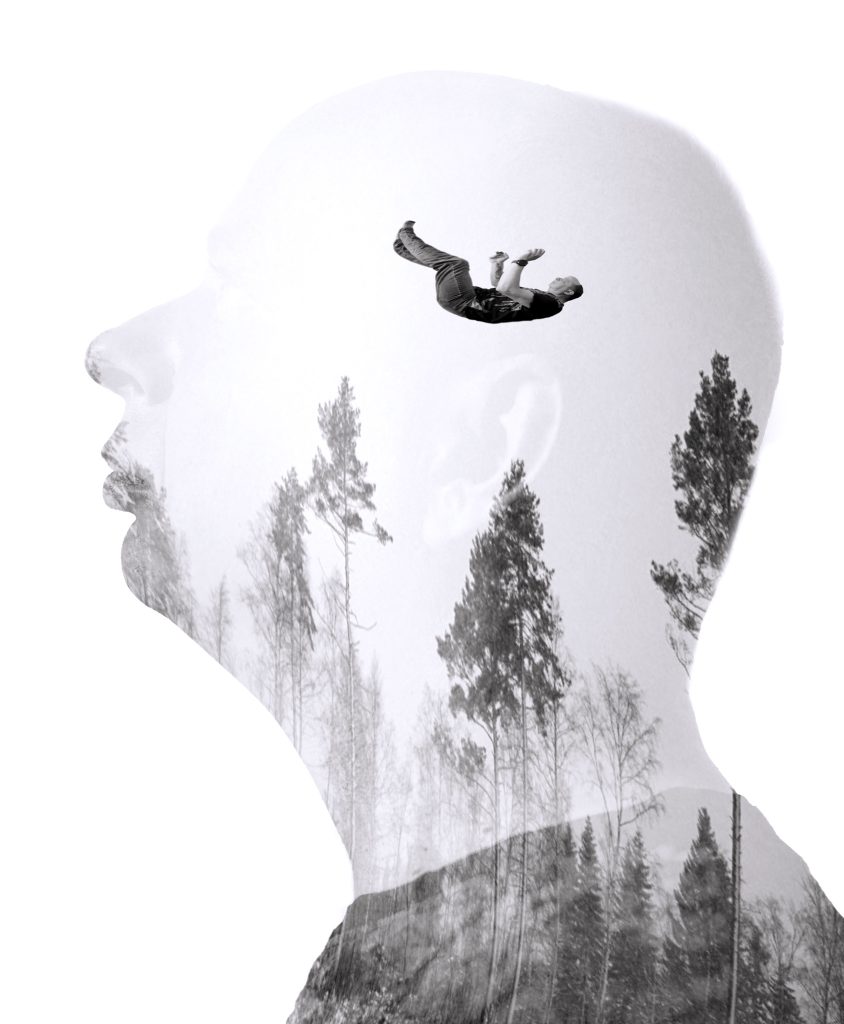
Before you start tinkering with double exposure, think about your goals. Do you have metaphors you want to explore? Do you want a dreamy feeling to the image, or do you want something outlandish or surreal?
The photograph’s objectives matter when you are combining images. Take some time to bring in a variety of pictures to play with. You can combine portraits with different colors and textures to enhance specific feelings or ideas.
Composition Matters
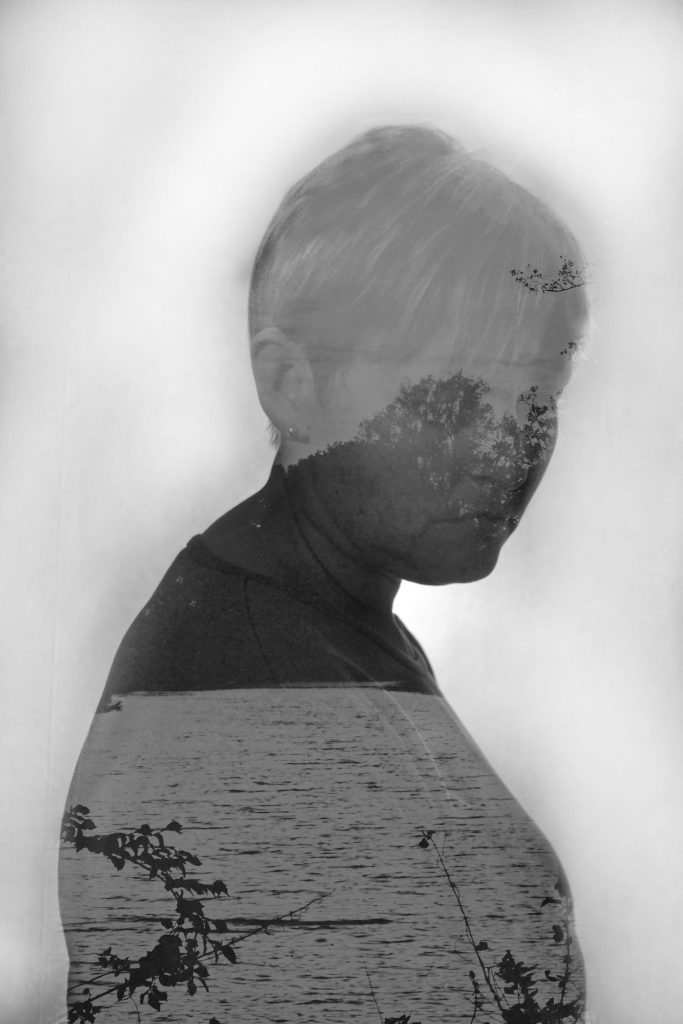
Think about the focal point of your image and which parts of the photos you want to amplify. You can use parts of an image and crop out and cut others. Knowing where the focal point is will guide your experimentation.
Take time to get creative with the angles: do you want a portrait to be straight on, or do you want a profile? Remember you can use your own photos or you can look for stock images to play with.
Prep Images
You should have multiple exposure images in mind when you start playing with double exposure. It helps if you have pictures organized by type and ready to pull up. Once you have chosen two images, drag them together using a layer mask in a program like Adobe Photoshop.
You could include an image of a sunset to the image of lions to create a double exposure image, or you could include flowers to a portrait of a mother and child to symbolize growth and renewal. Once you know which pictures you want to combine, use a Layers panel and the Blend mode and play around with the Opacity setting.
Select the Base Photos
The first image that creates the photo’s foundation is the main subject matter or the first thing a viewer sees. For example, are you manipulating a landscape, a body part, or a specific object? The best base photos often fit your aesthetic and objectives, and they should have different highlights and shadows you can play around with.
Before you layer the photo, think about what you want to edit out. You may want to enhance certain colors and remove blemishes. Play around with the positioning of the base photo. You could have it directly in the center of the image, or you can follow the Rule of Thirds and place it off-center.
Lastly, once you add the base photo, you may want to remove the background to prep for adding the other image. You can do this with the Magic Wand Tool and refine the edges.
Experiment with the Clarity
Once you have two images combined, it is time to bring out certain parts of the image and reduce the appearance of others. If you have a portrait, you may want to accentuate the face and pull back on the clarity of the neck and body. Try different focal areas and think about the overall impact. You can reduce the clarity of some parts of the image, and you can even add color to other parts of the photograph. For example, you could heighten the drama of a sunset by using Gradient Fill to add more violets or oranges.
Adding the Second Image
When you add the layer photo, think about how you want to blend the pictures together. Do you want a neat and tidy look, or do you want something messier? You could use the tilt-shift tool to layer the photos, and you can blur specific parts of the image for a unique effect. There are different ways to add fake reflections in Adobe and similar programs, which can create a moody feeling.
Pay Attention and Stay Creative
Some of the best double exposures happen by accident. Pay attention and trust your gut when you start experimenting with this new technique. You could use two portraits of the same person and use color, blurring, and cropping to create new feelings and ideas. You could choose two random images and see how they look as you use different program features. Try to think about everything from composition and texture to color and shapes when merging images together. Happy accidents happen when you make bold creative decisions.
Merge Other Double Exposures
The crazy beautiful thing about this technique is that you can even combine two double exposure images together. Take some time to think about images that have similar colors and ideas. Images with similar elements or ideas can create a new narrative or story. You want to be careful that you don’t have too much going on in the project, so test different opacity, and think about using shadows as silhouettes.
Practice Makes Perfect
Have fun with double exposure. The more you layer photos, the easier it will be to use all of the features. Take your time to try different colors, blurrings, and compositions. You can even convert your final image to black and white or create a diptych. Double exposure is a great way to include something unique to your portfolio, bring out new ideas and metaphors, and create new images. You can work with self-portraits, explore how to create a specific emotion, or do a series focused on a specific object. Your interests, passions, and photos will guide the process.
Think about Your Tools
Whether you use your camera or Photoshop to create double exposure, you should think about adding specific tools and exposures to your repertoire. For example, investing in a new flash allows you to experiment with lightning. A camera shutter release cable makes it easier to take photos, and seamless backdrops can make for cleaner backgrounds. Play around with all of the tools so you can amplify the power of your images.
If you learn the art of double exposure, you can make ordinary objects look dreamy and extraordinary. Cameras and programs like Adobe allow you to flex your creative muscles. By merging two photos, you are able to produce new ideas and feelings. You can take an iconic building and add a starry night, or you can merge landscapes and portraits to build new metaphors. Making use of the latest technology and techniques helps you produce one-of-a-kind images that make people double-take.
About Author
Rachel Noël is a professional photographer and videographer from the UK with over 10+ years of experience. Rachel specializes in Underwater, Tavel & Portrait photography among other areas.
