Key points
• Crafting the Scene: Taking photos of food isn’t just about snapping what’s on the plate. It’s about setting it up, picking the right accessories, and styling the scene to make a picture that’s not just nice to look at but tells a tale or sets a certain vibe.
• Play of Light and Hues: How you light up your food, with sun rays or lamps, is super important. It highlights the textures and colors, making everything pop and look as good as it probably tastes.
• Photography Chops: Knowing your camera inside out, what lens to use, and how to tweak your shots afterward is key. It lets photographers play around with focus, angles, and all those tiny details that turn a simple pic into a drool-worthy snapshot.
Contents
- Key points
- Food Photography as an Art Form
- Creative Food Pictures Matter
- Telling Stories with Food Photos
- Choosing Props and Backgrounds
- Mastering Food Presentation
- Striking the Right Balance in Food Styling
- Editing Workflows for Artistic Food Images
- Color Grading for Mood and Style
- Improving Texture and Smart Edits
- Exploring Angles and Perspectives
- Adding Action to Your Food Photos
- Playing with Focus and Depth in Photography
- Choosing Artful Pictures
- Developing a Personal Style in Food Photography
- Showing an Integrated Collection of Work
Food Photography as an Art Form
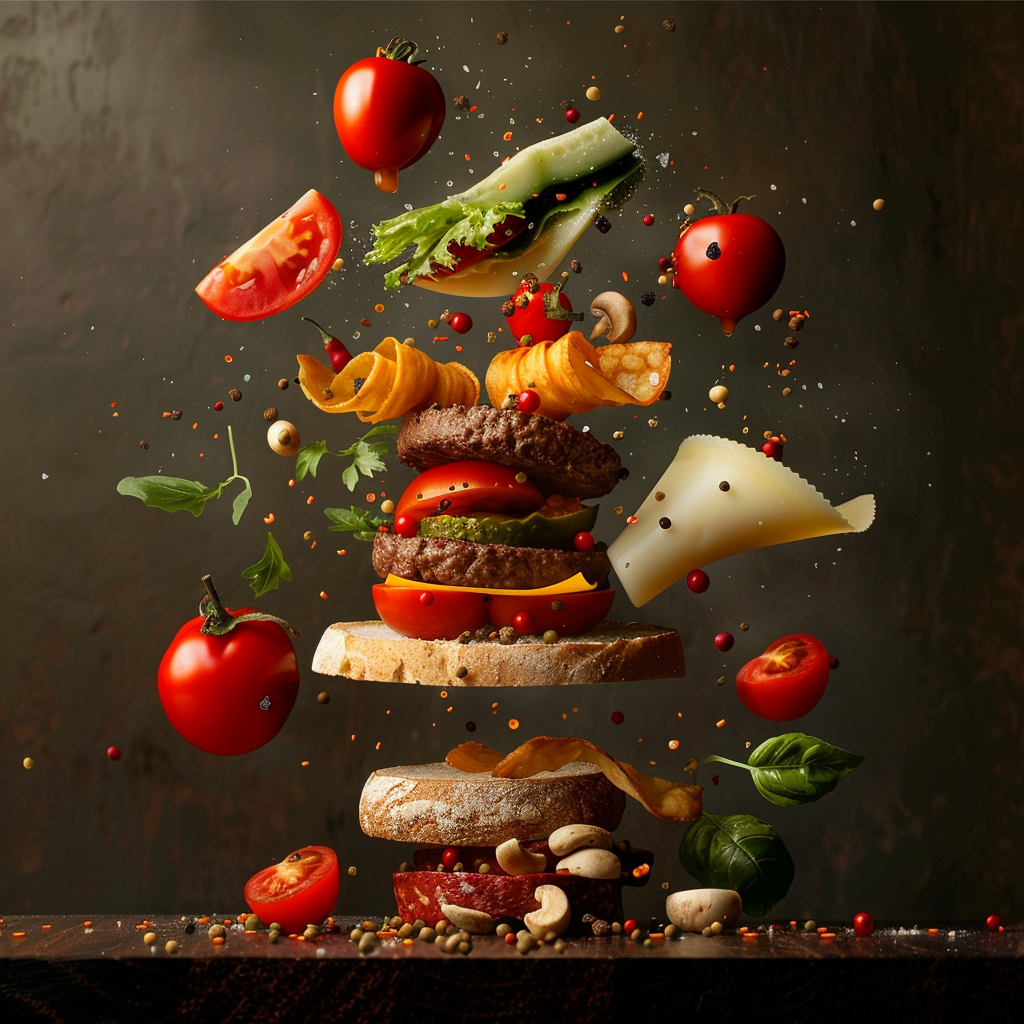
Food photography is more than just taking pictures of food. It’s a complex art that demands attention to detail, how things are arranged, and the colors used. If you do it well, it turns a simple meal into something that shows off the culture, history, and love behind it. The way you use light, the angles you choose, and how you set the scene are all important in making a dish look so good that it almost seems like you can taste it just by looking at it.
Creative Food Pictures Matter
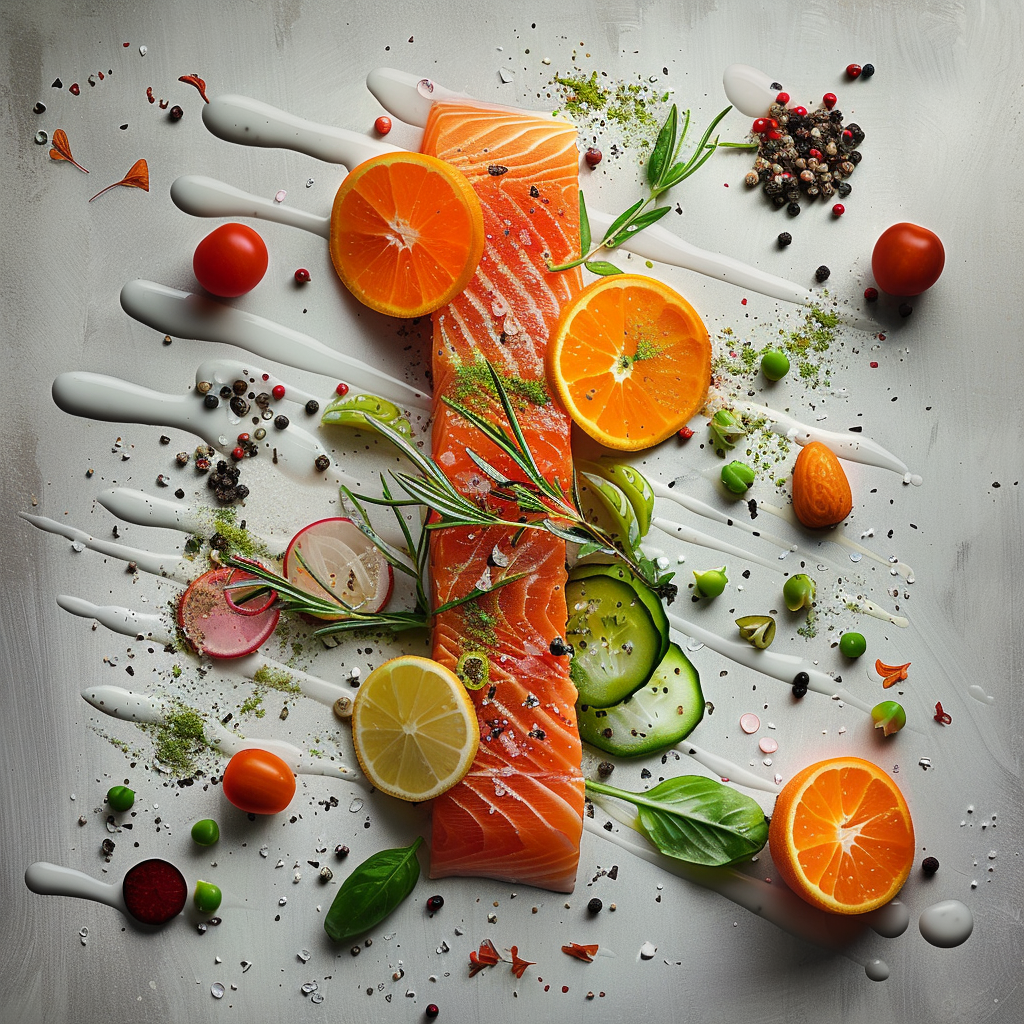
Being creative in food photography is just as vital as the dish being photographed. It’s what makes a photo pop and stand apart from the rest. To nail this art form, you need to mix things up and try out new ways of showing off your meals. Your goal is more than making the food look tasty; you’re trying to present it in a fresh and inspiring way that shows off your personal style. This grabs people’s interest and makes them admire both the snapshot and the delicious creation it features.
In the world of capturing food through a lens, you’ve got to pay close attention to every little detail. The look of a food photograph depends on how well you combine elements like light, shape, and color. Your job is to turn something simple into something stunning that can make people’s mouths water just by looking at it.
How to Arrange Food Photos Artistically
If you want your food photos to really make an impact, there are some important rules you can follow:
- Rule of Thirds: Imagine your image split into nine even parts by drawing two horizontal and two vertical lines. By placing your key item at one of the points where these lines meet, you create a picture that’s more alive.
- Leading Lines: Use actual lines in your food or surroundings to draw the eye along a path in the photo, creating a sense of movement.
- Framing: Surround your main focus with other things in the picture to make sure viewers look right where you want them to.
- Symmetry and Patterns: Balanced and repeating patterns are nice to look at, but sometimes mixing it up creates a bit more excitement.
- Depth: To give your photo a 3D feel, place objects in the front, middle, and back of your scene.
The Role of Colors in Food Shots
The colors in your photos can change the whole vibe. By understanding color psychology, photographers can play with different hues to bring out certain moods or suggest flavors. Complementary colors, which are opposites on the color wheel, can make a dish really catch the eye. Nearby colors give off a smooth, unified feeling. And using different tones of one color can make your photo look refined.
The Feel and Look of Food
Capturing texture and design matters a lot in food photos. The way you arrange everything can show off textures that make people think they can almost taste the dish. Zooming in on details like crispness or creaminess and using the perfect lighting can tease the senses. Sticking to patterns or highlighting the natural surfaces of foods can draw viewers in for a closer look.
All in all, great food photography combines arrangement, color, texture, and pattern to weave a story that’s hard to resist. Keeping track of these aspects will take your pictures from so-so to amazing.
Telling Stories with Food Photos
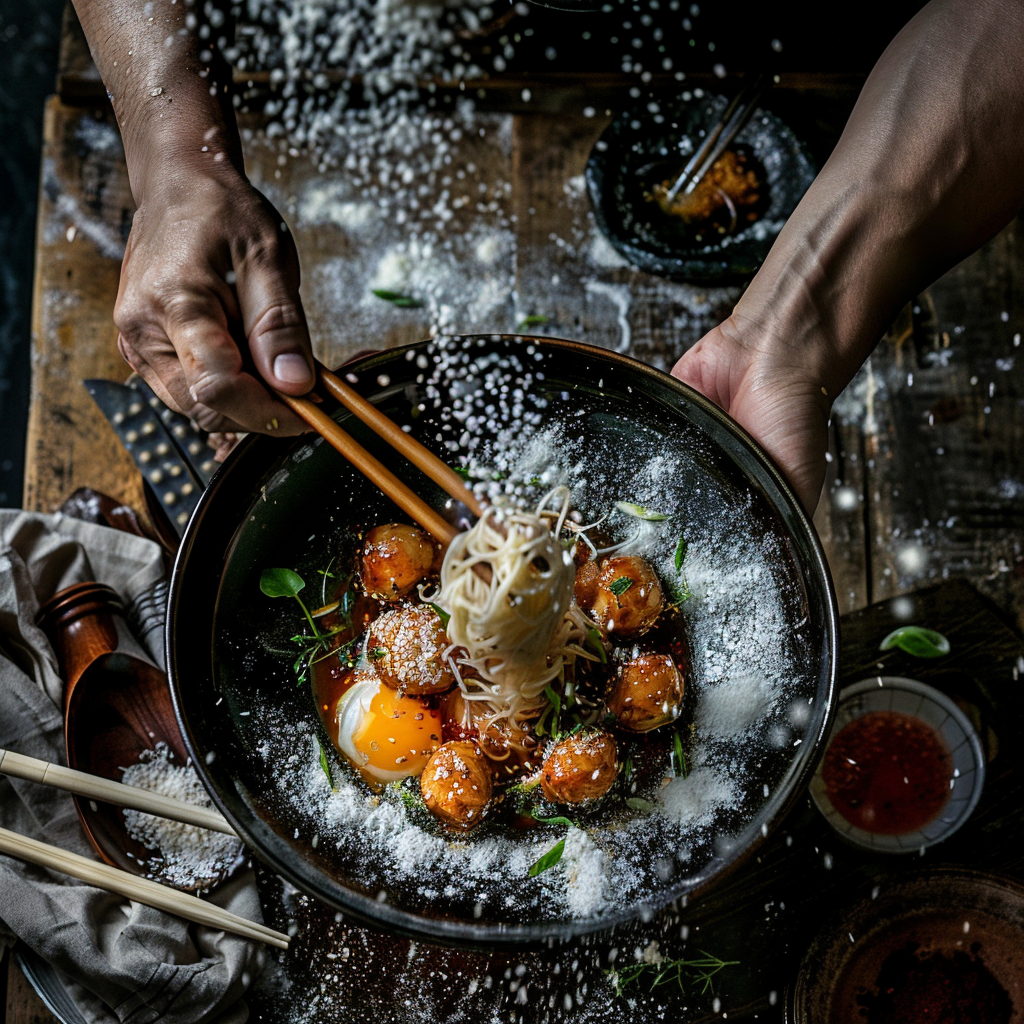
Great food photos do more than just show off good-looking dishes. They tell a story. A well-taken picture can transport us to the moment when that tasty salad was made, or give us a whiff of that hot soup. To do this, photographers pay close attention to every detail in the shot, creating a scene that speaks to our senses.
The Plot on Your Plate
In the language of imagery, food images use what’s on the plate to spin a story. This could be about where a family recipe came from, the joy of eating with pals when it’s cold, or how refreshing fruits taste in summer. Choosing the right ingredients, picking out the best kitchen tools, and setting everything up just right are key for telling your story.
Touching Hearts with Food Shots
Food has a special way of bringing back memories and feelings. Good food photography can make you hungry, remind you of the past, or make you feel satisfied. Lighting can create different moods—warm like sunlight or moody with shadows for a cozy meal. The setting matters too—a rough wooden table or fine porcelain can add their own vibes into the mix.
Camera Tricks for Cool Effects
Knowing your camera’s features is a big deal for nailing that creative food shot. Aperture affects how sharp or blurry things are behind your dish; a wide aperture will blur things, whereas a small one keeps more in focus. Shutter speed can freeze things in place or show movement, like syrup being poured. Keep the ISO low to stop pictures getting grainy. Changing white balance changes the photo’s color temperature, adding its own feeling. Manual mode gives you control over all these, but it takes time to learn them.
Shedding Light for Better Pictures
Lighting is super important in food photography. Natural light often works best, making dishes look better by showing off their colors and textures. But if there’s no natural light, or it isn’t just right, artificial lights can step in. Using things to break up shadows or to bounce light can help get everything nicely lit. Where you put your light also affects your shot: from the side, it shows off textures; from behind, it can make things glow; front light makes it all bright with few shadows. Try different lighting positions for various effects.
Picking Lenses for Tasty Looking Photos
Different lenses can change how food photos look. Prime lenses with fixed focal lengths are great for getting those artsy blurred backgrounds, while macro lenses let you zoom in on details like droplets on fruit or sugar on sweets.
Zoom lenses are handy because you can tweak your framing quickly, without moving around too much. Choosing a lens type also depends on how much room you have—if it’s cramped, a wide-angle might show too much background clutter, and telephoto lenses could be too bulky.
The technical side of food photography is a balancing act between knowing your gear and being artistic. Being comfy with your camera settings lets you do more creative stuff. Lighting sets the mood for the shot, and using the right lens helps show off every delicious detail. Keep playing with these tools and eventually, your food photos will consistently impress.
Choosing Props and Backgrounds
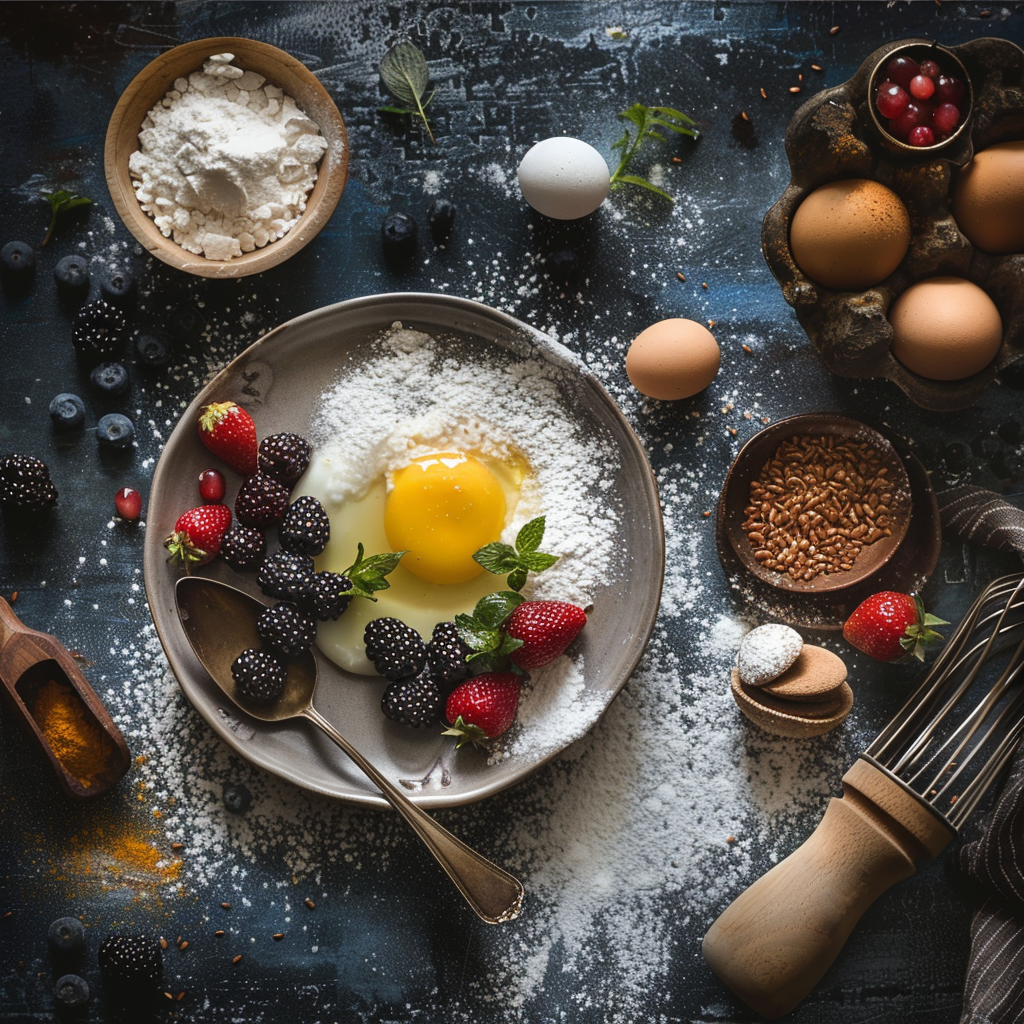
Picking out the right props and backgrounds is crucial when you’re taking pictures of food. These pieces help to give your dishes a setting and bring your photos to life. Think about the story behind what you’re photographing.
For instance, a loaf of rustic bread would look great on an old-looking cutting board, but a fancy dessert might be better off with simple, stylish silverware. The vibe you want has to show up in your choice of textures and colors. Do you want bright and lively or calm and single-colored?Backgrounds are just as important – they’re the foundation your food sits on.
They should add to, not distract from, your main subject. You might pick plain backdrops or decorative cloths, but whatever you use should make your dish look even better. Try out different stuff like wood for warmth or metal for a cooler effect. But, often the best choice is something plain; it makes sure all eyes are on your food.
Mastering Food Presentation
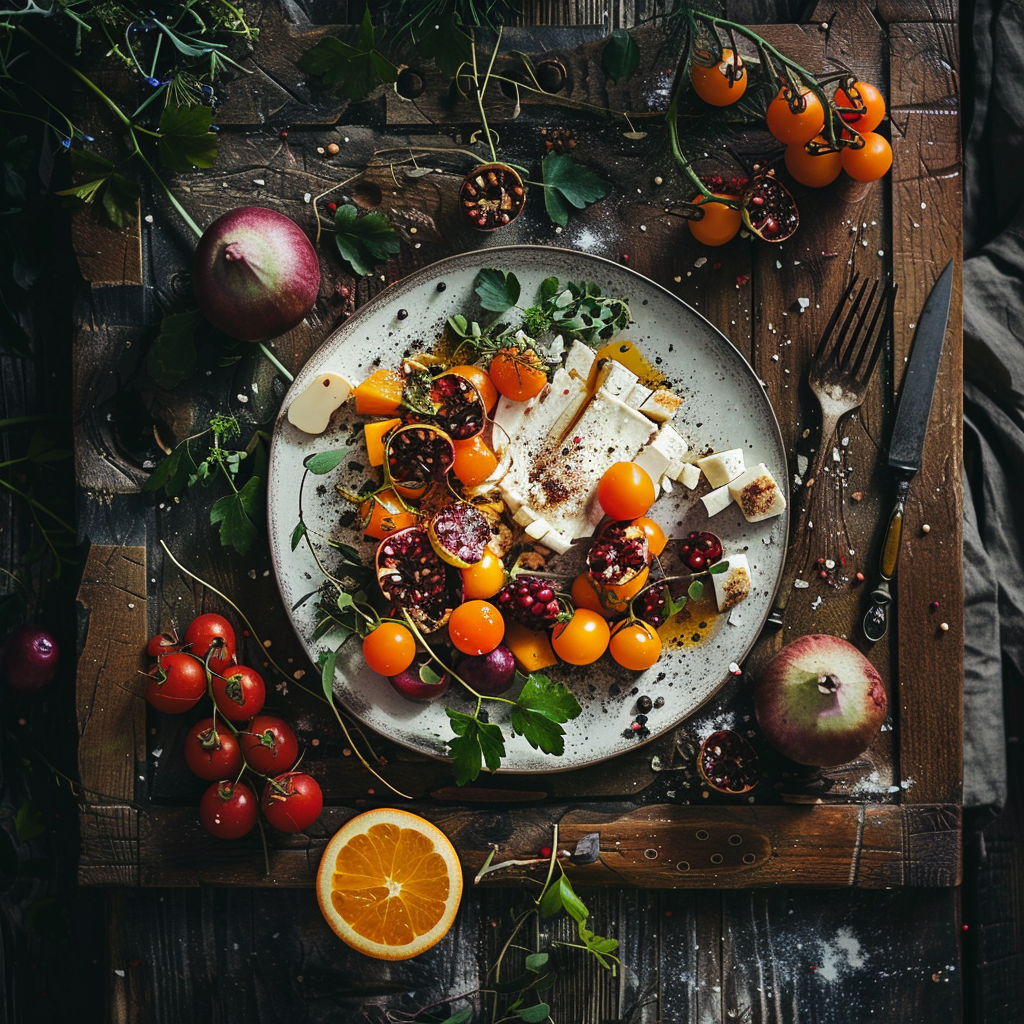
How we set up our food on a plate is key in food photography—it tells a tale on your dish. Go for balance and unity so the food stands out but also looks like it all fits together. Cut your ingredients in ways that look best for your picture.
Think about different views; you might want to show the inside of a sandwich, or maybe just focus on the top of a soup by adding some garnishes for extra texture and pops of color.It’s smart to use empty space; you don’t have to fill up every inch of your plate.
This gives your food some room and helps our eyes take a break. Layers are important too—they give your food height and make it more appealing. A pile of pancakes with syrup looks way better than just two lying flat. But remember, good plating isn’t only about piling things up, you have to arrange them nicely so it all fits with the food’s natural shape and size.
Striking the Right Balance in Food Styling
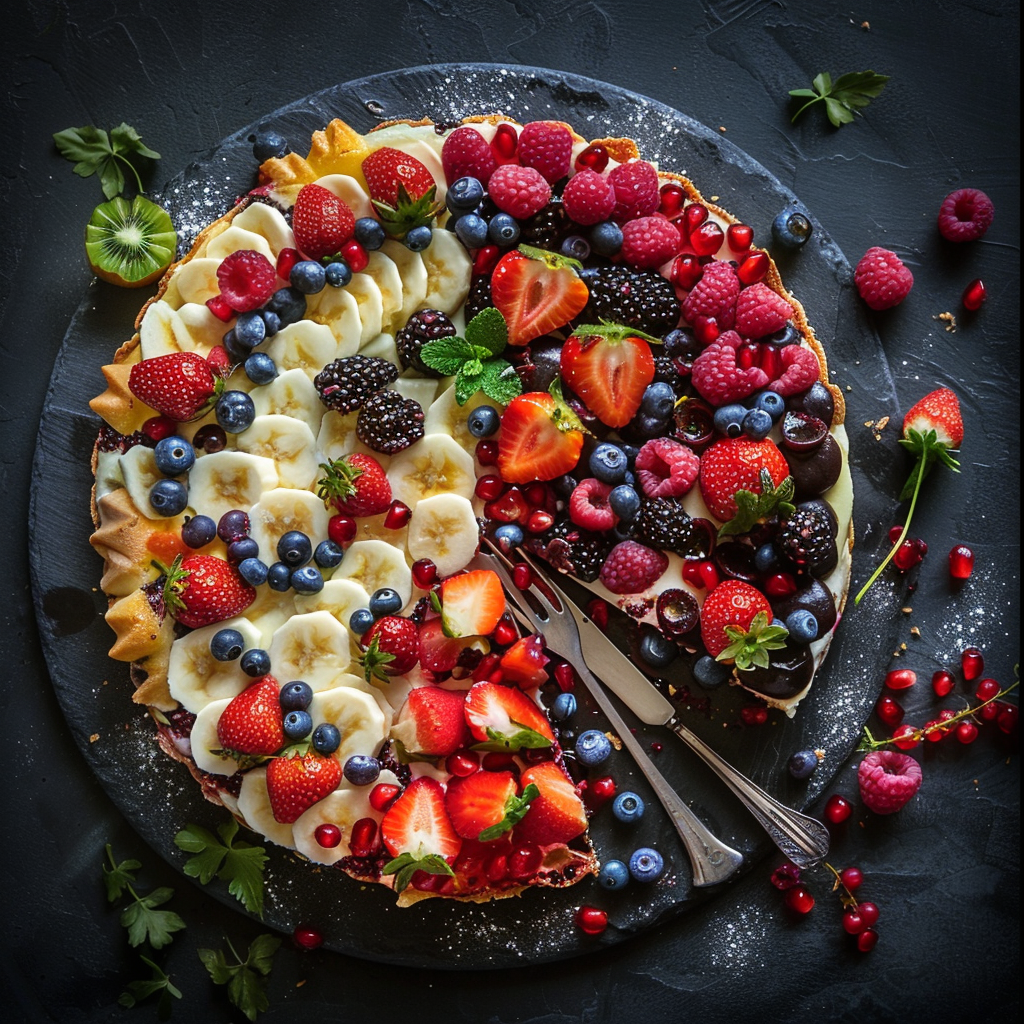
Finding that sweet spot between too simple and too complex is crucial for great food photos. If you add too much, your main dish gets swamped; not enough, and the image falls flat. Begin with the basics—pick one thing in your dish to highlight. It might be the golden crust on a loaf of bread or the juiciness of ripe berries.After setting up your star feature, think about whether other things would add to or take away from it.
Maybe a little mint leaf or a sprinkle of sugar is just what’s needed to jazz up a dessert without making it too busy. But watch out – extra toppings or a rainbow of colors can turn your shot into a mess instead of a masterpiece.
While you’re at it, play around with different textures. Crisp veggies next to smooth dips can create an exciting contrast that pulls people in, letting them almost taste the picture. Your aim is to craft images that are more than just food on a plate—they should be tempting experiences that make folks want to dive in with their eyes.
Editing Workflows for Artistic Food Images
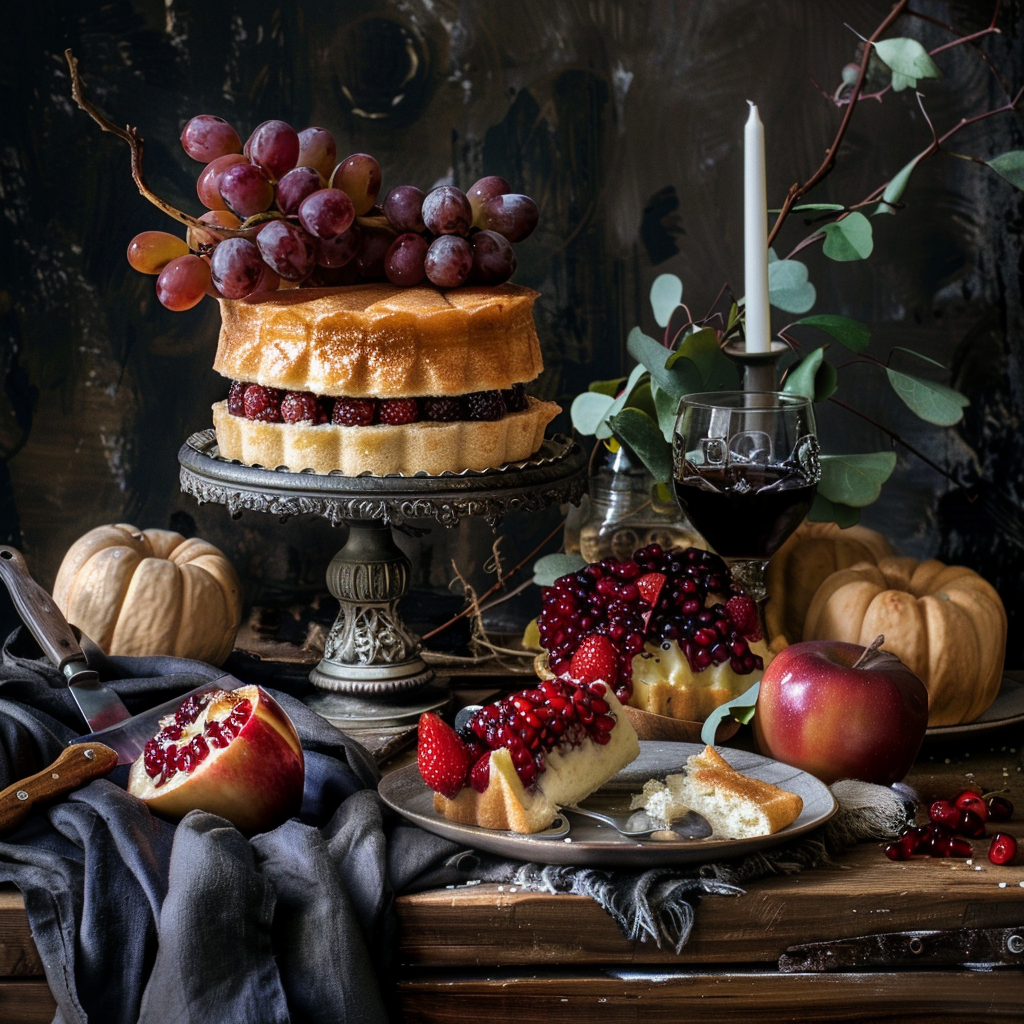
Taking a top-notch food photo usually involves more than just good vision. The editing part is key to making your creative idea real. Start by loading your pictures into the editing program you prefer. Make a duplicate of the original image so you’ve got a backup.
Then, fine-tune the simple stuff – like lighting, the difference between dark and light parts, and color balance – to prep a good-looking meal shot. Think about trimming your photo to frame it better, and remember basic composition rules like the rule of thirds.
Color Grading for Mood and Style
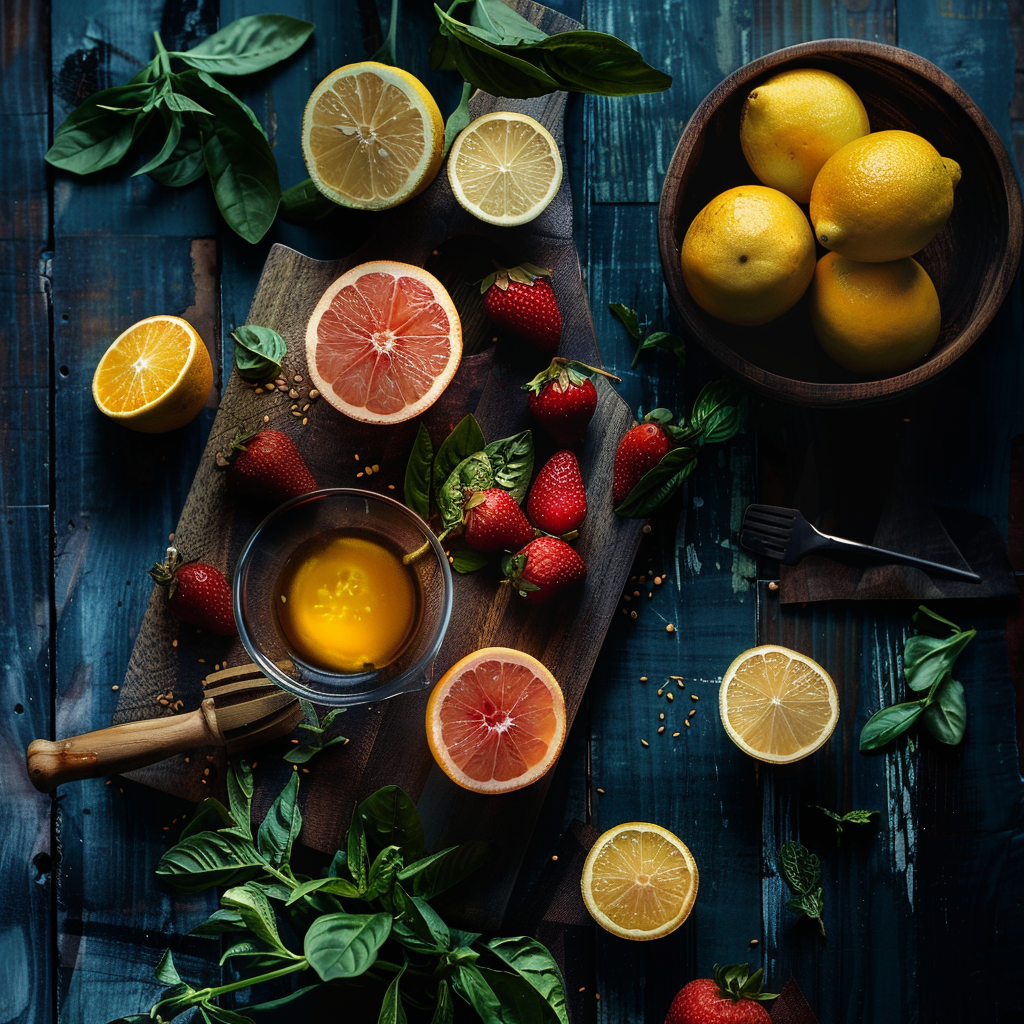
The colors in your photo can seriously change what people think when they see it. So, when you’re tweaking colors, have a plan. Change colors to make some stand out or fade into the background, but try to keep them all in sync.
Warm colors can make folks feel cozy and peckish, while cool colors give off a crisp, neat vibe. Remember, the vibe you’re going for, or the story you’re trying to tell should guide how you adjust the colors in your food photographs.
Improving Texture and Smart Edits
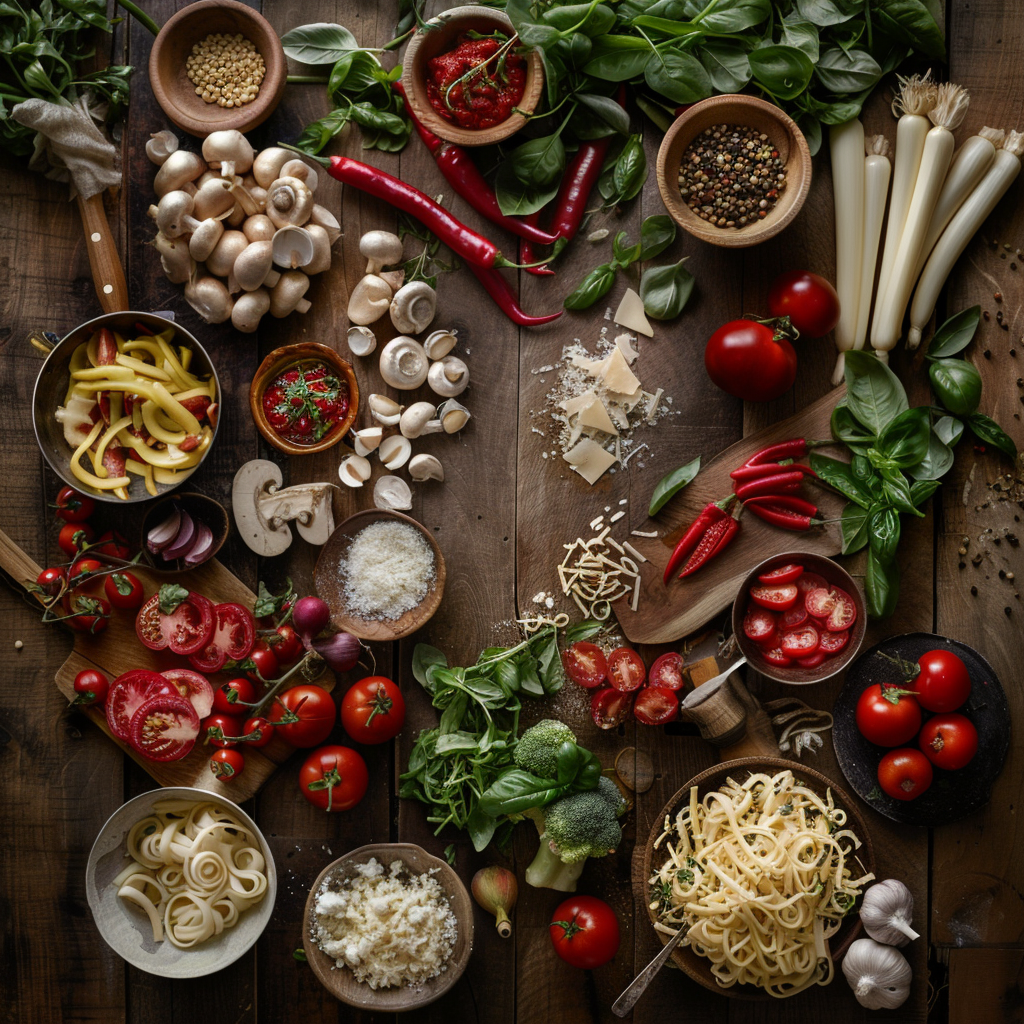
By improving textures, you can make your food photos pop. Turn up the sharpness to highlight things like a crispy crust or shiny sauce. Use focus carefully to point out the best parts of your meal. For smart editing, try spot healing or clone tools to get rid of ugly spots or unwanted bits in your picture. A vignette can draw eyes to the center, but don’t go overboard or it’ll take over the shot.
When you’re tweaking your photos, remember that a little often goes a long way. Each tweak should mean something and help you hit the style you want. Be sure edits look real and don’t take away from how yummy the food looks. Master these tricks, and your finished photo will look top-notch and full of creative touch.
Exploring Angles and Perspectives
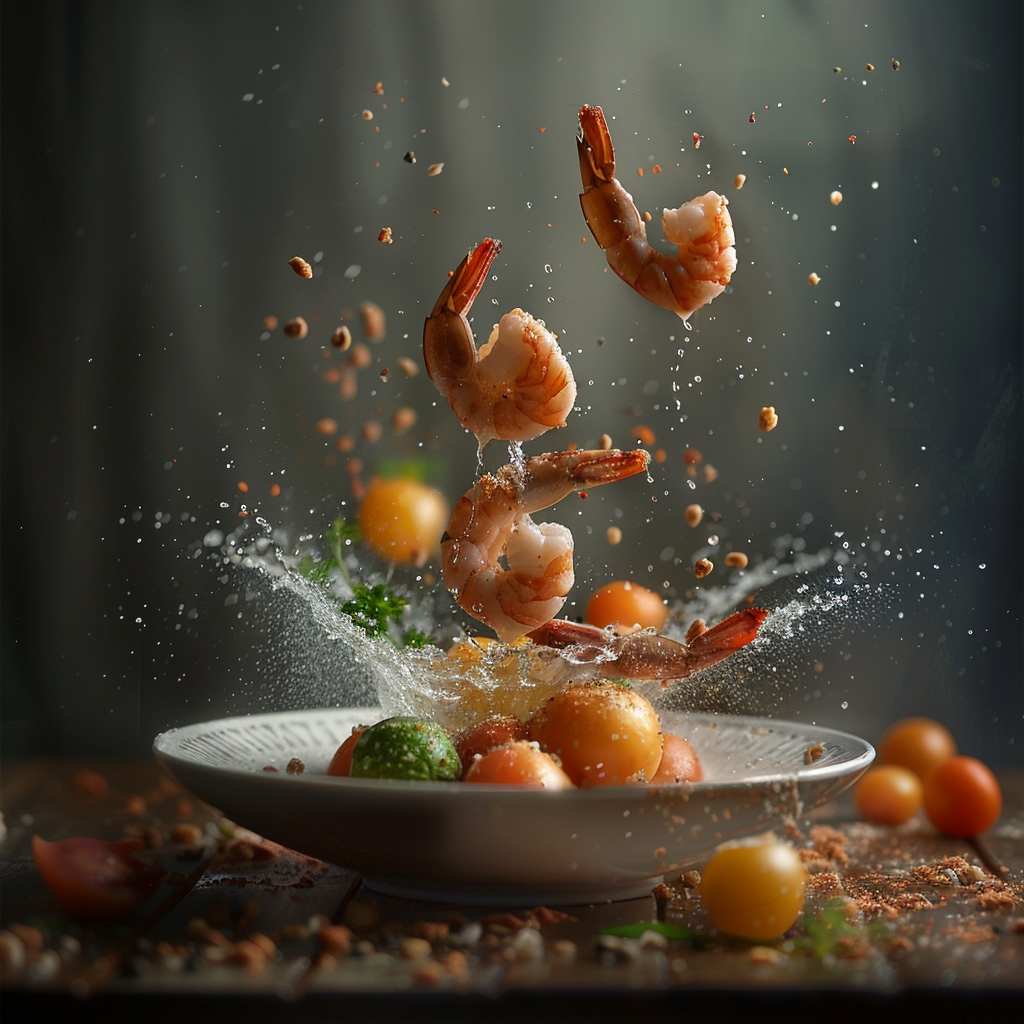
Looking at food from different angles and perspectives can really change how a photo looks and how much it grabs your attention. Taking a picture from above makes the photo look neat and orderly, but snapping the shot right at the level of the plate can show off how tall or layered the dish is.
For something out of the ordinary, you could take pictures from below to highlight how high the food stacks up or tilt the camera for a photo that feels full of action.
Adding Action to Your Food Photos
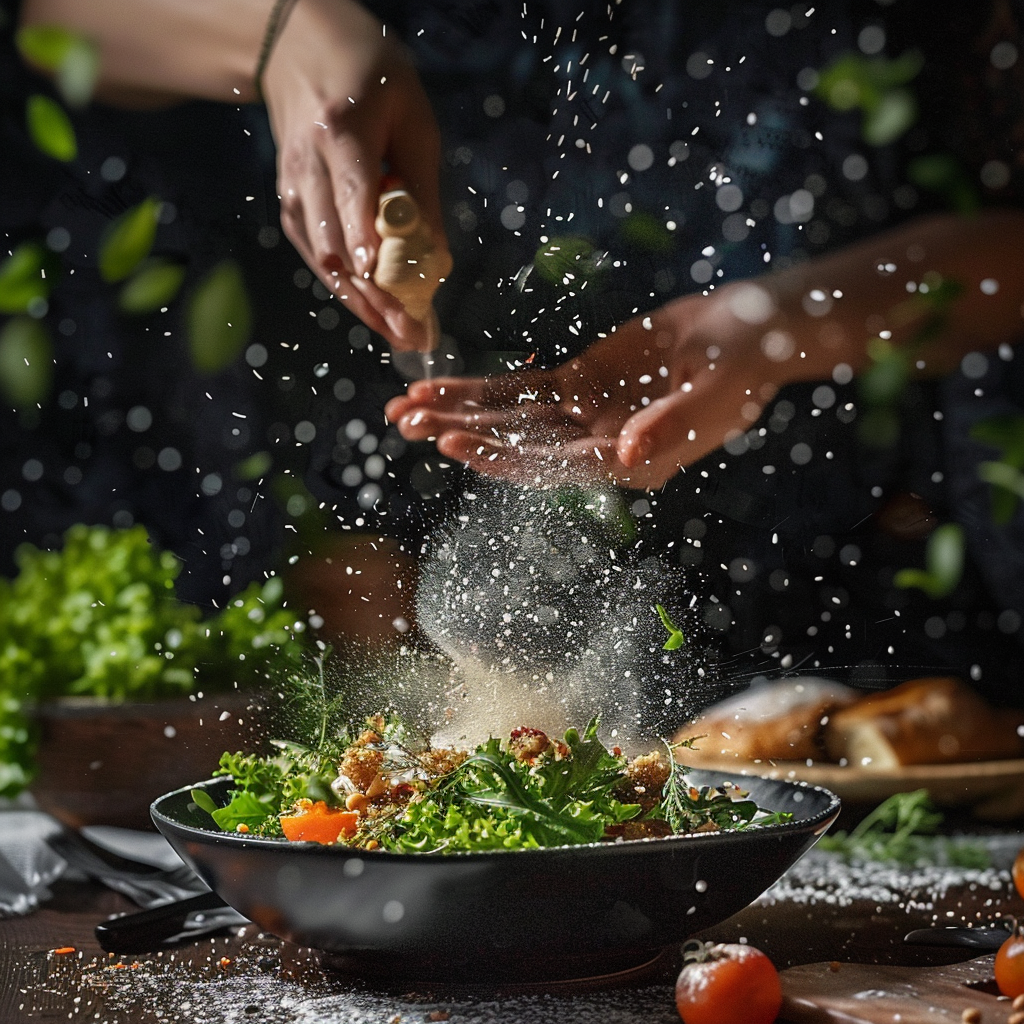
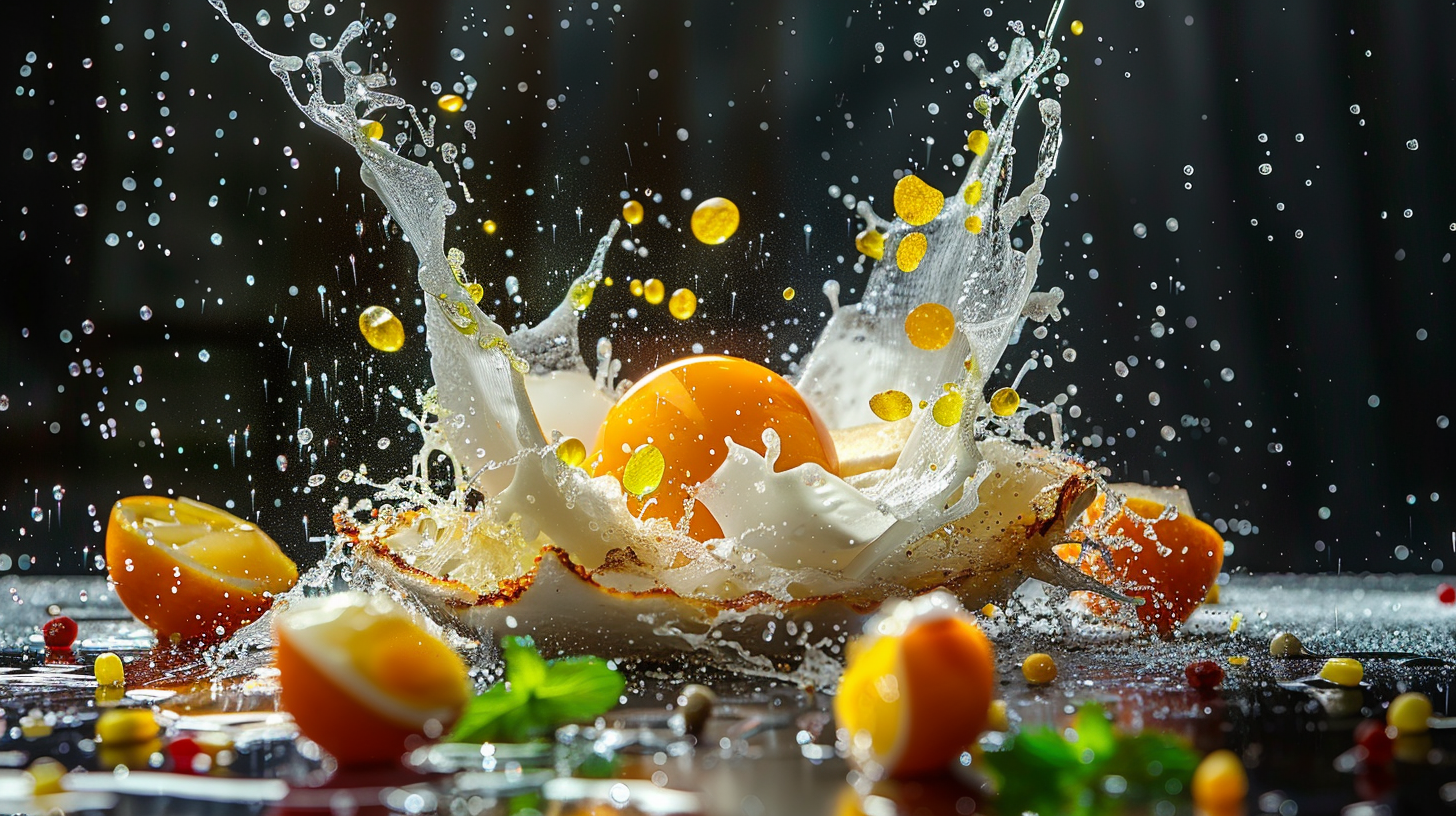
Making your food photos come alive with some action can really pump up the excitement. You could try panning—that’s when your camera glides along with something that’s moving, to get a cool blurred effect. Or you could go for a freeze-frame shot, snapping the picture so quickly that you can see each little splash in sharp detail. This makes it look like the food’s just bursting with life.
Playing with Focus and Depth in Photography
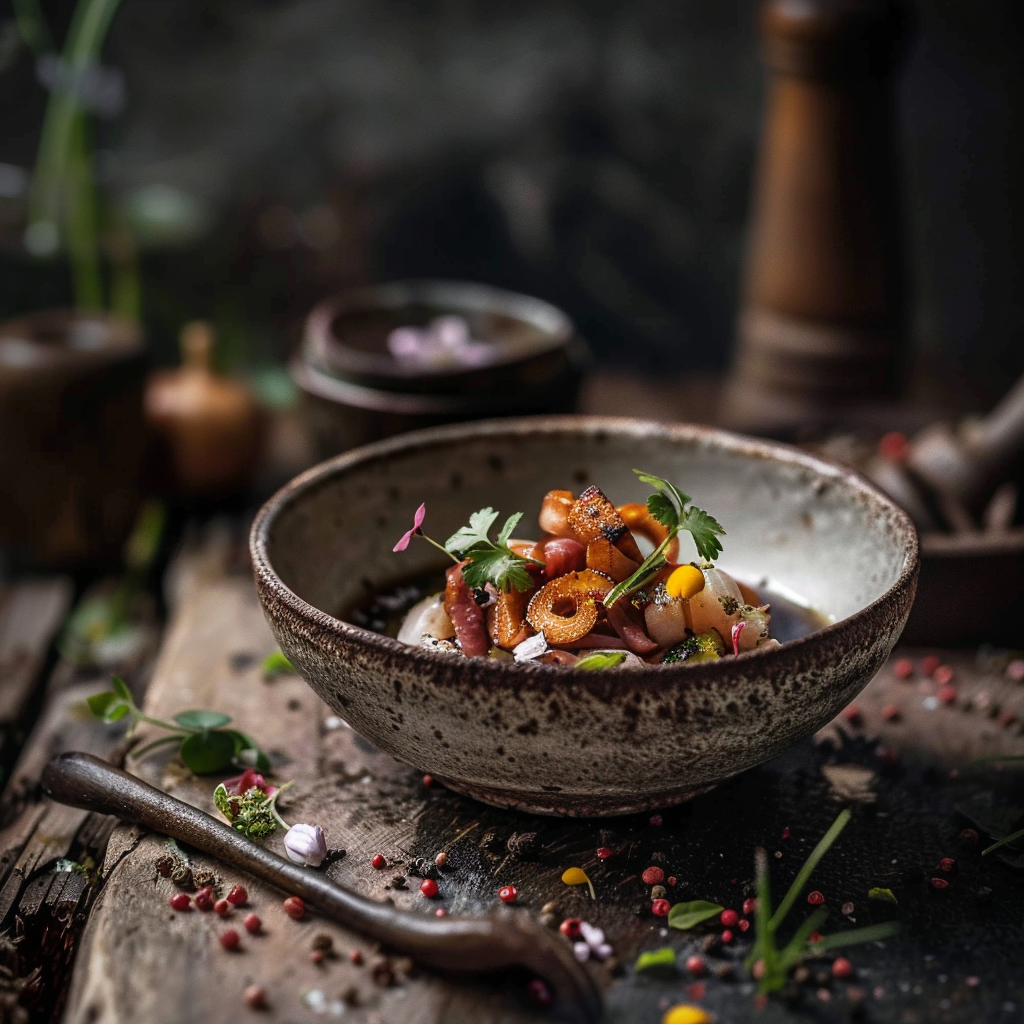
Adjusting focus and depth of field can open up a world of creative ideas. Use a narrow depth of field to make your subject stand out, as the background gets fuzzy and makes the textures pop. On the flip side, a broad depth keeps everything in focus, perfect for showing off an entire scene, like a full table spread. Where you focus can lead the viewer’s eyes, guiding them to notice particular areas of your shot.
To build an attractive food photography portfolio, pick photos that not showcase your technical know-how but also weave a narrative. Ensure your portfolio displays a variety of styles and themes, proof of your adaptability with different lighting, framing, and food varieties.
A good starting point is to select your top-quality photos-those that are clear and vibrant. Go for quality over quantity: just a handful of stunning pics beats a bunch of lackluster ones any day. It’s crucial to keep your portfolio fresh, updating it often to show off how much better you’re getting and how your unique style is developing.
Choosing Artful Pictures
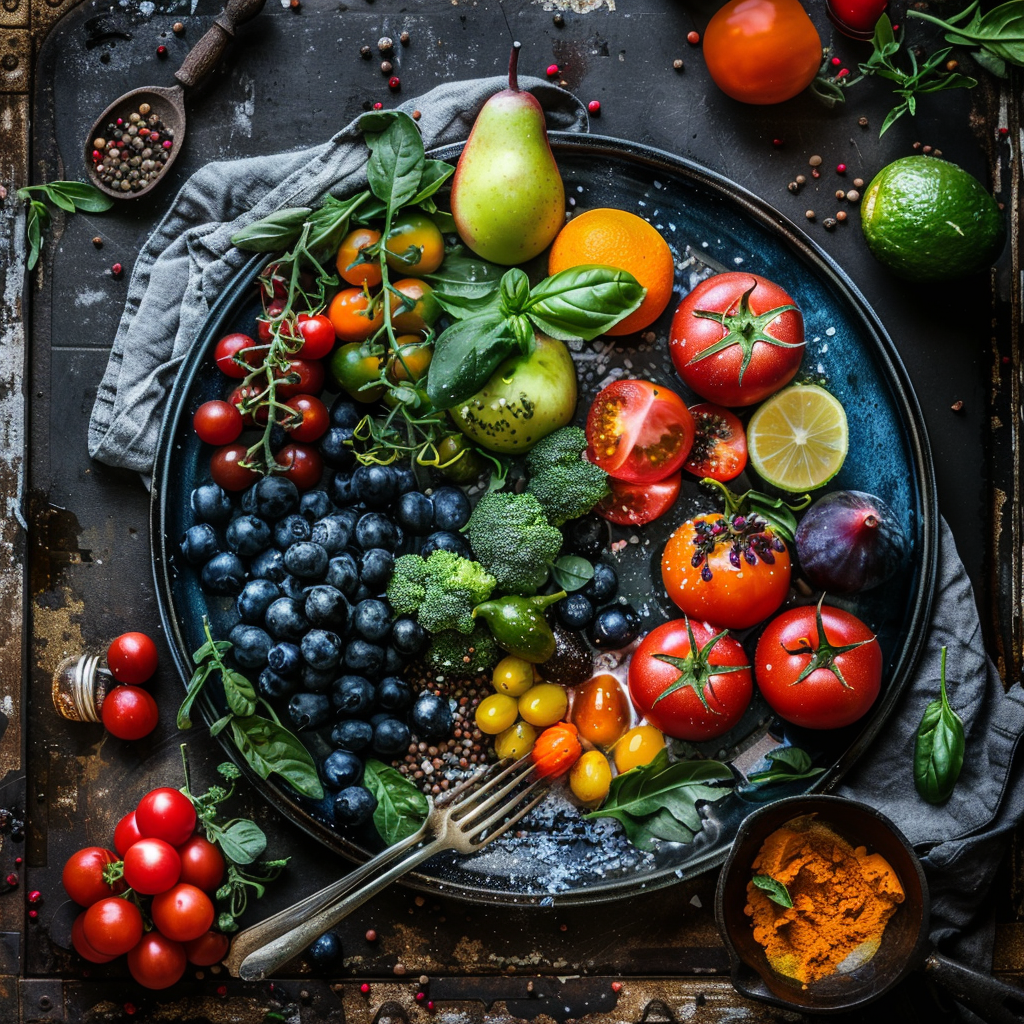
When picking pictures for your collection, go for the ones that show some artistry. You should aim to include different ideas and layouts to grab someone’s attention. Maybe try experimenting with shadows to create some drama, use a blur effect to highlight something important, or set up impressive displays of objects.
Pay attention to the colors and surfaces in your pictures, as they can really show the feeling you’re trying to get across. Try to showcase a range of photos that show off your art choices and how well you can pull them off.
Developing a Personal Style in Food Photography
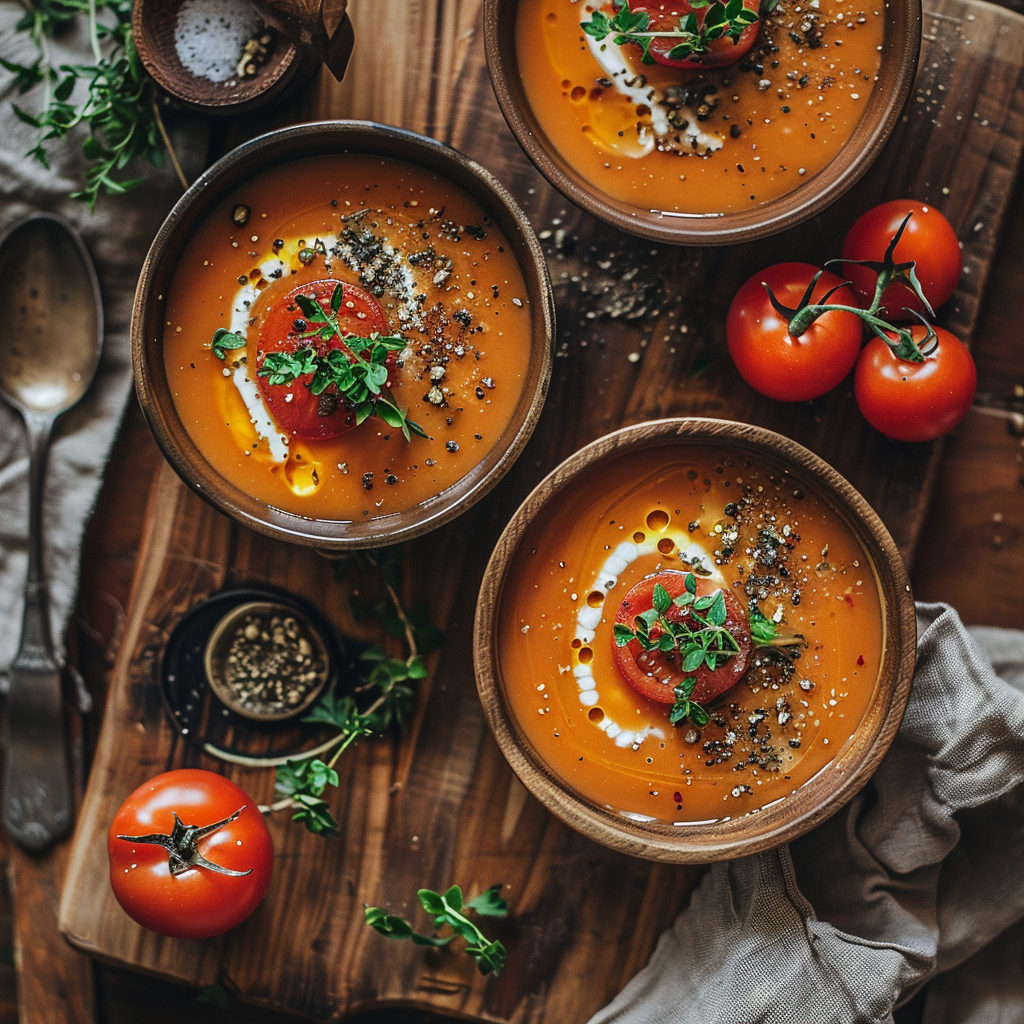
To stand out as a food photographer, creating your own style is key. Find your vibe by trying out various looks and feels. You might end up loving a certain color palette, shooting angle, or way to arrange your props. When folks see your photos, they’ll know it’s yours for sure. Stick with your style choice; it’s like your brand’s fingerprint. As you keep practicing and tweaking what you like, your special flair will shine through even more.
Showing an Integrated Collection of Work
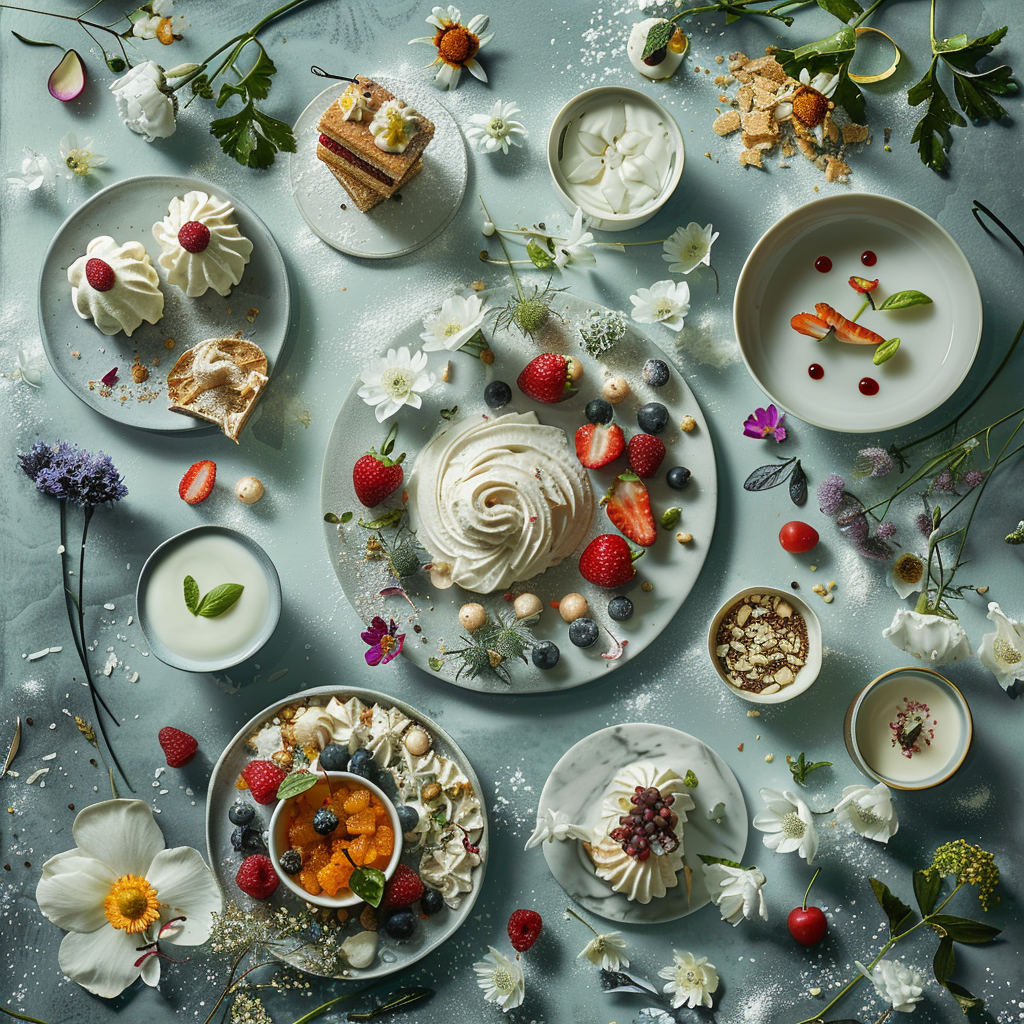
Your portfolio shouldn’t simply be a random set of pictures. Instead, it should connect smoothly, like a well-thought-out sequence. Pick out photos that go well together in style, colors, and subject matter. Think about the order in which someone will look at them. Maybe kick off with basic meals and build up to intricate presentations, or organize them by the kind of food they feature. Your portfolio should tell a story, with every picture contributing to the message you want to convey.
About Author
Rachel Noël is a professional photographer and videographer from the UK with over 10+ years of experience. Rachel specializes in Underwater, Tavel & Portrait photography among other areas.
