Normal lenses do not always allow you to zoom up close to make them look bigger. For example, some lenses will only allow you to focus up to three feet or less. A macro lens allows you to focus far closer to produce one-of-a-kind images. Extreme focus allows you to capture small details and enhance your subject matter. With a macro lens, the sky’s the limit. You can take photos that show every mark, ridge, and blemish of cons, or you could examine the intricate details of flowers.
Contents
- The Key Is the Ratio
- Types of Lenses
- What Is the Focal Point
- Other Features of a Macro Lens
- Focus Is Important
- Camera Settings for Macro Photography
- Aperture and Macro Photography
- Invest in a Ring Flash
- Different Camera Brands
- DSLR Mirrors and Macro Lenses
- Consider the Background
- Take Multiple Images
- Common Subject Matter
- Other Key Accessories
- Patterns and Creating the Composition
The History of Macro Photography
Macro photography can be traced all the way back to the turn of the century. F. Percy Smith was taking photos of insects in the early 1900s. 50 years later, the Single Lens Reflex (SLR) camera was produced, which allowed people to use viewfinders to see their images. As cameras and lenses have become more advanced, so too has the possibility of macro photography.
The Key Is the Ratio
Just because a lens is called macro does not mean it is – what matters is the magnification ratio. Macro lenses reproduce images at a 1:1 ratio. There are three types of macro lenses: short, intermediate, and long macro lenses. You can even go beyond life-size lenses and either double your subject matter’s size with a 2:1 ratio lens, or you can shrink it with a 1:2 lens that produces images at half the actual size.
Types of Lenses
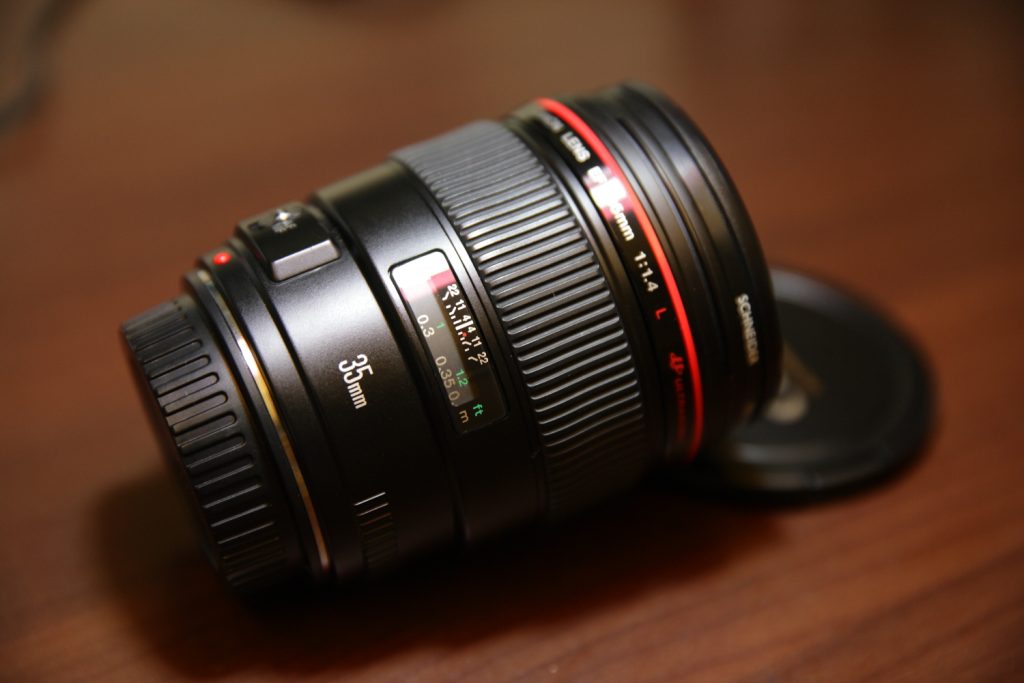
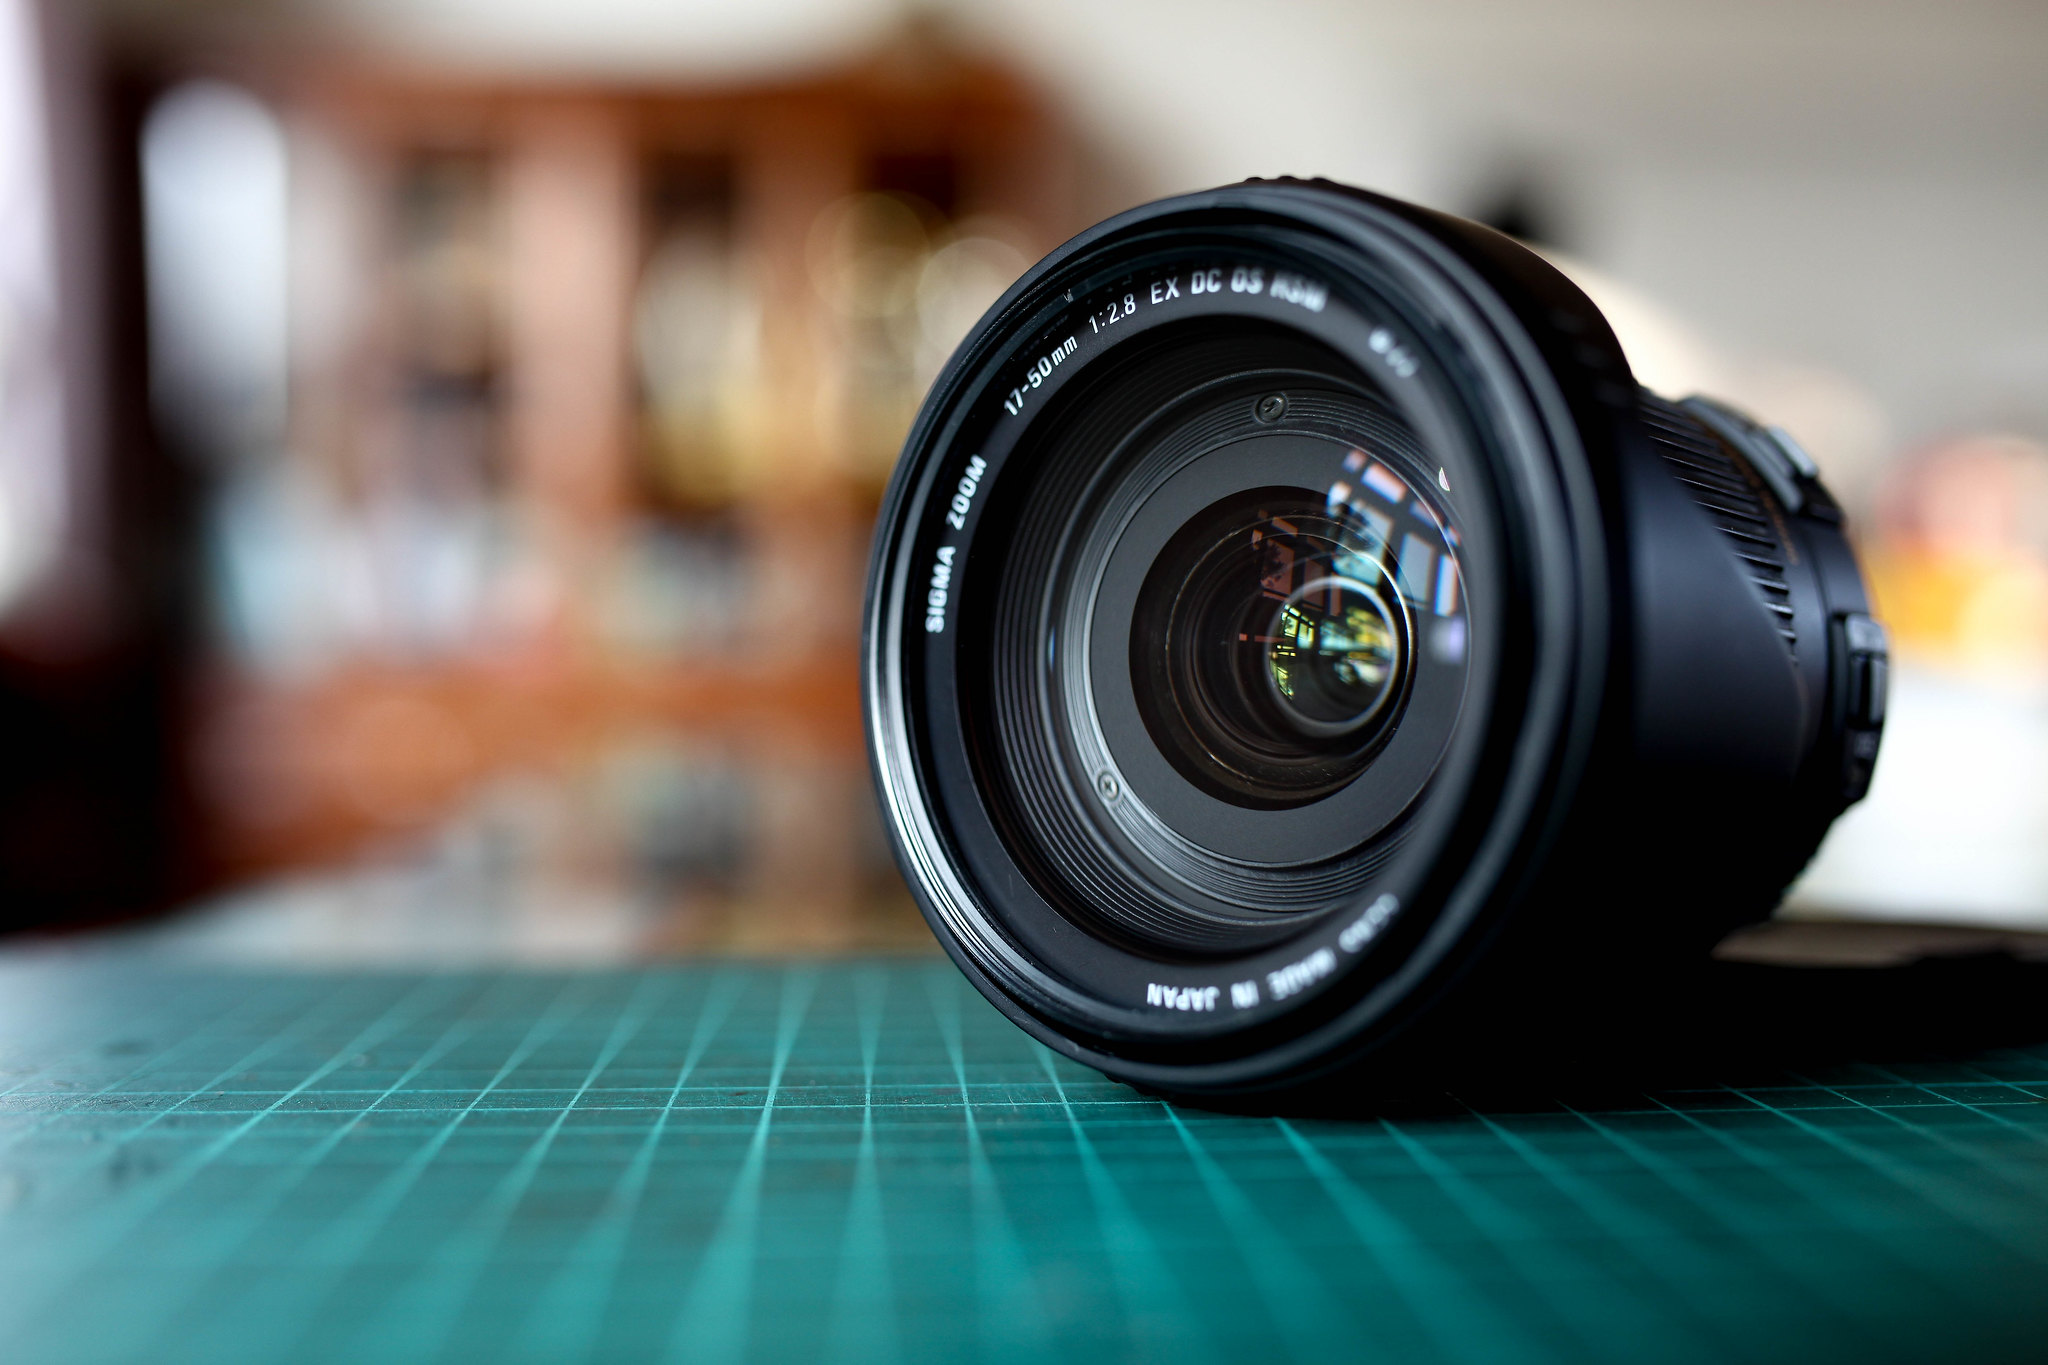
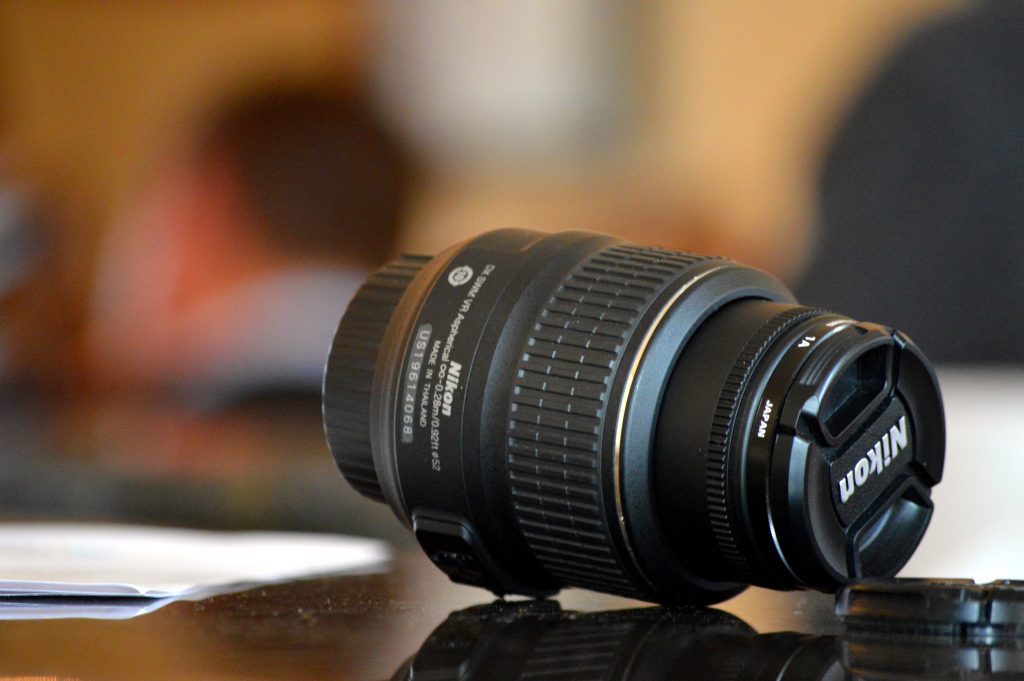
Short macro lenses are between 35mm and 60 mm. You will be farther away from your subject matter with this lens. This accessory is perfect for handheld shots.
Intermediate or mid-range macro lenses are between 90mm and 105mm. You have more working distance to take the photo, but you will not have to use a tripod unless you want to.
Long macro lenses are between 150mm and 200mm. These accessories use the most distance and produce high-quality photos of hard-to-capture subjects.
There are also macro filters for your existing lens. These allow you to take close-up photos as you are learning the art of macro photography. These filters directly screw onto your lens and magnify images.
What Is the Focal Point
The focal point range is how far you are from your subject matter when snapping the photo. Macro lenses range from roughly 35mm to up to 200mm. Experts recommend investing in a mid-range focal point to start. Over time, you may want different macro lenses for different projects.
Benefit of More Focal Distance
To choose a lens, think about the working distance you need to capture the image. If you go for the shorter end, you will have to be close to your subject matter to capture the image. If you get too close, you may have to battle with lighting issues like shadows. Space can help you focus the image, enhance the lighting, and create an eye-catching composition.
Benefit of Less Focal Distance
Shorter focal point lenses are lighter and often less expensive. If you are taking a photo of a stationary object, it produces the same amount of magnification and focuses as its counterpart lenses. Lightweight lenses and accessories are perfect for people on the move.
Other Features of a Macro Lens
Many macro lenses have flat focus fields, which produces a different impact than the commonly found curved items. A curved lens produces an image where the focal point falls in the center of the photo versus the border. Macro lenses give you the chance to focus across the frame.
Focus Is Important

When taking photos of small or long-distance subjects, you need to play around with the focus to get the desired results. In addition to a tripod and playing around with the camera settings, you may also want to invest in a remote trigger. This way, you can experiment with the placement of the camera and remove any camera shaking. Playing around with the depth of field (learn more here) and checking the photo helps you take sharp images.
Camera Settings for Macro Photography
At its most basic, you use a macro lens just like any other lens. Keep in mind you will want to keep your ISO low between 100 and 200 to capture the right contrast and keep the lens noise low. Many photographers also use tripods to perfectly position and capture long-distance exposures. If you are taking action shots and using a handheld camera, use a higher ISO to keep your images sharp.
Aperture and Macro Photography
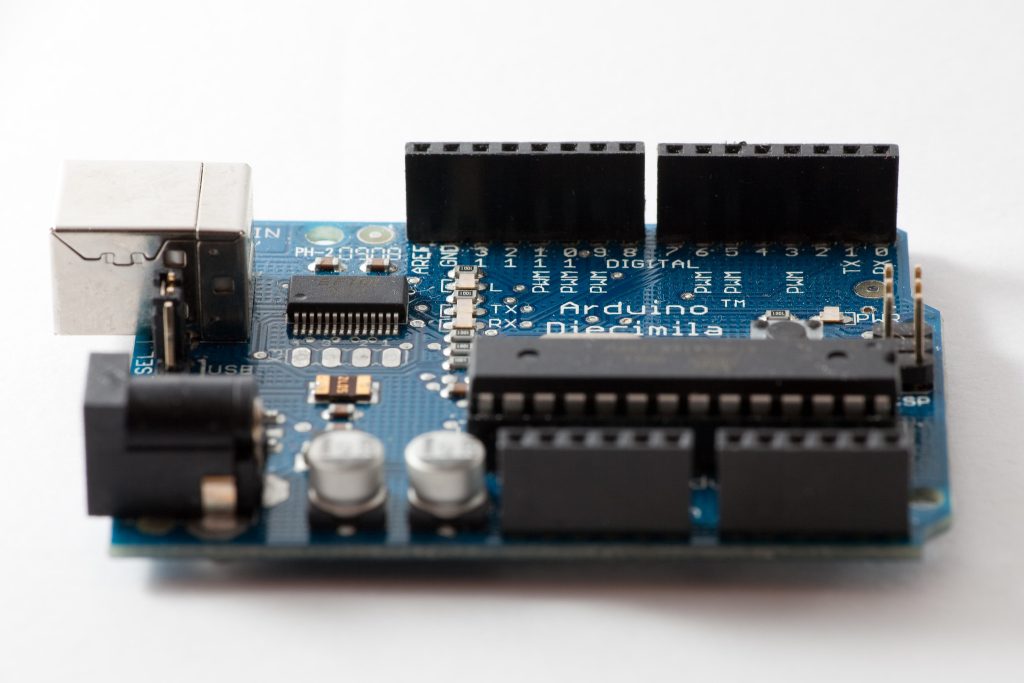
Macro photography does not need a high aperture setting to focus the shot. You can use f/16 to capture the image. You can also use your camera’s pre-set white balance for outdoor shots. Most cameras also have a Shade preset if you are in a dim indoor space. You should think about whether or not flash will blue or interrupt the shot. For example, flash could distract or scare an insect or animal or it could create a reflection in a raindrop or reflective surface.
Invest in a Ring Flash
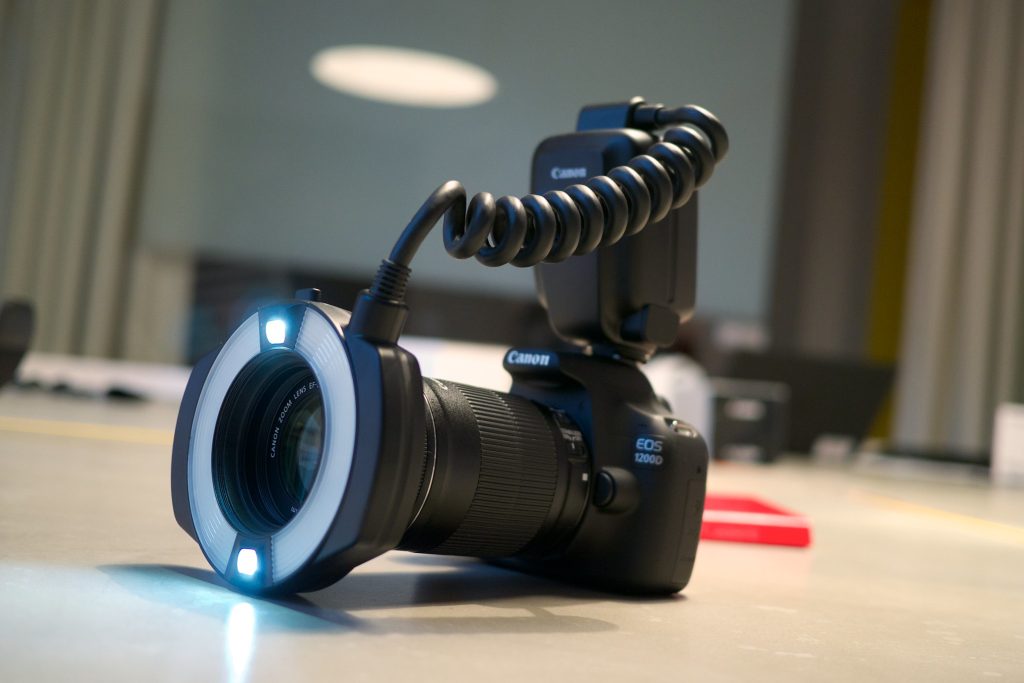
Though cameras have their own built-in flash, you may want to invest in a ring flash. This additional flash accessory fits right around the lens. With a ring flash, the light spreads out so it is evenly captured around your subject matter. This creates a warmer and more uniform light than the sometimes harsh light of the camera’s flash. The ring light accessory is also better if you want a more subtle light source.
Different Camera Brands
A lot of the popular manufacturers produce macro cameras and lenses. Make sure to always check that your camera is compatible with the lens. You can use DSLR or mirrorless cameras. Think about if you want a lighter lens or if you plan to take long-distance shots. You can find macro lenses from such popular brands as Nikon, Canon, Sony, and Olympus.
DSLR Mirrors and Macro Lenses
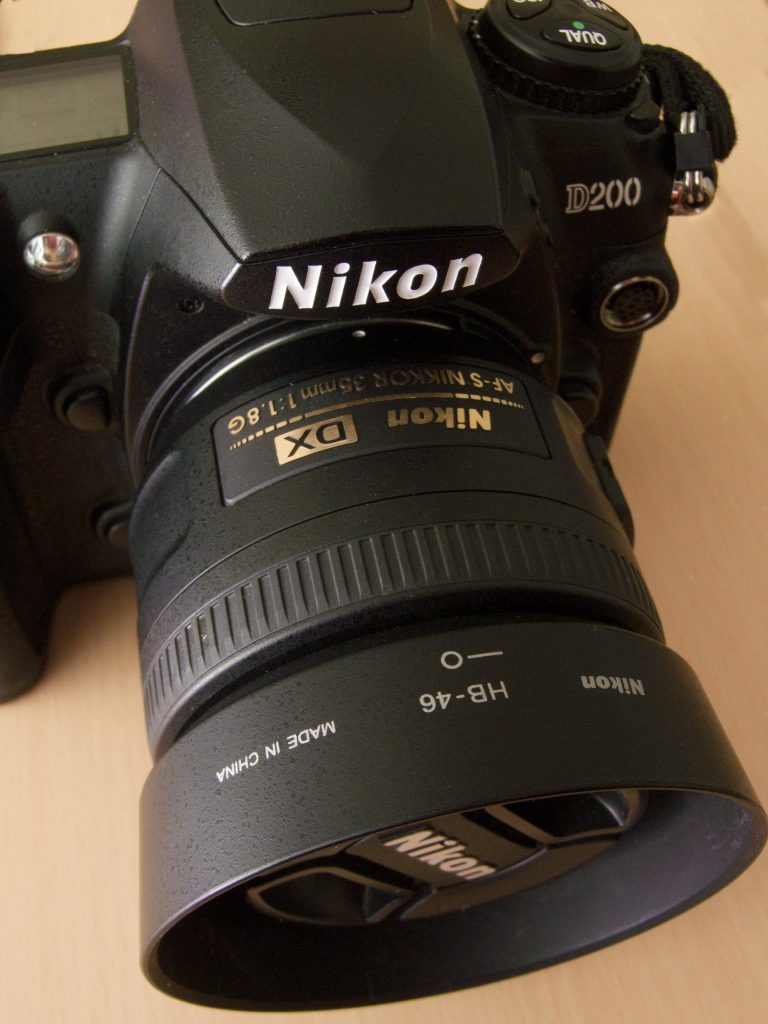
If you are using your macro lens with a DSLR camera, make sure to turn on the mirror lock-up setting. A camera’s mirror flips up when you press the shutter button, which can blur your image.
Consider the Background
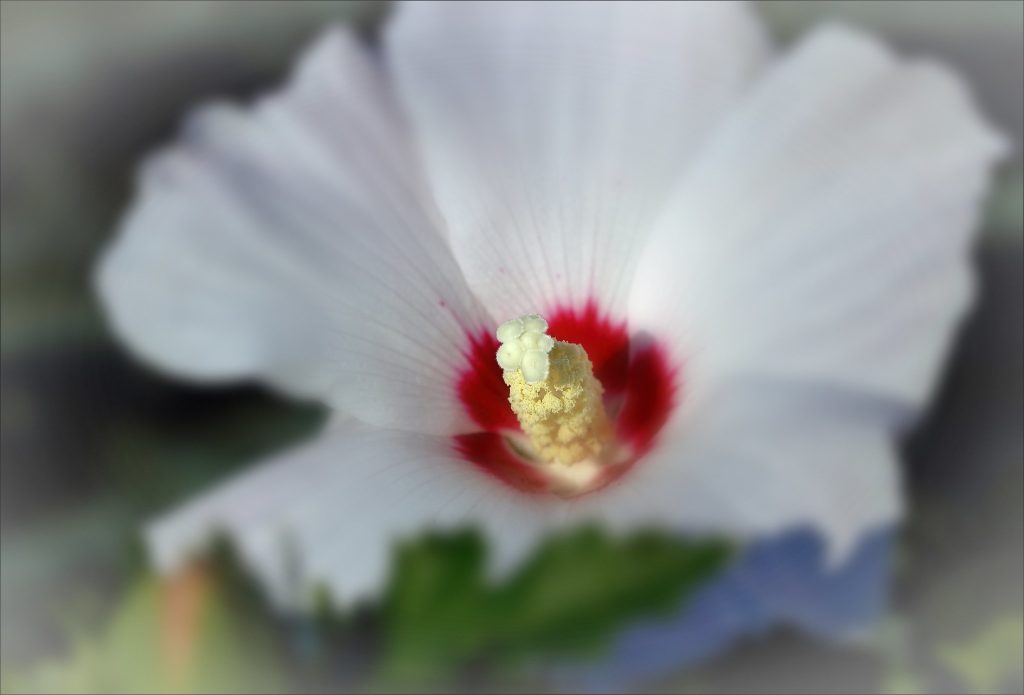
Different backgrounds can enhance your subject matter: enhancing different details or colors or making the image appear even larger than life. A general rule in macro photography is to keep things simple. You want the subject matter to be the main attraction, so the background should support this. A lot of photographers like using a clean black or white background whereas others will use blurred effects to accentuate the object.
Take Multiple Images
In macro photography, you never know which shot will have the most detail. The more images you take, the more likely it is that you captured the image. Try experimenting with angles, flash, and settings to get the most out of the shot. Make sure to check the LCD panel or viewfinder to make sure that you have the shot. Some objects may not be easy to find and capture. Double-check that the lighting is right and that other items have not entered or obscured the shot.
Common Subject Matter
Going all the way back to the start, insects and plants have been common subject matter for macro photography. You can take close-up shots of small insects like bumblebees and butterflies, or you can zoom in on the unique features of flowers and tree leaves. Portraits are another common subject matter. Instead of taking a full photo, you could zero in on a person’s eyelashes or mouth. Lastly, food is another popular subject of macro photography. You can make a burger appear larger than life, or you can capture the sensuality of an apple.
Other Key Accessories
A third-hand device helps you position certain subjects. For example, the hand could hold a leaf or flower stem in exactly the right position or lighting. A third-hand works a lot like a tripod for the subject. This accessory gives you more angle and background options.
Similarly, you may want to invest in gels if you want to alter the color of your subjects. Certain subjects will pop if you add more color to them. For example, a close-up of a tulip’s petals could use additional color. Gels are filters for your flash that create unique effects.
Patterns and Creating the Composition
Editing software makes it possible to cut out unnecessary parts of the frame and to fine-tune your images. When shooting, try to fill the frame up as fully as possible. The fewer gaps, the easiest it is to show the intricacies and power of the subject.
A regular lens will have limitations that macro lenses do not have. Investing in a 1:1 macro lens produces images that will make people look twice. By getting as close as possible, you can depict every nook and cranny of an object. These larger-than-life photos appear intimate and will showcase the unique textures and colors of your subject matter.

About Author
Connor Kovack is a Los Angeles based professional photographer & videographer with over 6+ years of experience. Connor is CEO of KovMedia and specializes in Music Videos, Commercials, Photography & More.
