This guide will cover everything you need to know about long exposure photography. We will take a look at how long exposure photography is different from regular photography and what the best practices are for getting the most out of your camera’s settings. In addition, it includes a list of tips that you can use to help capture incredible images with this unique long exposure photography technique.
Contents
- What is Long Exposure Photography?
- How to Get Started with Long Exposure Photography
- Understanding the Shutter Speed in Long-Exposure Photography
- How Shutter Speed Affects Your Picture
- Setting Up Long-Exposure Photography
- Tips on Getting Better Long-Exposure Shots
- Essential Equipment for Long Exposure Photography
- Frequently Asked Questions
- 1. Do you capture more details with a slower shutter speed?
- 2. What is a stop?
- 3. How do you find out the exposure time needed?
- 4. Can you capture long exposures without filters?
- 5. What are good subjects for long exposures?
- 6. Are square filters better than round filters?
- 7. Is There a correct shutter speed for long exposure photography?
What is Long Exposure Photography?

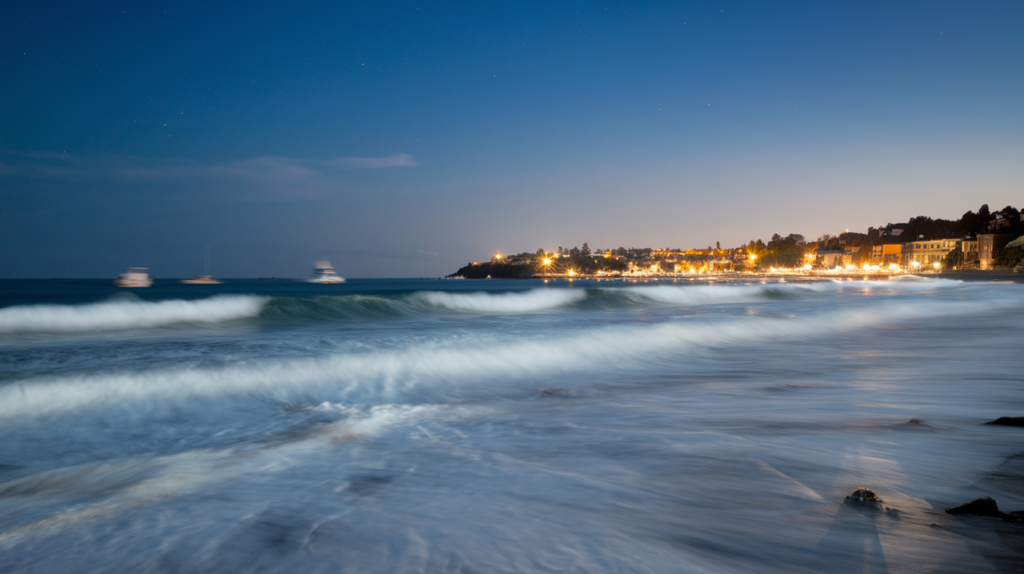
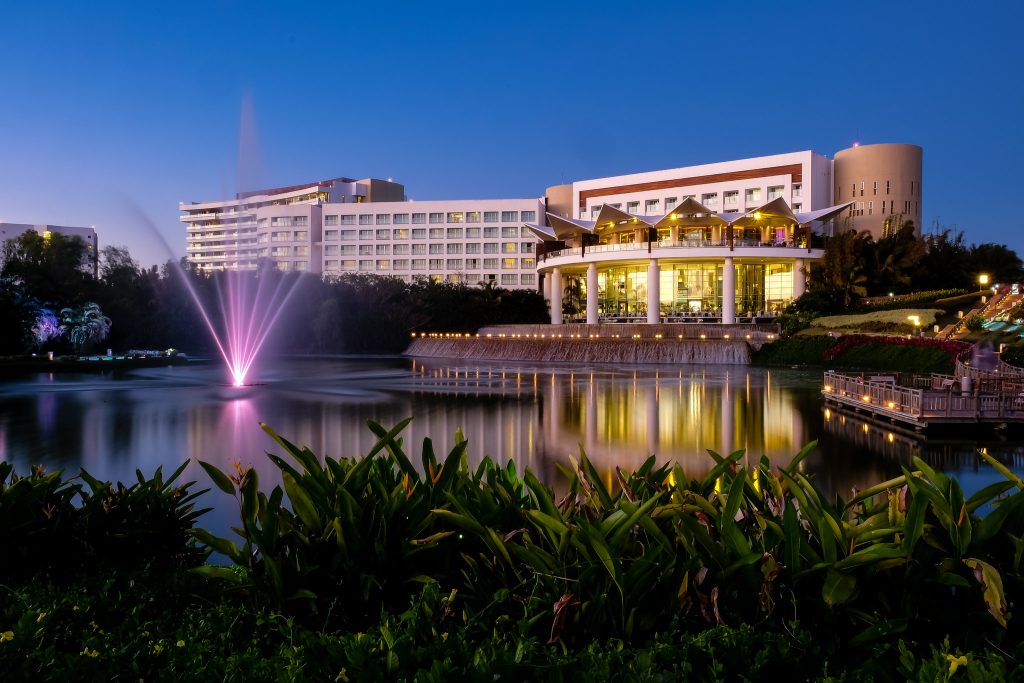
Long exposure photography is a technique that can turn ordinary photos into something extraordinary. It captures the movement of light and time, so you get beautiful views of nature, cityscapes, waterfalls, and more. But how do you take long exposure shots? And what are some tips for getting amazing results?
We’ve put together this ultimate guide to help you master your long exposure photography with ease. Long exposure photography is a good way to produce some stunning long exposure images. However, it can also be quite challenging, especially with digital cameras with built-in shutters.
How to Get Started with Long Exposure Photography

Image Credit: © Trevor Marron/CC BY 2.0
The best way to improve the quality of your long exposure photography is by practicing.
Get out there and experiment with different settings to see what works best for you.
Another great way to improve your long-exposure photography skills is by learning how to stack images. This involves taking multiple photos of the same scene but at different exposures and then combining them into a single image in post-processing. By doing this, you can achieve better outcome than possible with a single long exposure shot.
It’s important to understand some basic concepts about camera movement and how it affects your final image to get the most from your long exposures. For example, knowing that shutter speed is directly related to motion blur and light trails will help you choose the right settings for your scene.
One of the biggest challenges with long-exposure photography is dealing with noise. This is especially true when shooting in low-light. However, there are a few things that you can do to reduce noise in your shots, such as increasing the ISO and using a higher-quality lens. Finally, always remember to watch your histogram while shooting long exposures. This will help you to ensure that your images are not overexposed.
Understanding the Shutter Speed in Long-Exposure Photography
When you want to create a long exposure with your camera, many things go into consideration. The first thing is what shutter speed will work best for the desired effect?
Different cameras have different capabilities, and this affects their optimal settings too. For example, if you wanted an infancy photo taken underwater but without any blurriness, then your ideal setting might be somewhere around 1/80th or faster since less time means cleaner lines rather than ones filled up by waves moving across them constantly.
How Shutter Speed Affects Your Picture
Shutter Speed is one of the most significant factors, including aperture and ISO. It affects your picture’s motion by either freezing it or blurring what happens in front of a camera lens which is two of its major functions.
There are other advantages to changing shutter speeds, such as producing dramatic effects like having stars on their own because they were so still when captured. These can make them stand out more than if there would have been moved from another photo taken at different times during an evening sky event; you’ll want higher resolutions since those photos often look best large-scale.
Setting Up Long-Exposure Photography
1. Use a composition
If you want your images to look great, they must have strong compositions. People often forget about this in long exposure photography, especially with slow shutter speeds, but you should not overlook their composition. You’ll regret it if you do so because these details are what make an image compelling or eye-catching.
The sky is a great place to find subjects you might overlook in photographs. Ask yourself what the main subject of this photo is? Can you make it stand out by incorporating other elements like water, land, or movement into your frame?
Mount the camera on a tripod and connect your remote shutter release when you’ve found an interesting composition. Make sure that the ground is still while taking shots, or else they will not show any movement in their photos.
2. Use the Normal Settings
To create a long exposure image, you will need to use your camera’s ‘normal’ settings. The first step in this process is finding an appropriate composition and mounting the camera onto a tripod for stability before applying any other adjustments, such as changing between Manual setting or one of the semi-automatic modes if desired, depending upon personal preference.
However, take note because these values may differ from what was needed during setup time since weather conditions can affect the FPS (Frames Per Second) rate required. When adjusting the settings for your photos, make sure that ISO and Aperture are low.
You can adjust shutter speed by either using Live View if possible (it’s a good idea) or manually changing film speeds. Consider the manual mode first, then look at histograms that allow more control over exposure; semi-automatic shooting modes include preferred plus auto.
3. Try a Test Shot
A test shot is the first step to taking good long exposure photography pictures. Ensure you’re in control of your settings and make adjustments, if necessary, before clicking “Done Shooting.”
After making all these vital decisions about exposure & focus: Take one final look at what you have captured on camera and check if it meets expectations? If not (and there will be some things worth noting), take another quick pic just for comparison purposes; this way, you can spot any problems before they become serious issues later down the line.
4. Calculate shutter Speed
A 10-stop neutral density filter will cause your camera to behave differently than usual. You won’t be able to see much through the viewfinder, and it’s difficult (if not impossible) to take an image with this setup without any light coming into the lens. That’s why you need to calculate a new shutter speed – there are two main methods for doing so:
Use a Long Exposure Photography app
The first way to calculate a new shutter speed is by using an app on your phone. You can do this easily, and it almost feels like cheating because all you need is some simple information about what settings were used for this calculation process to work properly.
There’s even one called “Long Exposure Calculator” that does most of the heavy lifting- just inputting the desired duration will give out recommended ND values based on selected ISO value (or original), f-stop size, and frame rate.
One of the coolest features in some apps is a long exposure photography built-in timer tool. This lets you keep track of how long it’s been since your last photo by looking at bulbs or using shutter speeds over 30 seconds.
Calculate it Manually
The second method is a bit harder. Yet, it’s an important part of understanding what’s happening, and knowing when you need faster shutter speeds or not.
For your images to come out looking good in low-light situations (or any other situation where slower shutter speeds would do), there must be a way to brighten some dark areas. This will make up the difference between too little light coming through. This results in non-blurry photos with enough detail but without being TOO bright.
So what you’ll need in this case is a ‘fill flash’.
5. Use the New Shutter Speed
There are a few different ways to shoot in low light. If you want the fastest exposure, choose Shutter Priority Mode on your camera and adjust accordingly for how long or short an interval is desired from 30 seconds up to 1 minute. After that, it becomes difficult because each frame will take at least two shutter releases taps per photo.
For those who don’t need such pinpoint focus attainable only through automation with their cameras’ settings (or lack thereof), Bulb mode allows continuous shooting without any interruptions during which images can be taken when something happens as someone walks into view.
6. Take the Shot and Adjust Accordingly
You need to know what settings will give your desired effect to make the perfect long exposure shot. Evaluate whether everything looks good by looking at it once complete after adjusting where necessary through shutter speed adjustments if needed.
However, once these are applied and checked for accuracy with an image preview in mind before taking any captures that might end up being too light or dark based on how they were exposed. Then take another picture just like this one so there can be proof later should anything go wrong during processing (which usually doesn’t).
Tips on Getting Better Long-Exposure Shots
Here are seven techniques to get amazing outcome with long exposure photography.
1. Use a Tripod
This is probably the most important equipment for long exposure photography. A tripod will help keep your camera steady, which is essential for avoiding blurry long exposure photos. Your image becomes more stable so that it dosen’t appear blurry or distorted espeically if you use a longer your exposure time.
A good rule of thumb is that if your shutter speed is less than 25 seconds, no stabilization device (such as a tripod) should be necessary at all. However, when planning on shooting any long exposure photo with an extended duration of two seconds or greater, some form of camera stabilization becomes crucial if maximum quality is desired. If possible, use mirror lockup while holding down the shutter button, so that vibration caused by pressing the shutter button is not an issue.
Therefore, due to the stability it offers, it’s essential to use a tripod to help your long exposure photos be clear and sharp.
2. Use a Cable Release
A cable release allows you to take pictures without touching the camera, which can cause vibrations that can blur your images.
3. Use Manual Mode
Shooting manually will give you more control over your camera settings, allowing you to fine-tune the results of your long exposure photography shots better.
It shouldn’t be necessary to say that a camera with manual mode is required for one’s photographs to look their best, but I’ll mention it anyway. You can only achieve the Long Exposure Photography technique through manual adjustments to your digital camera settings (ISO, aperture, and shutter speed).
However, these do not need specific features or abilities beyond what most people already own from their smartphones. It would also help if you had access to bulb mode so that long exposures up to 30 seconds are possible without breaking apart those stars.
4. Choose an Appropriate ISO
Choosing an appropriate ISO is key when taking long exposure photography photos – too low and your photo will be underexposed, while too high and it’ll be overexposed. Experiment.
5. Use a Neutral Density Filter
ND filters are essential for long exposure photography, as they help minimize how much light that enters your camera. This allows you to lengthen your shutter speed without overexposing your image.
6. Use a Wide Aperture
When taking a picture in low-light conditions, using a wide aperture can help to let more light into your camera. This will result in better long exposure photography shots with reduced noise levels.
7. Patience
The most important thing for successful long-exposure photography is patience. Often you’ll need to take several test shots before getting the desired outcome, so be prepared to wait and experiment with different settings until you find what works best for your scene.
Essential Equipment for Long Exposure Photography
Long exposure photography is all about capturing the movement of objects creatively and uniquely. To do this effectively, you need to have the right equipment.
Here are some essentials that will help improve the quality of your
long-exposure shots:
1. A sturdy tripod
When dealing with long exposure photography this is essential for stabilizing your camera and preventing any unwanted blurriness from occurring.
2. A good lens
A wide aperture lens will allow you to capture more light when doing long exposure photography, resulting in better long exposure photos.
3. An ND filter
An ND (neutral density) filter helps minimize the amount of light entering your lens, which is necessary when doing long exposure photography at slow shutter speeds. ND filters or night photography accessories can help minimize the light reaching your sensor. If you are using a slow shutter speed for an image that needs good exposure and don’t want any frame
4. Remote release cable or timer
This allows you to trigger the shutter on your camera without touching it. This is especially useful when doing long exposure photography at night, as you don’t want to be touching the camera and possibly causing any vibrations that will show up in your long exposure images.
5. A good flashlight
If you’re planning on shooting some long exposure photography at night, then a handheld or headlamp LED light source can greatly improve visibility during these types of shots (when there’s not enough ambient lighting). Try experimenting with different colors like red, blue, green, etc., because they all have different effects.
A flashlight also comes in handy if you need to see what objects are around for compositional purposes. Note: sometimes, using the brightest setting may wash out certain areas of an image so keep this in mind before turning it up.
6. A noise-canceling headset
This can be helpful if you’re shooting long exposure photography in a noisy environment, as it will help block out any unwanted sound pollution and allow you to concentrate on your shots.
Frequently Asked Questions
1. Do you capture more details with a slower shutter speed?
This isn’t always true despite the myth that you can capture more details at a slower shutter speed. There will be fewer visible aspects in an image when shot at higher speeds, with certain elements blurring out due to movement during exposure and light painting being used less frequently. Why? Much has been lost from both motions blur and depth-of-field.
One of the best ways to capture more detail in an image is by implementing ETTR (Expose to the Right) technique. This involves overexposing your photo, but not so much that any highlights get clipped off. Overextending allows you room for creativity.
2. What is a stop?
There are many different filters, and each one has its unique purpose. One way to think about them is by looking at their stop rating. The higher this number goes up in fractional units (stops), the longer your exposure time will need to be with that particular filter type.
This is because they minimize light transmission by half or more depending on how much darker/denser you want things projected onto film while still allowing some amount past without affecting photo quality too greatly.
3. How do you find out the exposure time needed?
It is important to take the time and effort to understand which filter you should use for a certain type of photography. There are many factors involved, such as ISO sensitivity on your camera body or analog/digital conversion in DSLR cameras depending upon design, but with experience comes ease when considering these things because one’s intuition kicks in after a while. Today, one great app that will make all calculations easier is the long exposure calculator.
4. Can you capture long exposures without filters?
Yes, you can take Long Exposure Photography without filters. Filters minimize the amount of light reaching your sensor in a given time. But there’s no need for that with an appropriate shutter speed and ISO setting- all while shooting when it’s darker out, thanks to those low sun positions mentioned earlier on (and before sunset).
5. What are good subjects for long exposures?
ND filters are one of the most popular types of camera lens filters. You can use them on anything that moves, like water, people, or clouds, to get an effect where it appears as though nothing was moving at all in your photo.
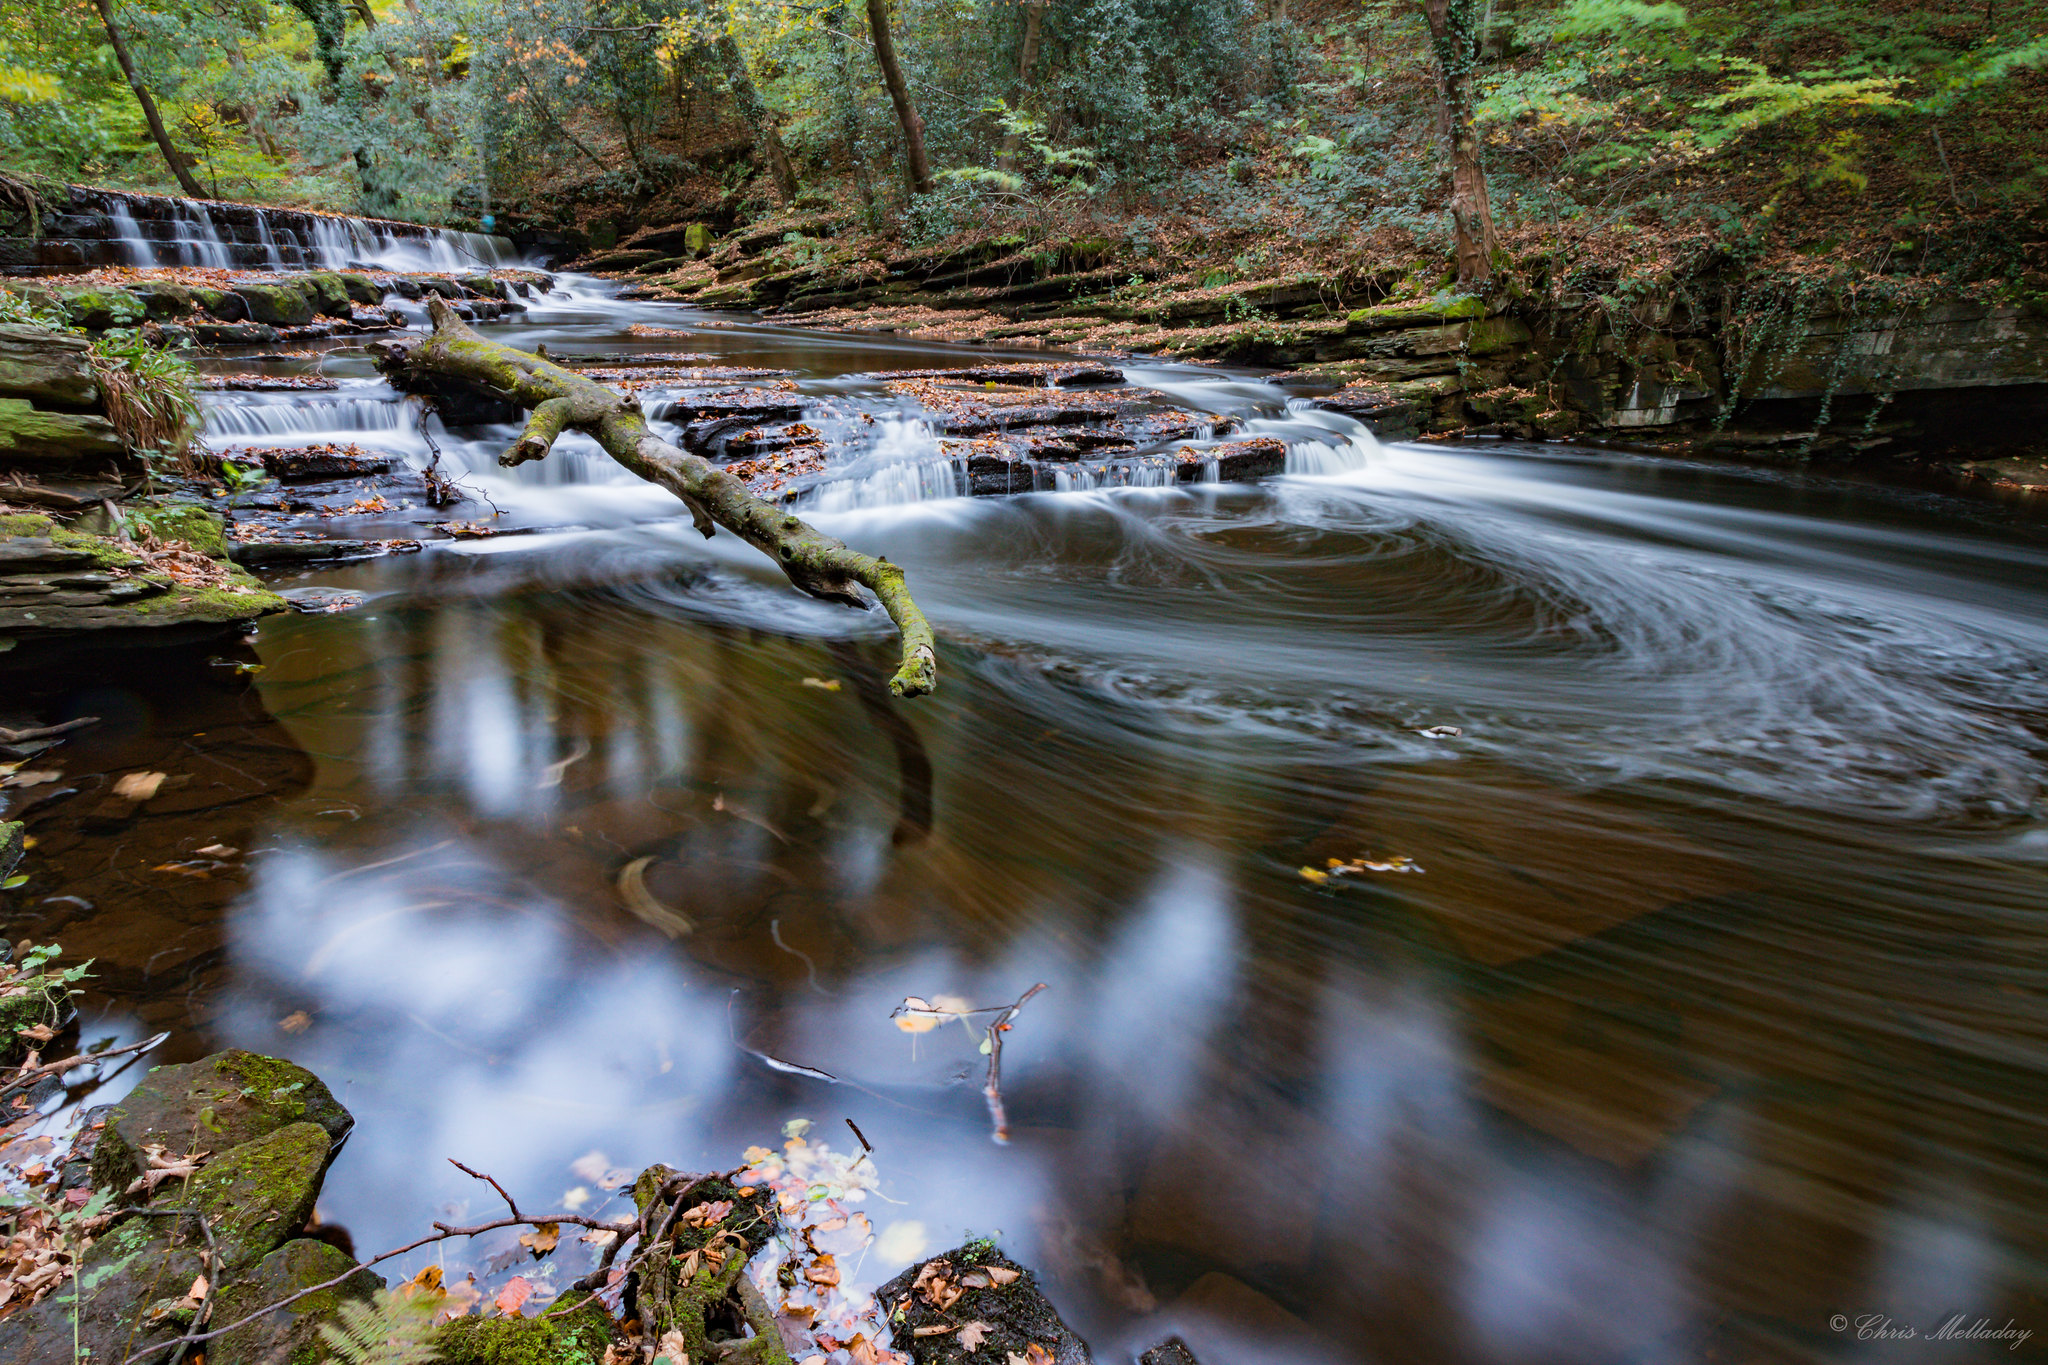
Long exposure photography allows you to capture the movement and sounds of water. The filters can give that smooth look when shooting in lakes or rivers, but they’re also useful if your goal is showing how ocean waves break upon a beach’s shoreline – which may be why these types are often used on beaches themselves.
6. Are square filters better than round filters?
The short answer to this argument is that it depends on what kind of shape you are looking at.
This is a good way to protect your lens from dust and scratches. You can buy round filters that screw onto the end of it, just like traditional UV ones do. They have different sizes depending on what threading size you need- so make sure before purchasing one that they will fit correctly with all other lenses in use too.
Square filters are a good way to achieve special effects and all the different photography styles. However, they do require more equipment than round ones because you need a holder, which can be expensive if not bought together with your camera body. The good thing about this kind of system is that when it’s time for you to take off your lenses you can then put them back on again without any hassle or problem.
With that being said, like with all lenses, the most important part is keeping it dust and scratch-free.
7. Is There a correct shutter speed for long exposure photography?
No. The ideal shutter speed for long exposure photography or any photo. It really depends on the type and subject matter you capture. It’s up to your imagination as an artist what kind of long exposure photograph suits you best.
The only limit to the possibilities in long exposure photography is your imagination. So go ahead and experiment as much you want because there’s nothing wrong with trying new things.

About Author
Rachel Noël is a professional photographer and videographer from the UK with over 10+ years of experience. Rachel specializes in Underwater, Tavel & Portrait photography among other areas.
