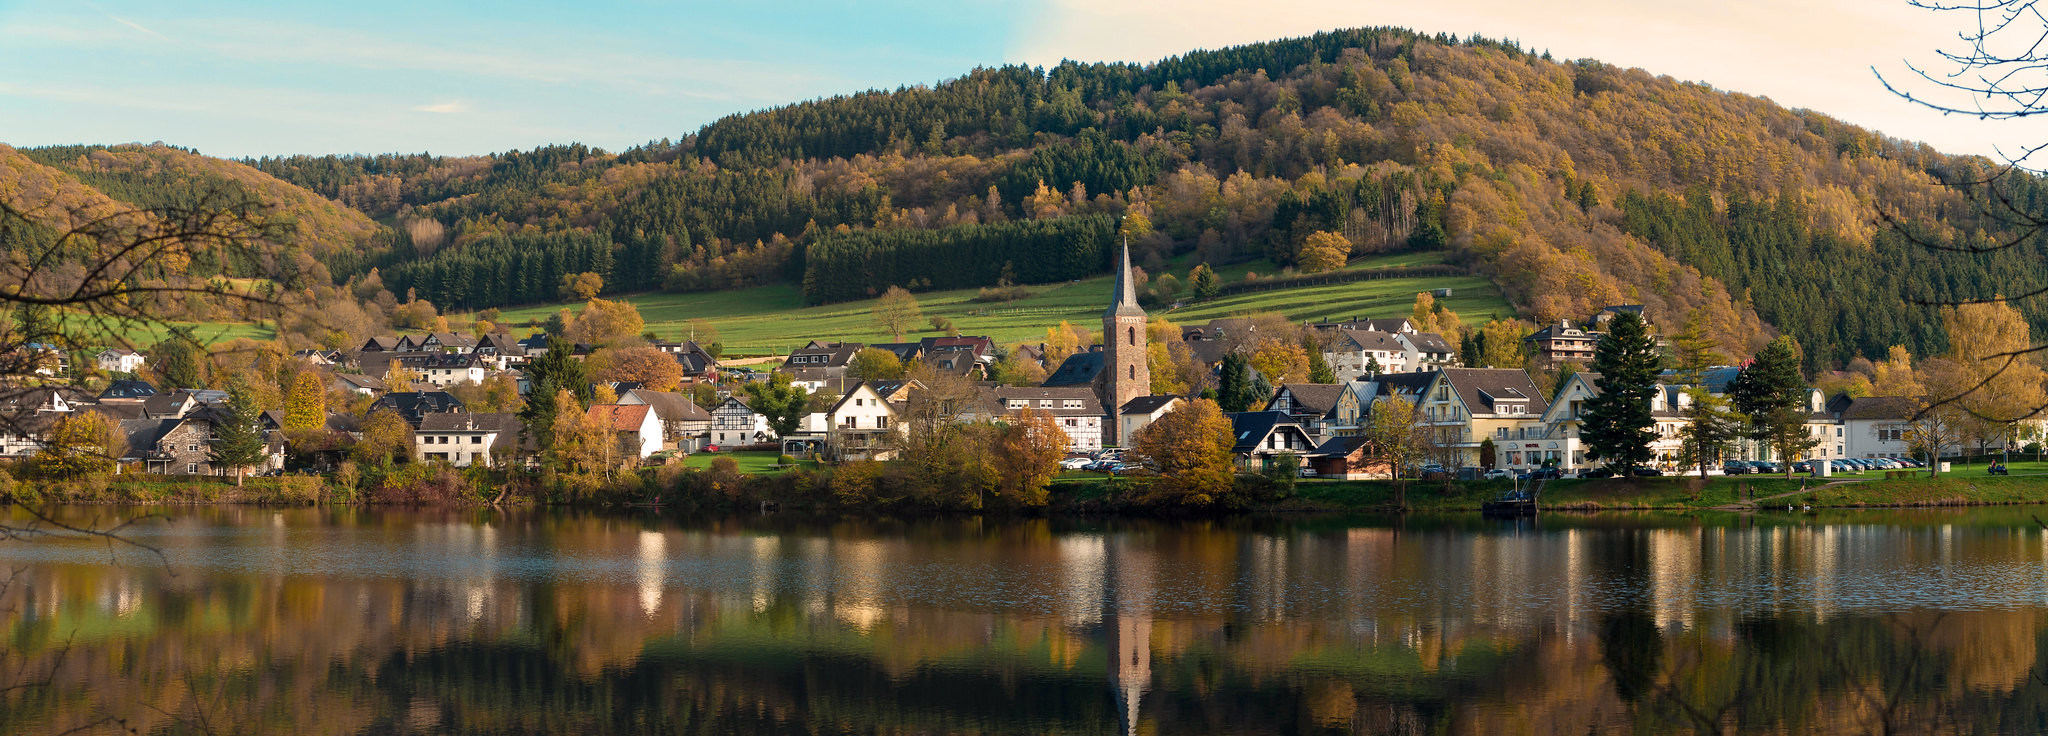
Whether you’re completely new to landscape photography or you’re highly experienced, there is always a way to improve. This ultimate photography field guide will provide a few tips to help you out.
Contents
- Preparation Is Key
- Choose A Focal Point
- Capture Movements In The Landscape
- Depth Of Field Should Be Maximized
- Avoid Using Filters All The Time
- Shoot Near Sunset And/Or Sunrise
- Use A Tripod
- Single Captures: Don’t Rely Solely On Them
- Analyze Other Photographers’ Work
- Use The Right Lens
- Consider The Horizons
- Work With Weather Conditions
- Final Thoughts
Preparation Is Key
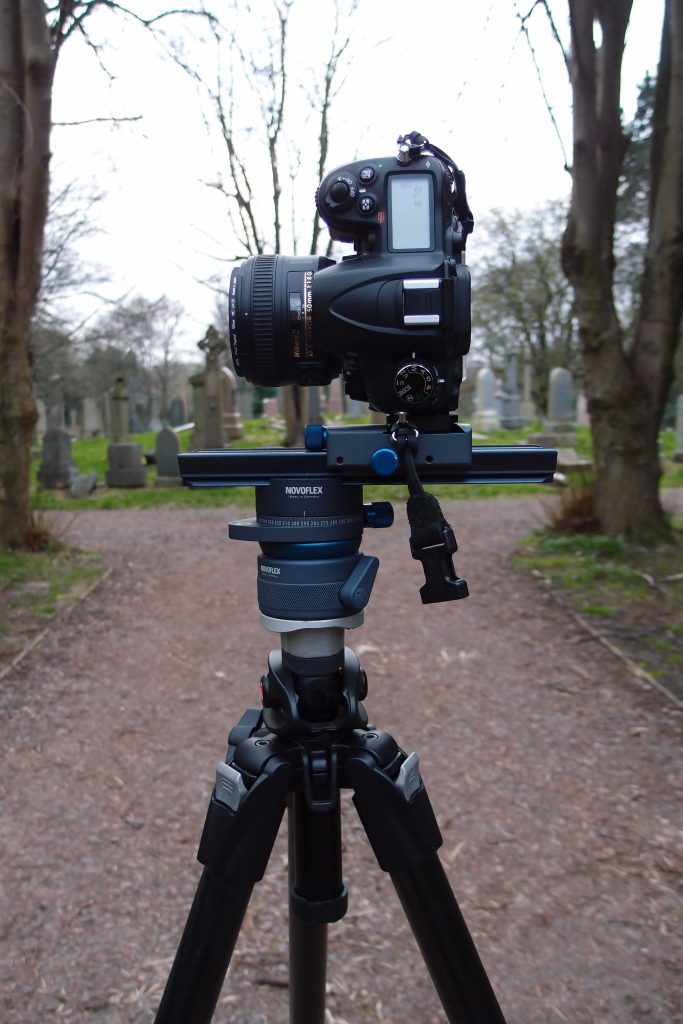
When it comes to taking amazing landscape photographs, it’s all about preparation. Preparation in landscape photography can be the difference between high-quality landscape photography photos and mediocre pictures. A few preparation tips include:
1. Become Familiar With Your Camera– Before you head out, get to know your camera. Regardless if you’re using a DSLR camera, your smartphone, drone or another device, become as familiar with it as possible. Generally speaking, spend at least 20-30 minutes getting to know more about your camera’s functions and features. Even if you’ve owned it for a while, then chances are there are more things to know about it.
2. Research Your Destination– If you’re going to an area you’re not too familiar with, then do some research on it before you leave. Look for things such as points of interest. Here’s another tip: you can look on Google Maps to get an idea of what the landscape looks like, that way you can start envisioning what kind of pictures you’d like to take when you arrive at your destination.
3. Scout Your Destination– Something you should be doing from now on is scout your destination beforehand. Ideally, you should scout it out several times before you start taking the “real” shots. If you’re already at the location and ready to take pictures, then you can still quickly scout the immediate area to see if there are opportunities to snap good landscape photos.
For instance, if you’re in a mountainous area and the sun is about to set, then you can scout the immediate surroundings. You might find that there is a small hill nearby that allows you to photograph the landscape in a unique way.
Choose A Focal Point
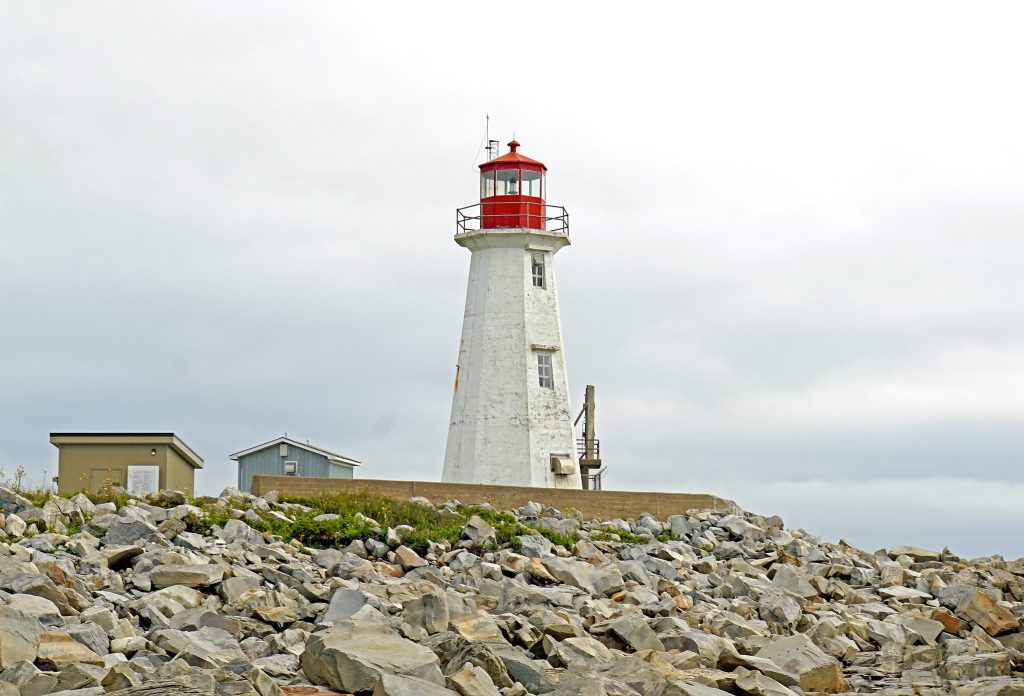
Camera Settings: Aperture ƒ/11.0 – Focal Length 47.0 mm – Exposure Time 1/200 – ISO 100
Image Credit: © Dennis Jarvis/CC BY-SA 2.0
Landscape photography should involve focal points. Do not make the mistake of just snapping any old area because you’ll miss out on a ton of potentially great shots. Not only that, but not having a focal point will result in photos that make the landscape look completely empty, dull, and boring.
The good news is there are lots of different objects you can choose to serve as a focal point. This includes buildings, trees, rock formations, or any other kind of structure for that matter.
Once you have chosen a focal point, decide where that focal point should be in your photos. By doing this small thing, you’ll drastically improve your landscape photography skills.
Capture Movements In The Landscape
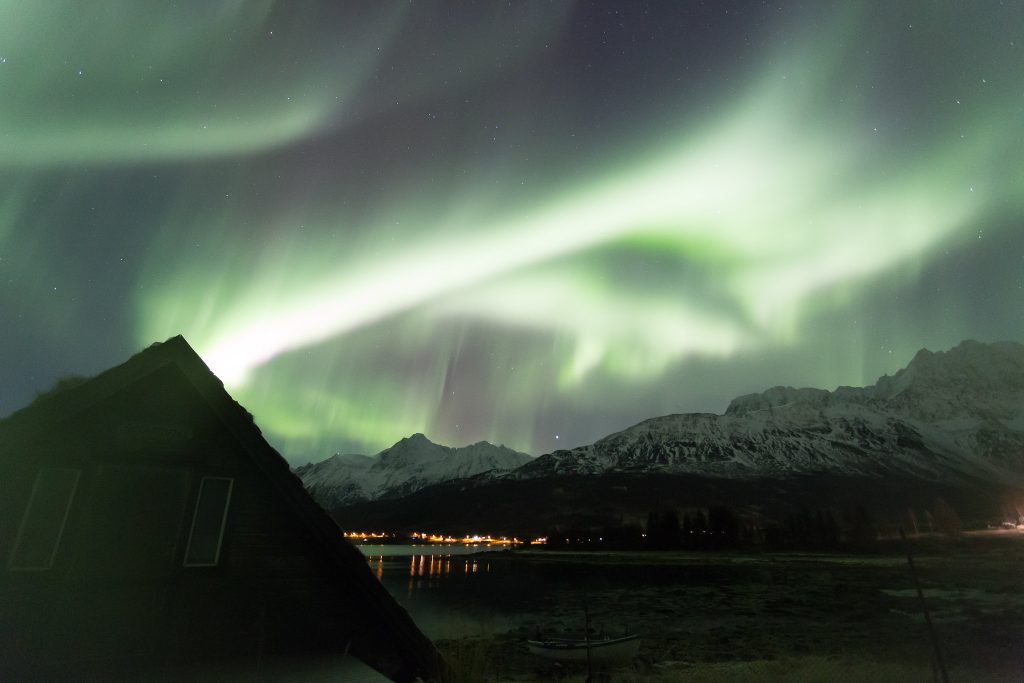
Camera Settings: Aperture ƒ/4.0 – Focal Length 19.0 mm – Exposure Time 4 – ISO 6400
Image Credit: © Anup Shah/CC BY-SA 2.0
You might be thinking that there aren’t any kind of movements when it comes to landscape photography. However, the majority of landscapes are not completely still at all times. If you can work on capturing even the slightest movement in your landscape photos, then you’ll add both mood and drama to them.
Conveying movement in landscapes is easier than you think. For instance, are there waves or flowing water nearby? How about trees blowing in the wind or birds flying in the distance? Are there moving clouds? If so, then you can photograph these movements. Bear in mind that a longer shutter speed will usually be needed if you want to photograph such movement.
Depth Of Field Should Be Maximized
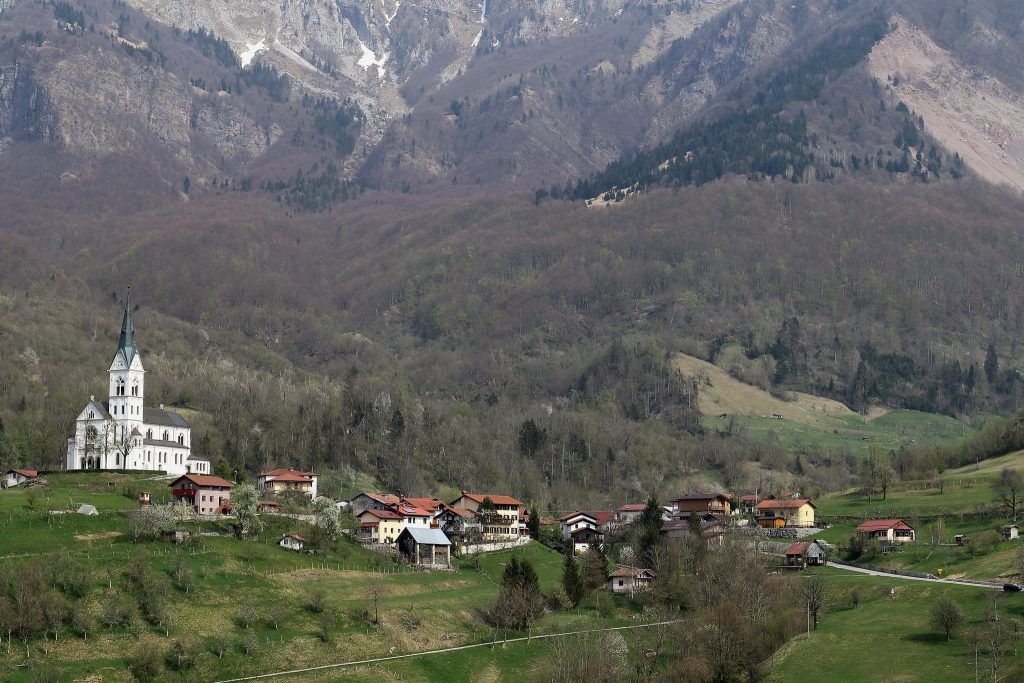
Camera Settings: Aperture ƒ/7.1 – Focal Length 50.0 mm – Exposure Time 1/1000 – ISO 320
Image Credit: © Lorenzo Leonardo Magnis/CC BY-ND 2.0
When it comes to landscape photography, you want to maximize your depth of field. What this means is you want to bring as much of your scene (landscape) into focus as you possibly can.
The easiest way to bring your scene into focus is by using a small aperture setting on your digital camera or device. Since you’ll be choosing a smaller aperture, you’ll want to lengthen your shutter speed or increase your ISO. This is because not much light will be hitting your image sensor.
Avoid Using Filters All The Time
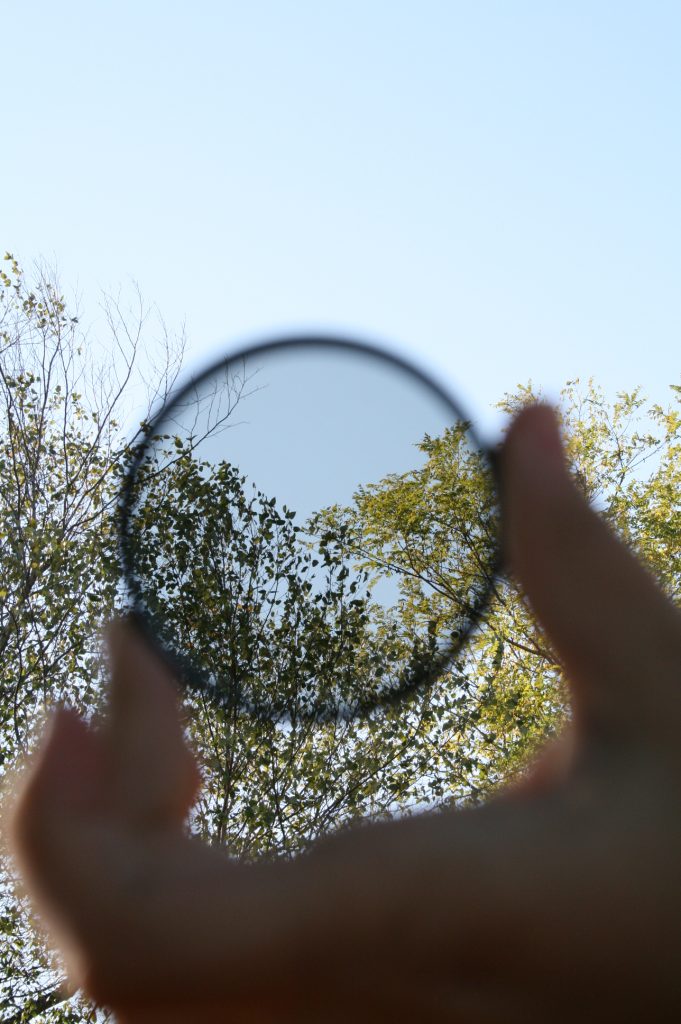
Too many people have a habit of using filters during landscape photography shoots. You want to do your best to avoid using filters all the time because filters usually create soft images. Not only that but sharpness is often reduced as a result of using filters.
If you use filters for effects, then by all means continue to do it. However, take duplicate pictures without using a filter. As time goes by, you’ll start taking better pictures and you won’t need to use filters as much as you used to.
Shoot Near Sunset And/Or Sunrise
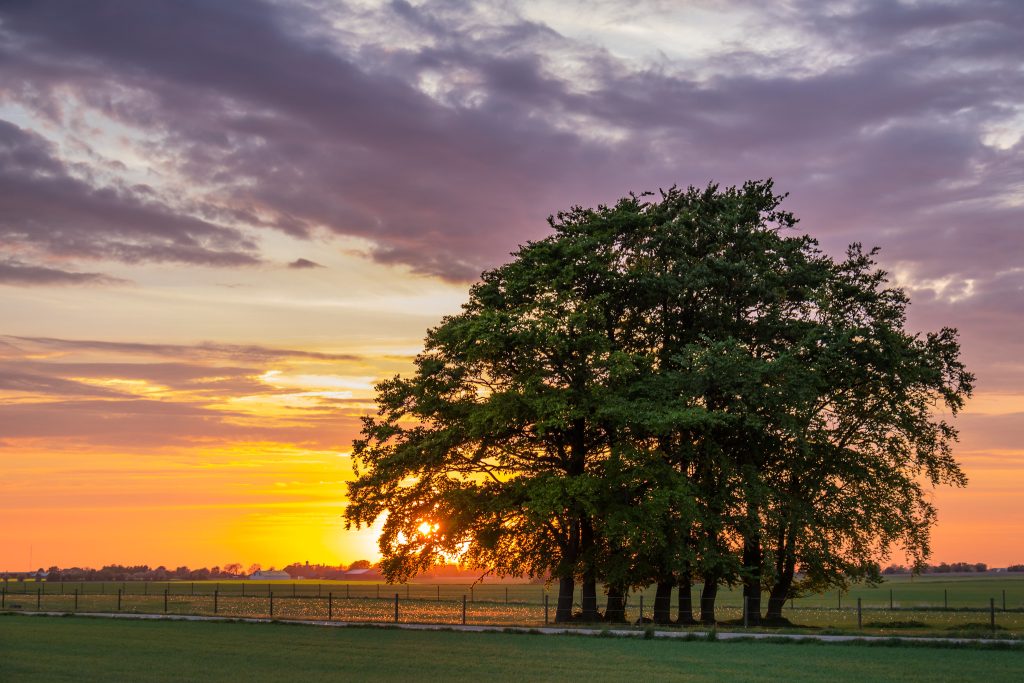
Image Credit: © Susanne Nilsson/CC BY-SA 2.0
For more balanced exposure, you should shoot close to when the sun sets or when the sun starts to rise. Shooing during midday often results in pictures that have too much contrast. Not only that, but you’ll struggle to capture key details in the landscape.
Here’s a tip: get to your location before the sunrises and start snapping pictures of the landscape as the sunrises and within 20-30 minutes of the sun rising. Do the same thing when the time nears for the sun to set. Don’t forget to take pictures as the sun is setting, and then spend another 20-30 minutes taking pictures after the sun has set.
Use A Tripod
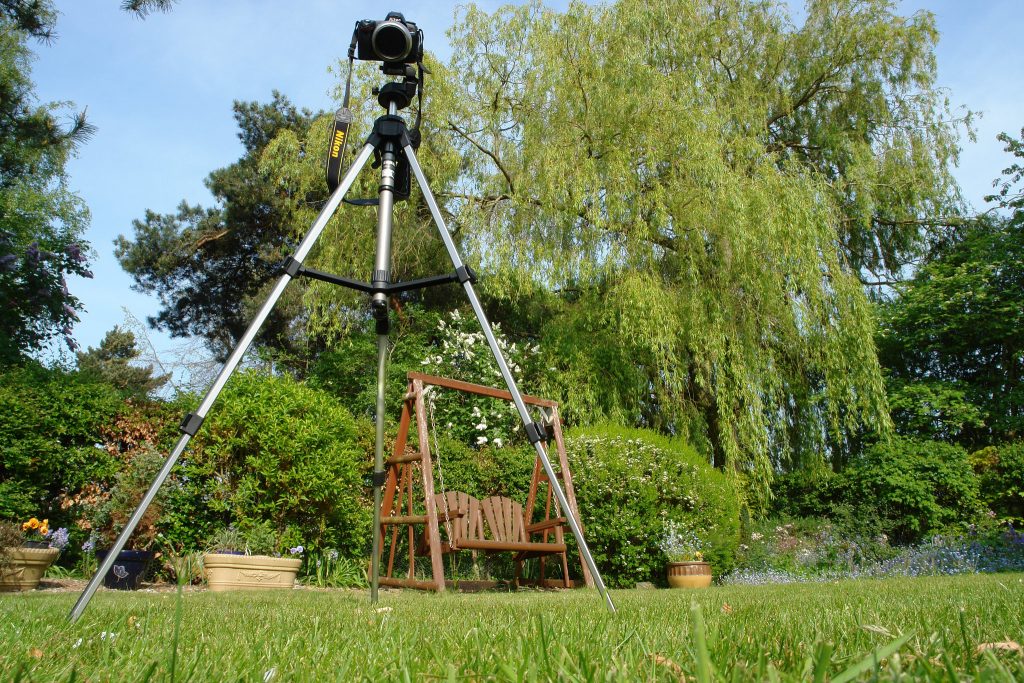
Start using a tripod if you currently don’t use one. A tripod can improve your landscape photography skills by preventing blurriness in your photos. For instance, blurring can occur when a camera’s shutter speed becomes too low.
Another reason why a tripod can improve your landscape photography skills is that it offers stability in all sorts of climates. Be it a slightly rainy day or during a gust of wind, a tripod will help you snap still images of the landscape you’re taking photos of.
Single Captures: Don’t Rely Solely On Them
Lots of landscape photographers tend to solely rely on just one capture to help them create their images. Instead of doing that, you should try 3-4 different exposures. Later on, when you go to edit your photos, you can stack those different image exposures together. Play around with blending the exposures and eventually, you’ll create good landscape photos.
Analyze Other Photographers’ Work
Camera Settings: Aperture ƒ/1.6 – Focal Length 4.2 mm – Exposure Time 1/4800 – ISO 32
Image Credit: © Susan Ruggles/CC BY 2.0
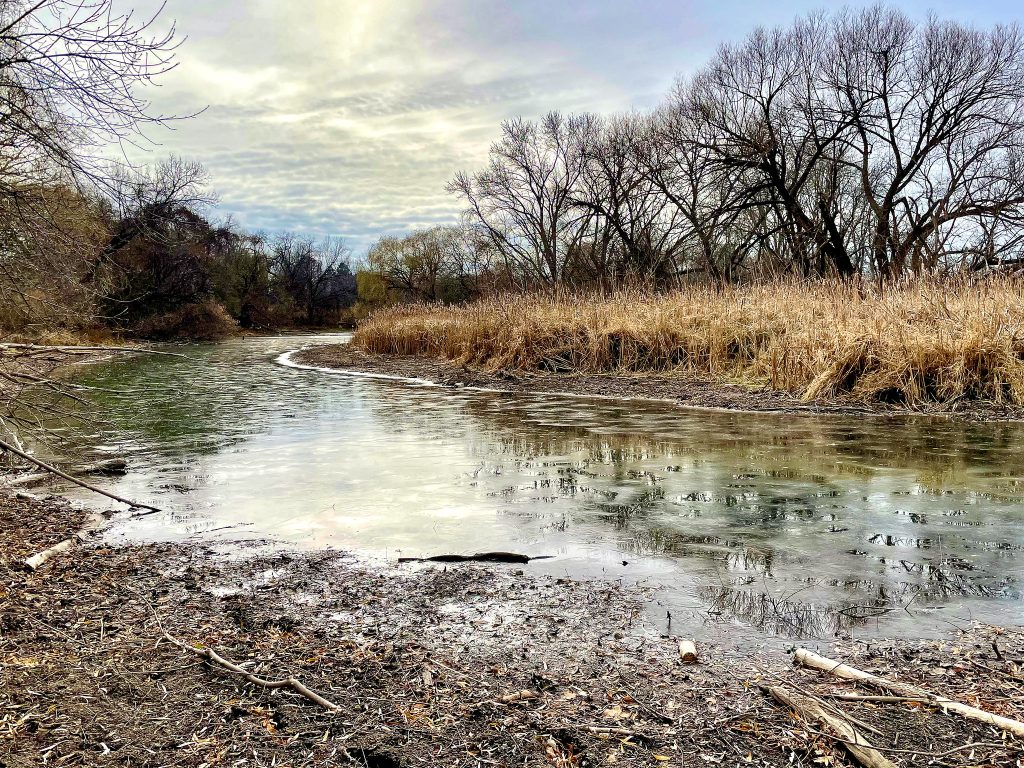
A good way to improve your landscape and nature photography skills is to carefully analyze other photographers’ work. There are many talented landscape photographers out there, so take time to find a few on YouTube, blogs and social media. Find at least several landscape photographers and analyze their pictures at least a few times per week for a few weeks.
When looking at others’ work, ask yourself why you are drawn to specific photos and why you love certain features. Analyze the colors in the photo, too. The key is to take a long hard look at everything in the photos you’re analyzing.
The more you analyze other photos, the more inspired you will become and you’ll be able to apply what you’ve learned from analyzing others’ work.
Use The Right Lens

Image Credit: © Alick Boych/CC BY-ND 2.0
You might be surprised at how easy it is to make an improvement in your photography skills simply by choosing the right lens. Everyone has their opinions on which lenses you should use for landscape photography, but there is an easy way to find and choose the right one.
Consider what your top goals in landscape photography are. Once you’ve figured this out, you can start searching for lenses that align with those goals. Features you’ll want to look for in a lens include things like filter capability, the focal length and overall weight.
Consider The Horizons

Image Credit: © iPhotography/CC BY 3.0

Image Credit: © iPhotography/CC BY 3.0
This is a basic tip, but so many people disregard it as time goes by. If you’re serious about improving your landscape photography skills, then you need to consider the horizons. There are two main considerations, with the first one being whether or not the horizon is straight. Sure, you can always go back and edit your photos to make your images straighter. However, it’s far easier and more effective to ensure the horizon is straight right from the start of the shoot.
The second consideration is the position of the horizon in the frame. Generally speaking, you don’t want the landscape positioned in the middle of the frame. Experiment by positioning the landscape in other areas of the frame, and not just in the center of the frame.
Work With Weather Conditions
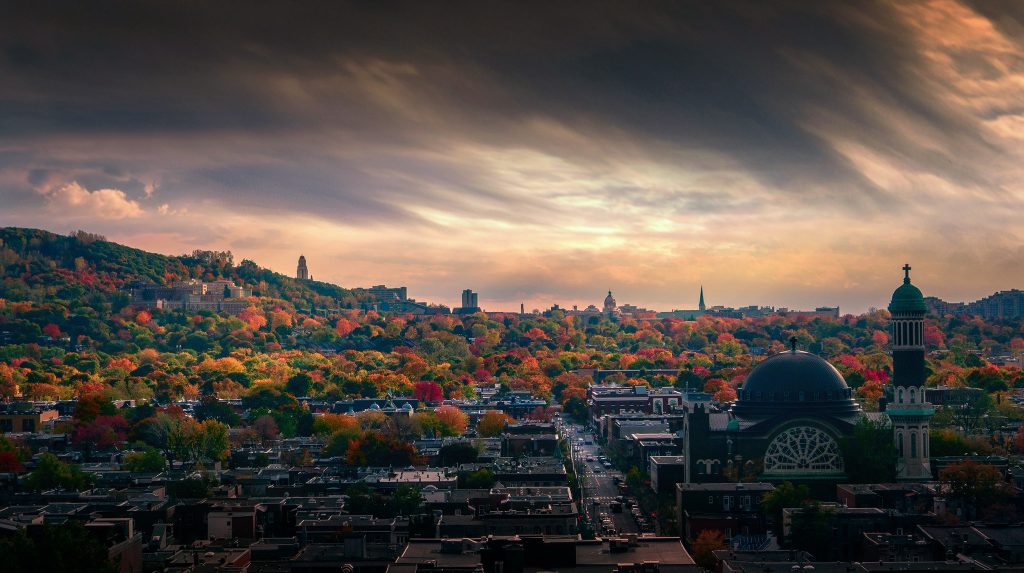
Image Credit: © Chris A/CC BY 2.0
Don’t get discouraged when shooting during unpredictable climates. Even if you choose a very nice day to shoot, there’s always a chance the climate could change. Always be willing to work with various climate conditions.
For instance, if it starts to get windy out or clouds start to form, then be quick to incorporate those in your images. The same goes for rain, mist and even rainbows that might appear while you’re shooting. The bottom line is weather conditions can be used to create images with dramatic effects.
Final Thoughts
Keep the above tips and advice in mind if you want to improve your landscape photography skills. Remember, consistency and practice are key. The more photos you take and the more practice you get, the more stunning your images will look. All you have to do now is choose a subject and start shooting.

About Author
Connor Kovack is a Los Angeles based professional photographer & videographer with over 6+ years of experience. Connor is CEO of KovMedia and specializes in Music Videos, Commercials, Photography & More.
