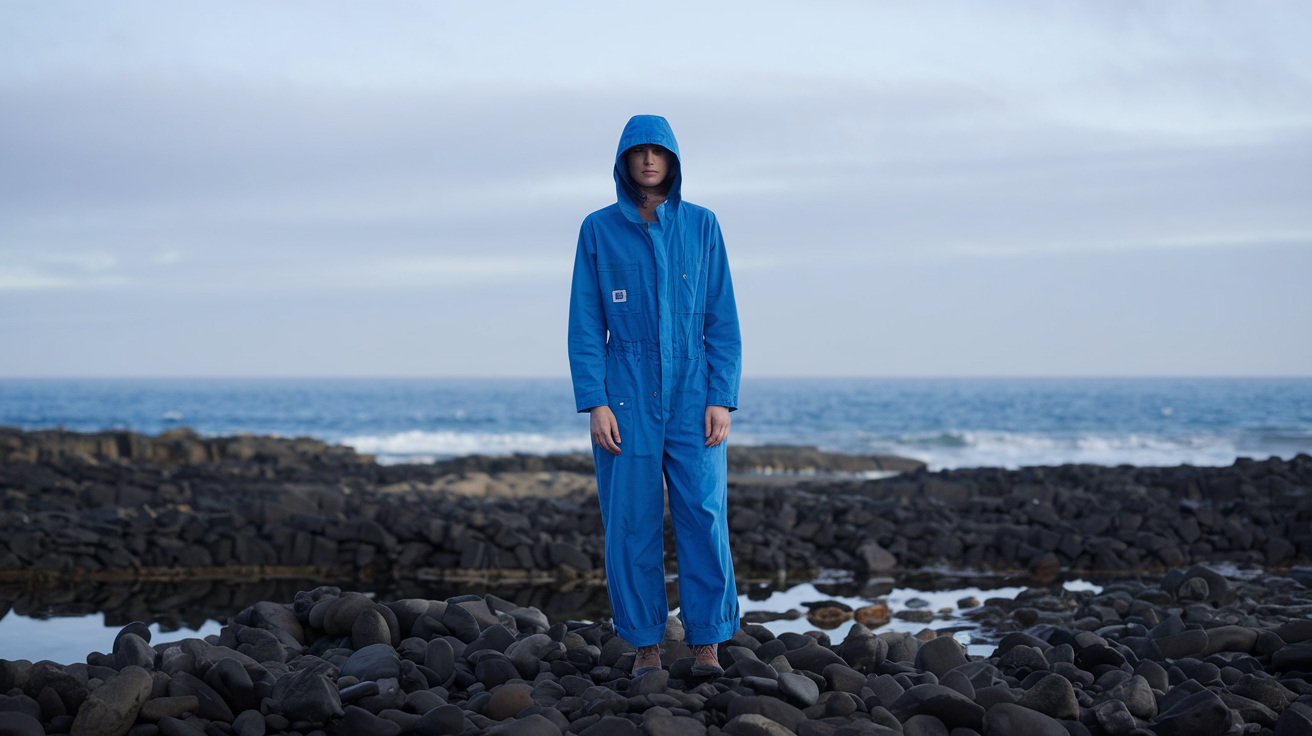
Spicing up things with creative fresh photoshoot ideas is always a good thing. However, having the same recurrent thoughts when thinking of photoshoot ideas can make you feel stuck.
We understand how it can be pretty challenging to constantly generate fresh creative photoshoot ideas that will wow your audience and creates attention for your work. It is an issue many photographers face.
Sometimes, we reach a point where our creativity begins to wane, which happens to even the most gifted photographers.
Nonetheless, we got you covered. In this article, we have put together a collection of inspiring creative photoshoot ideas to assist you in planning your next photoshoot to make it completely original and unlike any other.
It is common for photography inspiration to strike in the strangest places, and it does not always have to be a tribute to legendary photographers like Paolo Roversi. Unexpected places often harbor fantastic ideas and may help you develop magnificent concepts for your photoshoot.
Scroll down to explore some of the best photoshoot ideas you will definitely love.
Contents
- Representing Something or Standing for a Cause Photos
- Focus on Hair Photos
- Use Photoshop to Change Your Portrait to a Zombie Photo
- Reflections in a Puddle of Water
- Neon at Night Photos
- Your Job Can Also be a Photoshoot
- Vintage Cowgirl Theme
- Newborn Photography Photos
- Shoot with Plants Photos
- Motion Blurr
- Photos That Look Like Paintings
- Portraits of Athletes Using a Fisheye Lens
- Fake Natural Light Portrait Using a Flash
- Dramatic Portraits in the Rain
- Fun Portraits Using Blacklight Body Paint
Representing Something or Standing for a Cause Photos
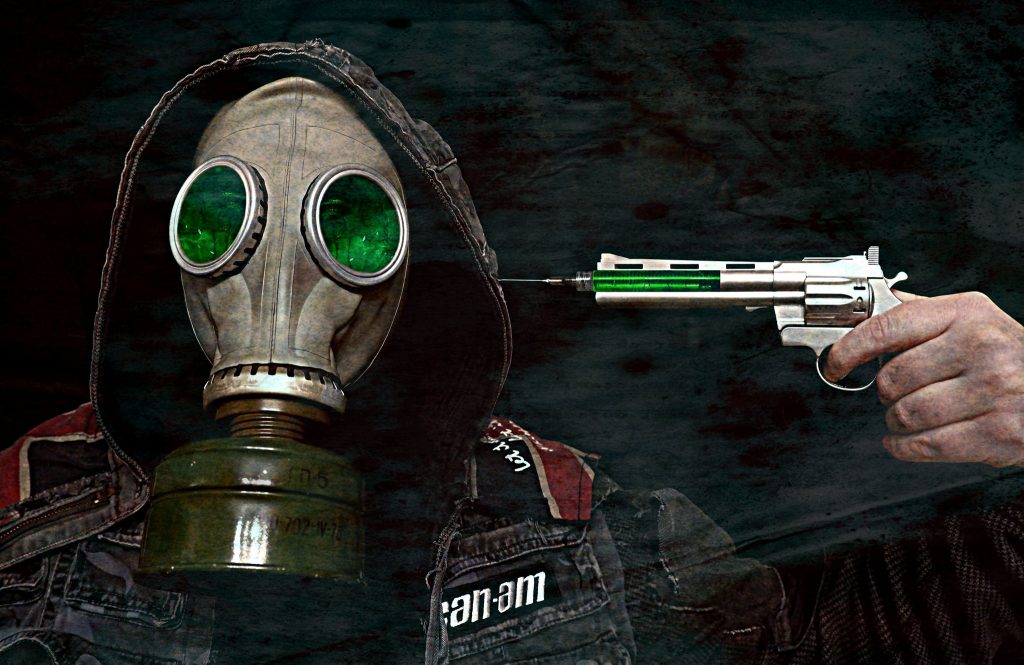
It is rare to find creative & amazing photography inspiration & photoshoot ideas that social or political themes have driven. One reason is that many photography enthusiasts think that there is nothing ambitious and attractive about addressing socio-political matters.
It is also fueled by the fact that the majority of photographers have a fixed outlook of what fashion should be.
It should not be this way, especially considering that apart from movies, no other type of media receives interest and recognition like photography.
While we understand that many fashion photographers join the venture because it comes with the thrill of expressing one’s creative side. Don’t you think that powerful photoshoot ideas about standing for something while still making some good art are just as cool?
Focus on Hair Photos
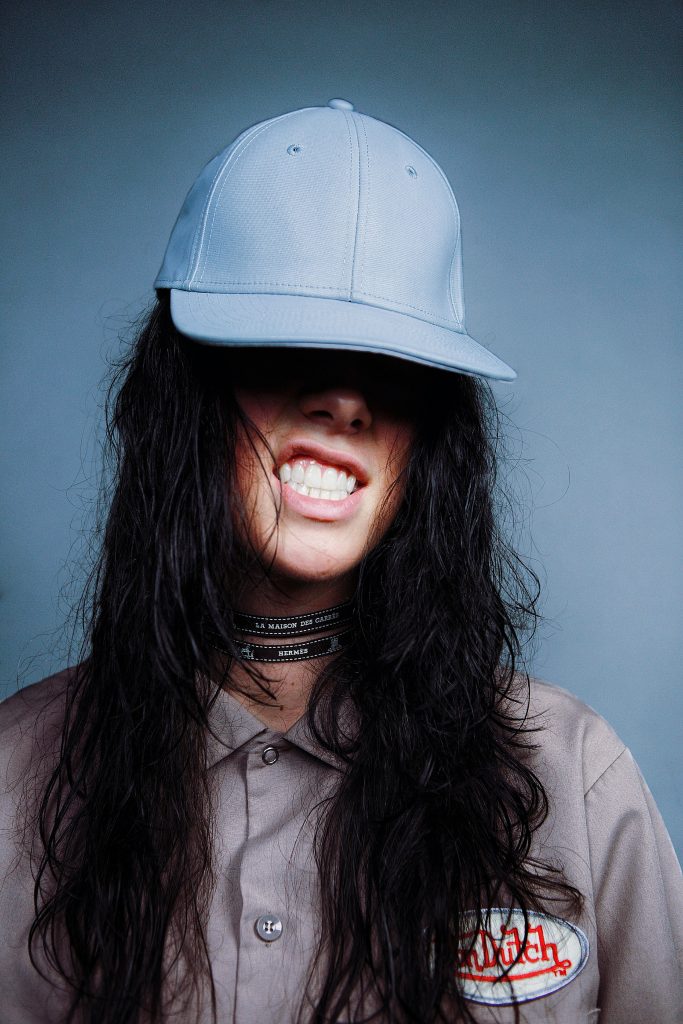
This is a simple home photoshoot idea that’s perfect for shooting indoors. Instead of concentrating on the makeup and the dressing in your next photoshoot as everyone does, in this shoot how about you shake up things and have a session exclusively focusing on hair?
Leave you or your subject’s mane to express itself and do all the talking, instead of the weird and inconvenient poses many often take.
To make it even more original, you can blend your model’s tresses to some random items discovered in your scene’s surroundings. It is an idea that many have not yet explored despite its great potential, considering how versatile and different hairstyles are across various cultures.
Give it a try, and the results will get you exploring it many other times.
Use Photoshop to Change Your Portrait to a Zombie Photo
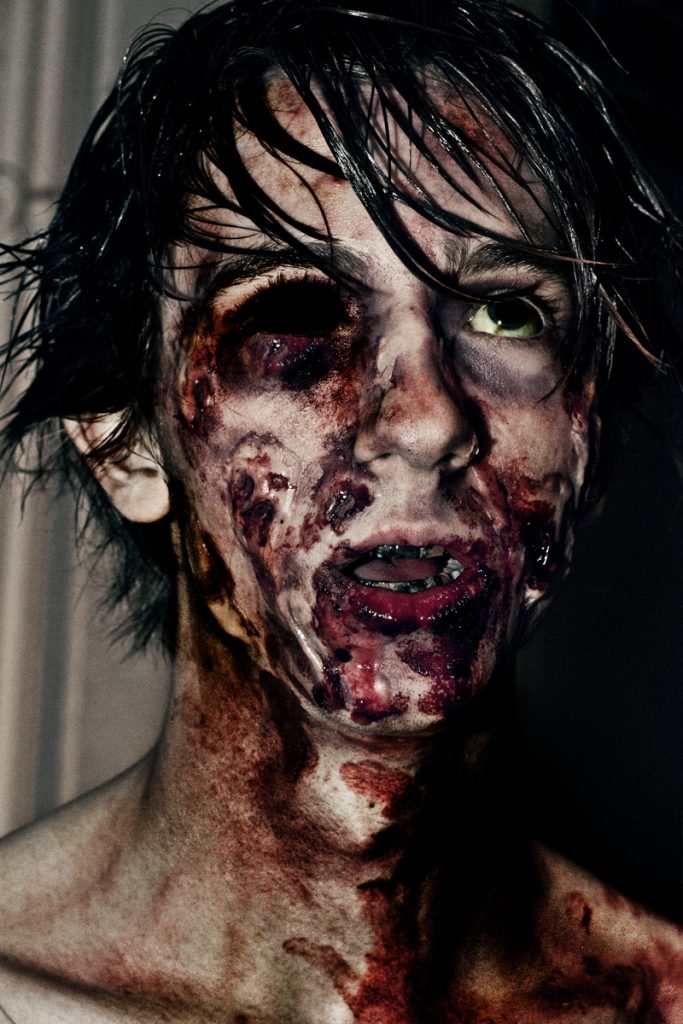
It is clear that zombies will always be a present analogy in popular culture especially when it comes to favorite photoshoot ideas. Prosthetic makeup is frequently supplemented with digital aspects in modern films and television shows, allowing zombies to lose body parts without the need for amputee performers.
Now, with the prowess of Photoshop’s editing tools, we can make our friends and families look like zombies without the use of costly prosthetics. Also, our models will not be sitting for long hours applying makeup to look like zombies.
Below are some creative photography tips to follow on achieving an effortless zombie look using Photoshop and its pixel-warping Liquify tool.
Adjust Your Skin Tone
On your settings, go to Layer, New Adjustment Layer, and then Hue/Saturation. Click the toggle menu and drop down to Reds, and then set the Hue to +30. Reduce the Saturation of the Reds to -16 for a paler pallor.
Next, create a different Hue/Saturation Adjustment Layer at the beginning of the stack and then adjust the Hue of the Yellows to +20.
The next step is to decrease the Yellows Saturation to –10 and then finalize the process by dropping the layer’s Opacity to 75%.
Make the Cheekbones More Defined
Start by clicking on the skull layer. Then click the Add Layer Mask icon at the last part of the Layers Panel. Next, on the brush tool, select a soft round tip from the Brush Preset options and adjust the Size to 300.
Next, select black as the color of the brush’s tip and click on the White Mask of the skull layer.
Finally, to give the face a more skeleton appearance, spray over most of the skull to obscure it, but leave the cheekbones protruding out.
Create a Flaking Texture
Go through the flaking paint textures and click the one you like. Next, pick a section of the wall and some flaking from close to the top quarter of your photograph using the Freehand Lasso tool.
Go to Edit, copy what you have selected, return to Edit, and paste it into the project you are doing. Click Edit again and click Free Transform. Rotate the cracked wall by 126.6 degrees, Scale W to 77.75%, and H to 87.60%. Finally, press OK to apply the changes to your project.
Getting Bloodshot Eyes
On the individual’s eye, click and paste a portion of your cracked paint texture. Go to Blend Mode and set it to Multiply.
To limit the ‘veins’ to the eye, use the Eraser tool or a Layer Mask. Then navigate to Image Adjustments and then Hue/Saturation.
Check the box labeled Colorize. Adjust the Hue to 360 and the Lightness to +23. Confirm the changes by clicking OK.
Reduce Some Weight
Start by selecting portrait photography. To make the zombie look like it has been starving for days, choose Filter and then Liquify.
Now go to the Forward Warp tool. In the Options given under the Tool, adjust the Density to 50 and Brush Size to 400.
Then select and drag the tip of the brush to make the sides of your subject’s face cave a little inward, making the subject look like they are starved.
Then click OK to confirm the transformations.
Reflections in a Puddle of Water
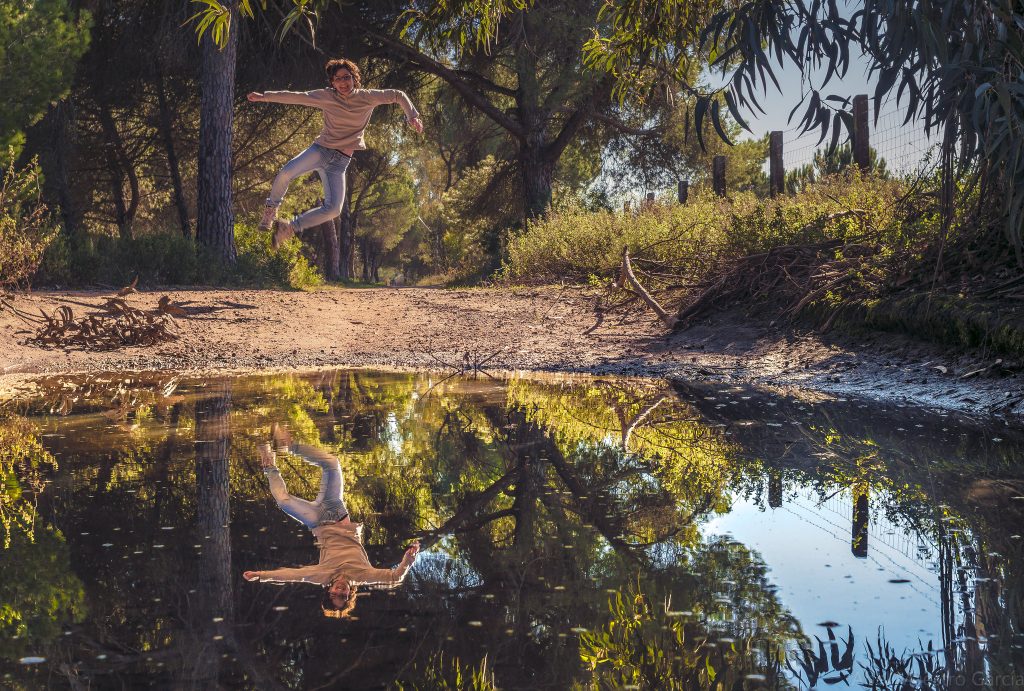
Water is a natural mirror, especially on black pavement. It gets better on brighter days with natural light, particularly if the rains have been hitting hard.
The reflections can even give a natural double exposure look in your photography if you hit your angles correctly. This offers some spectacular stunning photos and outdoor home photoshoot ideas. Just think about the perfection of the picture.
Imagine the effect of you or your subject posing between the sky above and the reflection of the sky beneath.
If you can’t manage to find a large enough pool of water, a little puddle will work. Simply position yourself low enough to create a sense of distance, and your small pool of water will appear as big as a lake.
Neon at Night Photos
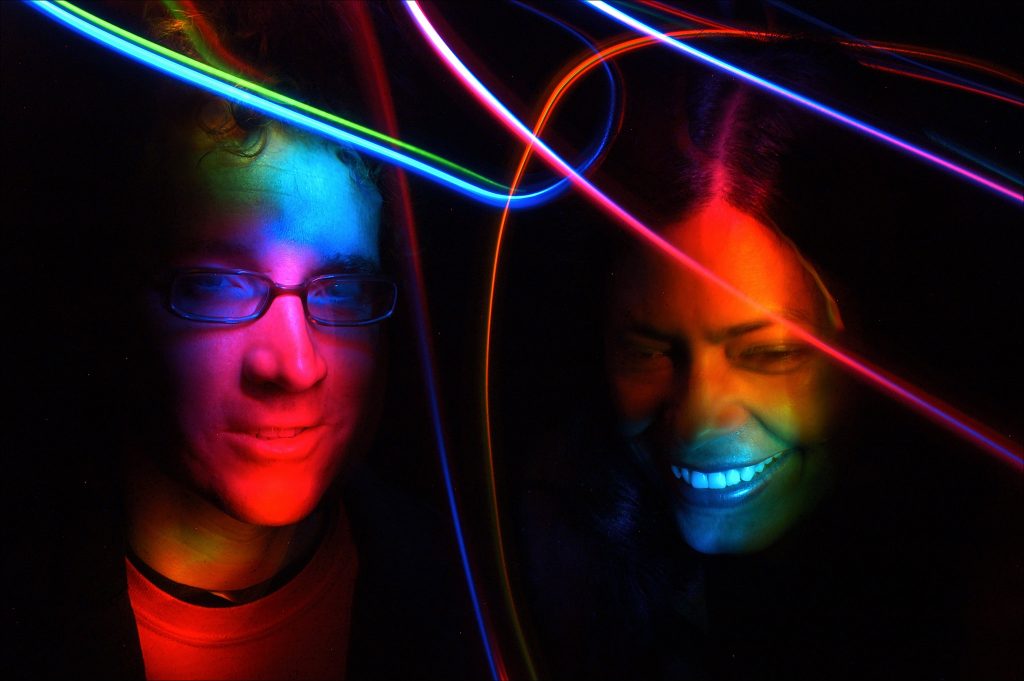
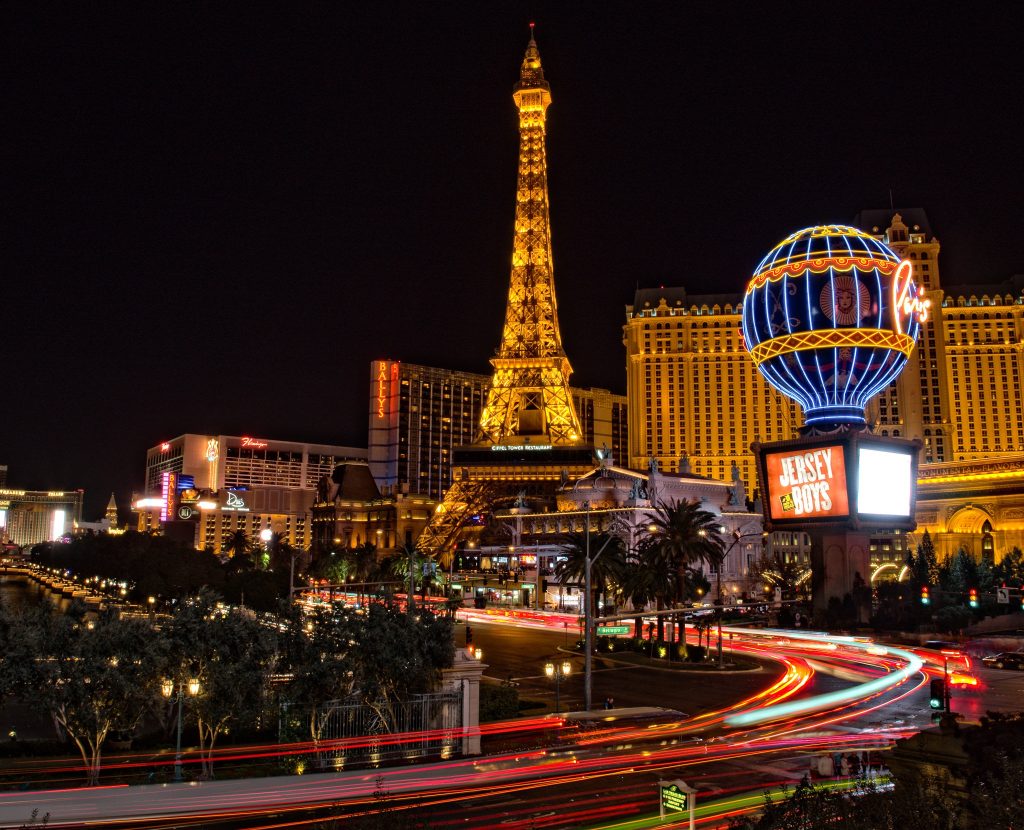
When the sun sets, the brilliance of creative artificial lighting may dramatically enliven your photography images in ways you’ve never seen before. You can capture some of the best photoshoot ideas such as neon-lit, spectacular Blade Runner vibe in-camera with the proper low-light portrait photography techniques.
You can give a shot at these photography tactics on your own by gathering up with like-minded friends or even renting a model, as long as you remain roughly two meters away from the subject.
Set a Custom White Balance
Going to your camera’s settings and adjusting the white balance to your preferred setting is a simple way of giving your images a whole other look.
For example, if you’re capturing a ‘genuine’ white neon light, this will cool it down and give it a bluer appearance, or warm it up and give it a yellow appearance.
Of course, if you capture or record in Raw image format, you can make the adjustments in the post-processing.
Try different HSL settings
When photographing a shoot with neon lights, adjusting the color schemes with the HSL Adjustments window, which is also present in Adobe Camera Raw, is an integral part of the editing process.
This interface simplifies the process of changing the shade, saturation, and brightness of each color channel to achieve a completely different look, so give it a try if you haven’t already and experience the changes.
Use a Flashgun to Fill Up The Shadows
In photography, neons produce vivid colors in images, and using a flashgun off-camera can inject a little fill. Unless combined with colored gels, the light from the flash is white.
It helps brighten the subject and prevents them from looking dark without changing the colors.
Flash Gels
Flash gels might seem like some uninteresting pieces of equipment to examine. They are basically clear strands of translucent plexiglass that have color. However, using one or more of them on flashguns unfolds a whole new realm of creative home photoshoot ideas & possibilities.
They are unbranded gels that you can purchase online for a low price.
However, they will make a significant impact on the colors of your images.
Reduce The Brightness
When operating in low-light situations, staring at a bright camera screen might cause your vision to deteriorate. The LCD Brightness option can be accessed by going to the Settings area of your camera’s menu, which is indicated by a spanner symbol.
After that, reduce the brightness to a low value, such as 1 or 2. Effecting this setting will make your eyes less tired at night.
Your Job Can Also be a Photoshoot
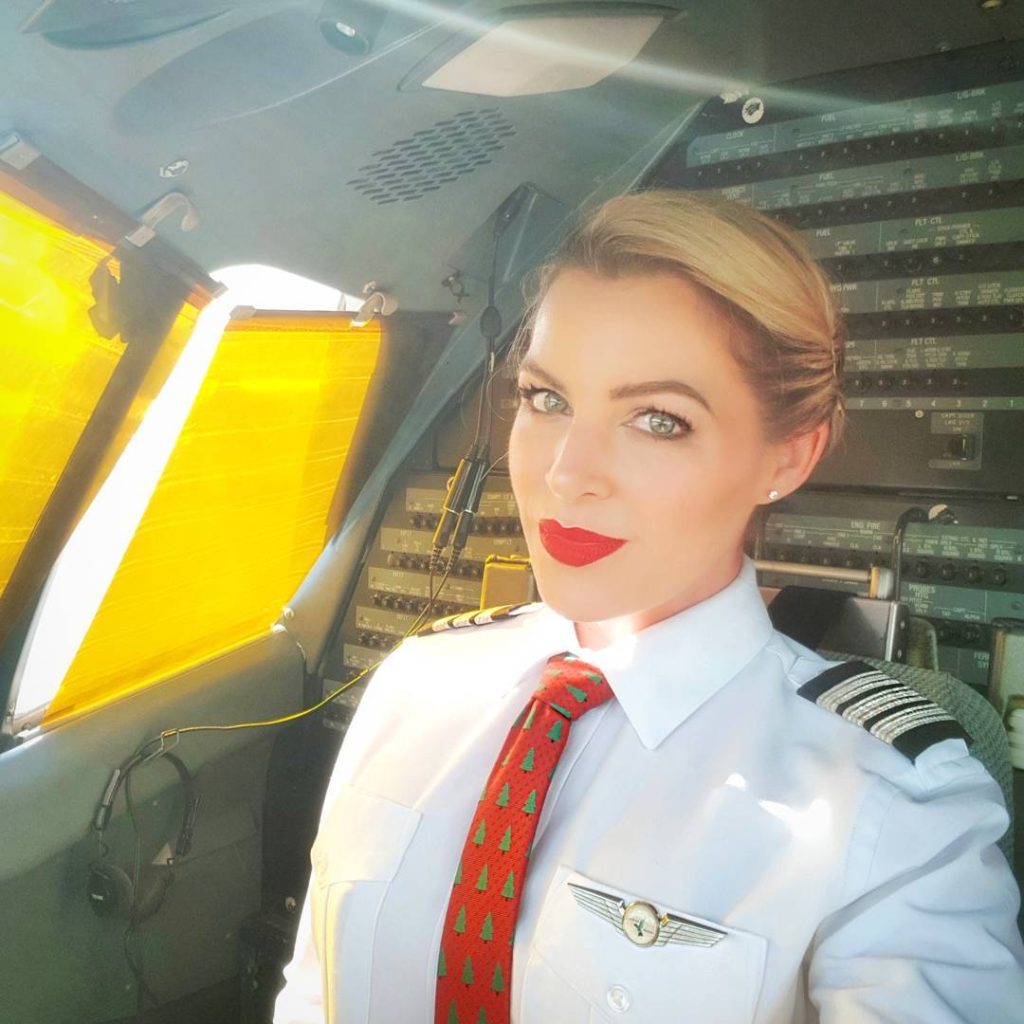
It is a fact that many people do not really enjoy their job occupations and would not really consider photoshoot ideas such as staging a photography session to document their life and activities at work. And yet it is precisely why this photography concept is fantastic because no one is expecting it.
But if you get creative and think outside the box, your occupation would actually make an excellent topic for a photo series.
Our workplace is where we spend most of our time and has the potential to generate many photoshoot ideas. Your characters may play unhappy company employees, a quirky researcher imprisoned in her research facility, a pilot, or even fashion bloggers in relaxed poses.
Alternatively, you may devote a photo session to haute couture and have the photographer as the main focus of the shot.
Vintage Cowgirl Theme
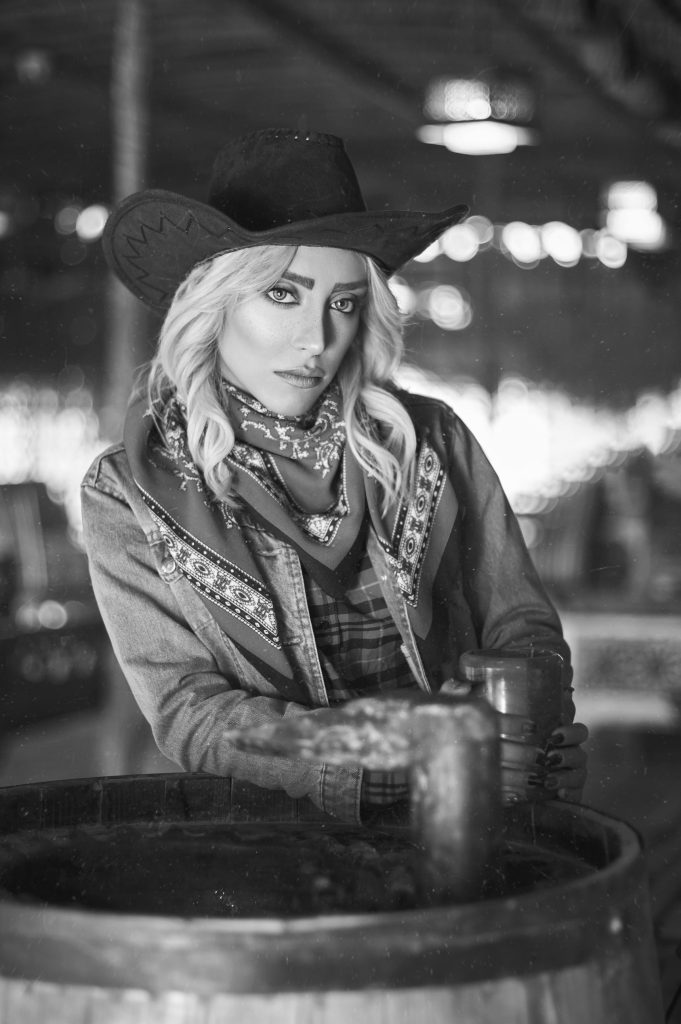
Isn’t this one interesting and enjoyable theme? It is a fun & creative portrait photography idea. Unlike other photoshoot ideas, very few would anticipate you coming up with such a theme (unless you lived in texas).
The reason it is not a very popular photoshoot idea is that fashion photography is currently experiencing a minimalistic renaissance, and heavily styled sessions aren’t as prominent as they once were.
The good thing is that you are not a fashion sheep and do not have to be under everyone else’s opinion. You might as well be a fashion wolf and decide to follow your way in creativity and versatility.
Take time to explore this cool theme and make your photo pieces cooler than the others.
Newborn Photography Photos
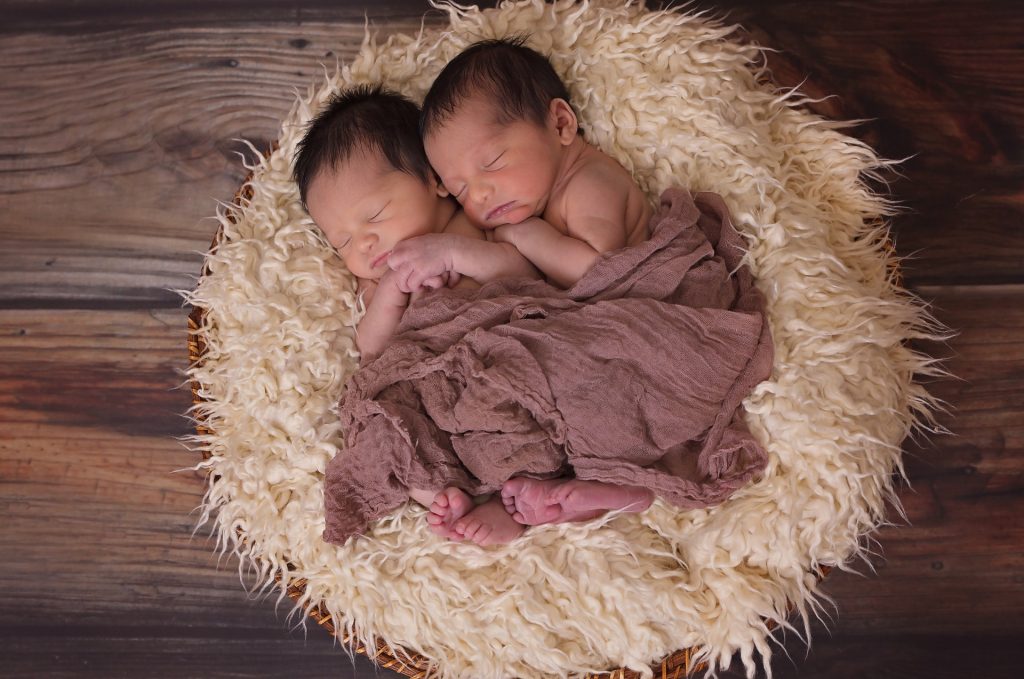
The popularity of creative infant photography and is at an all-time high with tons of home photoshoot ideas. It’s an excellent chance to record beautiful moments before they grow up, specifically if you’re alone at home with your baby.
Although most parents take photos with their phones, learning how to take studio-quality pictures like a pro is an ideal way to capture your more enjoyable shots. There are a few ideas & photography tips you should consider:
Use Your Studio Lights
This may come as a surprise, but studio lights are essential in making newborn photos a success. It is not uncommon to hear people saying you should not use flash or any studio lights with infants.
Because babies’ noses are so small, it isn’t easy to achieve a lighting pattern. However, a good lighting result can be achieved with the correct balance.
Set The Camera Mode to Manual
Having the camera on manual mode makes it easier to change the settings and adjust accordingly.
Prepare Well For the shoot
The importance of preparation for each shoot cannot be overstated. Preparing for the scenes properly will enable you to move the infant from one position to the next.
Start by ensuring that the camera to be used is in proper working condition and the memory cards have enough storage.
The props and other items like blankets and clothing to be changed should also be at an accessible place.
Shoot with Plants Photos
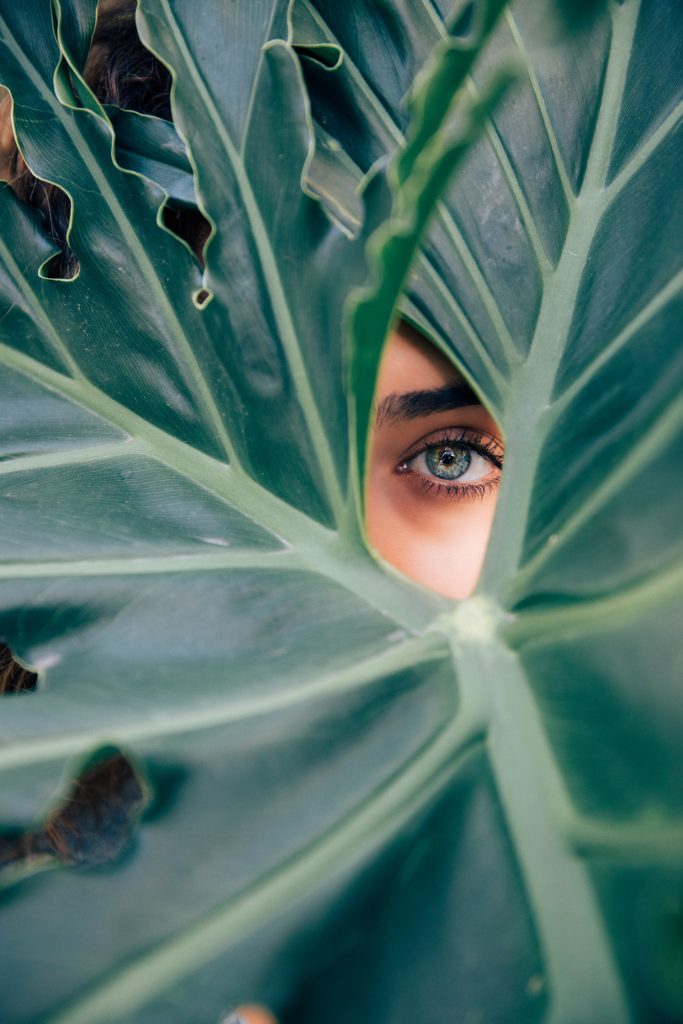
There are many creative & fun home photoshoot ideas you can do with a plant and including them in your next photo session is something you should consider. Get a large, attractive plant and come up with original and artistic ways for your subject to position it for a photograph.
A big plant can add a splash of color and intrigue to photographs. The good thing is that they are easy to locate, and you can find them positioned in many corners of your environment.
You are in good luck if you live in an area with big tropical plants as those make for a great scene when taking photos.
One more thing, the clumsier the model’s pose, the better the photograph. Try this if you are looking for something different.
Motion Blurr
The blur effect is an excellent creative theme for imaginative, philosophical, and instructional images & general photoshoot ideas. Photographing motion blur is one of many fun photoshoot ideas.
However, this photoshoot idea may not be very sensible if you don’t have something to express or a story to share. This shouldn’t make you overthink that every shot must be profound or philosophical.
A good source of action would be to take a photo of your subject standing stationary among the crowd from a bird’s eye view above a busy street on a cloudy day. There are particulars to consider for this specific concept when styling your subject.
For example, it is crucial to employ vivid, intense hues that aren’t commonly seen in people. Such colors include orange, hot pink, and yellow.
A more straightforward plan is to have your subject dance in the studio and capture her movements during the dance.
Photos That Look Like Paintings
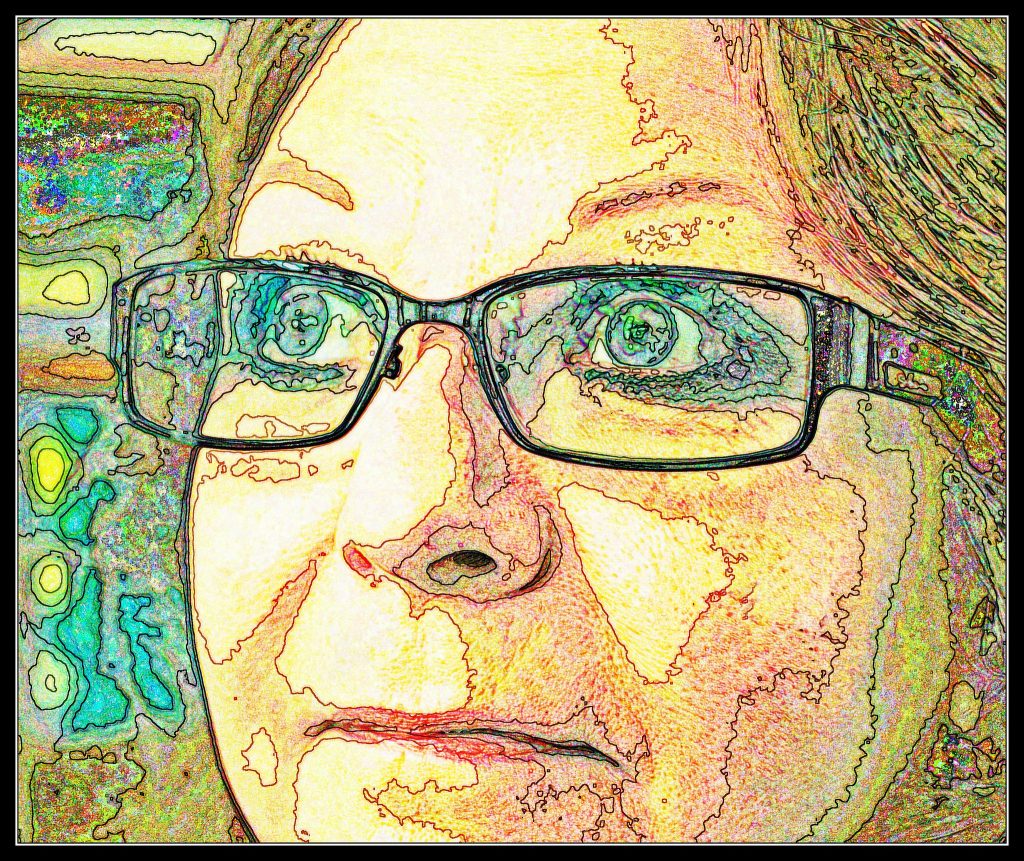
This idea might not have crossed your mind, but you should try taking portrait photography pictures and making them look like paintings. An example is when you export some old photos to Photoshop, and you put some filters like brushstrokes that will make the photograph have the appearance of a classic painting.
Well, you do not really need to have some exquisite computer skills to achieve such a portrait.
Using some basic approaches from legendary artists, we can come up with a basic plan to create painting-based home photoshoot ideas. The setup will comprise some cloth, a window, a model, and a backdrop.
The final product will be a creative portrait that resembles ancient Greek paintings in its texture and appearance. A widnow offers your shoot some subtle lighting that gently illuminates your subject.
The idea is to put your subject or model near a window, cover them in a cloth, and maintain them in the pose you want until you get the shot you desire. Some of the pointers to make this idea work include:
Camera Settings
For your aperture set it at f/5.6 or wider. To prevent a camera shake from happening, set the shutter to a speed that corresponds to your local length. For example, for a 50 mm lens, set the rate at 1/50 sec. It is also essential to adjust the ISO according to the requirements. However, if you need to reach an ISO higher than ISO800, move your camera nearer the window.
Windows
In the northern hemisphere, windows facing the southern direction will be the ones with the brightest light during the day. The reverse is also true for the southern hemisphere. A successful tactic on both clear and rainy days is that the bigger the window, the softer the light.
Your Location
Place your model a few feet away from the window. If you go much farther, the light falloff will be too high, forcing you to increase the ISO and therefore losing some depth in the facial features. Place the model about a foot away from the backdrop, three-quarters distance from the camera.
Some Light Should Be Reflected
If the shadows appearing on your subject’s face are too dark, use a reflector to reflect some of the light in. But don’t do away with all the shadows in your image. The shades provide depth and form to the cloth and provide it with that Old Master appearance.
Have Some Dynamism
Because of the simple lighting and the basic background, this setup can easily look like it is motionless. Add some breeze or air movement to your portrait that will make the hair and cloth move, thus bringing an element of dynamism. The other option is to have somebody else use a reflector to blow air in your model’s direction.
Fabric and Backdrop
The brightest aspect of the photograph should be your model’s face. Therefore, when selecting a material for the shoot, ensure that the fabric chosen is not very bright and not too close to the person’s skin tone in terms of the shade of color.
A basic paper roll backdrop is excellent if you have access to one. If not, you might as well use a plain wall.
Portraits of Athletes Using a Fisheye Lens
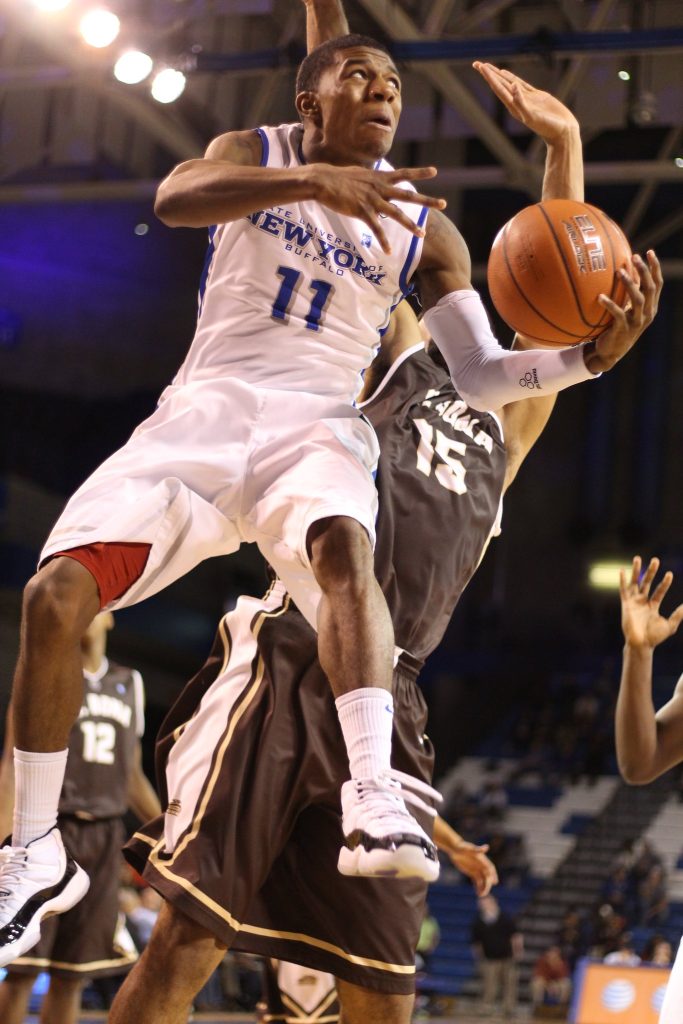
Fisheye lenses provide a quirky angle with tons of potential photoshoot ideas that work well with action pictures that have been taken with a flash. Standard camera lenses are made to precision, with manufacturers taking incredible effort to make sure that lenses create minimum distortion and that straight lines in a photograph are portrayed in the image just as they are in the scene.
On the other hand, fisheye lenses are made in the opposite way, with manufacturers putting as many degrees of view as they can to achieve the desired effect.
The outcome is that significant distortion occurs, with the curvature becoming more defined as the items being captured move further from the frame’s center.
Fake Natural Light Portrait Using a Flash
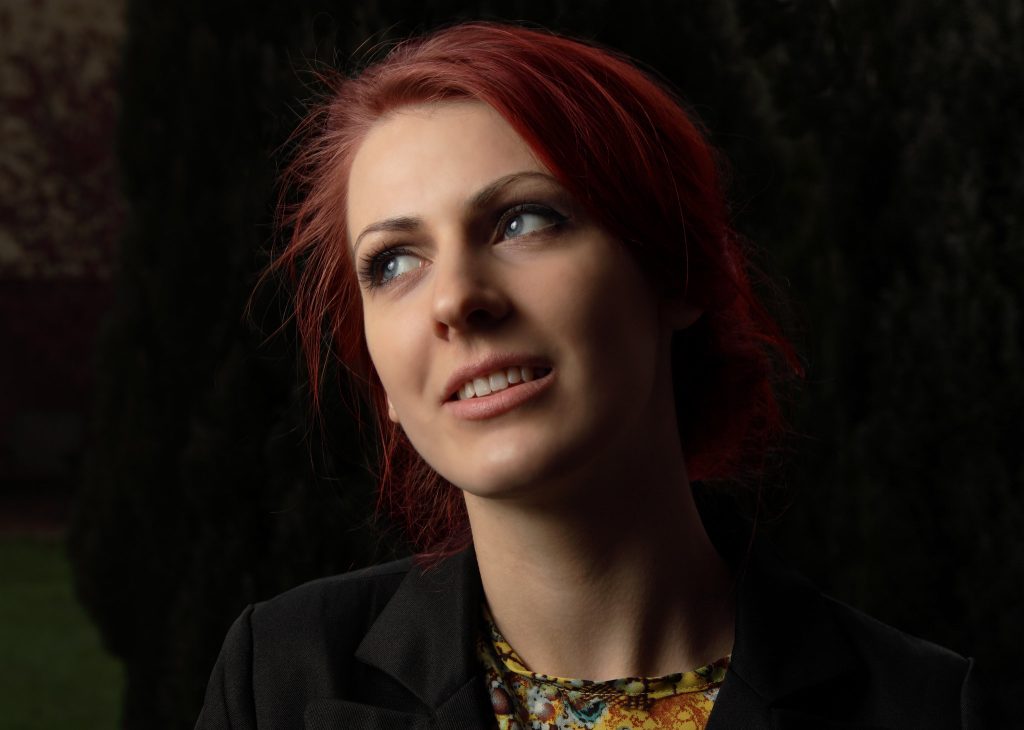
Natural light portrait photography photoshoot ideas often come out fantastic, but what should you do when the weather is not cooperating? Well, there is a simple solution for that. You add flash to your shoot and create the illusion of natural light being present.
However, it is not what you think. Even though many photographers turn their camera flash on and start spamming on as many pictures as they want, the results are typically unattractive, and it becomes so apparent that the shoot was not done in some natural light.
There is a more effective way of making an artificial flash look like authentic natural lighting.
First, locate the existing source of natural light, for example, a window or a doorway, and then regulate the amount of natural light coming through it.
You can then simulate the illusion of natural light spilling into your shooting scene by placing a flashgun outside that window or door.
Dramatic Portraits in the Rain
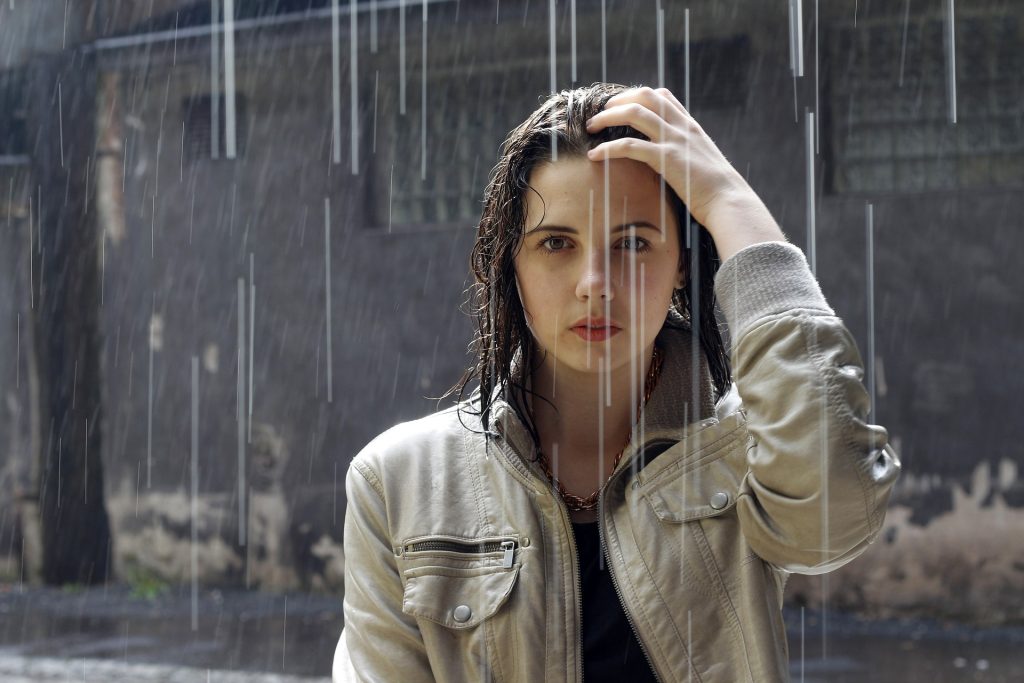
This photo idea is one of those unique portrait photography concepts that appear out of nowhere. Why not use a speed light to come up with unique backlit rain portrait photoshoot ideas, whether it’s raining or not?
Some enticing photoshoot ideas can come from your favorite novel and bask in the warm sunshine while reading it. With that being said, take photos in the daylight if you are really into photography.
In any case, taking a rainy photograph on a sunny day would be the last thing on anyone’s mind. But if you have a hose and some open space, achieving that romantic rainy shoot is a walk in the park.
You just need a few requirements. They include a speed light, a wide-angle lens, a light stand, wireless flash triggers, and of course, your camera. It may also be a good idea to come with a raincoat just in case. Get your model to pose a few feet in front of you in a clean area outside.
Then install a speed light behind them that can be controlled remotely. Turn on the hose and guide your assistant to place their thumb over the nozzle’s end, pointing it just in front of the model and slightly toward the camera.
The speed light will shine through the drops of water, illuminating them and giving them a snow-like appearance. A beautiful haze of raindrops will be present throughout the photograph, as well as a rim light surrounding your subject.
Fun Portraits Using Blacklight Body Paint
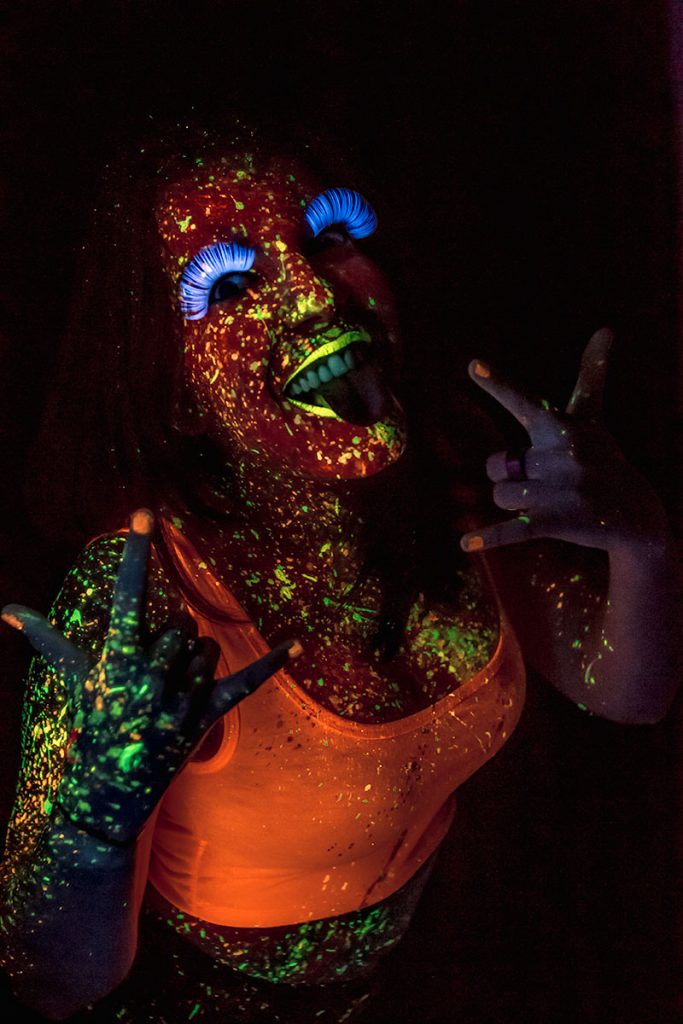
Photographing an object under ultraviolet light is known as blacklight photography. This type of fun illumination looks like it emits relatively little light to the naked eye. The reason is that the bluish ultraviolet light is at the very edge of the visible spectrum, and a lot of the emission is undetectable.
On the other hand, ultraviolet light can allow white or neon hues to emit visible light, resulting in a radiance that looks beautiful when combined with body painting for portrait photography. In a perfect scenario, you would have a model or a makeup artist.
However, you can also get a fantastic photo at home with the help of a willing member of your family.
You don’t have to splash a lot of money on models and makeup artists, and neither do you have to spend a lot of money on expensive equipment. The UV lights can be purchased online for a small fee, and the body paint is also not expensive.
Next, you will need a willing person to pose for you and a dark location to express your creative side.
Don’t forget your paintbrush too. An important thing to deal with is the low light, which requires using all of the standard low-light approaches. To solve this problem, you may have to use a tripod (here are the ones we recommend), a wide aperture, a high ISO, or even combine all these things.
About Author
Rachel Noël is a professional photographer and videographer from the UK with over 10+ years of experience. Rachel specializes in Underwater, Tavel & Portrait photography among other areas.
