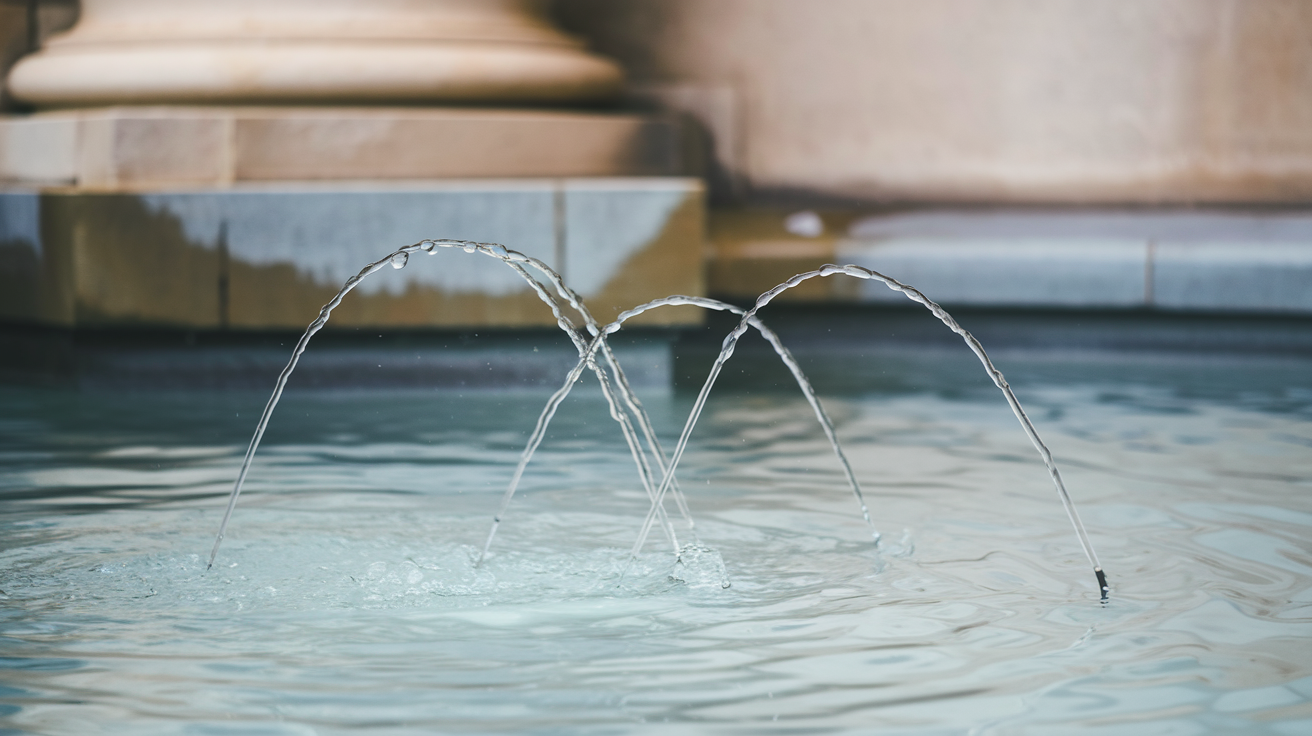
It also has another name to it. Its called “exposure time,” which plays a vital role with any camera, especially in film, television, and photography. For example, suppose you’re using a DSLR (Digital Single Lens Reflex Camera). In that case, the shutter will open, which is the little box behind the lens, this allows light to pass into the camera, instead of the viewfinder, which is the little thing above the lens that you look through.
While in the progress of shutting the lens will go up, showcasing the lens, then up again closing the lens, it will repeat this cycle every time you teach a picture. In film, it’s a little different, as the lens never closes until you finish recording.
Contents
The Basics
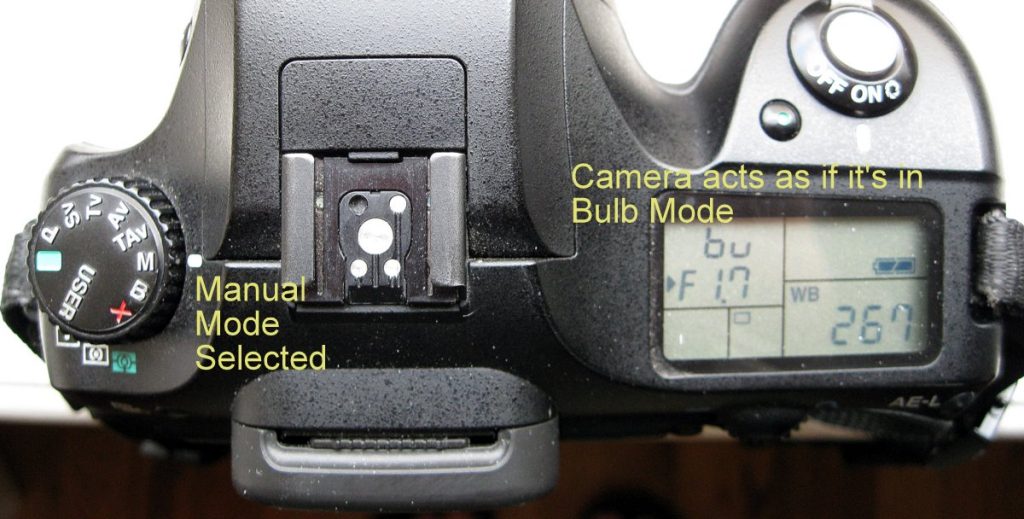
Getting into the basics of a camera can be pretty tricky, especially how complex the layout for most cameras is. When using a camera for the first time, it can be a little discouraging; even when you’ve been an expert for a long time, readjusting to newer cameras and the setting is no simple feat.
However, with a bit of time and effort, you can use the camera like you’ve known it for years. Let’s begin with perhaps the easiest way of learning the camera, the shutter speed. Currently, on the mode dial (the small little circle on the top part of the camera), There are three primary settings for the shutter speeds. You have a manual mode which is designated by the letter “M” which lets you set the shutter speed manually. Auto Mode, which is naturally set by default and will be labeled as “Auto.” And lastly, Shutter Priority which is labeled with an “S”, all of this can be found on the dial mode.
Shutter Speeds
Camera shutter speeds on average are measured in fractions of a second. You can adjust the camera shutter speeds by 1/4 of a second when set on manual. Some cameras can handle fast shutter speeds of 1/4000 a second and sometimes 1/8000 a second. Additionally, you have slow shutter speeds that can go long as 30 seconds.
Time can be extended depending on the camera you’re using. To do this, you will need to activate “Blub mode,” which can be done by holding down the shutter release button and counting how many seconds you want your shutter speed to be making it easy to set a fast shutter speed or slow shutter speed.
To get some of the fancier effects like animal movement, moments in sports, or a water droplet, you would have to set your camera to a fast shutter speed of 1/1000. This will enable you to catch the water droplet effect. Additionally, it allows you to do freeze motion. If you’re seeking a large droplet of water or splashes of water a fast shutter speed of 1/250 will do you just as good.
If you’re just going to do everyday general photography like taking pictures of things in your room, wild animals in their natural habits, family members, or anything that piques your interest, the recommendation for that would be a slower shutter speed like1/100.
At 1/100 prevents subjects from blurring due to camera shake. Night photography uses longer shutter speeds to capture as much light as possible. A slow shutter speed that has an estimation time of 20-30 seconds may present you with the ability to take pictures of the milky way.
Fast Shutter Speed vs Slow Shutter Speed
The faster your shutter speed, the more sharp and clearer your pictures are due to less susceptibility to movent like camera shake, however, the more underexposure you will experience (Your images will have less light) when using a quick shutter speed.
Do note that the slower shutter speeds, the more exposure (More light) you’ll have, but your photos will have camera shake and more motion blur; this is perfect when taking pictures on highways where there are movements and seeing the lights of cars turn into stirks of light.
Motion blur shutter mode
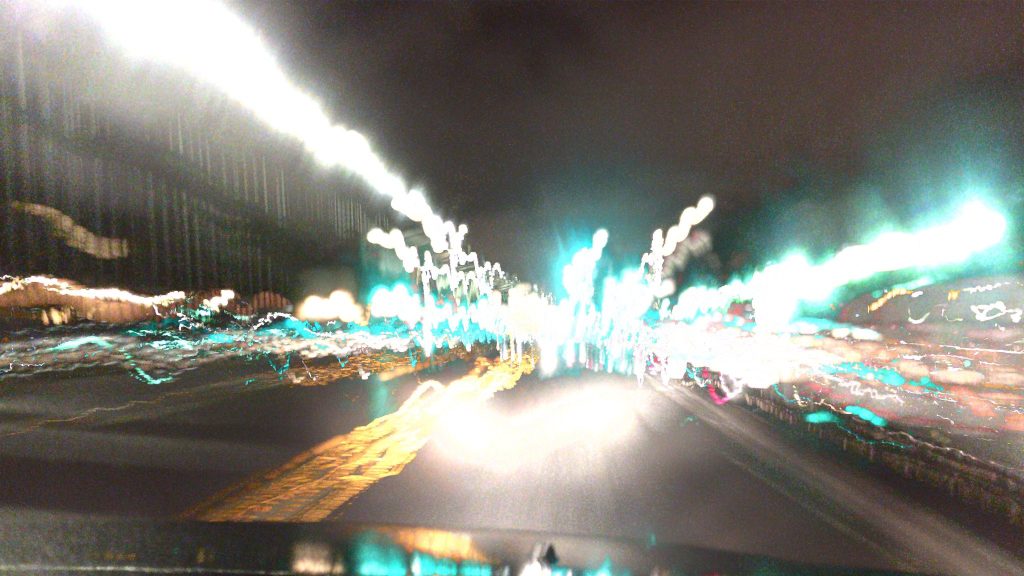
Image Credit: DammitKarissa/CC BY 2.0
To accomplish motion blur imagery, you have to set the shutter speed to 1/15 – 1/60. If you were taking pictures of the street traffic (like the photo above) and wanted motion blur instead of sharp, you can do that with the recommended estimations.
Auto Mode
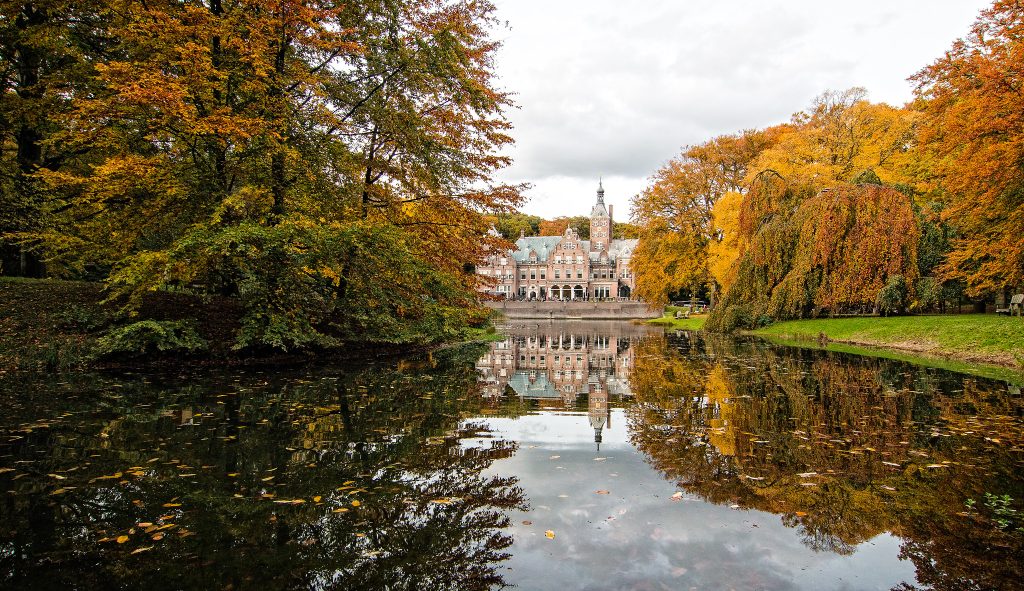
Image Credit: © Martin de Lusenet/CC BY 2.0
Auto mode will automatically set different shutter speeds for you and do most of the work for you, whether you’re filming your garden, family, or friends. This is the same when it comes to shutter speed. Usually, when taking photos, the camera will have it set where the pictures you take will never be overexposed in light or underexposed just right in the center with each image you take.
This is usually most helpful when the person behind the camera is new or taking pictures for the very first time. It is assumed that professionals never use auto mode, but that’s not the case, it just depends on what you’re taking. Sometimes, when in dark places, you will encounter underexposure, sometimes in very lit places, you will encounter overexposure; both are discussed below.
When taking a picture in auto mode, the camera will adjust itself to the light. When you hold down the button that snaps the picture, you will give the camera time to change before the shot.
Over Exposure
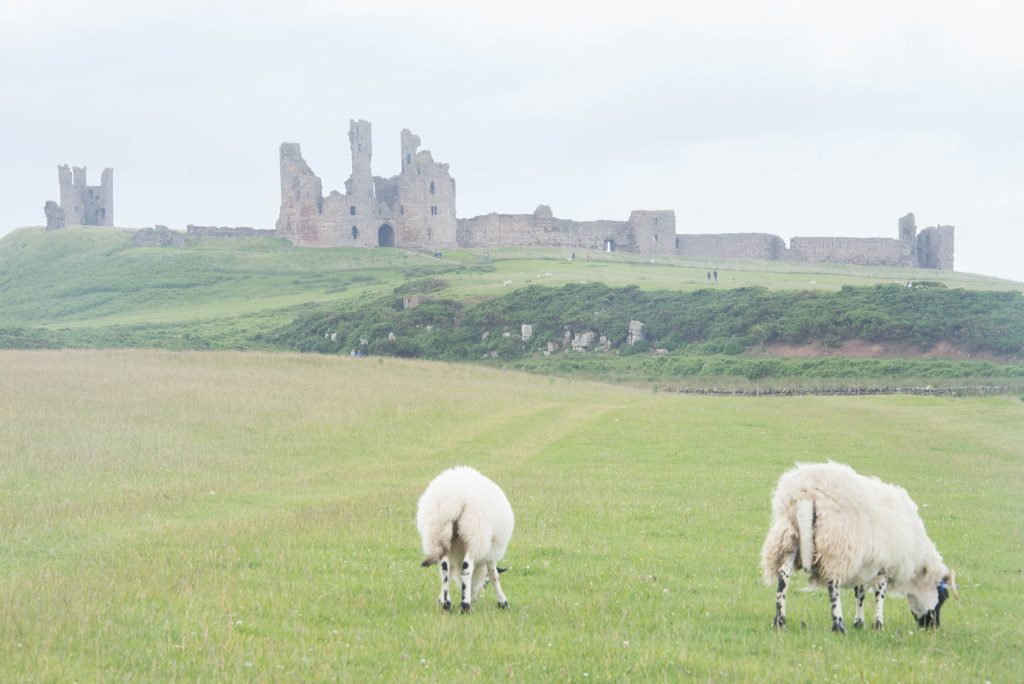
Shutter Speed: 1/50
Image Credit: Mark McNestry/CC BY 2.0
Overexposure happens when there’s too much light entering the camera. The best example of this is when you’re taking pictures in front of some flowers, but in front of you, the sun is shining. You pay it no mind and take the shot anyway, seeing the aftermath on the screen. When you finish, you see this bright yellow reflection from the sun’s rays covering your picture.
That’s what you would call overexposure. If you intend to get an over-exposure shot intentionally, you’d need to set the shutter speed to a much lower setting so the lens will be exposed to more light. Though note the lower the shutter speed, the camera shake will be noticeable and the more blurry the objects will be, especially with moving objects, such as water, animals, and even people. You see this practice more in books, or thumbnails for books that have a very happy and chippy personality to them.
Underexposure
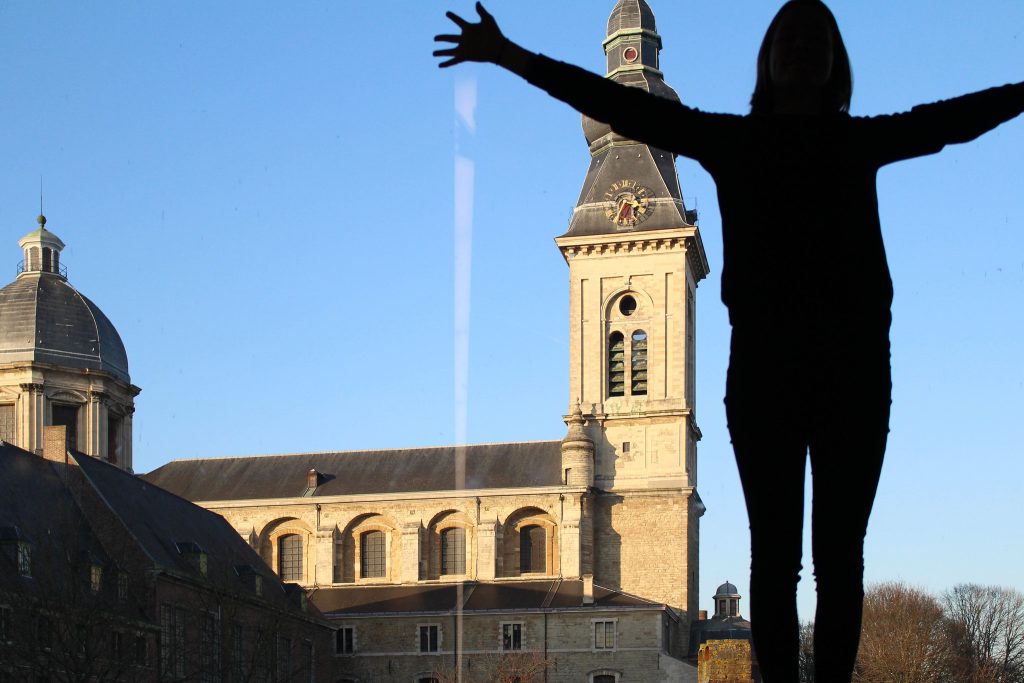
Shutter Speed: 1/1000
Image Credit: © Tiffany/CC BY 2.0
Underexposure happens more frequently in dark shadows; the camera doesn’t have the same capacities as our eyes do when it comes to complicated lights. Because of this, it doesn’t do well in complex lighting. This counts for shadows or dimly lit areas. For example, if you sat outside and took a picture of yourself and your family during a BBQ session, you would experience some of the under-exposed light.
Mainly because of the poorly lit area, some places of the picture will be darker than others. To achieve underexposure, set the shutter speed to its highest, but do note that you will encounter a lot less light exposure while doing so. Your pictures will become acute but have a lot less brightness. A prime example of this is when you see the covers for some of the horror movies, where the villain will have all the focus on him, but the shadows cling onto his body.
Manual Mode
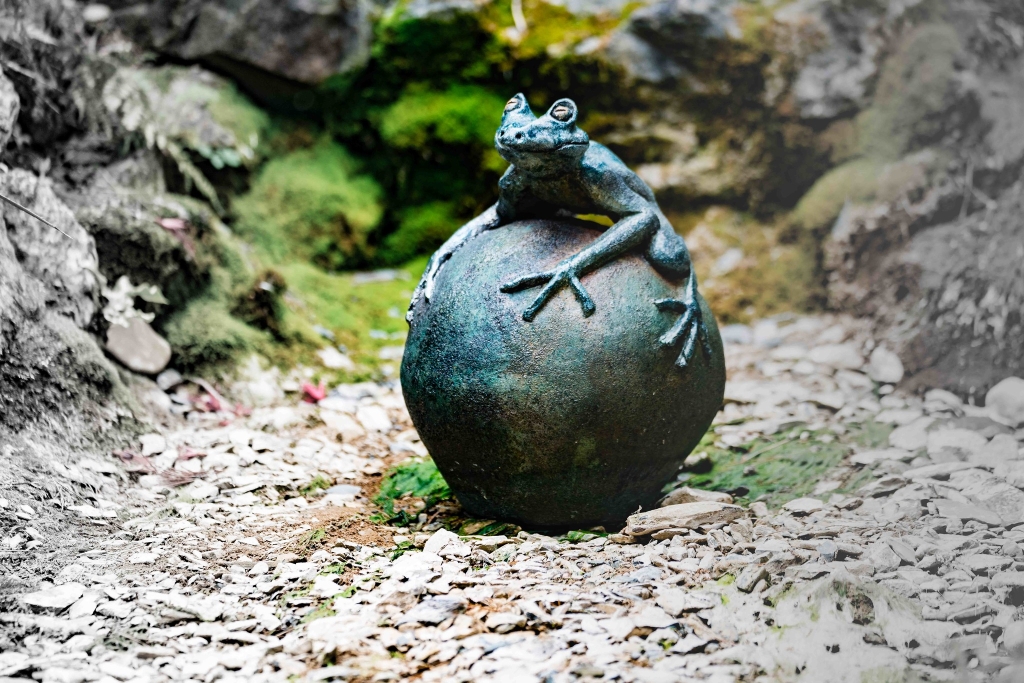
Image Credit: © William Murphy/CC BY-SA 2.0
It’s pretty easy to access different shutter speeds settings, especially when set on manual mode.
Press the menu button, which is usually in the camera’s backside, showcasing a green “menu” button, press it, and some options should pop up. Then select Shoot mode, then exposure mode. Of course, this varies between all cameras, so always turn to the instructional manual of the camera you’re using to access this information.
You can then set a slow shutter speed or a fast shutter speed
In addition, Manual mode enables you to customize other settings for your camera. So if you want to take pictures with a heavy aperture which can only be done in manual mode, where if an object is closer it will be focused. While you can also focus on the objects in the background and blur out what’s in front of you. This cannot be achieved in auto mode, as the camera will focus on what’s closer to you than what’s in front of you.
Shutter Priority
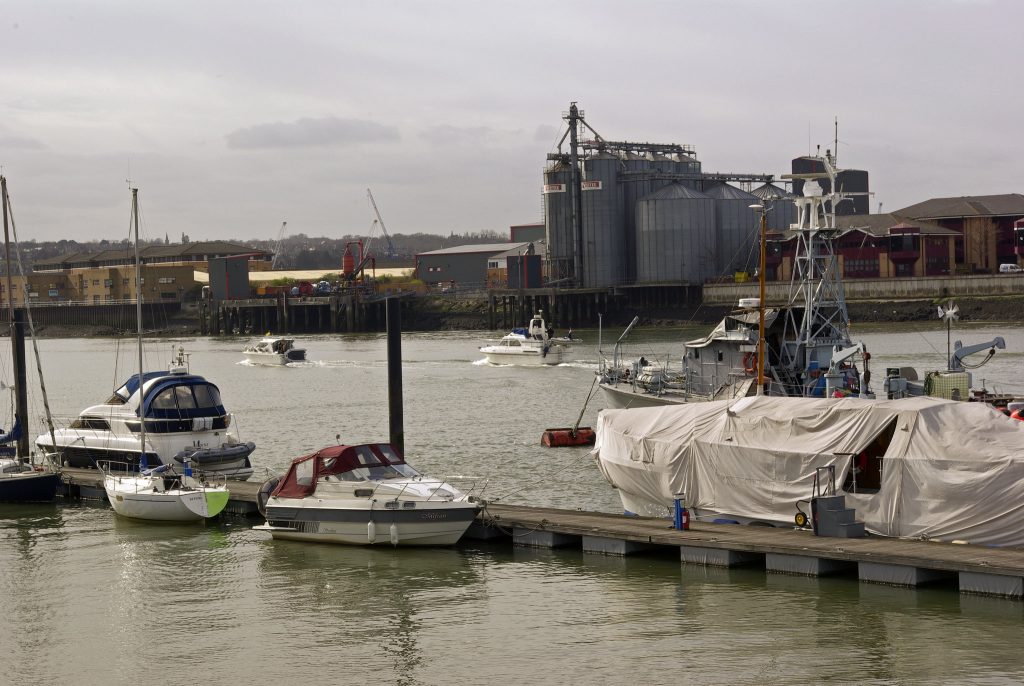
Image Credit: davekentuk/CC BY-ND 2.0
What does Shutter Priority do? First, it enables you to control your camera’s shutter speed, basically, the number of times you take a photo the outcome will come out differently, depending on the speed you have chosen. Though can disregards the aperture.
Aperture allows the camera to focus on what’s closet and what’s farthest. When you choose the shutter speed you desire be it a slow shutter speed or a fast shutter speed, the aperture adjusts itself to match what the shutter speed is set on.
The benefits of using priority mode enable you to use stop-action to catch moving objects on the move without turning objects blurry. If you have shaky hands, setting a fast shutter speed eliminates that camera shake and blurriness. More recent cameras have installed settings to also help prevent the camera from shaking.
Of course, this is all depended upon the lens you use. In addition, if you’re using a tripod, then you will not have to worry about the shutter speeds and the shakiness of your hands. If you are new to photography, investing in a tripod helps. However, if you do not have a tripod or the means to get one, then continue using what you have
Enjoy your new experience.
There are many different ways and settings that give you that type of imagery that you seek. Either you’re seeking to show the beauty of your photos with the more traditional modes such as auto mode, kicking back, allowing the camera to do all the work for you, feeling more professional, and going manual, creating your style to show to your friends or the world, and lastly, increasing and decreasing the Shutter speeds to get more of a creative feel with your art. Whatever you choose, after all “a picture is worth a thousand words.”

About Author
Connor Kovack is a Los Angeles based professional photographer & videographer with over 6+ years of experience. Connor is CEO of KovMedia and specializes in Music Videos, Commercials, Photography & More.
