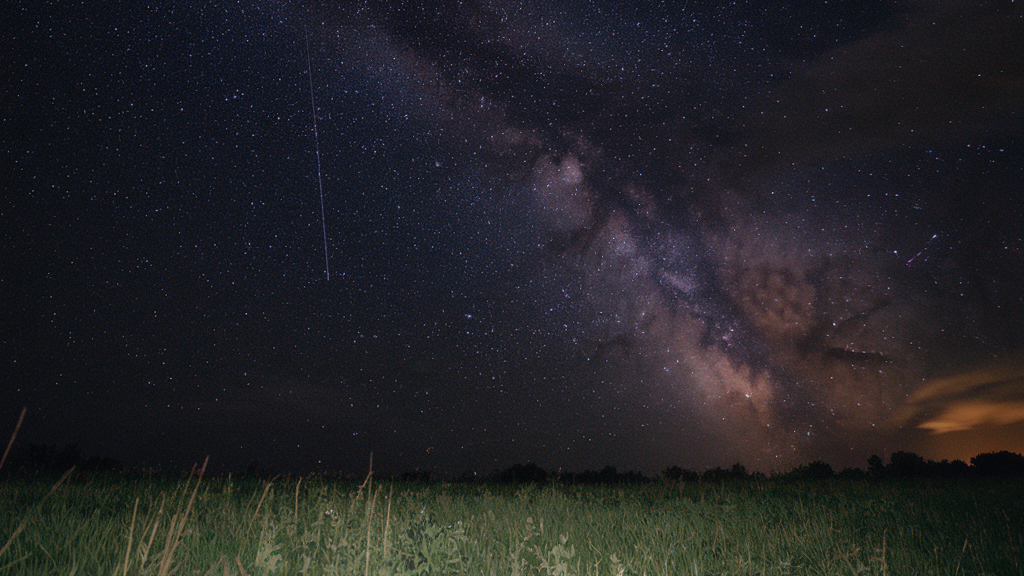
The night sky is a breathtaking sight, particularly if you can get away from the light pollution of the city. However, it can be very tricky to capture a shot that lives up to what your eyes can see. Whether you are a beginner to astrophotography or want to improve your skills, this article can help.
Contents
What You Need
If you want to take nice photos of the stars, you will need the right equipment. While you can use some tips with any setup, these pieces of equipment will get you off to the best start.
- Low-light camera
- Tripod
- L bracket
- Lights
- Headlamp, ideally with red and green color options
- Lens hood
- Remote shutter
- Extra batteries and memory cards
Obviously, you will need a camera that can take good shots in low lighting. Ideally, it will allow you to manually set the focus, exposure time, and noise reduction. Some phones can handle this, but you may want a dedicated camera. This doesn’t mean you need an expensive DSLR to get started. Just make sure your camera can handle low light and will easily mount on a tripod. Advanced astrophotography rigs normally use a DSLR and a telescope to adjust for the earth’s rotation for long exposure times (learn more here). Beginners do not need to worry about this.
A good tripod is essential for good photos of the night sky.
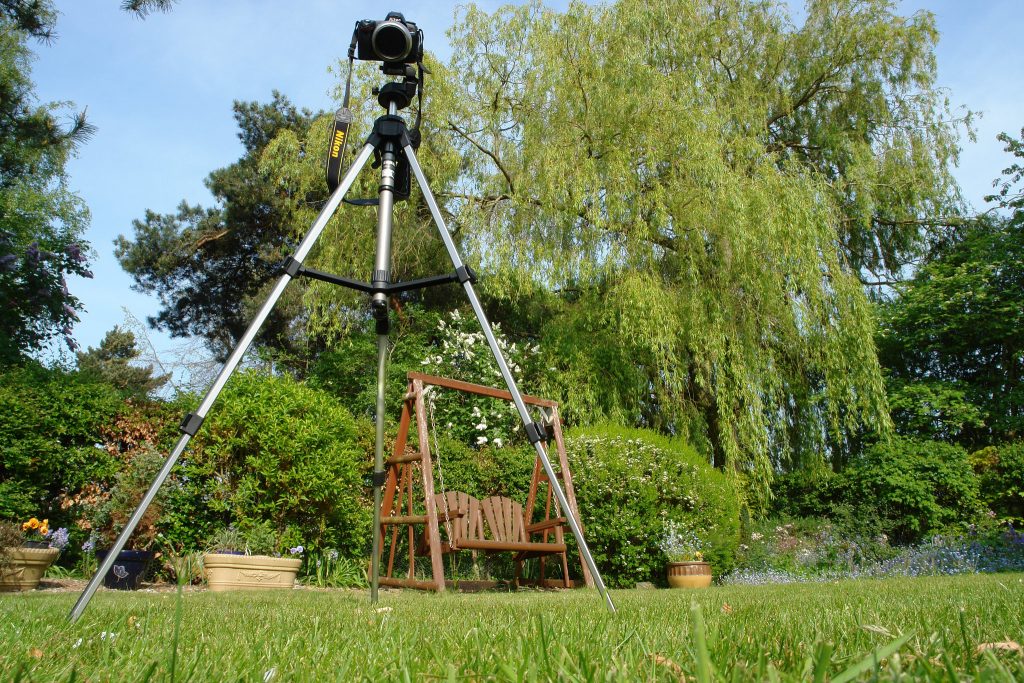
Since you will need to keep your camera still to take the best shot possible, a tripod is your best option. It also allows you to easily make sure that you have a good composition for your shot. Most tripods for cameras use a flat plate to mount the camera. You may want an L bracket to allow you to stabilize your camera with ease. L brackets offer better balance than the standard plate.
As for lights, a headlamp is a great choice since you can use it to flood your foreground for more dramatic shots and also see your controls.
Red lights will allow you to see and preserve your night vision.
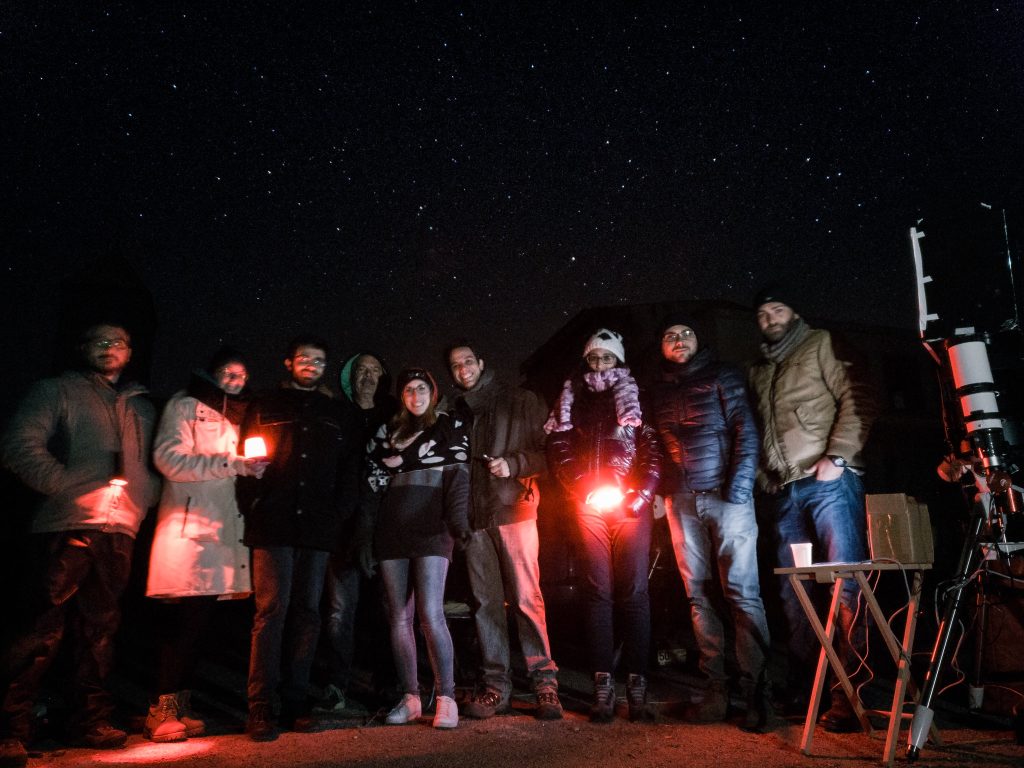
Additional colors can be used to flood your shot with light and give you a better result. Flashlights are also a good idea if you want to highlight the foreground. You can also use a flash for this if it has settings for long exposures.
You can opt for other equipment like a lens hood to help block out extra light. You do need a good way to operate the shutter from a distance. Camera filters and an intervalometer can be a nice touch as well. An intervalometer allows you to set up for long exposures or multiple shots without having to hold down the shutter button. It is a great tool, but not necessary if you don’t own one.
Choosing a Location
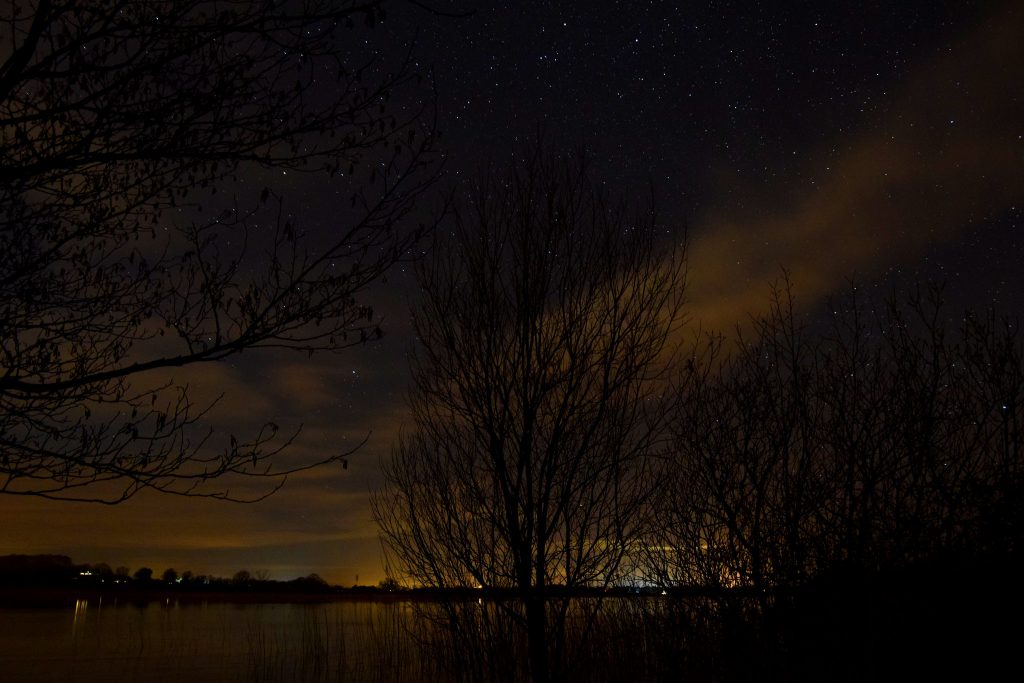
While you can take photos of the night sky from anywhere, they may not turn out so well if there is a lot of light pollution. Most street lights are unshielded and waste a lot of light illuminating the sky. This can drown out the stars and make them hard to capture.
If you want to get the best shot possible, you need to go somewhere it is dark. Try to get at least 50 miles from any major city for the best chance of getting a good shot. Try to get away from any major highways or roads to reduce light pollution from cars. Higher elevations also tend to give better views of the sky.
There are apps that can give you an idea of what stars or constellations will be visible when you want to shoot. Different constellations are visible depending on the time of year and your location.
Once you have located a good area, pay attention to the horizon. If it is already dark, give yourself at least 45 minutes without any lights so you can see what your camera can capture.
A good spot will have interesting foreground elements and a nice horizon. This can help highlight the sky and give a better effect.
Timing
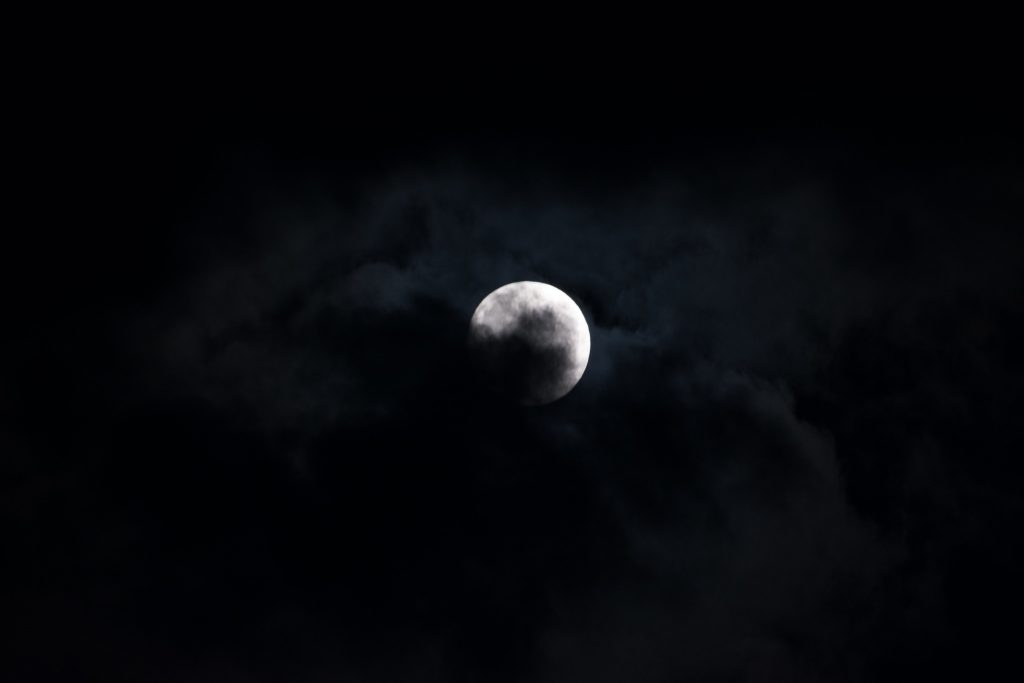
The weather and the phase of the moon are other important considerations. Some scattered clouds can give a nice effect, but anything more may get in the way of your desired shot. The phase of the moon will decide how many stars you may see.
A full moon is striking, but the light can overwhelm the stars and leave very few in your final shot. A new moon will give you the most visible stars. A quarter or crescent moon can give you the best of both worlds. If you want to photograph the moon, make sure you choose your location and time based on the phase you want to capture.
The time of night is also important. The moon rises at different times depending on the location and time of year. Which stars are visible can also change. Be sure you plan for this when selecting the time you will take your photos.
Setting Up Your Shot
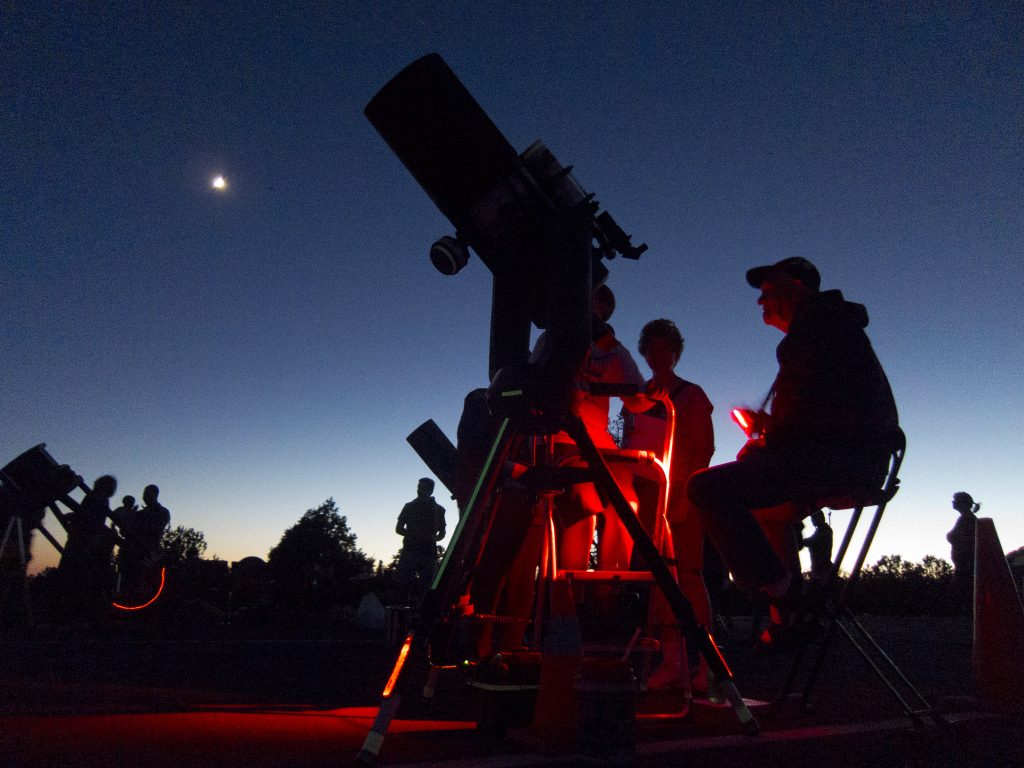
Once you have the perfect weather, time, and location, you need to actually prepare to take your shot. Make sure you have all your equipment ready to go. Practice setting up so you can save time and avoid fumbling.
Pick your spot and give your eyes time to adjust to the darkness. About 45 minutes should be enough. If you need to look at anything, the red light will help preserve your night vision. You can also cover one eye if you need to look at a screen. The covered eye will stay adjusted to the dark.
Set up your camera and be sure to take a few test shots to make sure you like the composition. You will want about a third of the picture to be the horizon and the other two-thirds to be the night sky. This rule of thirds is a good guideline for composition.
Make sure you face your camera away from any sources of artificial lights. Position one leg of the tripod towards your intended shot. This leaves space between the other two legs. You can stand here to make fine adjustments to get the perfect shot.
Be sure you take a few shots to check your composition before you begin. Even if they look overexposed, you are only looking for a nice composition. Pay attention to foreground elements like trees or rocks and the horizon. Ideally, you will have a nice frame for your final night sky shots.
Camera Settings
Most modern cameras meant for consumers have features to make taking typical photos easier. This includes features like autofocus and automatic lighting adjustments. These work great in the day, but do not work for creating night sky photography.
The first setting you want to adjust is the focus. Set the distance as far as you can to capture the stars clearly. Take a few test shots to confirm they aren’t blurry. It can be hard to tell on a small LCD screen, but most cameras will allow you to zoom in and check.
Next, you will want to consider the exposure time. The exposure time is how long the shutter will be open. The longer it is open, the more light is captured. This can make features like the milky way easier to see. You will pick up more stars with longer exposure times.
If you have it on for longer periods of time, you can get star trails that track the movements of the stars. However, these shots can be hard to take since you need to account for the movement of the Earth. Long exposures like that can take hours to get a good image. The rotation of the Earth during the exposure will make the foreground of the image blurry.
You may want to stick with shorter exposure times at first. You can take a few test shots to experiment with exposure times. Don’t be afraid to take a few attempts to get the image you want.
Here are a few starter numbers to give you a place to work from for taking still images of stars.
- Low f-stop number
- ISO over 1600
- Exposure time of at least 30 seconds
The low f-stop number indicates how wide the aperture is. This allows more light to be captured. Lower numbers mean wider, while higher numbers are a narrow aperture (click here to learn more). Use the highest ISO you can to maximize light capture. Finally, a longer exposure time allows your camera to pick up more light. You will want to experiment to figure out the best exposure time for your camera.
Try to use as many manual settings as possible. Most cameras are not optimized for night sky photography out of the box. Even the night settings are typically meant for capturing images of people or animals in low-light settings rather than landscapes or the stars.
If you want good images of the moon, you will want less ISO and a shorter exposure time. Star trails need less ISO, higher f-stop, and times of over half an hour or more. The exact effect will depend on your time and how you set up your shot. If you want a moonlit landscape, a higher ISO, higher f-stop, and exposure time of two minutes should give you good results.
Taking the Shot
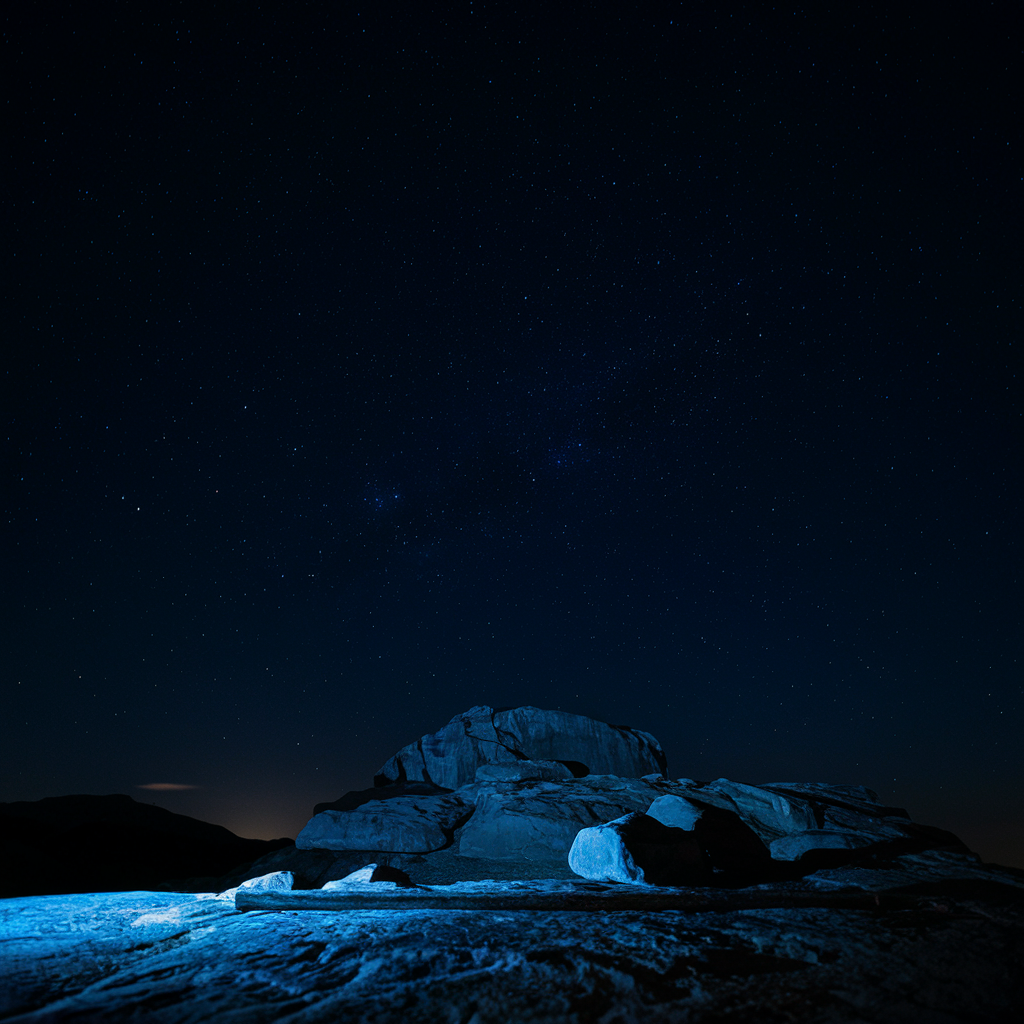
Once you have everything set up, it is time for your shot. If you want the foreground to be visible, now is the time to use your lights. Since you will be using a longer exposure, you will want to move your lights.
Try to sweep your light over as much of the foreground as you want to highlight. Do not leave your light in one spot or you will end up with an uneven look.
You can also use colored lights to create different effects. This can be a fun experiment as you gain more experience. If you have an assistant, you can even use different colors of lights on different foreground elements to help highlight them.
It may take you a few tries to understand what will look best. No one is perfect on their first attempt. The important part is that you are learning and having fun.
Tips for Specific Shots
The settings given earlier are great for getting still images of the stars. However, you may want to capture a different subject. If you want star trails, increase your exposure time. It may also be a good idea to try a wide-angle or fisheye lens to capture more of the sky.
If you want to create unique images, you can layer multiple images together with editing software. For instance, you can layer several shots to create star trails. You can also create a deeper scene by layering shots of the same scene that have different lighting. This does require knowledge of how to use editing software, so it may take some experimenting.
Lighting up a scene to highlight foreground objects is a basic skill. If you want to go a bit further, you can paint with light. For instance, by pointing a flashlight at your camera when it is on a long exposure, you can capture the trails of light. This allows you to draw or create words in the air.
You can also use this technique to make objects like tents glow from within or highlight people in your shot. Feel free to experiment with colors and light sources. Glow sticks offer a different look than a flashlight or a candle.
Troubleshooting
If you are having difficulties, do not worry. Many problems can be fixed with ease if you know what you are doing. One of the most common problems for beginners is picking the wrong exposure level. If your pictures are overexposed, no amount of editing will bring back the lost details. Underexposed images may still have the data if you play around with them in editing software.
Another problem for beginners is having out-of-focus stars. The most common source of this problem is leaving the auto-focus on or forgetting to adjust the focus. Adjust the focus far out so your camera will catch the stars clearly. Take a test shot and verify that the stars are in focus.
Please note that high ISO levels can result in artifacts or some blur to your image. Try lowering the ISO and increasing the exposure time.
It can be hard to tell if your shots are properly exposed by looking at them on the LCD screen. There is a function called the histogram. This is a handy graph that shows the light levels of your image. It should look like a smooth range. If you see any sharp cliffs, you need to adjust your settings.
If you find yourself going through batteries quickly or taking a long time to capture an image, it may be the automatic noise reduction in your camera. This function can eat up battery and make your shots take longer. Try turning it off for test shots. If you will not be printing your photos, you can use the noise reduction in editing software instead.
If you are shooting for print, you will want to use the RAW format. This preserves the most detail and allows for high-quality prints. This will take up a lot of space. Be sure to delete any test shots to make sure you have enough memory. If you will not be printing, you can use a smaller format. This will allow you to take more images without needing to swap a memory card.
If your images don’t come out of the camera looking like the astrophotography you see in magazines, don’t worry. Those images received some editing to make them look their best. You can adjust the levels to help create a better look, or splice images together if something like a cloud ruined an otherwise nice shot. Editing images is its own art. Feel free to look up tutorials to learn how to make your photos look their best.
If you intend to print your images, you will need to take some additional steps. For instance, your image needs to have a certain level of detail to print nicely. Be sure to check your printer to find out what they recommend. Most printers want at least 300 DPI to make sure the final print is high-quality. You will also want to check the CMYK values. These are the ink colors used by printers. The inks are layered to create the colors in your print. Make sure that your final print will not have any areas that look muddy or shiny.
Now that you know how to take the best pictures, all you need to do is head out there. Pick a good day and enjoy your new hobby.
About Author
Rachel Noël is a professional photographer and videographer from the UK with over 10+ years of experience. Rachel specializes in Underwater, Tavel & Portrait photography among other areas.
